Love this? Save it for later!
Share the inspiration with your friends
“You know that unmistakable jingle that floats down the street on hot summer afternoons? That’s the sound that started it all for these Creamy Homemade Ice Cream Truck Orange Creamsicle Bars. Honestly, I wasn’t even planning on making a frozen treat that day. I was reorganizing my freezer when I stumbled upon a half-empty carton of orange juice and some leftover cream from a recent baking spree. The idea hit me like a sunbeam—why not capture that classic ice cream truck flavor in a homemade bar?
It reminded me of those sticky-fingered summer evenings chasing the ice cream truck, clutching a few crumpled bills, hoping to snag one of those creamy orange creamsicles that vanished too fast. It’s funny how food memories sneak up on you. One minute I was just tidying up, the next I was mixing up a batch of bars that tasted like nostalgia wrapped in a cool, creamy hug.
Of course, the kitchen got a little messy—there was cream spilled on the counter and a forgotten spoon buried under the orange zest. But hey, that’s part of the charm, right? Maybe you’ve been there, caught between a craving and a half-baked plan that turns into something unexpectedly wonderful. These bars aren’t just dessert; they’re a little moment of summer that you can hold in your hand anytime you want. I keep making them because they remind me that the simplest ingredients can spark the happiest memories.”
Why You’ll Love This Recipe
After testing dozens of versions, I can honestly say these Creamy Homemade Ice Cream Truck Orange Creamsicle Bars hold a special place in my freezer—and heart. Here’s why:
- Quick & Easy: Ready in under 30 minutes, perfect when you need a cool treat fast without fussing over complicated steps.
- Simple Ingredients: You likely have most of what you need in your pantry and fridge—no specialty stores required.
- Perfect for Summer Gatherings: Whether it’s a backyard barbecue, a casual potluck, or a treat for the kids after school, these bars hit the spot.
- Crowd-Pleaser: The creamy texture with a bright orange zing gets rave reviews from both kids and adults alike. Bonus: the nostalgic flavor sparks smiles every time.
- Unbelievably Delicious: The magic is in the balance—the smooth creaminess paired with fresh citrus zest creates that iconic creamsicle experience, but homemade and better.
What sets this recipe apart? I’ve blended real orange juice and zest with a touch of vanilla, then mixed it all into a creamy base that freezes firm but melts in your mouth. Unlike store-bought versions, this one isn’t overly sweet or artificial—just pure, refreshing goodness. It’s the kind of recipe that makes you close your eyes after the first bite and smile, thinking, “Yep, this is summer in a bar.”
What Ingredients You Will Need
This recipe uses simple, wholesome ingredients to deliver bold flavor and satisfying texture without the fuss. Most are pantry staples, and if you don’t have fresh oranges on hand, there are easy swaps you can use.
- For the creamy base:
- 1 cup (240 ml) heavy cream (for that silky texture; I prefer organic brands like Organic Valley)
- 1 cup (240 ml) whole milk (adds smoothness; use dairy-free milk such as coconut milk for a vegan twist)
- 1/2 cup (100 g) granulated sugar (balances the tartness)
- 1 teaspoon pure vanilla extract (adds warmth and depth)
- For the orange flavor:
- 1/2 cup (120 ml) freshly squeezed orange juice (ideally from navel oranges for sweetness)
- 1 tablespoon orange zest (gives that zesty punch; be sure to zest just the orange part, not the bitter white pith)
- Optional add-ins:
- 1/4 teaspoon orange blossom water (for an authentic creamsicle aroma; optional but delightful)
- Pinch of salt (to enhance all the flavors)
Pro tip: If you want a dairy-free or lower-fat version, substitute the heavy cream with full-fat coconut cream and the whole milk with almond milk. Just keep in mind it’ll change the texture slightly but still taste fantastic.
Equipment Needed
- Mixing bowls: Medium to large, for combining ingredients easily.
- Whisk: For blending the cream, milk, and sugar until smooth and slightly thickened.
- Microplane grater: Essential for zesting the oranges finely without the bitter pith.
- Freezer-safe mold or baking dish: I use an 8×8-inch (20×20 cm) pan lined with parchment paper for easy removal. Ice pop molds with sticks also work if you want individual bars.
- Measuring cups and spoons: For precise measurements—this really matters in frozen desserts.
- Spatula: For folding ingredients gently and scraping the bowl clean.
If you don’t have an ice cream mold, no worries—just use a shallow baking dish and cut the bars once frozen. I’ve tried both methods, and honestly, the baking dish approach is more foolproof and less fiddly.
Preparation Method
- Prepare your mold: Line an 8×8-inch (20×20 cm) baking dish with parchment paper, leaving some overhang on the sides for easy lifting. This step saves you from a sticky situation later.
- Mix the sugar and milk: In a medium bowl, whisk together 1 cup (240 ml) whole milk and 1/2 cup (100 g) granulated sugar until the sugar dissolves completely. This usually takes about 2-3 minutes. You want a smooth, slightly thickened liquid with no sugar grains.
- Add the cream and vanilla: Stir in 1 cup (240 ml) heavy cream and 1 teaspoon pure vanilla extract. Whisk gently to combine without whipping the cream.
- Incorporate orange flavor: Add 1/2 cup (120 ml) freshly squeezed orange juice and 1 tablespoon orange zest. If using, add 1/4 teaspoon orange blossom water and a pinch of salt. Mix just until everything is evenly blended. The mixture should smell bright and inviting, like summer sunshine.
- Pour into mold: Transfer the mixture into your prepared baking dish or ice pop molds. Tap gently on the counter to release any trapped air bubbles.
- Freeze: Place the dish in the freezer for at least 4 hours or until the mixture is firm. For ice pop molds, freezing overnight is best.
- Cut and serve: If using a baking dish, lift the bars out with the parchment overhang and cut into rectangles (about 2×4 inches / 5×10 cm). Serve immediately or store in an airtight container between sheets of parchment paper to prevent sticking.
Note: If your bars become too hard, leave them at room temperature for 3-5 minutes before serving to soften slightly for that perfect creamy bite.
Cooking Tips & Techniques
- Don’t skip the zest: The orange zest is the secret weapon here. It adds a bright, fresh flavor that the juice alone can’t provide. I usually zest the orange first and then squeeze the juice, so I get the most out of the fruit.
- Whisk gently but thoroughly: You want the sugar dissolved and the mixture smooth, but avoid whipping the cream too much. That can introduce air bubbles that make the texture icy instead of creamy.
- Use fresh juice: Bottled orange juice just doesn’t have the same punch. If fresh oranges aren’t available, look for a high-quality, cold-pressed juice with no added sugar.
- Patience is key: Freeze long enough so the bars are fully set. Trying to cut them too early will lead to a messy, melty situation.
- Multitasking tip: While the bars freeze, you can prep other summer treats or clean up your kitchen. I like to whip up a batch of crispy garlic chicken for dinner while these chill in the freezer.
- Store correctly: Keep bars in an airtight container or freeze bag with layers of parchment paper between to avoid sticking.
Variations & Adaptations
- Dairy-Free Version: Replace heavy cream with full-fat coconut cream and whole milk with almond or oat milk. The orange flavor remains front and center, with a slight coconut undertone.
- Low-Sugar Option: Use a natural sweetener like honey or maple syrup instead of granulated sugar; reduce quantity to taste. Keep in mind this may soften the freezing point, so bars might be a bit softer.
- Berry-Orange Twist: Swirl in some mashed fresh raspberries or blueberries before freezing for a colorful variation bursting with fruity flavor.
- Adult Version: Add a tablespoon of Grand Marnier or orange liqueur to the mixture for a grown-up creamsicle bar that’s perfect for summer evenings.
- Personal Favorite: I once tried adding a teaspoon of finely grated ginger for a subtle spicy kick that pairs surprisingly well with the orange and cream.
Serving & Storage Suggestions
Serve these bars straight from the freezer for the best creamy, cold texture. They’re perfect as a quick pick-me-up on a warm day or as a nostalgic dessert after dinner. You can plate them alongside fresh berries or a drizzle of dark chocolate sauce to fancy things up.
Store any leftovers in an airtight container or freezer-safe bag, with parchment paper between bars to prevent sticking. They keep well for up to two weeks, but honestly, they rarely last that long around here!
To reheat slightly, leave the bars out at room temperature for 3-5 minutes. This softens them to a perfect creamy consistency without melting completely.
Fun fact: the flavors seem to deepen after a day or two in the freezer, so if you have the patience, let them rest overnight before serving for a more intense orange cream flavor.
Nutritional Information & Benefits
Each Orange Creamsicle Bar (based on 8 servings) contains approximately:
| Calories | 160 |
|---|---|
| Fat | 9g |
| Carbohydrates | 18g |
| Protein | 2g |
| Sugar | 15g |
These bars provide a good source of calcium and vitamin C from the dairy and fresh orange juice. Using fresh oranges boosts antioxidant intake, supporting immune health. For those on gluten-free or vegetarian diets, this recipe fits perfectly. Just swap the dairy if you need a vegan option.
From a wellness perspective, this treat balances indulgence with real ingredients and no artificial flavors or colors, so you can enjoy it guilt-free (well, almost!).
Conclusion
So there you have it—your new go-to recipe for creamy homemade ice cream truck orange creamsicle bars that feel like a sweet summer day in every bite. Whether you’re chasing nostalgia or just need a refreshing dessert that’s fuss-free, this recipe delivers. I love how easy it is to tweak for different tastes and dietary needs, so feel free to make it your own.
Honestly, there’s something so satisfying about creating a frozen treat from scratch that tastes better than anything store-bought. Give it a try, and you might find yourself reaching for the freezer more often than you expected! Don’t forget to share your tweaks and stories—I’m always curious how you put your spin on this classic.
Happy freezing and happy savoring!
FAQs
Can I make these bars without an ice cream maker?
Absolutely! This recipe is designed to be freezer-friendly without requiring an ice cream maker. Just pour the mixture into molds or a pan and freeze until firm.
How long do the bars stay fresh in the freezer?
Stored properly in an airtight container, the bars stay fresh for up to two weeks. Beyond that, they may develop ice crystals or lose creaminess.
Can I use orange juice concentrate instead of fresh juice?
You can, but fresh juice offers a brighter, fresher flavor. If using concentrate, dilute it with water according to package instructions and adjust sugar to taste.
Is there a way to make these bars less sweet?
Yes, reduce the sugar by a quarter or use a natural sweetener like honey or maple syrup. Keep in mind this might slightly affect texture.
What’s the best way to store leftover bars to avoid freezer burn?
Wrap each bar individually in parchment paper and store in an airtight container or freezer bag. This helps prevent sticking and freezer burn.
Pin This Recipe!
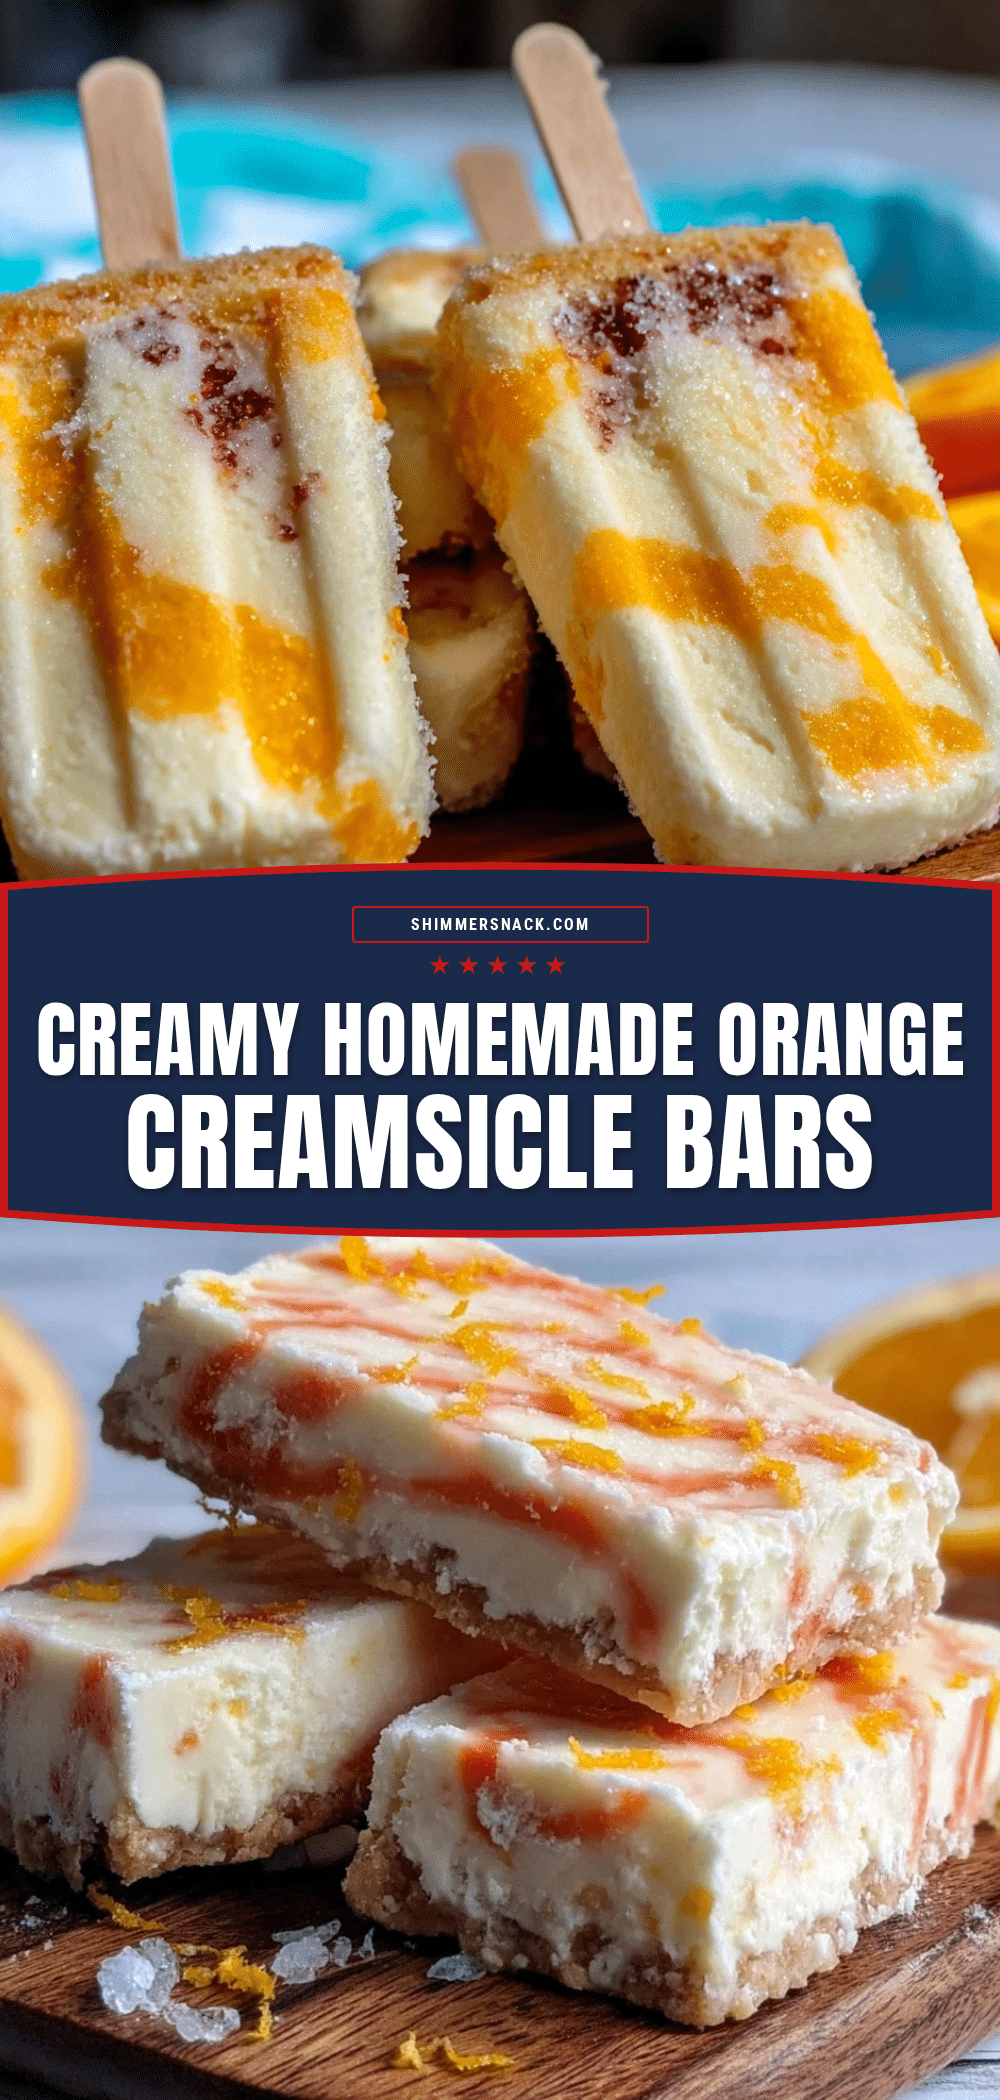
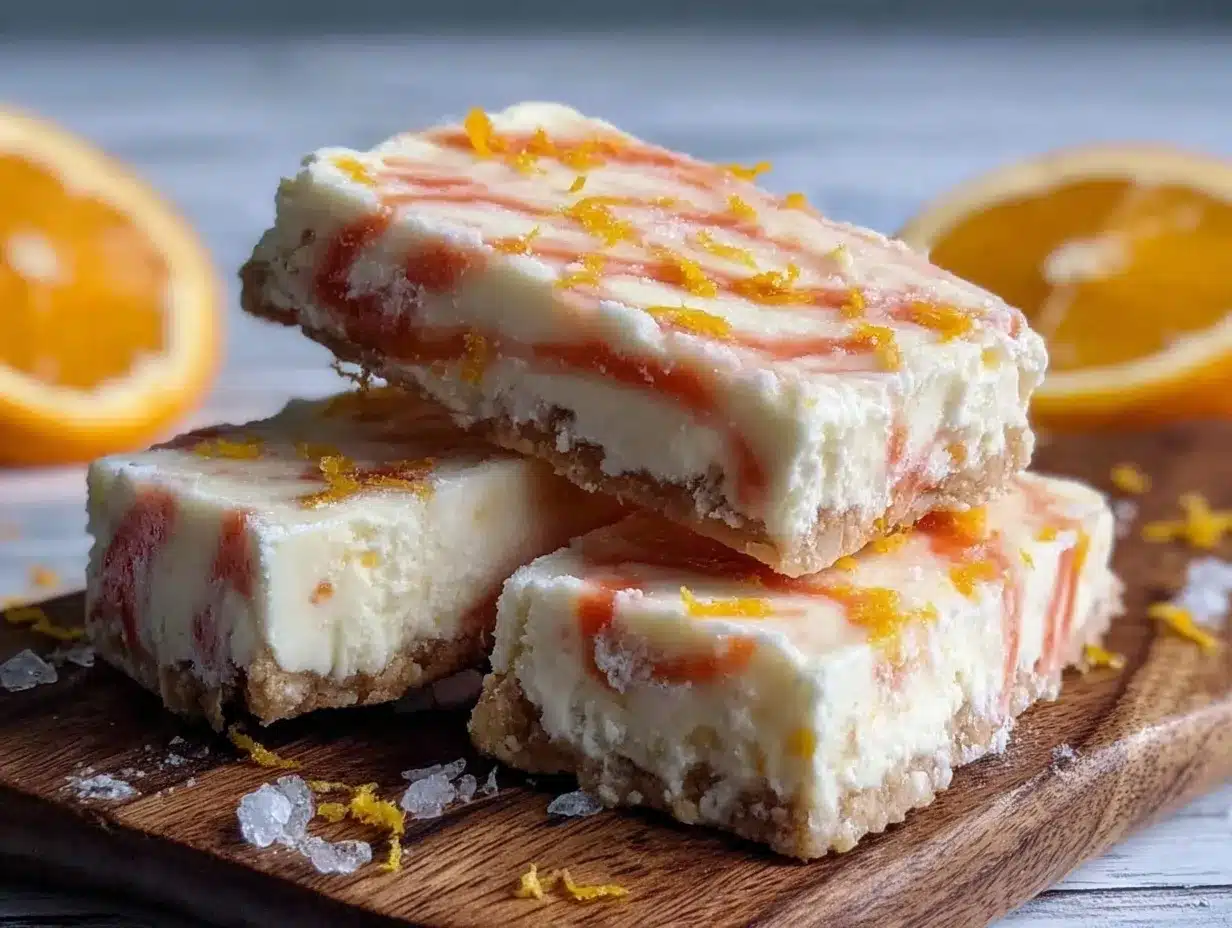
Creamy Homemade Ice Cream Truck Orange Creamsicle Bars
These creamy homemade orange creamsicle bars capture the nostalgic ice cream truck flavor with a smooth, refreshing texture perfect for summer treats.
- Prep Time: 10 minutes
- Cook Time: 4 hours (freezing time)
- Total Time: 4 hours 10 minutes
- Yield: 8 servings 1x
- Category: Dessert
- Cuisine: American
Ingredients
- 1 cup (240 ml) heavy cream
- 1 cup (240 ml) whole milk
- 1/2 cup (100 g) granulated sugar
- 1 teaspoon pure vanilla extract
- 1/2 cup (120 ml) freshly squeezed orange juice
- 1 tablespoon orange zest
- 1/4 teaspoon orange blossom water (optional)
- Pinch of salt
Instructions
- Line an 8×8-inch (20×20 cm) baking dish with parchment paper, leaving some overhang on the sides for easy lifting.
- In a medium bowl, whisk together 1 cup whole milk and 1/2 cup granulated sugar until the sugar dissolves completely, about 2-3 minutes.
- Stir in 1 cup heavy cream and 1 teaspoon pure vanilla extract. Whisk gently to combine without whipping the cream.
- Add 1/2 cup freshly squeezed orange juice and 1 tablespoon orange zest. If using, add 1/4 teaspoon orange blossom water and a pinch of salt. Mix until evenly blended.
- Pour the mixture into the prepared baking dish or ice pop molds. Tap gently to release any trapped air bubbles.
- Freeze for at least 4 hours or until firm. For ice pop molds, freeze overnight.
- If using a baking dish, lift the bars out with the parchment overhang and cut into rectangles about 2×4 inches (5×10 cm). Serve immediately or store in an airtight container between parchment sheets.
Notes
If bars become too hard, leave at room temperature for 3-5 minutes before serving to soften. Use fresh orange juice and zest for best flavor. For dairy-free version, substitute heavy cream with full-fat coconut cream and whole milk with almond or oat milk. Store bars in airtight container with parchment paper between to prevent sticking. Freeze at least 4 hours or overnight for ice pop molds.
Nutrition
- Serving Size: 1 bar (approx. 2x4 i
- Calories: 160
- Sugar: 15
- Fat: 9
- Carbohydrates: 18
- Protein: 2
Keywords: orange creamsicle, homemade ice cream bars, frozen dessert, summer treat, creamy orange bars, no ice cream maker


