Love this? Save it for later!
Share the inspiration with your friends
“You know that moment when you bite into a slice of peach pie, and it tastes like summer wrapped in a golden crust? Well, last August, while rummaging through a basket of peaches at the local farmer’s market, I overheard a conversation that changed how I freeze peaches forever. A friendly vendor, who looked more like a storyteller than a fruit seller, casually mentioned a blanching trick that keeps peaches tasting fresh and pie-ready months later.
Honestly, I was skeptical at first. I mean, freezing fruit always felt like a gamble—soft mush or freezer burn waiting to happen. But that weekend, I gave the blanching method a shot, and let me tell you, it was a game changer. The peaches came out vibrant, firm, and packed with flavor, just begging to be baked into pies that taste like a warm hug from the past.
Maybe you’ve been there—peeling frozen peaches only to find them a soggy mess, or scrambling to get a pie ready last minute without fresh fruit. This method is my little kitchen secret that I’m thrilled to share because it makes freezing peaches for pies so straightforward and reliable. Plus, it saves you from that frantic, last-minute fruit hunt during off-season months. So, if you love making pies (or just enjoy that perfect peach bite), stick around—this guide will walk you through the simple blanching method that keeps your peaches pie-perfect all year round.”
Why You’ll Love This Recipe
After testing countless ways to freeze peaches, the blanching method stands out as my go-to for pie baking. It’s not just about preservation; it’s about keeping that fresh-picked taste alive. Here’s why this technique wins hands down:
- Quick & Easy: The blanching process takes just minutes, making it perfect for a busy afternoon in the kitchen or a weekend prep session.
- Simple Ingredients: No preservatives or fancy additives—just peaches, water, and a pinch of lemon juice to keep everything bright.
- Perfect for Pies: Maintains peach texture and flavor so well your pies come out juicy but not soggy, with a beautiful natural sweetness.
- Crowd-Pleaser: Whether it’s a family gathering or a casual potluck, pies made from these frozen peaches always get plenty of compliments.
- Unbelievably Delicious: The peaches retain their vibrant color and firm texture, so each bite is just as delightful as fresh peaches in season.
This isn’t just another method—it’s the best way I’ve found to freeze peaches without losing the essence that makes peach pies so special. You know that feeling when you want your pie to taste homemade, like it came from a summer orchard? That’s exactly what you get here. Trust me, once you try this, you’ll keep coming back to these peaches for every pie craving.
What Ingredients You Will Need
This recipe uses simple, wholesome ingredients to preserve the peaches’ natural sweetness and texture. Most are pantry staples or easy to find at any grocery store during peach season.
- Fresh ripe peaches (about 4 pounds / 1.8 kg) – Choose firm yet ripe peaches for best results. Avoid overripe fruit that’s too soft.
- Water – For blanching and ice bath.
- Fresh lemon juice (2 tablespoons / 30 ml) – Helps prevent browning and keeps the peaches looking fresh. You can substitute with bottled lemon juice if needed.
- Granulated sugar (optional, about 1/4 cup / 50 g) – If you prefer a lightly sweetened peach for pies, this can be added during packaging.
Ingredient tips: For peaches, I usually pick from local farmers’ markets like the one on Elm Street because the fruit tends to be fresher and more flavorful. If you’re looking for the best texture, small to medium-sized peaches with tight skin work wonders. In summer, sometimes I swap part of the batch for nectarines for a slightly different twist.
Substitutions: If you’re avoiding sugar, feel free to skip it entirely—these peaches freeze beautifully without it. For a dairy-free twist on your pie, just make sure any accompanying crust or toppings align with your preferences.
Equipment Needed
- Large pot – For boiling water to blanch peaches. A heavy-bottomed pot works best to maintain consistent heat.
- Large bowl – Filled with ice water for the ice bath to stop the cooking process immediately.
- Slotted spoon – To easily transfer peaches between boiling water and ice bath without breaking them.
- Knife and cutting board – For peeling, pitting, and slicing peaches.
- Freezer-safe bags or containers – For storing the peaches. I prefer resealable bags because they save space and seal tightly.
- Peeler or paring knife – Optional but handy if you prefer a more precise peach peel removal.
If you don’t have a slotted spoon, a spider strainer or even a slotted spatula works just fine (I once used tongs in a pinch—messy but it did the job!). For budget-friendly freezing, zip-top freezer bags are great, but glass containers work too if you want to avoid plastic.
Preparation Method
- Prepare your peaches: Rinse the peaches under cool water to remove any dirt. Bring a large pot of water to a rolling boil (about 4 quarts / 3.8 liters). While waiting for the water, prepare an ice bath by filling a large bowl with ice and cold water.
- Score the peaches: Use a sharp knife to make a small “X” at the bottom of each peach. This helps loosen the skin after blanching.
- Blanch the peaches: Carefully place 4–6 peaches at a time into the boiling water. Let them boil for exactly 30–60 seconds. You’ll notice the skins start to loosen and wrinkle—that’s your cue!
- Ice bath time: Immediately remove peaches with a slotted spoon and plunge them into the ice bath. This stops the cooking process and cools them quickly.
- Peel the peaches: Once cooled (about 1–2 minutes), the skins should slip off easily. Use your fingers or a paring knife to peel. Don’t fret if a few skins stick—remove as much as you can.
- Slice and pit: Cut peaches in half, remove the pit, and slice into desired thickness for pies (usually about 1/4 to 1/2 inch / 0.6 to 1.3 cm thick).
- Toss with lemon juice: Place sliced peaches in a bowl and drizzle with lemon juice to prevent browning. If you want, sprinkle sugar lightly for a touch of sweetness.
- Pack and freeze: Arrange peach slices in freezer-safe bags or containers, removing as much air as possible to prevent freezer burn. Label with date and freeze flat for easy storage.
Tip: Blanching times can vary depending on peach size and ripeness, so keep a close eye during the first batch. If peaches are too soft after blanching, reduce the time slightly next round. The ice bath step is crucial—it locks in that fresh texture you want for pie baking.
Cooking Tips & Techniques
Blanching peaches might seem straightforward, but a few tricks make all the difference between soggy fruit and perfect pie filling. Let me share what I’ve learned the hard way (and with a few messy kitchen moments!).
- Don’t skip the ice bath. I once left peaches out after blanching and ended up with mushy slices. The ice bath shocks the fruit and keeps texture intact.
- Timing is everything. Over-blanching causes soft peaches that don’t hold up well in pies. Set a timer and stick to it.
- Use lemon juice. It’s a simple step but prevents ugly browning that can make your pie look less appealing.
- Freeze peaches flat. Spreading slices in a single layer on a baking sheet before transferring to bags stops them from sticking together, so you can grab just what you need.
- Choose firm peaches. Riper peaches are sweeter but can get mushy when frozen. A balance is key for pies.
- Practice multitasking. While peaches blanch, prep your tools and ice bath. It keeps the process smooth and less rushed.
Honestly, I learned these tips after a few failed batches that ended up as peach sauce rather than pie filling. But once you get the hang of it, freezing peaches this way becomes second nature and a real time saver.
Variations & Adaptations
Not every peach or pie craving is the same, so here are some ways to tailor this method to your preferences or dietary needs.
- Gluten-free friendly: Freeze peaches using this blanching method and pair with a gluten-free crust for a safe, delicious dessert.
- Flavor twists: Add a sprinkle of cinnamon or nutmeg to the peaches before freezing for a spiced pie filling. I tried this once for a fall-inspired pie and it was a hit.
- Low-sugar option: Skip the sugar and rely on ripe peaches’ natural sweetness. If you want, add a splash of vanilla extract before freezing for subtle flavor enhancement.
- Nectarine blend: Substitute half the peaches with nectarines for a slightly tangier pie filling that still freezes beautifully with this blanching method.
- Alternative freezing: Instead of slicing, freeze peach halves whole after blanching for use in smoothies or compotes.
One variation I always recommend is trying this method with stone fruits other than peaches—plums and apricots respond well to blanching and freeze just as nicely for pies.
Serving & Storage Suggestions
When it’s pie time, thaw the frozen peaches in the refrigerator overnight to keep them firm. If you’re in a rush, you can gently thaw at room temperature for about 30 minutes—just be careful not to let them get too soft.
These peaches make a perfect filling for classic peach pie, cobblers, crisps, or even galettes. Pair your peach pie with vanilla ice cream or a dollop of whipped cream for that ultimate comforting dessert experience.
Store frozen peaches for up to 12 months, but for best flavor, try to use them within 6 months. Over time, peaches might lose some brightness, but the blanching method helps slow that down considerably.
Reheat pies made with frozen peaches at 350°F (175°C) for 20–25 minutes to refresh the texture and warm the filling. Flavors often deepen after a day or two in the fridge, so leftovers can be even better the next day.
Nutritional Information & Benefits
Peaches are a great source of vitamins A and C, important for skin and immune health. They’re naturally low in calories and fat-free, making them a guilt-free treat in any pie.
Using the blanching method means you preserve most of the nutrients while keeping the peaches ready for baking. This recipe is gluten-free if you pair it with the right crust, and naturally low in sugar if you skip the optional granulated sugar.
From a wellness perspective, homemade peach pies made with these frozen peaches let you enjoy seasonal fruit all year, reducing reliance on processed desserts and added preservatives.
Conclusion
Freezing peaches for pies doesn’t have to be complicated or messy. This blanching method keeps your fruit fresh, flavorful, and ready to create those warm, comforting pies that bring everyone to the table. I love this recipe because it saves time without sacrificing quality—plus, it’s a great way to enjoy summer peaches long after the season ends.
Feel free to tweak the sweetness or spice level to suit your taste buds. Honestly, once you try this, your peach pies will never be the same. I’d love to hear how you make it your own—drop a comment or share your favorite pie memories!
Happy baking!
FAQs
How long should I blanch peaches before freezing?
Blanch peaches for 30 to 60 seconds, depending on their size and ripeness. The skin should start to loosen but the fruit should not be soft.
Can I freeze peaches without blanching?
You can, but blanching helps preserve texture and color, making peaches much better for pies after freezing.
Should I peel peaches before or after freezing?
Peel peaches right after blanching, before freezing. The skin will slip off easily after blanching, and this prevents tough skins in your pie.
How do I prevent peach slices from sticking together in the freezer?
Freeze peach slices in a single layer on a baking sheet first, then transfer to bags. This stops them from clumping together.
Can I use frozen peaches directly in pie recipes?
Yes! Just thaw them overnight in the fridge or gently at room temperature before using. They bake beautifully and retain good texture when prepared with this blanching method.
Pin This Recipe!
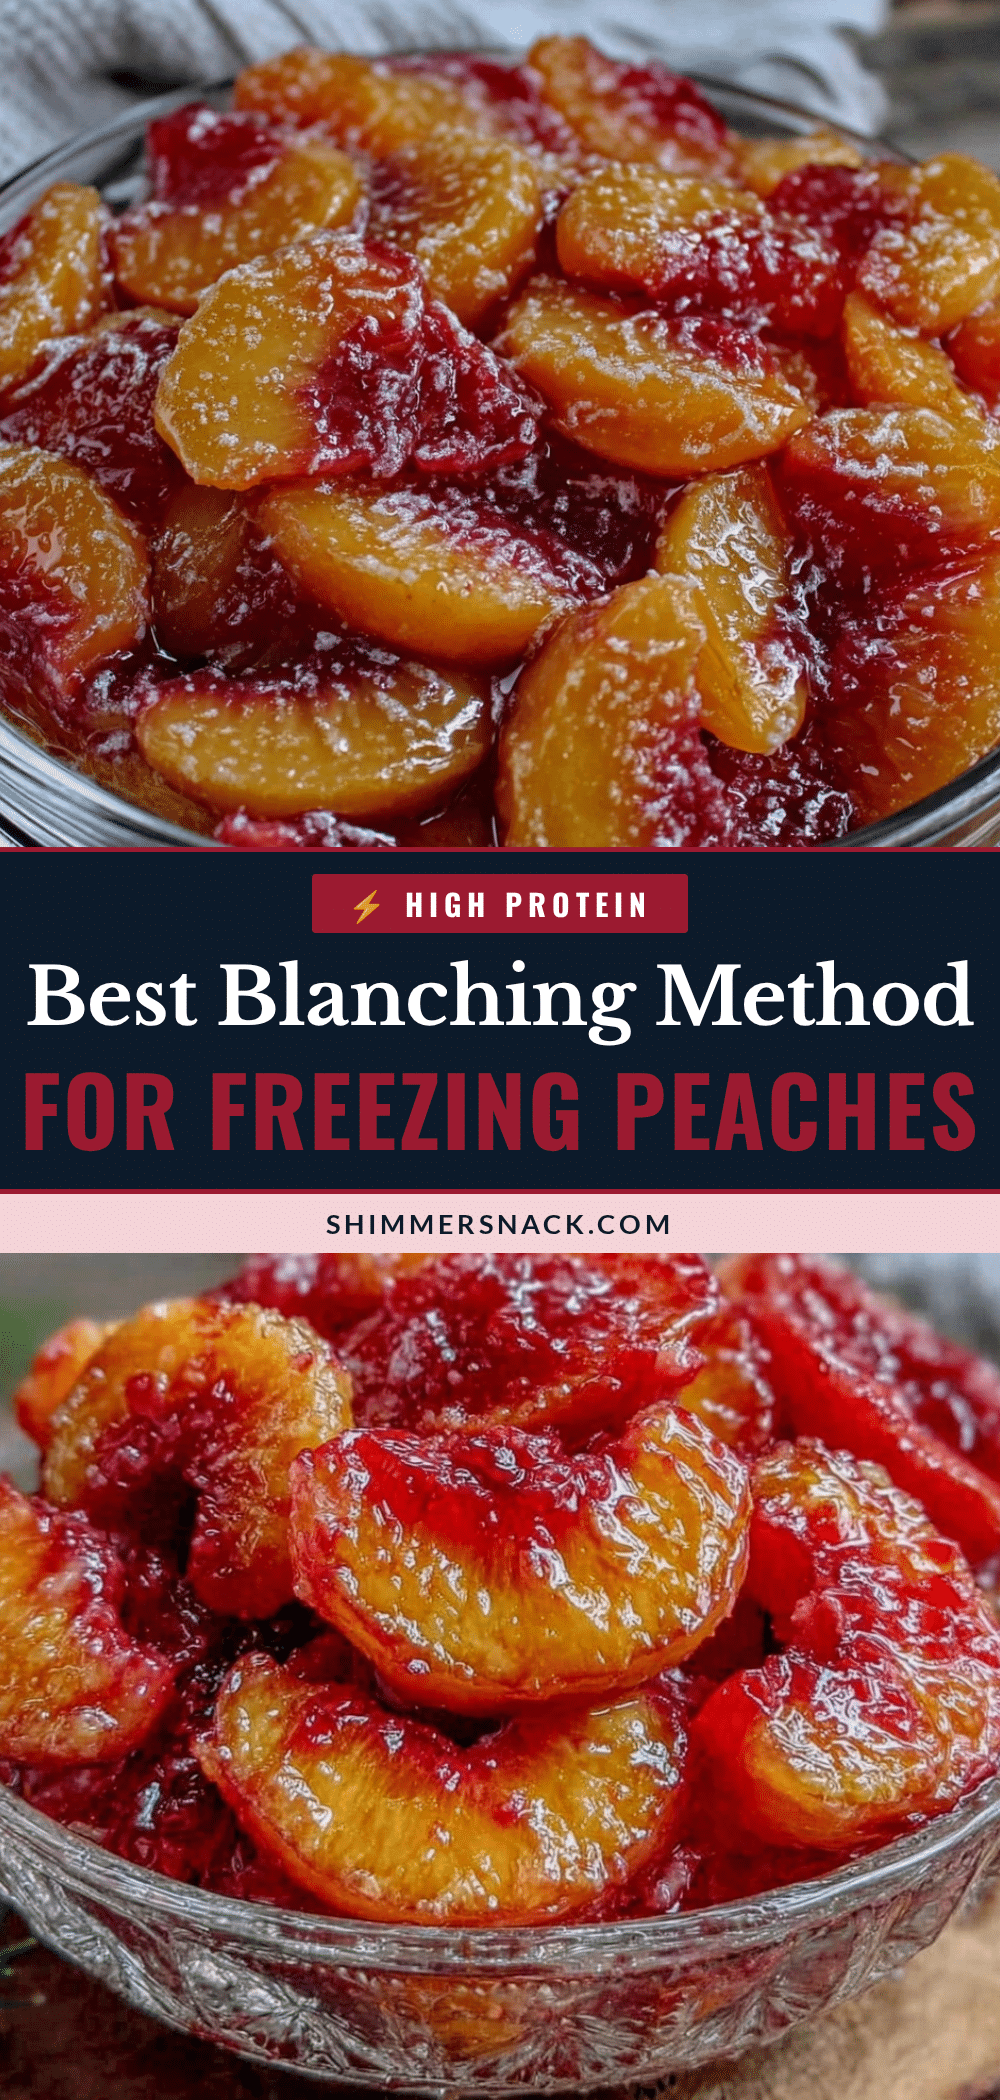
Best Freezing Peaches for Pies Using Easy Blanching Method Guide

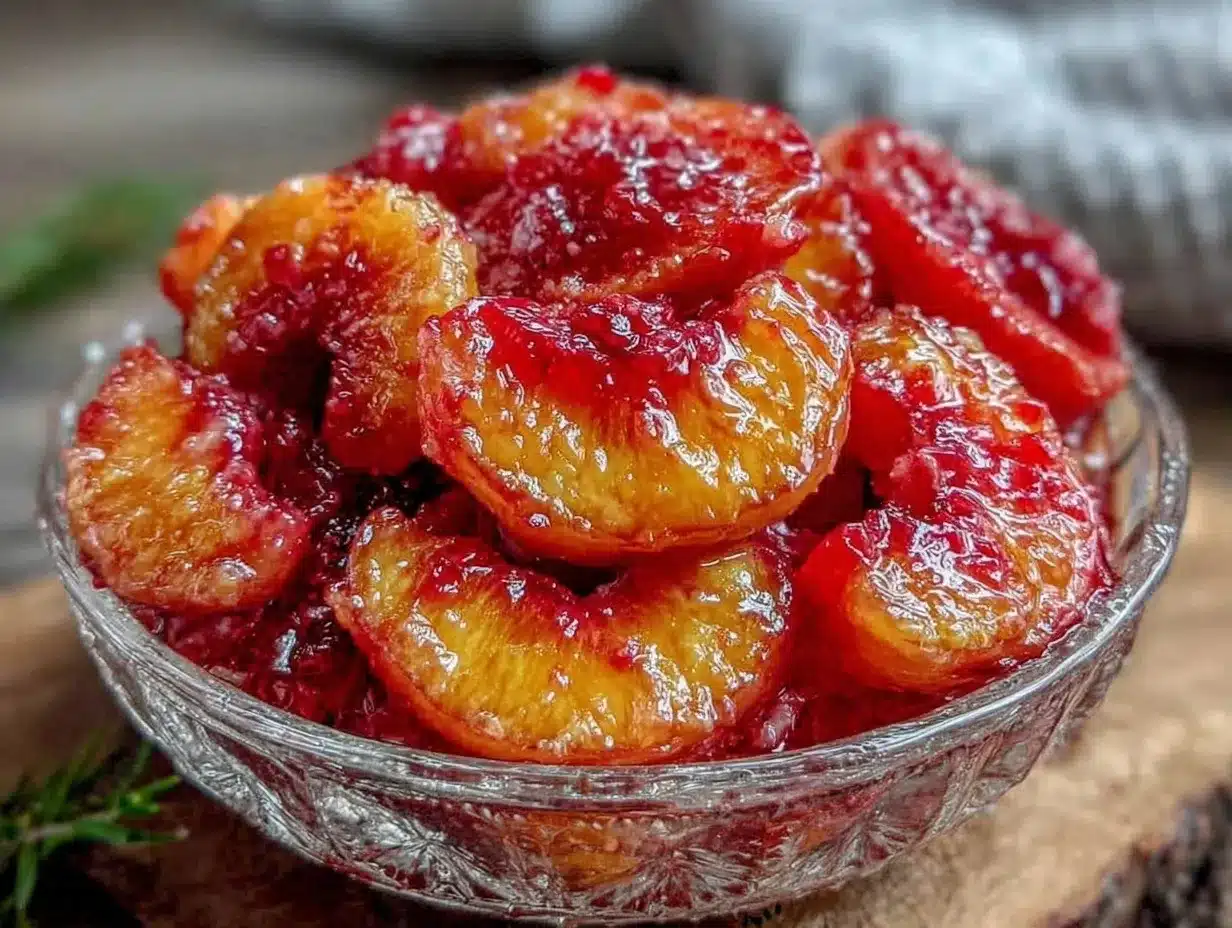
This guide shows how to freeze peaches using a blanching method that preserves their fresh-picked taste, texture, and flavor, making them perfect for pies all year round.
- Prep Time: 15 minutes
- Cook Time: 5 minutes
- Total Time: 20 minutes
- Yield: About 4 cups sliced peaches (approximate, suitable for multiple pies) 1x
- Category: Preserving / Freezing
- Cuisine: American
Ingredients
- 4 pounds fresh ripe peaches (choose firm yet ripe peaches)
- Water (for blanching and ice bath)
- 2 tablespoons fresh lemon juice (or bottled lemon juice)
- 1/4 cup granulated sugar (optional)
Instructions
- Rinse the peaches under cool water to remove any dirt. Bring a large pot of water to a rolling boil (about 4 quarts). Prepare an ice bath by filling a large bowl with ice and cold water.
- Use a sharp knife to make a small “X” at the bottom of each peach to loosen the skin after blanching.
- Carefully place 4–6 peaches at a time into the boiling water. Boil for 30–60 seconds until skins start to loosen and wrinkle.
- Immediately remove peaches with a slotted spoon and plunge them into the ice bath to stop cooking.
- Once cooled (about 1–2 minutes), peel the skins off using fingers or a paring knife.
- Cut peaches in half, remove pits, and slice into 1/4 to 1/2 inch thick slices.
- Place sliced peaches in a bowl and drizzle with lemon juice to prevent browning. Optionally, sprinkle with sugar.
- Pack peach slices into freezer-safe bags or containers, removing as much air as possible. Label with date and freeze flat.
Notes
Do not skip the ice bath to preserve texture. Blanch peaches for 30-60 seconds depending on size and ripeness. Freeze peach slices flat on a baking sheet before bagging to prevent sticking. Use lemon juice to prevent browning. Adjust blanching time if peaches become too soft. Optional sugar can be added for sweetness.
Nutrition
- Serving Size: 1/2 cup sliced peach
- Calories: 30
- Sugar: 7
- Carbohydrates: 8
- Fiber: 1.5
- Protein: 0.5
Keywords: freezing peaches, blanching peaches, peach pie filling, preserving peaches, peach freezing method, pie peaches, summer fruit preservation


