Love this? Save it for later!
Share the inspiration with your friends
Introduction
“You ever have one of those days when the power flickers, and suddenly your whole planned meal feels like it’s slipping through your fingers? Well, last August, that happened just as I was about to start making salsa. I figured, why not try canning it myself while the tomatoes were still at their peak? Honestly, I wasn’t sure if it would turn out safe or just a big sticky mess.”
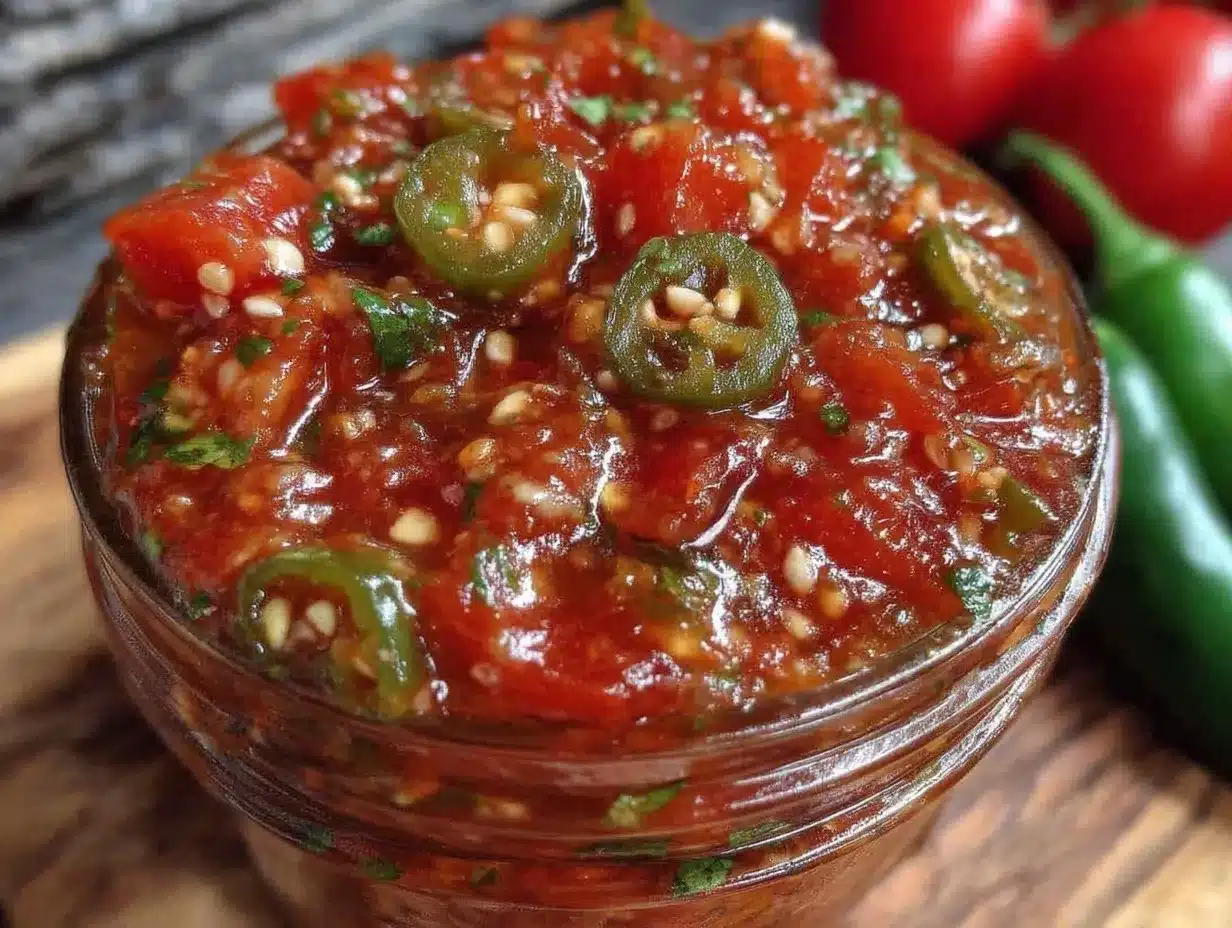
Turns out, that spontaneous decision led me to discover this easy homemade canning salsa recipe that’s perfect for safe preserving. I still remember the slightly chaotic kitchen—jars clinking, chopping boards scattered, and a splash of salsa on the floor (don’t ask how). But the result? A jarred salsa with a fresh, vibrant kick that lasted through the winter.
Maybe you’ve been there — staring down a mountain of ripe tomatoes wondering how to enjoy them past the season without buying store-bought stuff loaded with who-knows-what. This recipe came to me like a lifesaver, perfect for anyone who wants to keep homemade flavor without fussing over complicated steps. Let me tell you, it’s straightforward enough that even the most hesitant home canner can feel confident, and the taste? That’s a whole different story.
Why You’ll Love This Recipe
After testing various salsa recipes and canning methods, I landed on this one that really hits the sweet spot between simplicity and flavor. Here’s why this easy homemade canning salsa recipe might just become your go-to:
- Quick & Easy: Comes together in about 45 minutes from chopping to jar-filling—ideal for those summer afternoons when tomatoes are begging for attention.
- Simple Ingredients: You probably already have most of these in your pantry or garden, so no last-minute store runs.
- Perfect for Gifting and Sharing: Whether it’s a holiday gift or a neighborly thank you, homemade salsa is always a hit.
- Crowd-Pleaser: Balances just the right amount of heat and tang; even picky eaters ask for seconds.
- Safe Preserving Method: Tested with traditional water bath canning to keep your salsa fresh and safe for months.
What makes this salsa stand out? It’s the balance of acidity and seasoning that keeps it safe and tasty, plus a little trick I picked up from a local canning expert that helps maintain that fresh salsa bite instead of turning it into a bland sauce. This isn’t just any salsa you toss in a jar—it’s my best version, the one I keep coming back to year after year.
What Ingredients You Will Need
This salsa recipe relies on fresh, wholesome ingredients to deliver bold flavor with a comfortable, homemade feel. The ingredients are mostly pantry staples with a few fresh essentials, making it super accessible.
- For the Salsa Base:
- 6 cups ripe tomatoes, peeled and chopped (about 3 pounds / 1.4 kg)
- 2 cups chopped onions (about 2 medium onions)
- 1 cup chopped green bell pepper (1 medium)
- 1 cup chopped red bell pepper (1 medium)
- 4 cloves garlic, minced
- Seasonings & Acidity:
- 2 jalapeño peppers, seeded and finely chopped (add more for heat)
- 1 tablespoon salt (use canning or pickling salt for best results)
- 2 teaspoons ground cumin
- 1 teaspoon black pepper
- 1/4 cup apple cider vinegar (5% acidity, critical for safe preserving)
- 1 tablespoon sugar (balances acidity)
- Optional Fresh Additions:
- 1/4 cup fresh cilantro, chopped (adds brightness)
- 1 teaspoon smoked paprika (for a subtle smoky depth)
Tip: I prefer using Roma tomatoes for their low moisture, but any firm, ripe tomato works well. For vinegar, I recommend Bragg’s apple cider vinegar to maintain that crisp acidity essential for safe canning. If you want a milder salsa, reduce the jalapeños or swap with a milder pepper like Anaheim.
Equipment Needed
Getting your kitchen ready for canning salsa doesn’t require fancy gadgets, but a few tools will definitely make the process smoother. Here’s what you’ll want on hand:
- Large stainless steel pot or canner (a 16-quart stockpot works great for water bath canning)
- Glass canning jars (pint or half-pint size) with new lids and bands
- Jar lifter (to safely remove hot jars from boiling water)
- Wide-mouth funnel (makes filling jars less messy)
- Sharp chef’s knife and cutting board (a sturdy board helps with chopping peppers and tomatoes)
- Large mixing bowl
- Wooden spoon or heat-resistant spatula
- Measuring cups and spoons for precise seasoning
I started canning with just a big pot and tongs, but investing in a jar lifter and funnel really speeds things up and keeps your hands safe. Plus, if you’re on a budget, you can find these tools online or at local kitchen supply stores without breaking the bank. Just make sure your jars are free of cracks and clean before use!
Preparation Method
- Prepare Your Jars: Place clean jars in the boiling water canner for 10 minutes to sterilize them. Keep jars hot until ready to fill (about 30 minutes). This prevents jar breakage when filling with hot salsa.
- Prep the Produce: Peel tomatoes by blanching in boiling water for 30 seconds and then plunging into ice water; skins should slip off easily. Chop tomatoes, onions, bell peppers, jalapeños, and garlic finely. Use about 3 pounds (1.4 kg) of tomatoes for 6 cups chopped.
- Cook the Salsa: In a large pot, combine tomatoes, onions, bell peppers, jalapeños, and garlic. Add salt, cumin, black pepper, apple cider vinegar, and sugar. Bring to a boil over medium-high heat, stirring occasionally.
- Simmer: Reduce heat to medium-low and let simmer for 15 minutes, stirring every few minutes to prevent sticking. You want the mixture to thicken slightly but remain chunky. It should smell bright and fresh, with a hint of heat from the jalapeños.
- Add Fresh Ingredients: Stir in chopped cilantro and smoked paprika if using. Cook for an additional 2 minutes, then remove from heat.
- Fill the Jars: Using the wide-mouth funnel, ladle hot salsa into sterilized jars, leaving 1/2-inch (1.3 cm) headspace. Wipe rims clean with a damp cloth to ensure a good seal.
- Seal and Process: Place new lids and screw bands on jars fingertip-tight. Place jars in the boiling water canner, ensuring they are covered by at least 1 inch (2.5 cm) of water. Process pint jars for 15 minutes and half-pint jars for 10 minutes at a rolling boil.
- Cool Down: Remove jars carefully with jar lifter and place on a towel to cool for 12-24 hours. You should hear the satisfying “pop” of lids sealing. Check seals by pressing the lid center; it should not flex.
- Store: Label jars with the date and store in a cool, dark place. Salsa will taste best after 2 weeks of resting and can last up to a year when sealed properly.
Note: If you’re new to canning, don’t rush the simmering step — it’s crucial for the flavor and texture. Also, never skip the water bath processing; it’s what makes your salsa safe to store at room temperature.
Cooking Tips & Techniques
Getting this salsa spot-on takes some little tricks I learned the hard way. First, always use fresh, firm tomatoes; watery or overly ripe ones can make the salsa too thin. When peeling tomatoes, the blanch-and-shock method is foolproof, but if you miss some skins, it won’t ruin the batch—just chop them finely.
One common mistake is under-processing the jars. I remember my first batch where I skipped the full 15 minutes because I was in a hurry. Big mistake! The lids didn’t seal properly, and I had to toss half the salsa. Trust me, patience pays off here.
Another tip: don’t overcrowd your pot when simmering; salsa needs space to reduce and thicken. Stirring every few minutes keeps it from sticking, but be gentle to keep the texture chunky, not mushy.
When chopping peppers, wear gloves if you’re sensitive to heat, and avoid touching your face. Also, if you want less heat, remove the seeds and membranes. Season gradually and taste as you go—the flavors should balance between tangy, spicy, and savory.
Finally, if you’re multitasking, prep all ingredients before heating the pot to avoid overcooking the veggies. This also helps keep the salsa fresh and vibrant.
Variations & Adaptations
This easy homemade canning salsa recipe is flexible enough to suit lots of tastes and dietary needs. Here are some ideas I’ve tried or recommend:
- Low-Sodium Version: Cut back on salt and add extra herbs like oregano and basil to boost flavor without sodium overload.
- Mild Salsa: Skip the jalapeños or swap for a sweet bell pepper for a kid-friendly version that still tastes fresh.
- Chunky Fruit Salsa: Add 1 cup of finely chopped peaches or mangoes for a sweet twist that pairs wonderfully with grilled meats.
- Roasted Salsa: Roast the tomatoes and peppers before chopping for a smoky, deeper flavor profile. Adjust vinegar to balance the sweetness.
- Vinegar Swap: Use white distilled vinegar if apple cider isn’t available, but keep the acidity at 5% for safety.
I once made a batch with smoked chipotle peppers instead of jalapeños—my husband loved the smoky heat combo, and it was a hit at our neighborhood barbecue. Feel free to experiment and find your perfect salsa vibe!
Serving & Storage Suggestions
This salsa shines best served chilled or at room temperature. Spoon it over tortilla chips, tacos, grilled chicken, or even scrambled eggs for a fresh kick. I like to keep a jar in the fridge for quick snacks and another sealed jar in the pantry for last-minute entertaining.
Store sealed jars in a cool, dark place; a pantry or basement is ideal. Once opened, refrigerate and use within 2 weeks to enjoy the freshest taste. Reheat gently if you prefer warm salsa, but honestly, it’s perfect cold straight from the fridge.
Over time, the flavors meld and deepen, so don’t be surprised if your salsa tastes even better after a week. Just give it a good stir before serving to redistribute the spices and juices.
Nutritional Information & Benefits
This salsa is naturally low in calories (about 25 calories per 2-tablespoon serving) and packed with vitamin C from fresh tomatoes and peppers. The garlic and onions add immune-boosting compounds, while the vinegar supports digestion.
It’s gluten-free, dairy-free, and vegan, making it a versatile condiment for many diets. Just watch the salt if you’re monitoring sodium intake. I appreciate that this homemade version skips preservatives and artificial colors found in many store brands.
Conclusion
This easy homemade canning salsa recipe offers a simple, safe, and delicious way to preserve the summer’s bounty. Whether you’re a first-time canner or a seasoned pro, this recipe has the right balance of flavor and technique to keep your pantry stocked with vibrant salsa all year long.
I love how every jar feels like a little taste of sunny days even in the middle of winter. It’s personal, satisfying, and honestly, pretty fun once you get the hang of it. So go ahead, customize it to your liking, and let me know how your batch turns out—I’m always curious about new twists!
If you try this recipe, drop a comment below or share your version. Let’s keep the salsa tradition alive and well!
FAQs
How long does homemade canned salsa last?
When properly processed and sealed, canned salsa can last up to one year stored in a cool, dark place. Once opened, refrigerate and use within two weeks.
Can I use frozen tomatoes for canning salsa?
Fresh tomatoes are best for texture and flavor, but you can use thawed frozen tomatoes if necessary. Just drain excess liquid before cooking to avoid watery salsa.
Is it safe to can salsa with low acid ingredients?
Yes, but only if you follow a tested recipe that includes enough vinegar or lemon juice to ensure safe acidity. This recipe uses apple cider vinegar at 5% acidity, which is essential for safe preserving.
Can I double the recipe for larger batches?
Absolutely! Just increase ingredients proportionally and process jars in batches to maintain safety and consistent cooking.
What’s the best way to peel tomatoes quickly?
Score the bottom of tomatoes with an “X,” blanch in boiling water for 30 seconds, then transfer to ice water. The skins should slip off easily with a gentle tug.
By the way, if you enjoy preserving fresh flavors, you might also appreciate the techniques used in my crispy garlic chicken recipe or the simple approach to homemade lemonade for summer refreshment.
Pin This Recipe!
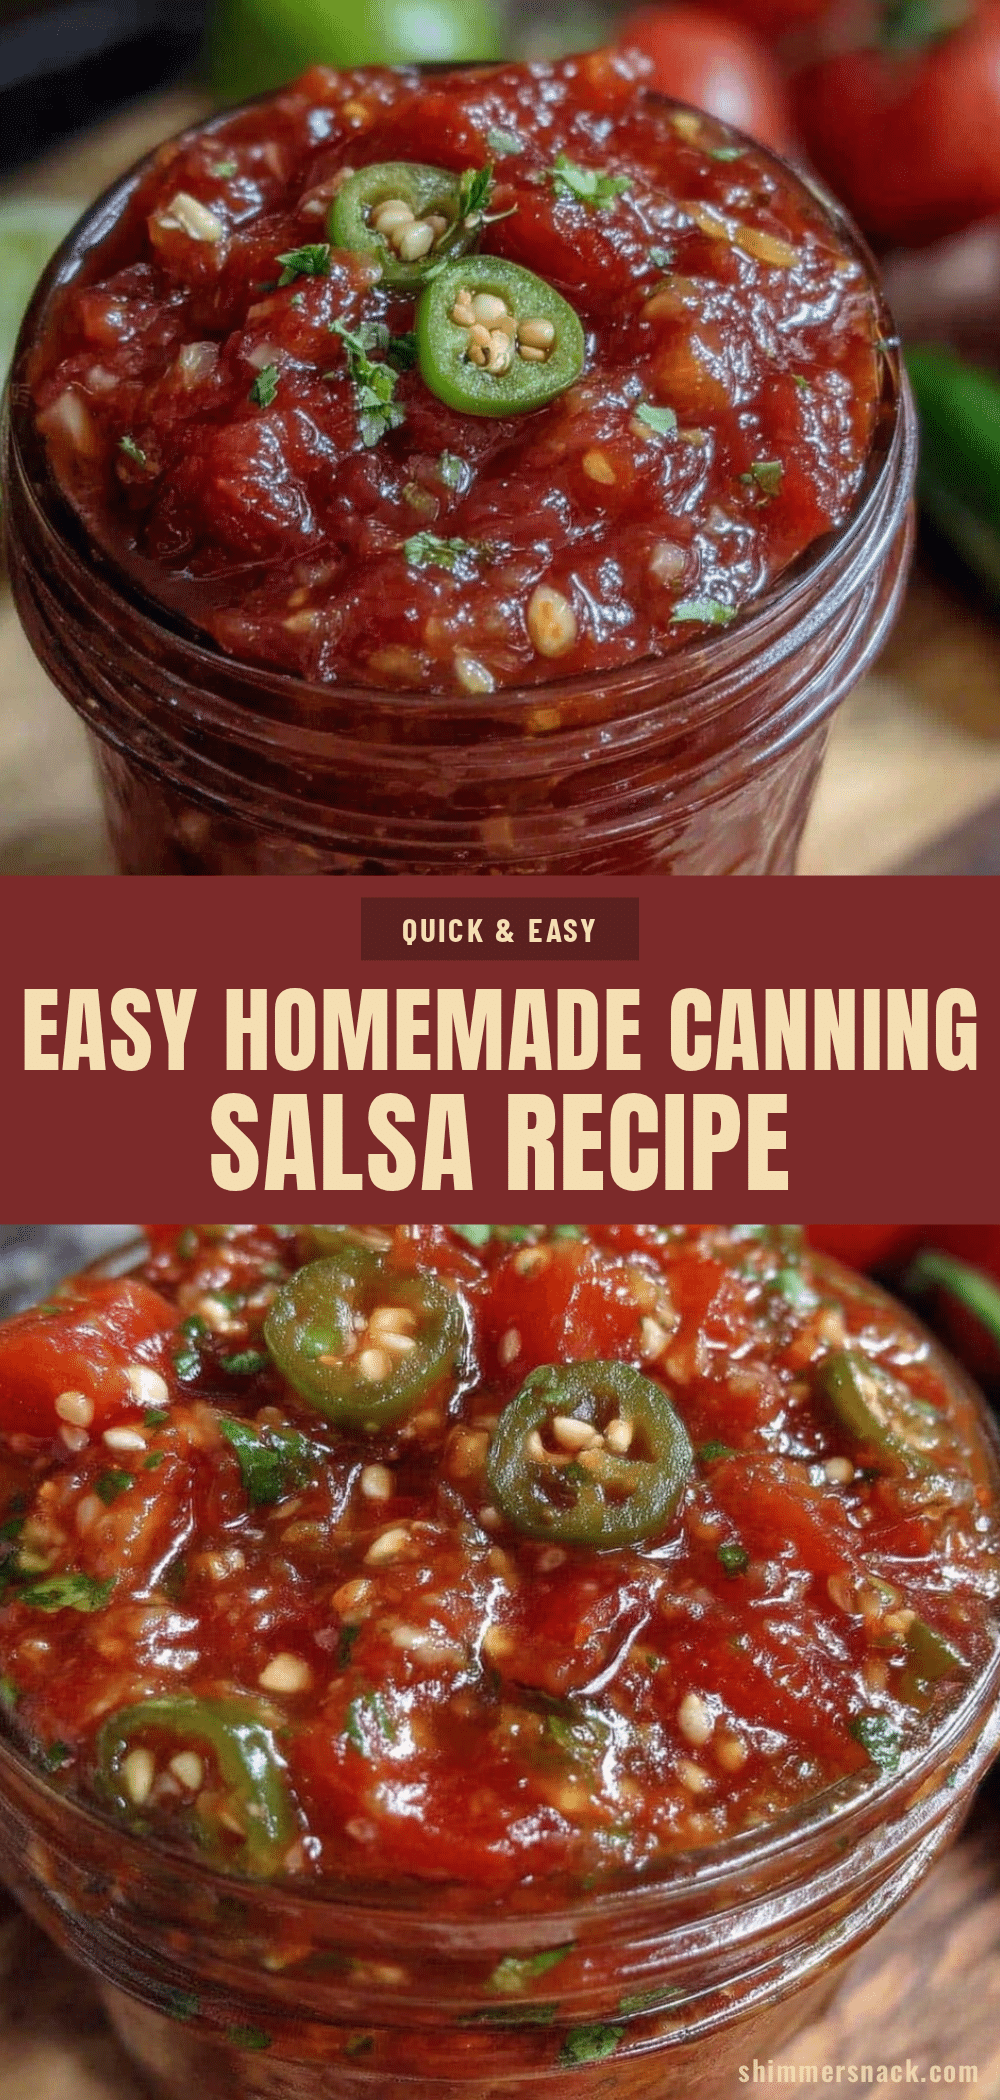
Easy Homemade Canning Salsa Recipe for Perfect Safe Preserving
A straightforward and safe homemade salsa recipe perfect for canning and preserving fresh summer tomatoes with a vibrant, balanced flavor.
- Prep Time: 15 minutes
- Cook Time: 30 minutes
- Total Time: 45 minutes
- Yield: About 6 pints 1x
- Category: Condiment
- Cuisine: Mexican
Ingredients
- 6 cups ripe tomatoes, peeled and chopped (about 3 pounds / 1.4 kg)
- 2 cups chopped onions (about 2 medium onions)
- 1 cup chopped green bell pepper (1 medium)
- 1 cup chopped red bell pepper (1 medium)
- 4 cloves garlic, minced
- 2 jalapeño peppers, seeded and finely chopped (add more for heat)
- 1 tablespoon salt (use canning or pickling salt for best results)
- 2 teaspoons ground cumin
- 1 teaspoon black pepper
- 1/4 cup apple cider vinegar (5% acidity, critical for safe preserving)
- 1 tablespoon sugar (balances acidity)
- Optional: 1/4 cup fresh cilantro, chopped (adds brightness)
- Optional: 1 teaspoon smoked paprika (for a subtle smoky depth)
Instructions
- Prepare Your Jars: Place clean jars in the boiling water canner for 10 minutes to sterilize them. Keep jars hot until ready to fill (about 30 minutes).
- Prep the Produce: Peel tomatoes by blanching in boiling water for 30 seconds and then plunging into ice water; skins should slip off easily. Chop tomatoes, onions, bell peppers, jalapeños, and garlic finely.
- Cook the Salsa: In a large pot, combine tomatoes, onions, bell peppers, jalapeños, and garlic. Add salt, cumin, black pepper, apple cider vinegar, and sugar. Bring to a boil over medium-high heat, stirring occasionally.
- Simmer: Reduce heat to medium-low and let simmer for 15 minutes, stirring every few minutes to prevent sticking. The mixture should thicken slightly but remain chunky.
- Add Fresh Ingredients: Stir in chopped cilantro and smoked paprika if using. Cook for an additional 2 minutes, then remove from heat.
- Fill the Jars: Using a wide-mouth funnel, ladle hot salsa into sterilized jars, leaving 1/2-inch (1.3 cm) headspace. Wipe rims clean with a damp cloth to ensure a good seal.
- Seal and Process: Place new lids and screw bands on jars fingertip-tight. Place jars in the boiling water canner, ensuring they are covered by at least 1 inch (2.5 cm) of water. Process pint jars for 15 minutes and half-pint jars for 10 minutes at a rolling boil.
- Cool Down: Remove jars carefully with jar lifter and place on a towel to cool for 12-24 hours. Check seals by pressing the lid center; it should not flex.
- Store: Label jars with the date and store in a cool, dark place. Salsa will taste best after 2 weeks of resting and can last up to a year when sealed properly.
Notes
Use Roma tomatoes for lower moisture. Always use apple cider vinegar with 5% acidity for safe preserving. Do not skip the water bath processing step to ensure safety. Wear gloves when handling jalapeños if sensitive to heat. Adjust heat by removing seeds or swapping peppers. Let salsa rest for 2 weeks before consuming for best flavor.
Nutrition
- Serving Size: 2 tablespoons (about
- Calories: 25
- Sugar: 4
- Sodium: 400
- Carbohydrates: 6
- Fiber: 1
- Protein: 1
Keywords: homemade salsa, canning salsa, preserving tomatoes, easy salsa recipe, safe canning, water bath canning, fresh salsa, salsa recipe