Love this? Save it for later!
Share the inspiration with your friends
Introduction
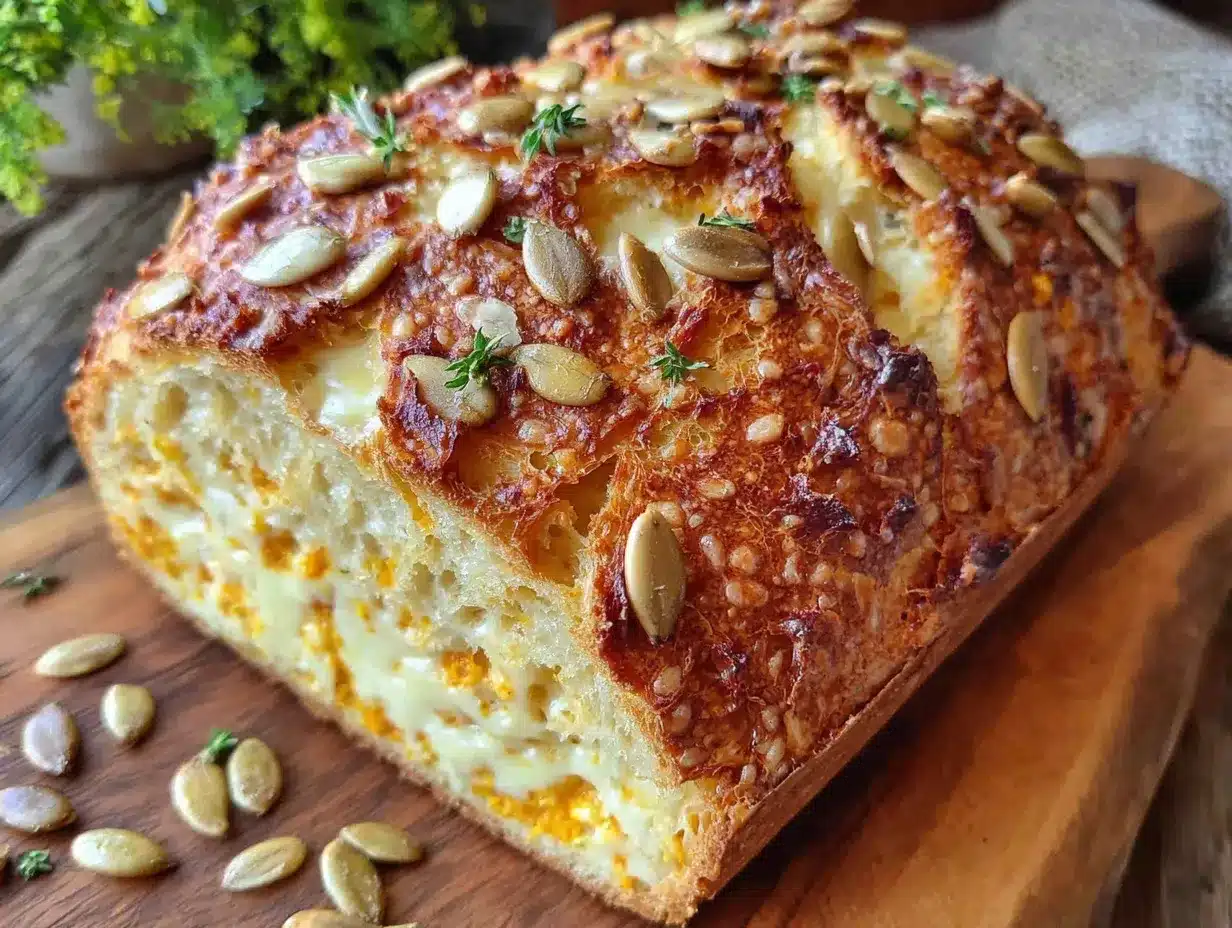
There used to be a tiny bakery tucked away on a quiet street in Portland’s Pearl District that made the most unforgettable pumpkin sourdough bread I’ve ever tasted. When they shuttered their doors one chilly October, I honestly felt a little heartbroken. It wasn’t just about the bread itself — it was the way the crust crackled under your fingers, the subtle sweetness of pumpkin folded into the tangy dough, and that toasted pepita crunch that made every bite a surprise. After nearly a dozen tries—some too dense, others too bland—I finally got it right in my own kitchen. Let me tell you, the warmth spreading through my oven that day was like reclaiming a piece of fall itself.
Maybe you’ve been there, chasing a flavor memory that refuses to fade. I mean, I even cracked a bowl (classic me!) and got flour dust everywhere while trying to perfect this recipe. But the result? Crisp, golden crust bursting with nutty pepitas, a tender crumb rich with pumpkin’s natural moisture, and a sourdough tang that’s just right. This crispy pumpkin sourdough bread with toasted pepitas crust is the recipe I keep making when I want that cozy, autumn bite that sticks with you. Honestly, it’s more than bread—it’s a little seasonal ritual that turns any afternoon into an occasion.
Why You’ll Love This Recipe
From my countless baking sessions and taste tests, here’s why this crispy pumpkin sourdough bread recipe stands out and why you’ll want it in your fall baking repertoire:
- Quick & Easy: While sourdough usually demands patience, this recipe fits well into a weekend baking schedule, with active hands-on time under 2 hours and plenty of room to relax while it ferments.
- Simple Ingredients: You probably already have the basics like flour, pumpkin puree, and starter on hand—no need for fancy or hard-to-find items.
- Perfect for Fall Gatherings: Whether it’s a cozy brunch or a holiday table centerpiece, this bread delivers seasonal vibes and makes a memorable impression.
- Crowd-Pleaser: Kids love the subtle sweetness, and adults appreciate the complex sourdough flavor mingled with toasted pepitas.
- Unbelievably Delicious: The crispy crust with toasted pepitas adds a satisfying texture contrast to the soft, moist crumb that carries pumpkin’s warmth and earthiness.
What makes this bread different? The secret is in the pepita crust—lightly toasted before baking, it creates a nutty, crispy shell that’s addictive. Plus, blending in pumpkin puree keeps the crumb tender and gives a natural sweetness that balances sourdough’s tang. I’ve tried versions with plain seeds, but nothing beats that pepita crunch. And honestly, this bread isn’t just fall-themed; it’s a loaf that makes you pause, close your eyes, and savor that perfect bite. It’s the kind of recipe that sticks around long after the season’s over.
What Ingredients You Will Need
This crispy pumpkin sourdough bread uses straightforward, wholesome ingredients that work together to give you bold flavor and a satisfying texture without fuss.
- For the Dough:
- Unbleached bread flour – 500g (about 4 cups) (I prefer King Arthur for consistent texture)
- Active sourdough starter – 100g (room temperature, bubbly)
- Pumpkin puree – 150g (about 2/3 cup, homemade or canned, no sugar added)
- Water – 250ml (1 cup), lukewarm
- Sea salt – 10g (about 2 tsp)
- Honey or maple syrup – 1 tbsp (optional, adds subtle sweetness)
- For the Pepita Crust:
- Raw pepitas (hulled pumpkin seeds) – 80g (about 1/2 cup)
- Olive oil – 1 tbsp (to lightly coat seeds before toasting)
- Flour for dusting – as needed
A few quick notes: Look for firm, fresh pumpkin puree (I find homemade tastes best, but canned works in a pinch). Your sourdough starter should be active and bubbly for best rise. If you want a gluten-free version, swapping bread flour for almond flour won’t work here, but you can try a gluten-free sourdough base from my gluten-free sourdough bread recipe as a starting point. For dairy-free, the recipe is naturally free of dairy, so you’re set!
Equipment Needed
To make this crispy pumpkin sourdough bread, you’ll want a few trusty tools on hand:
- Mixing Bowls: Large and medium-sized for dough mixing and proofing. I use ceramic bowls because they hold warmth well.
- Dutch Oven or Heavy Oven-Safe Pot: Essential for that perfect steam environment to get a crispy crust. If you don’t have one, a baking stone with a water tray works too.
- Dough Scraper: A plastic or metal bench scraper helps with folding and transferring sticky dough.
- Kitchen Scale: Accurate measurements are key to sourdough success—trust me, I learned the hard way!
- Proofing Basket (Banneton): Optional, but it lends a beautiful shape and texture to your loaf. You can use a bowl lined with a floured kitchen towel as a budget-friendly alternative.
- Pastry Brush: For coating pepitas with olive oil before toasting.
Keep your Dutch oven clean and dry for best results—rust can sneak in if moisture lingers. If you’re new to sourdough baking, investing in a kitchen scale and a bench scraper will pay off big time. Honestly, these tools make the process smoother and less messy.
Preparation Method
- Activate Your Starter: About 4-6 hours before baking, feed your sourdough starter and let it get bubbly and active at room temperature (around 75°F/24°C). This ensures a strong rise.
- Prepare the Pepita Crust: Preheat your oven to 350°F (175°C). Toss pepitas with olive oil on a baking sheet and toast for 8-10 minutes until fragrant and lightly browned. Set aside to cool.
- Mix the Dough: In a large bowl, combine bread flour and salt. In a separate bowl, whisk together pumpkin puree, lukewarm water, honey (if using), and the active sourdough starter. Pour wet ingredients into the flour mixture and stir with a wooden spoon until a rough dough forms. It will be sticky, and that’s okay. Let it rest for 30 minutes (autolyse stage) to hydrate the flour.
- Stretch and Fold: Every 30 minutes for the next 2 hours, perform 4 sets of stretch-and-folds: wet your hands, lift a section of dough, stretch it up, and fold it over the rest. This builds gluten strength without kneading.
- First Rise (Bulk Fermentation): Cover the bowl with a damp towel or plastic wrap and let the dough ferment at room temperature for 4-6 hours, or until it has risen noticeably and feels airy. If your kitchen is cold, this can take longer.
- Shape the Dough: Lightly flour your work surface. Turn the dough out gently — it will be soft and a bit sticky. Flatten it into a rectangle, then fold the edges toward the center, shaping it into a round loaf. Transfer the dough seam-side up into a well-floured banneton or bowl lined with a floured towel.
- Second Rise (Proofing): Cover and let proof for 1.5–2 hours at room temperature or refrigerate overnight (8-12 hours) for a deeper sour flavor and easier handling.
- Preheat Oven and Dutch Oven: Place your Dutch oven with its lid inside your oven and preheat to 475°F (245°C) for at least 30 minutes before baking.
- Prepare the Pepita Crust on the Dough: Gently invert the dough onto parchment paper so the seam is down. Brush the surface lightly with water or olive oil, then press the toasted pepitas evenly onto the top and sides. This sticky layer helps the pepitas adhere and form that crispy crust.
- Bake the Bread: Carefully remove the hot Dutch oven from the oven. Using the parchment paper, lift the dough and place it inside. Cover with the lid and bake for 20 minutes.
- Finish Baking: Remove the lid and bake another 20-25 minutes until the crust is deep golden and crisp. The bread should sound hollow when tapped.
- Cool Completely: Transfer the bread to a wire rack and cool for at least 2 hours before slicing. This step is crucial to set the crumb and prevent gummy texture.
Pro tip: If your dough feels wetter than expected, dust your hands with flour before folding to avoid sticking. Also, don’t rush the cooling—cutting too soon can ruin the texture. I’ve learned this the hard way after an impatient midnight snack attempt!
Cooking Tips & Techniques
To get your crispy pumpkin sourdough bread just right, here are some tips I’ve picked up along the way:
- Starter Strength: Your sourdough starter should be bubbly and active. If it’s sluggish, your bread won’t rise well. Feed it 4-6 hours before baking.
- Hydration Balance: Pumpkin puree adds moisture, so reduce water slightly if your dough feels too wet. Aim for a tacky but manageable dough.
- Stretch & Fold: This technique replaces kneading and strengthens gluten gently. Be patient, it makes a huge difference in crumb structure.
- Steam Is Key: Baking in a Dutch oven traps steam, creating a crispy crust. Don’t skip this step unless you have an alternative steam method.
- Toasting Pepitas: Toast them just until fragrant. Over-toasting can add bitterness.
- Don’t Skip Cooling: Let bread cool fully before slicing to keep the crumb from getting gummy.
One time, I forgot to preheat the Dutch oven properly, and the crust came out pale and soft. Lesson learned: patience with oven prep pays off big time! Also, multitask by toasting pepitas during the dough’s first rise to save time.
Variations & Adaptations
This bread is pretty versatile—here are some ways to make it your own or fit different diets:
- Seed Swap: Use toasted sunflower or sesame seeds instead of pepitas for a different nutty crunch.
- Spiced Version: Add 1 tsp cinnamon and 1/2 tsp nutmeg into the dough for a warm autumn twist.
- Gluten-Free Option: Try a gluten-free sourdough starter and blend almond and oat flours, but note the texture will differ significantly.
- Dairy-Free & Vegan: This recipe is naturally free of dairy and eggs—just substitute honey with maple syrup for strict vegan.
- Whole Grain Boost: Replace 100g of bread flour with whole wheat for a nuttier flavor and heartier crumb.
I once added finely chopped rosemary and roasted garlic to the dough, which was a delightful savory surprise. It paired beautifully with a sharp cheddar spread. Feel free to experiment with flavors that speak to you!
Serving & Storage Suggestions
This crispy pumpkin sourdough bread is best served at room temperature to showcase its texture and flavor. Slice it thick for toasts or sandwiches, or thin for a crunchy accompaniment to soups and salads.
Pair it with whipped herb butter, aged cheeses, or a drizzle of honey for a simple, satisfying snack. A warm cup of spiced chai or coffee makes a cozy companion.
To store, wrap the cooled loaf in a clean kitchen towel and keep at room temperature for up to 3 days. For longer storage, slice and freeze in a sealed bag for up to 3 months.
When reheating, toast slices directly or warm in a 350°F (175°C) oven wrapped in foil for 10 minutes. The pepita crust stays crispy, and the crumb revives beautifully.
Over time, the flavors meld and deepen, making leftover toast even tastier the next day—if you have any left, that is!
Nutritional Information & Benefits
This pumpkin sourdough bread offers a good balance of carbohydrates and fiber, thanks to the whole bread flour and pumpkin. Pepitas provide healthy fats, protein, and minerals like magnesium and zinc.
Estimated per slice (1/12 of loaf): 150 calories, 5g protein, 3g fat, 25g carbohydrates, 2g fiber.
It’s naturally free of dairy and refined sugar (unless you add honey), making it a wholesome choice for many diets. Pumpkin adds beta-carotene, a powerful antioxidant, and the sourdough fermentation can help improve digestion and nutrient absorption.
As a baker who appreciates wellness, I love how this recipe marries comfort and nutrition without sacrificing flavor.
Conclusion
This crispy pumpkin sourdough bread with toasted pepitas crust is a fall baking triumph that’s worth every minute of your time. It’s the kind of bread you’ll want to slice thick, share with friends, and savor slowly—all while breathing in the cozy scents of autumn. Customize it with your favorite seeds or spices, and make it truly yours.
I keep coming back to this recipe not just because it tastes amazing, but because it reminds me of that little bakery and the warmth of seasons past. I hope it becomes a seasonal favorite for you too.
Let me know if you try it out or have your own twists to share—I love hearing all about your baking adventures!
Frequently Asked Questions
What’s the best way to store this pumpkin sourdough bread?
Wrap it in a kitchen towel and keep at room temperature for up to 3 days, or slice and freeze for up to 3 months.
Can I use canned pumpkin puree for this recipe?
Yes! Just make sure it’s plain pumpkin puree without added sugars or spices for best results.
How do I know when my sourdough starter is ready to use?
It should be bubbly, doubled in size, and pass the float test—meaning a spoonful floats in water.
Can I substitute pepitas with other seeds?
Absolutely. Toasted sunflower seeds or sesame seeds work well and add different flavor notes.
What if my dough feels too sticky to handle?
Dust your hands and work surface lightly with flour. Also, make sure you’re performing stretch-and-folds during fermentation to build structure.
Pin This Recipe!
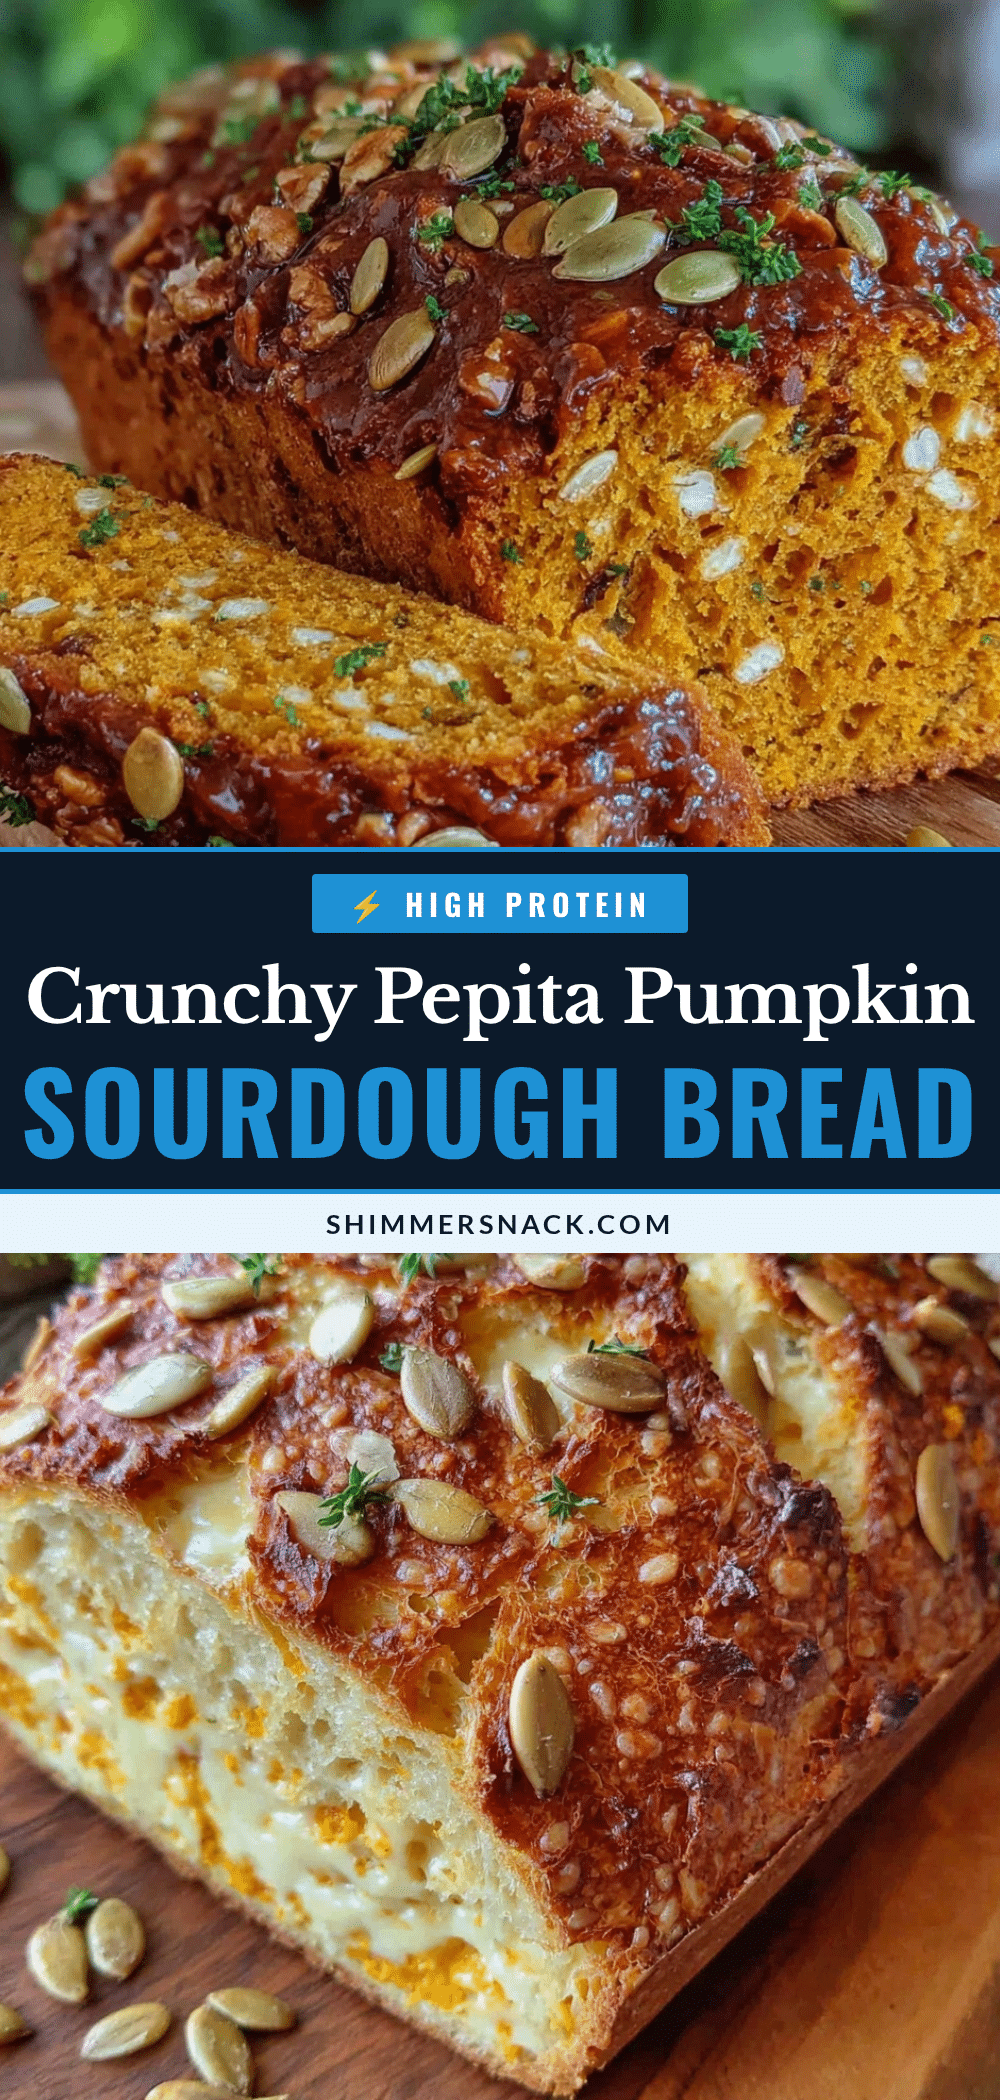
Crispy Pumpkin Sourdough Bread Recipe with Toasted Pepitas Crust Perfect for Fall
A cozy fall bread featuring a crispy crust with toasted pepitas and a tender, moist crumb enriched with pumpkin puree and sourdough tang.
- Prep Time: 2 hours 30 minutes (includes autolyse and stretch-and-folds)
- Cook Time: 45 minutes
- Total Time: 7 to 9 hours (including fermentation and proofing time)
- Yield: 1 loaf (about 12 slices)
- Category: Bread
- Cuisine: American
Ingredients
- Unbleached bread flour – 500g (about 4 cups)
- Active sourdough starter – 100g (room temperature, bubbly)
- Pumpkin puree – 150g (about 2/3 cup, homemade or canned, no sugar added)
- Water – 250ml (1 cup), lukewarm
- Sea salt – 10g (about 2 tsp)
- Honey or maple syrup – 1 tbsp (optional)
- Raw pepitas (hulled pumpkin seeds) – 80g (about 1/2 cup)
- Olive oil – 1 tbsp
- Flour for dusting – as needed
Instructions
- Activate your sourdough starter by feeding it 4-6 hours before baking until bubbly and active.
- Preheat oven to 350°F (175°C). Toss pepitas with olive oil on a baking sheet and toast for 8-10 minutes until fragrant and lightly browned. Set aside to cool.
- In a large bowl, combine bread flour and sea salt.
- In a separate bowl, whisk together pumpkin puree, lukewarm water, honey (if using), and active sourdough starter.
- Pour wet ingredients into flour mixture and stir with a wooden spoon until a rough, sticky dough forms. Let rest for 30 minutes (autolyse).
- Every 30 minutes for 2 hours, perform 4 sets of stretch-and-folds to build gluten strength.
- Cover dough and ferment at room temperature for 4-6 hours until risen and airy.
- Lightly flour work surface, turn dough out gently, flatten into a rectangle, fold edges toward center, shape into round loaf.
- Transfer dough seam-side up into a floured banneton or bowl lined with a floured towel.
- Cover and proof for 1.5–2 hours at room temperature or refrigerate overnight (8-12 hours) for deeper flavor.
- Preheat oven and Dutch oven to 475°F (245°C) for at least 30 minutes.
- Invert dough onto parchment paper seam-side down, brush lightly with water or olive oil, press toasted pepitas evenly onto top and sides.
- Carefully place dough with parchment into hot Dutch oven, cover with lid, and bake for 20 minutes.
- Remove lid and bake another 20-25 minutes until crust is deep golden and crisp; bread should sound hollow when tapped.
- Transfer bread to wire rack and cool completely for at least 2 hours before slicing.
Notes
Use an active, bubbly sourdough starter for best rise. Toast pepitas just until fragrant to avoid bitterness. Let bread cool completely before slicing to prevent gummy texture. You can refrigerate proof overnight for deeper flavor. Substitute seeds or add spices like cinnamon and nutmeg for variations. For vegan option, use maple syrup instead of honey.
Nutrition
- Serving Size: 1 slice (1/12 of loa
- Calories: 150
- Fat: 3
- Carbohydrates: 25
- Fiber: 2
- Protein: 5
Keywords: pumpkin sourdough bread, crispy crust, toasted pepitas, fall bread recipe, autumn baking, sourdough, pumpkin puree bread


