Love this? Save it for later!
Share the inspiration with your friends
I wasn’t expecting lunch inspiration from a five-year-old, but there I was, standing in my kitchen on a Tuesday morning, watching my son’s best friend, Leo, meticulously roll up a slice of turkey like it was a tiny sleeping bag. He was over for a playdate, and his mom had sent him with a lunchbox that I assumed would contain the usual—crustless sandwiches, some fruit, maybe a pouch of yogurt. Instead, he pulled out a container of these perfect little spirals, all turkey and cheese and tortilla, and proceeded to eat them with a level of focus I usually only see during Lego builds. I was immediately intrigued. I mean, I’d seen pinwheel recipes before, but they always felt like something for a party platter, not a regular old weekday lunch. Leo, however, was treating them like the main event.
So, I did what any reasonable person would do—I casually asked him if his mom used a secret ingredient. He shrugged, took another bite, and mumbled something about “the squishy cheese.” That was my only clue. Honestly, it was the best clue I could have gotten. It made me realize that the best recipes aren’t always complicated. They’re the ones that make a kid happy enough to forget they’re eating lunch. That day, I set out to crack the code on the perfect turkey and cheese pinwheel, and after a few trials (and a couple of very messy, unrolled tortillas), I landed on this version. It’s the one I’ve been making ever since, and let me tell you, it’s a game-changer for school lunches, picnics, or even just a lazy afternoon snack. You know that feeling when you find a recipe that just *works*? This is it.
Why You’ll Love This Recipe
Let’s be honest—finding a lunch that kids actually eat, that’s also easy for you to make, can feel like a small miracle. These turkey and cheese pinwheels are that miracle. They’re not just another sandwich; they’re a fun, bite-sized twist that makes lunch feel special without any extra stress on your part. I’ve tested this recipe countless times, tweaking the spread and the rolling technique to make sure every pinwheel holds together perfectly and tastes absolutely delicious.
- Quick & Easy: From start to finish, these come together in under 15 minutes. Perfect for those mornings when you’re racing against the school bus or need a last-minute snack for a playdate.
- Simple Ingredients: You probably already have everything in your fridge. No fancy grocery trips or hard-to-find items—just basic, wholesome staples.
- Perfect for Lunchboxes: They’re portable, mess-free, and hold up beautifully in a lunch bag. No more squished sandwiches!
- Crowd-Pleaser: Kids and adults alike gobble these up. They’re a hit at parties, potlucks, and even as a light lunch for yourself.
- Unbelievably Delicious: The combination of creamy spread, savory turkey, and melted cheese is pure comfort food magic. It’s simple, but it’s perfect.
What makes this recipe different from the rest? It’s all in the technique. I use a specific spreading method and a gentle rolling technique that prevents the tortillas from cracking and keeps the fillings snug inside. Plus, the cream cheese spread isn’t just an afterthought—it’s the glue that holds everything together and adds a tangy richness that balances the salty turkey and cheese. This isn’t just another pinwheel recipe; it’s your new go-to.
What Ingredients You Will Need
This recipe uses simple, everyday ingredients to create something truly satisfying. The magic is in how they work together, so let’s talk about what you’ll need and why each one matters. Most of these are pantry staples, making this an easy recipe to whip up any day of the week.
- Large Flour Tortillas (10-inch): These are your canvas. I recommend using the burrito-sized tortillas for the best ratio of filling to wrap. They’re sturdy enough to hold everything without tearing. Look for ones that are pliable and fresh. (Avoid “low-carb” or “high-fiber” tortillas, as they can be dry and crack when rolled.)
- 8 oz Cream Cheese, softened: This is the “squishy cheese” Leo was talking about! It acts as the flavorful glue that holds the pinwheels together. Make sure it’s at room temperature so it spreads easily without tearing the tortilla. I personally prefer Philadelphia brand for its consistent creaminess.
- 2 tablespoons Mayonnaise: This adds a touch of extra creaminess and a little tang. It also helps thin out the cream cheese spread just enough for easy application. You can use Greek yogurt for a healthier swap.
- 1/4 cup Ranch Dressing Mix (dry packet): This is my secret ingredient. It adds a savory, herby flavor that takes the spread from plain to addictive. You can also use a packet of Italian dressing mix for a different flavor profile, or just use garlic powder, onion powder, and dried dill.
- 8-10 slices Deli Turkey Breast: Use your favorite kind. Oven-roasted, smoked, or honey turkey all work great. I prefer getting it sliced fresh from the deli counter for the best texture and flavor. You want the slices to be thin and even for easy rolling.
- 8-10 slices Provolone or Swiss Cheese: Provolone is my go-to for its mild, buttery flavor that doesn’t overpower the turkey. Swiss cheese adds a lovely nutty note. You can also use cheddar, mozzarella, or even pepper jack for a little kick.
- Optional Add-ins: This is where you can get creative. I love adding a handful of fresh spinach leaves for a pop of color and nutrients. Thinly sliced bell peppers, shredded lettuce, or even a few slices of avocado also work wonderfully.
Equipment Needed
You don’t need any fancy gadgets for this recipe, which is part of its beauty. Here’s what you’ll need to have on hand:
- Sharp Knife: A good, sharp chef’s knife is crucial for cutting clean pinwheels without squishing them. A serrated knife can also work, but a straight edge gives you the cleanest cut.
- Cutting Board: A large, stable cutting board gives you plenty of room to work.
- Offset Spatula or Butter Knife: For spreading the cream cheese mixture evenly across the tortilla. An offset spatula makes this job incredibly easy and fast.
- Plastic Wrap: This is a game-changer. Wrapping the rolled tortillas tightly in plastic wrap before chilling helps them hold their shape and makes slicing much easier.
- Baking Sheet or Large Plate: To hold the wrapped tortillas while they chill in the refrigerator.
Preparation Method

Alright, let’s get rolling! This process is straightforward, but a few key steps will make the difference between perfect spirals and a messy situation. Follow these steps, and you’ll have lunchbox-ready pinwheels in no time.
- Make the Spread: In a small bowl, combine the softened cream cheese, mayonnaise, and ranch dressing mix. Stir until everything is well combined and smooth. Give it a taste and adjust the seasoning if needed. I sometimes add a pinch of black pepper. Set this aside for a moment.
- Prepare the Tortillas: Lay one large flour tortilla flat on your cutting board. Using your offset spatula or butter knife, spread a generous, even layer of the cream cheese mixture over the entire surface of the tortilla. Go all the way to the edges—this is what will help everything stick together. Don’t be shy with it!
- Layer the Fillings: Place 2-3 slices of turkey breast flat over the cream cheese, slightly overlapping them to cover the tortilla. Next, lay 2-3 slices of cheese over the turkey. If you’re using any optional add-ins like spinach or bell peppers, layer them on top of the cheese now. Try to keep the fillings as even as possible for a uniform roll.
- Roll It Tight: This is the most important step. Starting at one edge of the tortilla, begin to roll it up tightly, using your fingers to keep the fillings snug as you go. Think of it like rolling a sleeping bag—you want it firm but not so tight that the fillings squish out the ends. Once it’s fully rolled, place it seam-side down on the cutting board.
- Wrap and Chill: Take a piece of plastic wrap and tightly wrap the rolled tortilla. Twist the ends of the plastic wrap like a candy wrapper to secure it. Place the wrapped roll on a baking sheet or plate. Repeat with the remaining tortillas. Refrigerate for at least 30 minutes, or up to 2 hours. This chilling time is non-negotiable—it allows the cream cheese to firm up, which makes slicing clean and easy.
- Slice and Serve: After chilling, unwrap the tortilla rolls and place them on your cutting board. Using your sharp knife, slice the roll into 1-inch thick pinwheels. Use a gentle sawing motion rather than pressing straight down to avoid squishing them. Wipe the knife clean between cuts for the neatest results. Arrange on a platter or pack them in a lunchbox.
Pro Tip: If your tortilla cracks while rolling, it might be too dry. Try warming it in the microwave for 10 seconds to make it more pliable. Also, don’t overfill! It’s better to have a thinner, even layer than a thick, lumpy one that’s hard to roll.
Cooking Tips & Techniques
I’ve made my fair share of pinwheel mistakes, so you don’t have to. Here are the things I’ve learned the hard way to help you get perfect results every single time.
- The Softened Cream Cheese Rule: I cannot stress this enough. Cold, hard cream cheese will tear your tortilla. Let it sit on the counter for 20-30 minutes before you start. If you’re in a hurry, you can microwave it in 5-second bursts until it’s soft, but be careful not to melt it.
- Don’t Skip the Chill Time: I know it’s tempting to slice them right away, but trust me on this. The 30-minute chill in the fridge is what transforms a messy roll into a perfect pinwheel. It sets the cream cheese and makes the tortilla easier to cut without unrolling.
- Use a Sharp Knife: A dull knife will crush the pinwheels and drag the fillings out. Take the extra 30 seconds to sharpen your knife or use a new blade. A clean cut makes all the difference in presentation.
- Wipe Your Knife Between Cuts: This is a small step that has a big impact. As you slice, the knife will get coated in cream cheese, which can make the next cut messy. A quick wipe on a damp paper towel keeps each slice clean and pretty.
- Experiment with Spreads: The ranch-cream cheese combo is my favorite, but don’t be afraid to play around. Try a honey mustard spread, a sun-dried tomato pesto, or even a simple layer of hummus for a different flavor profile. The possibilities are endless!
Variations & Adaptations
One of the best things about this recipe is how endlessly adaptable it is. You can change it up based on what you have in the fridge, dietary needs, or just a craving for something different. Here are a few of my favorite variations.
- The Veggie-Packed Version: Swap the turkey for extra veggies like roasted red peppers, cucumber sticks, and shredded carrots. Use a hummus or avocado spread instead of the cream cheese mixture for a completely vegetarian and dairy-free option.
- The Spicy Southwest Pinwheel: Use pepper jack cheese and add a layer of black beans and corn. Spread a chipotle-lime crema (mix sour cream with adobo sauce from chipotles) for a smoky, spicy kick. This is a fantastic option for a grown-up lunch or party appetizer.
- The Breakfast Pinwheel: Who says pinwheels are just for lunch? Swap the turkey for crispy bacon or breakfast sausage, use cheddar cheese, and spread a thin layer of scrambled eggs inside. Roll it up, slice it, and you have a portable breakfast that’s way more fun than a burrito.
- Gluten-Free Adaptation: Simply use your favorite gluten-free tortillas. Just be aware that they can be a bit more brittle, so warming them slightly before rolling is highly recommended. Also, check your deli meat and seasonings to ensure they are certified gluten-free.
Serving & Storage Suggestions
These pinwheels are incredibly versatile when it comes to serving and storing. They’re a meal prep hero! Here’s how to get the most out of them.
These pinwheels are best served chilled or at room temperature. I love packing them in a lunchbox with a small container of extra ranch or honey mustard for dipping. They also make a fantastic appetizer for parties—arrange them on a platter with a few toothpicks and watch them disappear. For a light lunch, serve them alongside a simple side salad or a cup of tomato soup.
Storage: Store any leftover pinwheels in an airtight container in the refrigerator. They will stay fresh and delicious for up to 3 days. I find that they actually taste even better the next day as the flavors have a chance to meld together.
Freezing: You can freeze the uncut rolls! Wrap the tightly rolled tortillas (without slicing) in plastic wrap, then place them in a freezer-safe bag. They will keep for up to 2 months. When you’re ready to use them, thaw them in the refrigerator overnight, then slice and serve. This is a fantastic make-ahead strategy for busy weeks.
Reheating: These are best enjoyed cold, so there’s no need to reheat them. If you prefer them slightly warm, you can microwave a few pinwheels for 10-15 seconds, but be careful not to overheat them, or the tortilla can become chewy.
Nutritional Information & Benefits
While these pinwheels feel like a treat, they can absolutely be part of a balanced diet. The exact nutritional values will vary based on the specific ingredients you use, but here’s a general estimate per serving (about 4 pinwheels).
| Nutrient | Approximate Value |
|---|---|
| Calories | 350-400 kcal |
| Protein | 20-25 g |
| Fat | 20-25 g |
| Carbohydrates | 25-30 g |
| Fiber | 2-3 g |
Turkey is a fantastic source of lean protein, which helps keep you feeling full and satisfied. The cream cheese provides calcium and a bit of healthy fat. By adding spinach or other veggies, you can easily boost the fiber and vitamin content. This recipe can be made lower in fat by using reduced-fat cream cheese and turkey, or higher in protein by adding extra meat or a smear of Greek yogurt. It’s a flexible, family-friendly option that fits a variety of dietary needs.
Conclusion
There you have it—my go-to recipe for easy turkey and cheese pinwheel lunch wraps. They’re simple, delicious, and have saved me from countless lunchtime battles. I love that they’re so adaptable; I can make a batch for a picky toddler and a completely different version for a grown-up gathering, all from the same basic formula. Honestly, if a five-year-old can inspire a recipe this good, you know it’s a keeper.
I’d love to hear how these turn out for you! Did you try a fun variation? Do your kids gobble them up as fast as mine do? Drop a comment below and let me know. And if you’re looking for another great lunchbox idea, you might also enjoy my recipe for crispy garlic chicken bites—they’re another big hit in our house. Happy rolling!
Frequently Asked Questions
Can I make these pinwheels ahead of time?
Absolutely! In fact, I recommend it. You can make the rolls up to 24 hours in advance. Just keep them tightly wrapped in plastic wrap in the fridge and slice them right before serving for the freshest look.
My tortillas keep cracking when I roll them. What am I doing wrong?
This usually happens if the tortillas are too dry or cold. Try warming them in the microwave for 10-15 seconds before you start. This makes them pliable and much easier to roll without cracking.
Can I use a different type of cheese?
Yes, feel free to swap in your favorites! Cheddar, mozzarella, Monterey Jack, or even a spreadable cheese like Boursin would all work beautifully. Just make sure it’s sliced thinly enough to roll easily.
How do I keep the pinwheels from drying out in a lunchbox?
Pack them in an airtight container. You can also add a slightly damp paper towel on top of the pinwheels before sealing the container to help maintain moisture. The cream cheese spread also helps keep them from drying out.
Can I make these without cream cheese?
Yes, you can! A good substitute is hummus, pesto, or even a thick layer of Guacamole. These options will still help hold the roll together and add a ton of flavor. Just be aware that the texture will be different.
Pin This Recipe!
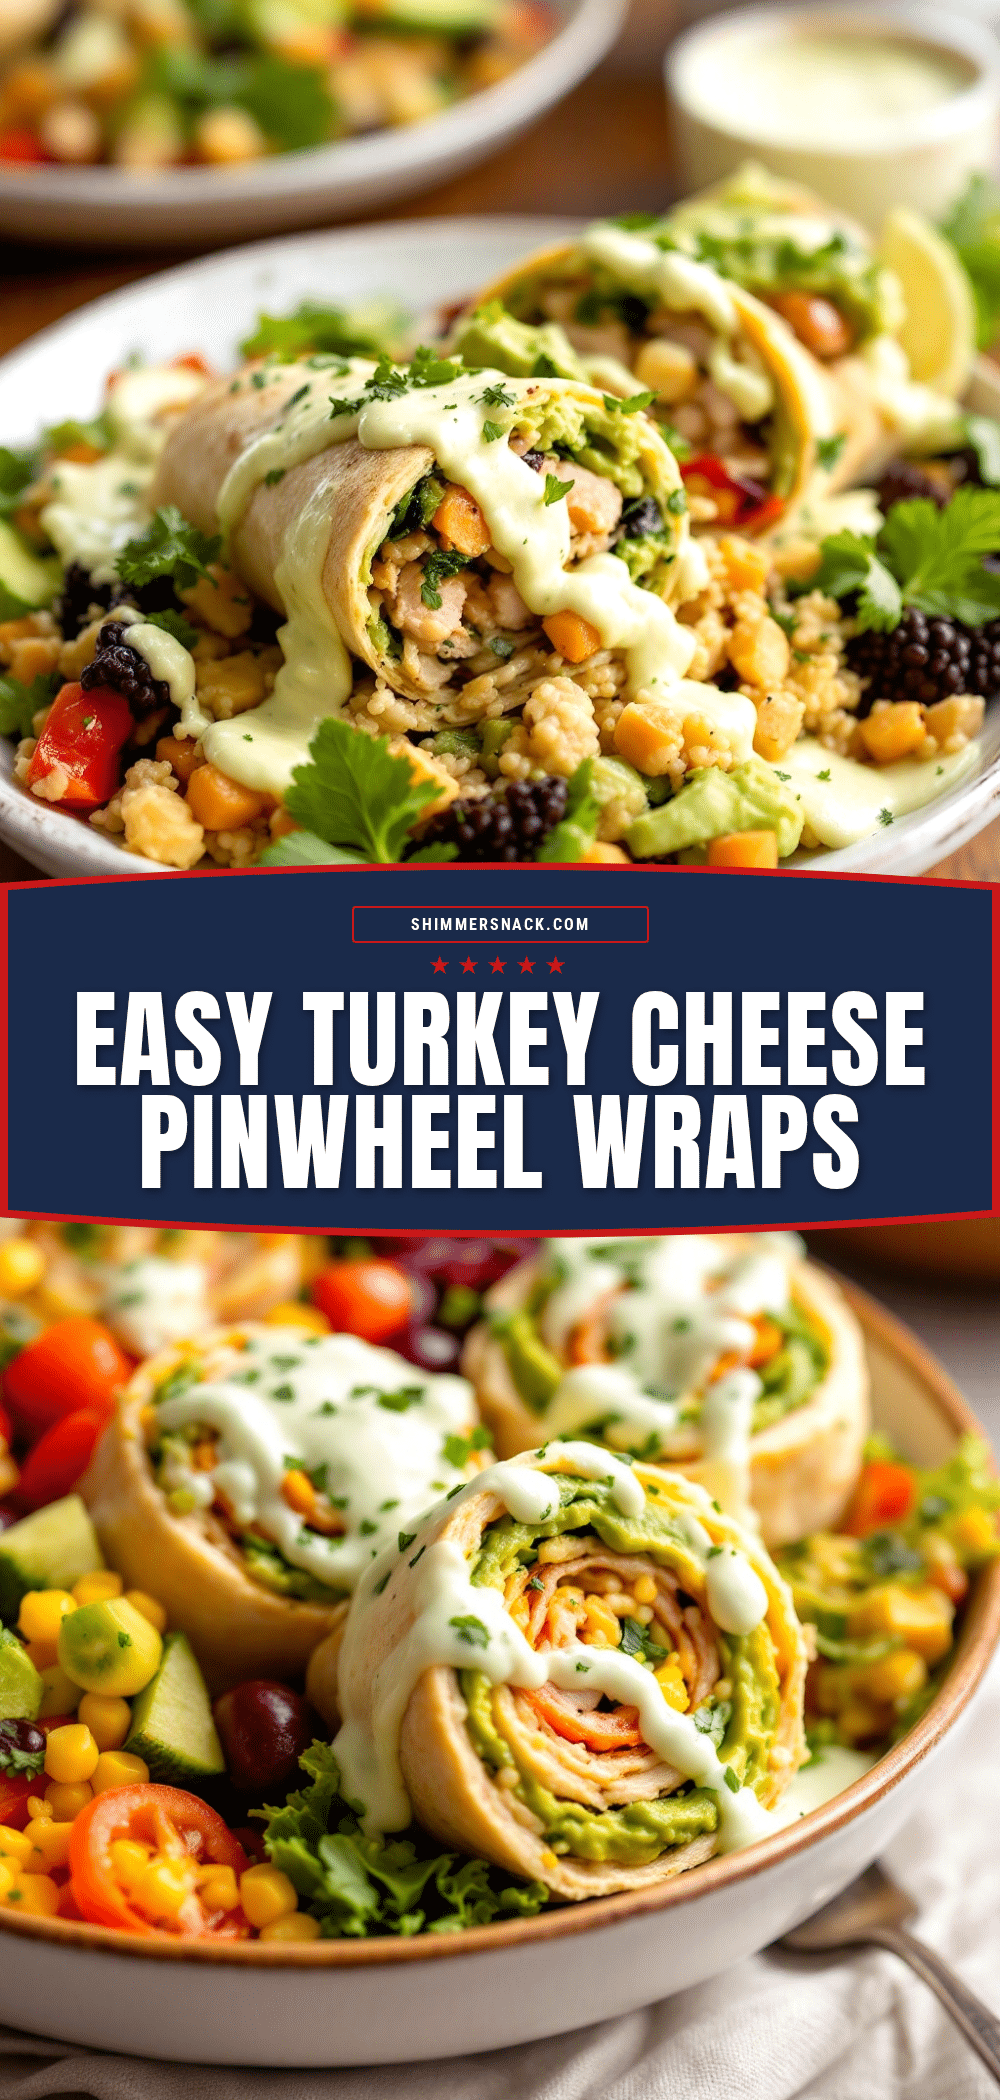
Easy Turkey and Cheese Pinwheels: Best Kid Lunch

These turkey and cheese pinwheels are a fun, bite-sized twist on lunch that kids and adults love. They’re quick to make, portable, and perfect for lunchboxes, picnics, or snacks.
- Prep Time: 15 minutes
- Cook Time: 0 minutes
- Total Time: 45 minutes (includes 30 minutes chilling)
- Yield: 4 servings 1x
- Category: Lunch
- Cuisine: American
Ingredients
- 4 large flour tortillas (10-inch)
- 8 oz cream cheese, softened
- 2 tablespoons mayonnaise
- 1/4 cup ranch dressing mix (dry packet)
- 8–10 slices deli turkey breast
- 8–10 slices provolone or Swiss cheese
- Optional: fresh spinach leaves, thinly sliced bell peppers, shredded lettuce, or avocado slices
Instructions
- In a small bowl, combine the softened cream cheese, mayonnaise, and ranch dressing mix. Stir until smooth and well combined. Set aside.
- Lay one large flour tortilla flat on a cutting board. Using an offset spatula or butter knife, spread a generous, even layer of the cream cheese mixture over the entire surface of the tortilla, going all the way to the edges.
- Place 2-3 slices of turkey breast flat over the cream cheese, slightly overlapping to cover the tortilla. Lay 2-3 slices of cheese over the turkey. Add any optional add-ins like spinach or bell peppers on top.
- Starting at one edge, roll the tortilla up tightly, keeping the fillings snug. Place seam-side down on the cutting board.
- Tightly wrap the rolled tortilla in plastic wrap, twisting the ends like a candy wrapper. Place on a baking sheet or plate. Repeat with remaining tortillas. Refrigerate for at least 30 minutes, or up to 2 hours.
- After chilling, unwrap the tortilla rolls and place on a cutting board. Using a sharp knife, slice into 1-inch thick pinwheels using a gentle sawing motion. Wipe the knife clean between cuts for neat results. Serve chilled or at room temperature.
Notes
If tortillas crack while rolling, warm them in the microwave for 10 seconds to make them more pliable. Don’t overfill; a thin, even layer is best. Chilling is essential for clean slicing. For gluten-free, use gluten-free tortillas and check deli meat and seasonings.
Nutrition
- Serving Size: 4 pinwheels
- Calories: 375
- Sugar: 3
- Sodium: 800
- Fat: 22.5
- Saturated Fat: 10
- Carbohydrates: 27.5
- Fiber: 2.5
- Protein: 22.5
Keywords: turkey pinwheels, cheese pinwheels, kid lunch, lunchbox ideas, easy lunch, no-cook recipe, party appetizer


