Love this? Save it for later!
Share the inspiration with your friends
My neighbor Carlos wasn’t trying to impress anyone. I’d stopped by to borrow his extension ladder on a sleepy Tuesday afternoon, and the smell hit me before I even got through the gate. It was sharp and bright, with this dangerous floral edge that made my eyes water in the best way. He was standing over a pot on his tiny patio burner, wearing flip-flops and an old concert t-shirt, casually dropping habaneros into a bubbling vinegar bath like he was making tea.
“What is that?” I asked, probably drooling a little. He just shrugged and said “pickled jalapeños” like it was nothing. But these weren’t the sad, floppy slices you get from a jar at the grocery store. These were electric green and gold, floating with garlic cloves and lime slices, and I could already taste the heat from three feet away. Honestly, I forgot about the ladder entirely. I sat on his stoop while he spooned a few into a paper towel for me to try, and that first bite—crunchy, vinegary, with a slow-building fire that bloomed into citrus—genuinely rearranged my brain.
Maybe you’ve been there, where something so simple stops you cold. That’s what these spicy pickled jalapeños with habanero lime did to me. Carlos acted like it was no big deal, but I made him write down the ratios on a greasy napkin before I left. I’ve been making them ever since, tweaking and perfecting, and I honestly don’t think I’ll ever buy pickled jalapeños again. This recipe stayed with me because it proves that the best things don’t need fancy techniques or a dozen ingredients. They just need a little fire, a little acid, and someone who knows how to balance them right.
Why You’ll Love This Recipe
Let me tell you why this is the only pickled jalapeño recipe you’ll ever need. I’ve tested this at least a dozen times—changing vinegar ratios, playing with salt levels, even trying different lime varieties—and this version is the one that made my friends start asking for jars as birthday gifts.
- Quick & Easy: You’re looking at about 20 minutes of active work. The hardest part is slicing the peppers, and honestly, that’s just knife practice. No canning experience required.
- Simple Ingredients: Jalapeños, habaneros, limes, garlic, vinegar, salt, sugar. That’s it. You probably have most of this stuff right now.
- Perfect for Gifting: These jars make incredible homemade gifts. I gave one to my sister last Christmas and she texted me a photo of the empty jar three days later.
- Customizable Heat: You control the spice level. Leave the seeds in for maximum fire, remove them for a milder kick. The habanero adds a fruity depth without overwhelming.
- Unbelievably Versatile: Put them on tacos, burgers, eggs, nachos, sandwiches, salads, or just eat them straight from the jar like I do when nobody’s watching.
What makes this different from every other recipe out there? It’s the habanero-lime combo. The habanero brings this tropical, almost floral heat that regular jalapeño pickling doesn’t touch. And the lime? It cuts through the vinegar and adds a brightness that makes you want to put these on everything. This isn’t just another pickled pepper recipe—it’s the one that’ll have you hoarding mason jars and giving them away like hotcakes.
What Ingredients You Will Need
This recipe uses simple, fresh ingredients to create a complex flavor profile. Each component plays a specific role, and I’ve tested enough batches to know exactly what works. Here’s what you’ll need:
For the Pickling Liquid
- 1 cup distilled white vinegar (5% acidity) — I’ve tried apple cider vinegar here, but white vinegar gives the cleanest, brightest flavor that lets the peppers shine.
- 1 cup water — Filtered if you can, but tap works fine. This balances the acidity so it doesn’t taste like straight vinegar.
- 1 tablespoon kosher salt — I prefer Diamond Crystal or Morton’s. Table salt works but use a little less since it’s denser.
- 1 tablespoon granulated sugar — Just enough to take the sharp edge off. Don’t skip it—it’s not about sweetness, it’s about balance.
For the Peppers and Aromatics
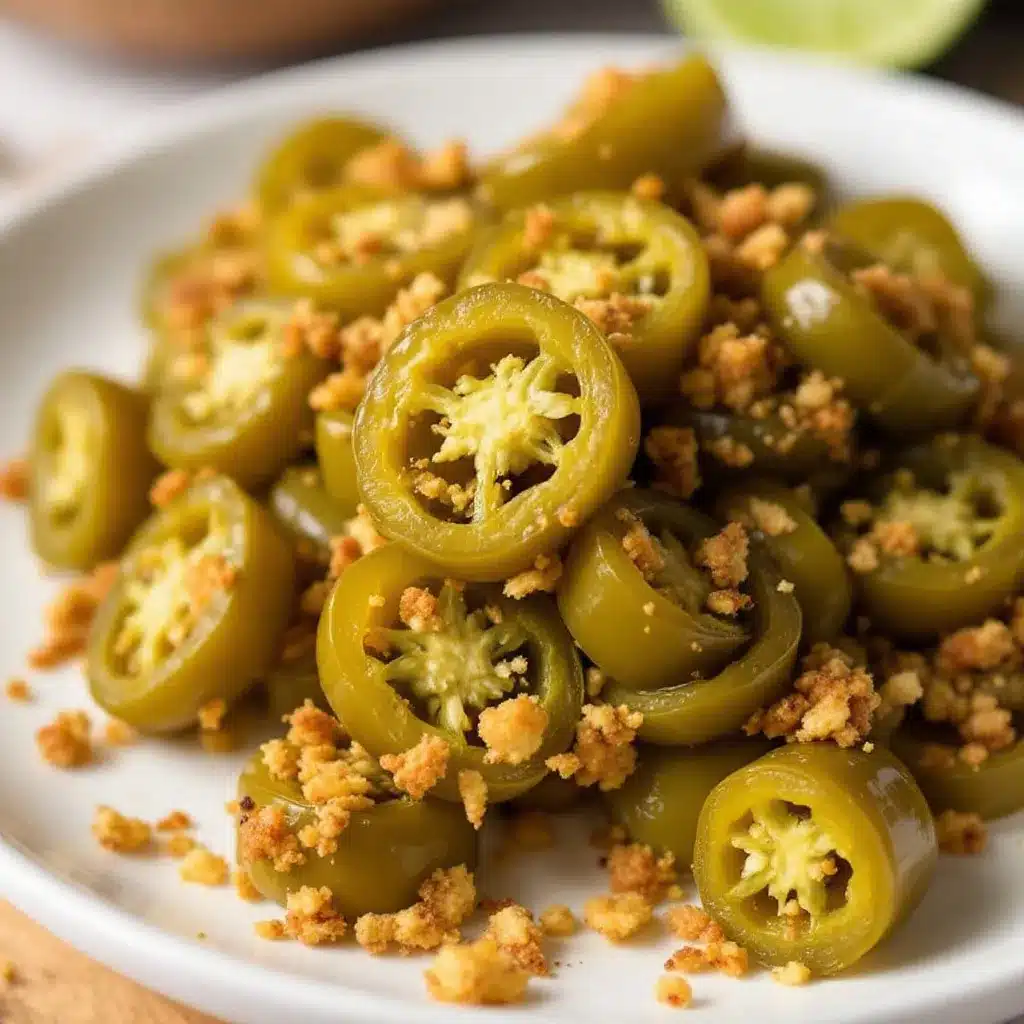
- 1 pound fresh jalapeños — About 8-10 medium peppers. Look for firm, bright green ones with smooth skin. Avoid any that are soft or have wrinkly spots.
- 2-3 fresh habanero peppers — Orange or red ones are best. They’re fruitier than the green ones. Wear gloves when handling these—trust me on this one.
- 4 cloves garlic — Smashed but not chopped. Whole cloves infuse flavor without making the brine cloudy.
- 2 limes — One for the juice, one for thin slices. Use organic if you can since you’re eating the peel.
- 1 teaspoon black peppercorns — Optional but adds a nice subtle warmth.
- 1 teaspoon cumin seeds — Also optional. I love the earthy note it adds, but skip it if you want a pure pepper flavor.
Substitution Guidance
If you can’t find habaneros, use 2 serrano peppers instead—you’ll lose some fruitiness but still get good heat. No limes? Use lemon, but the flavor will be different (still good, just different). For a sugar-free version, swap the sugar for a teaspoon of honey or just omit it entirely. The brine will be sharper but still delicious.
Equipment Needed
You don’t need a fancy kitchen for this. Here’s what I use:
- 2 pint-sized mason jars (or one quart jar) — Wide mouth is easier to pack. I reuse pasta sauce jars sometimes, just make sure they’re sterilized.
- Small saucepan — For the brine. Any 2-quart pot works.
- Sharp knife and cutting board — A dull knife is dangerous with slippery peppers. Trust me, I’ve got the scars.
- Mandoline slicer (optional) — For perfectly even slices. I use one when I’m making big batches because it’s faster and the slices look prettier.
- Disposable gloves — Not optional if you value your eyes and hands. Habanero oil lingers. I learned this the hard way after touching my face post-habanero.
- Funnel — Makes pouring brine into jars much less messy. A small ladle works too.
- Kitchen towel — For wiping jar rims before sealing. Trust me, a clean rim equals a good seal.
If you don’t have a mandoline, just slice carefully with a knife. The slices don’t have to be perfect—rustic is fine. A $5 pair of kitchen gloves from the grocery store will save you hours of discomfort.
Preparation Method
Let’s get pickling. This whole process takes about 20 minutes of active time, plus cooling and resting. The waiting is the hardest part.
- Prepare your jars. Wash your mason jars and lids in hot soapy water. Rinse well. I run mine through the dishwasher on the sanitize cycle. Set them aside to air dry.
- Slice the jalapeños. Put on your gloves. Cut the stems off the jalapeños and slice them into thin rounds, about 1/8-inch thick. If you want less heat, cut them in half lengthwise and scrape out the seeds and white membranes before slicing. For maximum fire, leave everything intact. You should end up with about 3 cups of sliced peppers.
- Prep the habaneros. Still wearing gloves, remove the stems from the habaneros. Slice them into thin rings. If you want less heat, remove the seeds. Habanero seeds are tiny and plentiful—don’t stress about getting every single one. Just do your best.
- Slice the lime. Wash one lime thoroughly. Slice it into thin rounds, then cut each round into quarters. You want small wedges that will fit nicely in the jar.
- Squeeze the other lime. Juice the remaining lime into a small bowl. You’ll add this to the brine later. Set aside.
- Pack the jars. Divide the sliced jalapeños, habanero rings, garlic cloves, and lime wedges evenly between your two pint jars or one quart jar. Add the peppercorns and cumin seeds if using. Pack everything down gently—you want the jar full but not crammed. The peppers will settle as they pickle.
- Make the brine. In your small saucepan, combine the white vinegar, water, salt, and sugar. Bring to a boil over medium-high heat, stirring occasionally until the salt and sugar dissolve completely. This takes about 3-4 minutes. Once it’s boiling, remove from heat and stir in the fresh lime juice.
- Pour the brine. Carefully pour the hot brine over the peppers in the jars, using your funnel. Fill each jar to within 1/2 inch of the rim. The peppers should be completely submerged. If they’re not, gently tap the jar on the counter to release air bubbles, then add more brine if needed.
- Seal and cool. Wipe the jar rims with a clean, damp kitchen towel to remove any brine residue. This is crucial for a good seal. Screw on the lids until finger-tight—don’t crank them down. Let the jars cool completely on the counter, about 1-2 hours. You’ll hear the lids pop as they seal.
- Refrigerate and wait. Once cool, transfer the jars to the refrigerator. Here’s the hard part: let them sit for at least 24 hours before eating. I know, I know. But trust me, the flavor needs time to develop. Day one is good. Day three is better. Day seven is transcendent. These pickled jalapeños will last for up to 3 months in the fridge.
Cooking Tips & Techniques
I’ve made this recipe enough times to know where things can go wrong. Here’s what I’ve learned:
Wear gloves. I cannot stress this enough. I once made this without gloves because I was “in a hurry.” Four hours later, my fingers were still burning, and I had to put ice packs in my pockets. Habanero capsaicin is no joke. It lingers. It finds your eyes. Just wear the gloves.
Slice evenly. Uniform slices pickle at the same rate. If some are thick and some are thin, you’ll end up with half your jar perfectly pickled and the other half either too crunchy or too soft. A mandoline makes this foolproof, but a steady hand and a sharp knife work fine.
Don’t skip the sugar. I know it seems unnecessary, but that tablespoon of sugar is doing important work. It balances the acidity of the vinegar and the sharpness of the lime. You won’t taste sweetness—you’ll just taste balance. I tried making this without sugar once and it was aggressively sour. Never again.
Let them rest. The 24-hour wait is non-negotiable. The brine needs time to penetrate the peppers. At 12 hours, they’re still crunchy and the heat hasn’t fully developed. At 24 hours, the magic happens. At 48 hours, they’re perfect. I usually make two jars and hide one in the back of the fridge so I don’t eat them all in the first week.
Temperature matters. Pour the brine hot, but let the jars cool before refrigerating. If you put hot jars directly in the fridge, you risk thermal shock and broken glass. I learned this when I heard a loud crack at 2 AM and found a jar of pickled jalapeños all over my fridge shelf. Not fun.
Variations & Adaptations
Once you’ve mastered the basic recipe, here are some ways to make it your own:
Milder Version: Remove all seeds and membranes from both the jalapeños and habaneros. Use only one habanero instead of two. The result is still flavorful but won’t make you sweat. I make this version for my mom, who loves the taste but can’t handle the fire.
Extra Spicy Version: Use 4-5 habaneros and leave all seeds intact. Add 1 teaspoon of red pepper flakes to the brine. This version is not for the faint of heart. I call it my “weekend warrior” batch.
Smoky Version: Grill the jalapeños and habaneros for 5-7 minutes until they develop char marks before slicing. This adds a smoky depth that’s incredible on burgers or in breakfast tacos. The kitchen will smell amazing.
Sweet and Spicy Version: Increase the sugar to 2 tablespoons and add 1/2 cup of thinly sliced carrots to the jars. The carrots add sweetness and color, and they pickle beautifully. This version is dangerously addictive.
Herb-Infused Version: Add a sprig of fresh oregano, a bay leaf, or a few sprigs of fresh dill to each jar. The herbs infuse the brine and add complexity. I did a batch with fresh cilantro once and it was incredible on fish tacos.
Serving & Storage Suggestions
These pickled jalapeños are incredibly versatile. Here’s how I use them:
Serving: Serve them cold or at room temperature straight from the jar. They’re amazing on tacos (any kind), nachos, burgers, hot dogs, sandwiches, grain bowls, scrambled eggs, avocado toast, and grilled cheese. I’ve even chopped them up and added them to tuna salad for a spicy kick. My favorite way to eat them is on a simple black bean tostada with crema and crumbled cotija cheese.
Storage: Keep the jars sealed in the refrigerator. They’ll stay good for up to 3 months. Once opened, use within 4-6 weeks for best quality. The peppers will soften slightly over time, but they’ll still be delicious. The brine itself is liquid gold—I use leftover brine in salad dressings, marinades, and bloody marys.
Reheating: These are meant to be eaten cold, but if you want them warm, microwave a few slices for 10-15 seconds. Don’t heat the whole jar—just take out what you need. The texture changes if you cook them, so keep it brief.
Flavor Development: The flavor peaks around day 5-7. After that, the heat mellows slightly and the brine gets more complex. I actually prefer them at the 2-week mark, when everything has settled into perfect harmony. If you can wait that long, you’re stronger than me.
Nutritional Information & Benefits
Per 1/4 cup serving (approximate):
- Calories: 15
- Fat: 0g
- Sodium: 350mg
- Carbohydrates: 3g
- Fiber: 1g
- Sugar: 2g
- Protein: 0g
These pickled jalapeños are naturally low-calorie and packed with flavor. Jalapeños are rich in vitamin C and capsaicin, which has anti-inflammatory properties. Habaneros add even more capsaicin—they’re actually one of the most potent natural anti-inflammatories you can eat. The garlic adds allicin, which supports immune health, and the vinegar may help with blood sugar regulation. This recipe is naturally gluten-free, vegan, dairy-free, and keto-friendly. The only potential allergen is the lime if you have citrus sensitivities.
I love that I can add this much flavor to my meals without adding extra calories or processed ingredients. It’s a small way to eat better without feeling like you’re sacrificing anything.
Conclusion
Look, I know pickled jalapeños aren’t exactly groundbreaking. You can buy them at any grocery store for a couple bucks. But these spicy pickled jalapeños with habanero lime are different. They’re brighter, crunchier, and more complex than anything you’ll find on a shelf. They have that homemade magic that comes from controlling every single ingredient.
I still think about that Tuesday afternoon at Carlos’s house. The way he shrugged off something so extraordinary. The way that first bite made me forget why I even showed up. That’s what good food does—it stops you, makes you pay attention, and leaves you wanting more. These pickled jalapeños do exactly that.
Try this recipe. Customize it—make it milder or spicier, add different aromatics, find your own perfect version. Then put them on everything for a week and see if you don’t end up making a second batch before the first one runs out. I’d love to hear how yours turn out. Drop a comment below and tell me what you put them on. And if you make a variation that blows your mind, share it. We’re all here to eat better together.
Frequently Asked Questions
Can I use apple cider vinegar instead of white vinegar?
You can, but the flavor will be different. Apple cider vinegar has a fruitier, more complex taste that some people love. I prefer white vinegar here because it lets the peppers and lime shine without competing flavors. If you do use apple cider vinegar, expect a slightly sweeter, more rounded brine.
Do I have to use habaneros, or can I skip them?
You can absolutely skip them. The recipe works fine with just jalapeños—you’ll still get great flavor and heat. The habaneros add that fruity, floral depth and extra fire, but if you want a milder version, leave them out. Use 1.5 pounds of jalapeños instead to keep the jar full.
How long do these last in the fridge?
Sealed properly, they’ll last up to 3 months in the refrigerator. Once you open the jar, use them within 4-6 weeks for best quality. The peppers will soften over time, but they’ll still be safe to eat as long as they smell and look fine. If you see mold or the brine turns cloudy, toss them.
Can I water bath can these for shelf storage?
I don’t recommend it. The vinegar-to-water ratio in this recipe isn’t high enough for safe water bath canning. These are designed as refrigerator pickles. If you want shelf-stable pickled jalapeños, you’ll need to follow a tested canning recipe with higher vinegar content. This recipe is for quick pickling only.
My pickled jalapeños turned out mushy. What went wrong?
Mushy pickles usually come from one of two things: overripe peppers or pouring the brine too slowly. Use firm, fresh jalapeños—avoid any that are soft or wrinkly. Also, make sure your brine is boiling when you pour it over the peppers. The heat helps the peppers stay crunchy. If you’re still having issues, try adding a grape leaf or 1/2 teaspoon of calcium chloride (Pickle Crisp) to each jar.
Pin This Recipe!
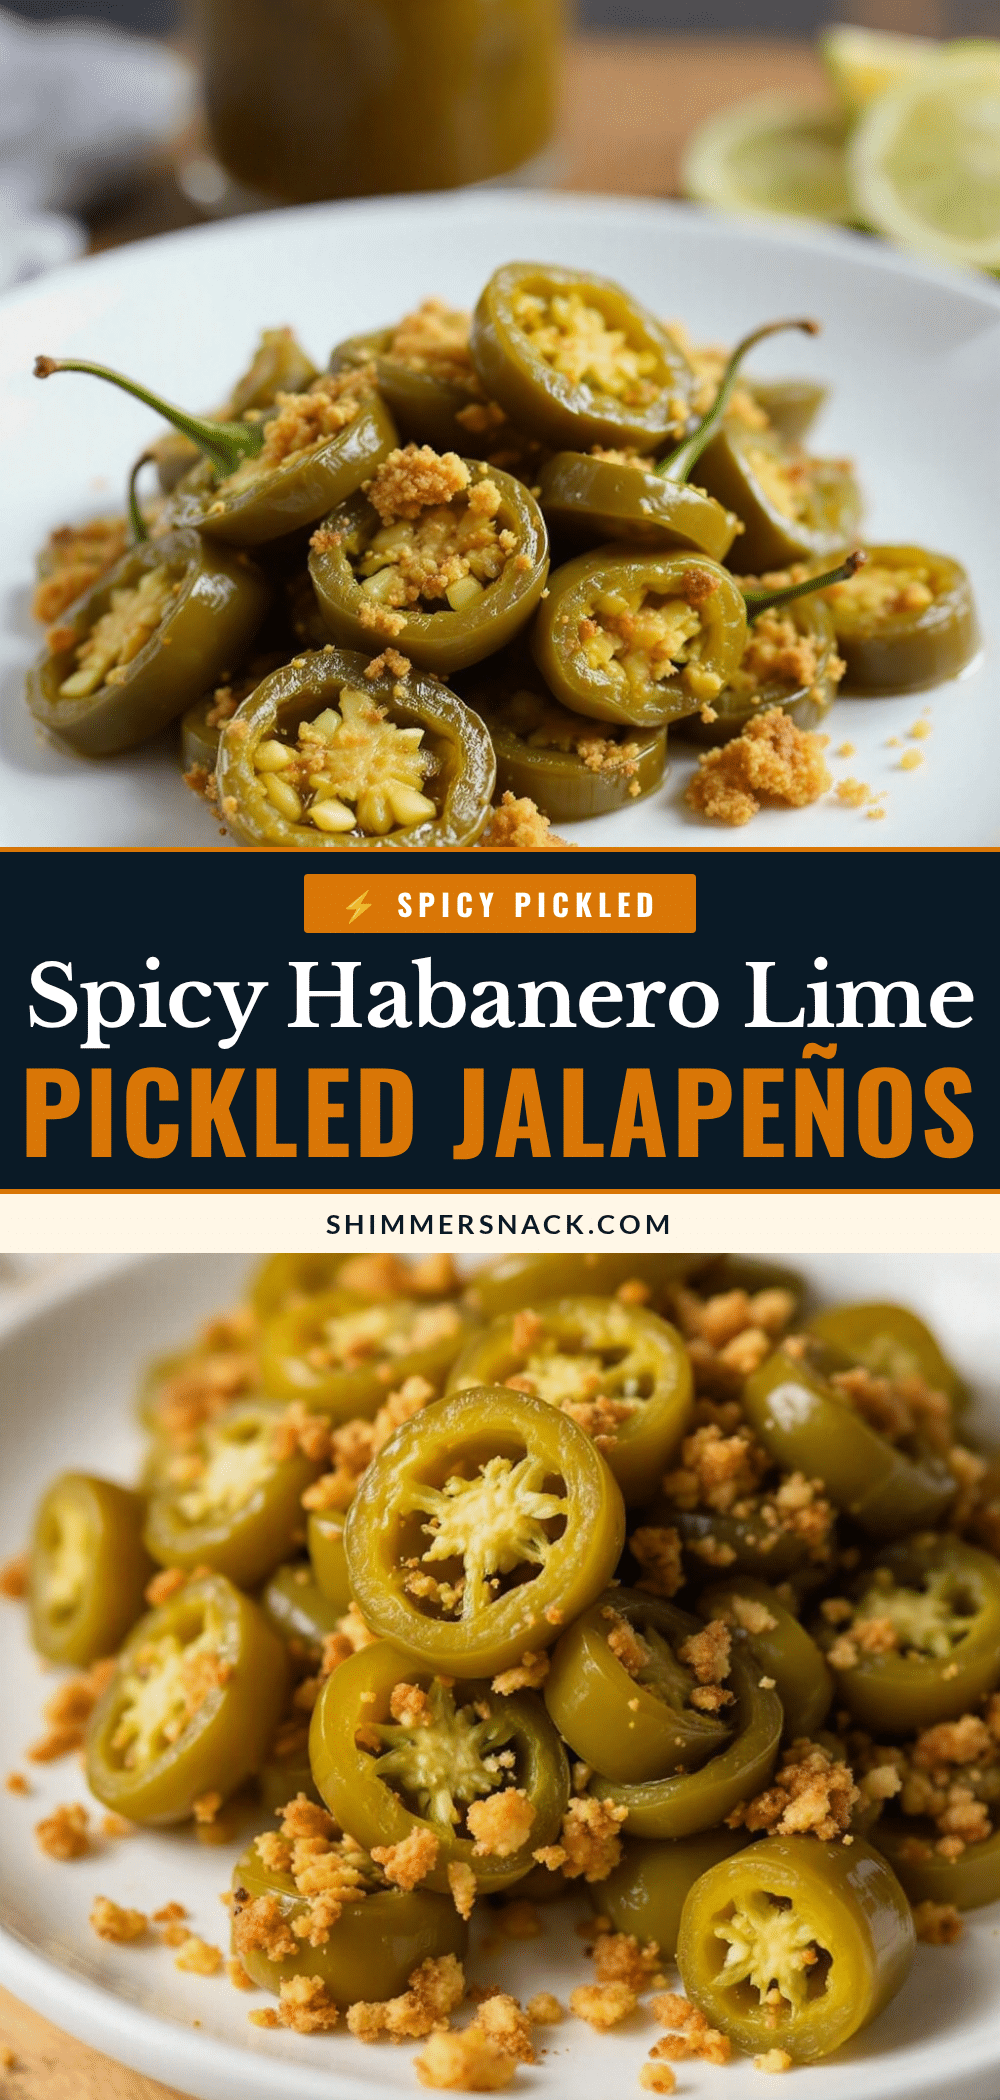
Best Spicy Pickled Jalapeños with Habanero Lime
These spicy pickled jalapeños with habanero lime are bright, crunchy, and complex, with a slow-building heat that blooms into citrus. Perfect for tacos, burgers, eggs, or straight from the jar.
- Prep Time: 20 minutes
- Cook Time: 5 minutes
- Total Time: 25 minutes (plus 24 hours resting)
- Yield: 2 pints (about 16 servings) 1x
- Category: Condiment
- Cuisine: Mexican
Ingredients
- 1 cup distilled white vinegar (5% acidity)
- 1 cup water
- 1 tablespoon kosher salt
- 1 tablespoon granulated sugar
- 1 pound fresh jalapeños (about 8–10 medium)
- 2–3 fresh habanero peppers (orange or red)
- 4 cloves garlic, smashed
- 2 limes (1 juiced, 1 sliced into thin wedges)
- 1 teaspoon black peppercorns (optional)
- 1 teaspoon cumin seeds (optional)
Instructions
- Prepare your jars. Wash mason jars and lids in hot soapy water, rinse well, and set aside to air dry.
- Put on gloves. Slice jalapeños into thin rounds (about 1/8-inch thick). For less heat, remove seeds and membranes; for maximum heat, leave intact. You should have about 3 cups of sliced peppers.
- Still wearing gloves, remove stems from habaneros and slice into thin rings. Remove seeds for less heat.
- Wash one lime thoroughly and slice into thin rounds, then cut each round into quarters.
- Juice the remaining lime into a small bowl and set aside.
- Divide sliced jalapeños, habanero rings, garlic cloves, and lime wedges evenly between two pint jars or one quart jar. Add peppercorns and cumin seeds if using. Pack down gently.
- In a small saucepan, combine white vinegar, water, salt, and sugar. Bring to a boil over medium-high heat, stirring until salt and sugar dissolve (about 3-4 minutes). Remove from heat and stir in fresh lime juice.
- Carefully pour hot brine over peppers in jars using a funnel, filling to within 1/2 inch of the rim. Tap jars on counter to release air bubbles, then add more brine if needed to submerge peppers.
- Wipe jar rims with a clean, damp kitchen towel. Screw on lids until finger-tight. Let jars cool completely on counter (1-2 hours).
- Once cool, transfer jars to refrigerator. Let sit for at least 24 hours before eating. Flavor improves over time; best after 5-7 days. Store for up to 3 months.
Notes
Wear gloves when handling habaneros—capsaicin lingers and can burn skin and eyes. Slice peppers evenly for consistent pickling. Don’t skip the sugar; it balances acidity without adding sweetness. Let pickles rest at least 24 hours before eating for best flavor. For water bath canning, use a tested recipe with higher vinegar content; this is a refrigerator pickle recipe only.
Nutrition
- Serving Size: 1/4 cup
- Calories: 15
- Sugar: 2
- Sodium: 350
- Carbohydrates: 3
- Fiber: 1
Keywords: pickled jalapeños, spicy pickled peppers, habanero lime pickles, homemade pickles, refrigerator pickles, jalapeño recipe, spicy condiment


