Love this? Save it for later!
Share the inspiration with your friends
My neighbor wasn’t trying to impress me. I’d stopped by to borrow a ladder on a chilly October Tuesday, and the smell hit me before I even got through the screen door—warm, yeasty, with this unmistakable note of cinnamon that wrapped around me like a sweater. She was elbow-deep in dough, flour dusting her counter and her favorite worn apron, and she barely looked up. “It’s just bread,” she said when I asked what in the world smelled that good. Just bread. I watched her fold the pumpkin puree into the starter, completely nonchalant, like she wasn’t creating something that would haunt my dreams for weeks. I stood there holding the ladder, completely distracted, trying to memorize her movements without being obvious about it. She let me take a slice home—still warm, the cinnamon swirl peeking out like a secret—and I think I ate it before I even got to my car. Honestly, I’ve been chasing that exact moment ever since. Maybe you’ve been there, where a food memory hits so hard you can’t stop thinking about it. That’s how this homemade pumpkin sourdough bread with cinnamon swirl became my fall obsession. It’s the kind of bread that makes you slow down, that turns a simple afternoon into something special. And the best part? It’s actually achievable in your own kitchen, no matter your skill level.
Why You’ll Love This Recipe
This isn’t just another pumpkin bread recipe floating around the internet. I’ve tested this one more times than I care to admit—through sticky dough disasters, flat loaves that broke my heart, and one memorable attempt where I forgot the cinnamon entirely. After all that trial and error, I can confidently say this version is the real deal.
- Perfectly Balanced Flavor : The pumpkin doesn’t overwhelm the sourdough tang, and the cinnamon swirl adds just the right amount of sweetness without making it dessert-like.
- Incredible Texture : You get that signature sourdough chew with a tender, moist crumb that stays fresh for days. The crust develops this gorgeous deep amber color that looks like fall on a plate.
- Simple Ingredients : No weird additives or hard-to-find specialty items. If you have an active sourdough starter, pumpkin puree, and basic pantry staples, you’re already most of the way there.
- Make-Ahead Friendly : The cold fermentation means you can prep the dough the night before and bake it fresh the next day. Perfect for weekend baking when you want the house to smell amazing without rushing.
- Impressive Without Stress : This bread looks like it came from a fancy bakery, but the process is surprisingly forgiving. Even my first decent attempt got rave reviews from friends who couldn’t believe it was homemade.
What makes this recipe different is the technique. Instead of just throwing pumpkin into a standard sourdough formula, I’ve adjusted the hydration and fermentation times to account for the extra moisture and sugar from the pumpkin. The result is a loaf that rises beautifully, has that signature sourdough complexity, and tastes like autumn in every single slice.
This is the bread you make when you want to impress someone without breaking a sweat. It’s comfort food with a little sophistication—the kind that makes you close your eyes after that first bite. Trust me, once you try it, you’ll understand why I couldn’t stop thinking about my neighbor’s kitchen that day.
What Ingredients You Will Need
This recipe relies on simple, wholesome ingredients that work together to create something truly special. Most of these are probably already in your kitchen, especially if you’re a regular sourdough baker. Let’s break down what you’ll need and why each ingredient matters.
For the Dough
- Active sourdough starter : 100g (about ½ cup), fed and bubbly. This is the heart of your bread. Make sure it’s been fed within the last 6-8 hours and passes the float test for best results.
- Bread flour : 500g (about 4 cups). I prefer King Arthur for its consistent protein content, but any good bread flour works. The higher protein helps support the added moisture from the pumpkin.
- Pumpkin puree : 200g (about ¾ cup plus 2 tablespoons). Use canned pure pumpkin puree, not pumpkin pie filling. Libby’s is my go-to, but store brands work fine too.
- Water : 200g (about ¾ cup plus 1 tablespoon), at room temperature. Filtered water is best if your tap water is heavily chlorinated.
- Salt : 10g (about 1½ teaspoons). Fine sea salt dissolves more evenly than coarse kosher salt.
- Brown sugar : 50g (about ¼ cup), packed. This adds a subtle molasses note that complements the pumpkin beautifully.
- Butter : 30g (about 2 tablespoons), softened. Adds richness and helps with the tender crumb. Use unsalted so you control the salt level.
- Cinnamon : 1 teaspoon, mixed into the dough for background warmth.
- Pumpkin pie spice : 1 teaspoon. If you don’t have it, mix ½ teaspoon cinnamon, ¼ teaspoon nutmeg, ¼ teaspoon ginger, and a pinch of cloves.
For the Cinnamon Swirl
- Brown sugar : 60g (about ¼ cup plus 1 tablespoon), packed.
- Cinnamon : 2 tablespoons. Use fresh cinnamon for the strongest flavor. I like Saigon cinnamon for its bold, sweet warmth.
- Butter : 30g (about 2 tablespoons), very soft but not melted.
- Optional : ¼ cup chopped pecans or walnuts for extra crunch. Toast them first for better flavor.
For the Topping (Optional)
- Egg wash : 1 egg beaten with 1 tablespoon water, for a shiny crust.
- Sprinkle of coarse sugar : Turbinado or demerara sugar adds a lovely sparkle and subtle crunch.
A quick note on pumpkin puree—if you’re using homemade puree, make sure it’s well-drained. Homemade puree tends to be more watery than canned, and excess moisture can make your dough sticky and difficult to handle. I learned this the hard way after a particularly soggy loaf that refused to hold its shape. Just spread the puree on a paper towel-lined plate for 10 minutes before using, and you’ll be fine.
Equipment Needed
You don’t need a professional bakery setup for this bread, but having the right tools makes the process smoother and more enjoyable. Here’s what I recommend:
- Digital kitchen scale : This is non-negotiable for consistent results. Measuring by weight is far more accurate than cups, especially with sourdough where hydration ratios matter. I use a simple OXO scale that cost about twenty bucks and it’s lasted years.
- Large mixing bowl : Glass or ceramic works best. Avoid metal bowls if possible, as they can react with the acidic dough over long fermentation periods.
- Bench scraper : Inexpensive but incredibly useful for folding dough and cleaning your work surface.
- Dutch oven : A 5 to 6-quart enameled cast iron pot creates the perfect steamy environment for baking. If you don’t have one, a heavy baking sheet with a metal bowl inverted over the loaf works in a pinch.
- Banneton or proofing basket : Helps the dough hold its shape during the final rise. A colander lined with a floured kitchen towel works just as well—I’ve done it many times.
- Parchment paper : Makes transferring the dough into the hot Dutch oven much less stressful.
- Sharp lame or razor blade : For scoring the loaf. A sharp knife works too, just make sure it’s clean and very sharp.
- Instant-read thermometer : Takes the guesswork out of knowing when your bread is fully baked. The internal temperature should reach 200-205°F.
- Cooling rack : Essential for letting the bread cool properly. Slicing too early will give you a gummy texture, no matter how good the bake was.
I started with just a bowl, a spoon, and a lot of hope. The fancy equipment came later, and honestly, the bread was still good before I had any of it. Don’t let missing tools stop you—improvise and adjust as needed.
Preparation Method
Making this homemade pumpkin sourdough bread with cinnamon swirl is a two-day process, but don’t let that intimidate you. Most of the time is hands-off fermentation, and the actual active work is maybe 30 minutes spread across both days.
Day 1: Mixing and Bulk Fermentation
Step 1: Feed Your Starter
About 6-8 hours before you plan to mix your dough, feed your sourdough starter with equal parts flour and water. You want it to be active, bubbly, and at least doubled in volume before you start. A good test—drop a small spoonful into a glass of water. If it floats, it’s ready.
Step 2: Mix the Dough
In a large bowl, combine 100g active starter, 200g water, and 200g pumpkin puree. Whisk until well combined. Add 500g bread flour, 10g salt, 50g brown sugar, 1 teaspoon cinnamon, and 1 teaspoon pumpkin pie spice. Mix with your hands or a dough whisk until no dry flour remains. The dough will be shaggy and fairly sticky—that’s normal. Cover the bowl with a damp towel or plastic wrap and let it rest for 30 minutes. This is called the autolyse, and it helps the flour fully hydrate and start developing gluten without you having to work hard.
Step 3: Add the Butter
After the rest, add the softened 30g butter. Squeeze and fold the dough until the butter is fully incorporated. It might seem messy at first, but keep working it and the dough will come together. This takes about 3-4 minutes of gentle folding.
Step 4: Bulk Fermentation with Stretch and Folds
Over the next 3-4 hours, you’ll perform a series of stretch and folds to build strength in the dough. Here’s the rhythm I follow:
- First fold (30 minutes after mixing): Wet your hands slightly to prevent sticking. Grab one side of the dough, stretch it up, and fold it over the top. Rotate the bowl 90 degrees and repeat. Do this 4 times total, covering the bowl between each fold.
- Second fold (30 minutes later): Same process. The dough should feel a bit smoother and more elastic by now.
- Third fold (30 minutes later): You’ll notice the dough starting to hold its shape better.
- Fourth fold (30 minutes later): The dough should be smooth and slightly domed.
After the fourth set of folds, let the dough rest, covered, for the remainder of the bulk fermentation. Total bulk time at room temperature (around 72-75°F) is usually 4-6 hours from when you first mixed the dough. The dough should be puffy, have visible bubbles on the surface, and feel airy when you poke it.
Step 5: Prepare the Cinnamon Swirl
While the dough is fermenting, make your swirl mixture. Combine 60g brown sugar and 2 tablespoons cinnamon in a small bowl. Add the 30g very soft butter and mix until it forms a paste. If you’re adding nuts, stir them in now. Set this aside at room temperature.
Step 6: Shape and Cold Ferment
Lightly flour your work surface. Turn the dough out gently—try not to deflate it too much. Pat it into a rough rectangle about 8×10 inches. Spread the cinnamon butter paste evenly over the surface, leaving a 1-inch border around the edges. Starting from one short end, roll the dough up tightly like a jelly roll. Pinch the seam to seal. Place the log seam-side down in a floured banneton or lined bowl. Cover tightly with plastic wrap or a shower cap and refrigerate for 12-18 hours. This cold fermentation develops flavor and makes the dough easier to handle.
Day 2: Baking
Step 7: Preheat and Prepare
The next morning, place your Dutch oven in the cold oven and preheat to 475°F. Let it heat for at least 30 minutes after reaching temperature. While it’s heating, remove the dough from the refrigerator. It should look slightly puffy but not doubled.
Step 8: Score and Bake
Carefully turn the dough out onto a piece of parchment paper. If using egg wash, brush it on now and sprinkle with coarse sugar. Using a sharp lame or knife, score the top with a single deep slash about ½ inch deep, running lengthwise down the loaf. This gives the bread room to expand in the oven. Carefully place the parchment with the dough into the hot Dutch oven, put the lid on, and bake for 25 minutes. Remove the lid and continue baking for another 20-25 minutes, until the crust is deep amber and the internal temperature reaches 200-205°F.
Step 9: Cool Completely
Transfer the bread to a cooling rack. This is the hardest part—you have to let it cool completely before slicing, at least 2 hours. I know it’s tempting to cut into it while it’s warm, but the interior is still setting and slicing early will give you a gummy, dense texture. Trust me, I’ve made that mistake more than once.
Cooking Tips & Techniques
Over the many loaves I’ve made (and the ones that didn’t quite work out), I’ve picked up some tricks that make this recipe more reliable. Let me share what I’ve learned.
Watch Your Dough Temperature
Pumpkin puree straight from the fridge can shock your starter and slow down fermentation. Let it come to room temperature before mixing. I usually set it out when I feed my starter, so everything is ready at the same time. If your kitchen is cold (below 70°F), the bulk fermentation might take longer—don’t rush it. Look for visual cues like puffiness and bubbles rather than watching the clock.
Handle Sticky Dough with Confidence
This dough is stickier than plain sourdough because of the pumpkin. Wet your hands slightly before doing stretch and folds, and use a bench scraper to help with handling. Resist the urge to add extra flour—it will make the bread dense. The stickiness is actually a good sign that your dough has good hydration.
The Cinnamon Swirl Challenge
Getting the swirl to stay in place without creating giant air pockets took me several tries to figure out. The key is making sure the cinnamon butter paste is at room temperature and spreadable, not cold and hard. When you roll the dough, keep it tight but not so tight that you squeeze out all the air. I press gently as I roll, like I’m making cinnamon rolls. And here’s a tip that changed everything for me—after rolling, gently pinch the seam and the ends to seal everything in. This prevents the filling from leaking out during baking.
Don’t Skip the Cold Ferment
I know it’s tempting to skip the overnight refrigeration and bake the same day, but the cold ferment does so much more than just develop flavor. It firms up the dough, making it much easier to handle and score. It also allows the pumpkin and spice flavors to meld together in a way that immediate baking just can’t achieve. The bread will be noticeably better if you wait.
Steam is Your Friend
The Dutch oven creates steam that helps the bread rise and develop a crispy, crackling crust. If you don’t have a Dutch oven, place a metal pan on the bottom rack of your oven and pour a cup of hot water into it right after you put the bread in. Then quickly close the oven door to trap the steam. It’s not quite as effective, but it works well enough.
Variations & Adaptations
One of the best things about this recipe is how adaptable it is. Here are some variations I’ve tried and loved.
Whole Wheat Version
Replace half the bread flour with whole wheat flour for a nuttier, more rustic loaf. You’ll need to add about 25g more water since whole wheat absorbs more moisture. The texture will be slightly denser but still delicious. I did this during a particularly ambitious baking weekend and ended up preferring it for toast.
Dairy-Free Adaptation
Swap the butter in both the dough and the swirl with vegan butter or coconut oil. If using coconut oil, make sure it’s soft but not liquid. The bread will be slightly less rich but still tender and flavorful. I’ve made this version for friends with dairy sensitivities and they couldn’t tell the difference.
Extra Spiced Version
For those who want even more warmth, add an extra teaspoon of pumpkin pie spice to the dough and a pinch of cardamom to the swirl mixture. Cardamom and pumpkin are a surprisingly good combination—it adds this floral, slightly citrusy note that makes the bread feel even more special.
Savory Pumpkin Sourdough
Skip the cinnamon swirl and instead fold in ½ cup roasted pumpkin seeds, ¼ cup fresh sage leaves (chopped), and ½ cup grated Parmesan cheese during the last stretch and fold. This version is incredible alongside soups and stews. I made it for Thanksgiving one year and it disappeared faster than the turkey.
Gluten-Free Option
I won’t lie—this one is tricky. Gluten-free sourdough is a whole different beast. But if you have a reliable gluten-free sourdough starter, you can substitute a gluten-free bread flour blend. The texture will be more like a quick bread than traditional sourdough, but the flavor will still be amazing. Just be prepared for a denser result.
Serving & Storage Suggestions
This bread is incredibly versatile, and how you serve it can change the whole experience. Here’s how I like to enjoy it.
Serving Ideas
- Warm with butter : The classic. Toast a thick slice and spread with salted butter. The combination of warm bread, melting butter, and cinnamon is pure comfort.
- With cream cheese : Spread a layer of plain or honey cream cheese on a toasted slice. The tangy cream cheese balances the sweetness of the swirl perfectly.
- French toast : This bread makes incredible French toast. Slice it thick, dip in an egg-milk mixture, and cook until golden. The pumpkin and cinnamon flavors infuse the whole dish.
- Alongside soup : Serve a slice with butternut squash soup or tomato bisque for a fall meal that feels complete.
- As a dessert : Drizzle with a simple powdered sugar glaze (1 cup powdered sugar mixed with 2 tablespoons milk and ½ teaspoon vanilla) for a treat that feels indulgent without being heavy.
Storage Instructions
- Room temperature : Store in a bread bag or wrapped in beeswax wrap for up to 4 days. The crust will soften slightly, but the interior stays moist and delicious.
- Refrigerator : I don’t recommend refrigerating bread—it speeds up staling. If you live in a very humid climate, you might need to, but try to avoid it.
- Freezer : This bread freezes beautifully. Slice it first, then wrap individual slices in plastic wrap and place in a freezer bag. They’ll keep for up to 3 months. Toast directly from frozen—no need to thaw.
Reheating Tips
- For a single slice, pop it in the toaster or toaster oven until warm and slightly crispy on the edges.
- For a whole loaf, wrap in foil and warm in a 350°F oven for 10-15 minutes. This brings back that just-baked texture.
- Microwaving works in a pinch but will make the bread chewy. Only do this if you’re truly desperate.
The flavors actually develop more over the first 24 hours after baking. I’ve found that day-old bread tastes even better than fresh, with the pumpkin and spices melding together more harmoniously. Don’t be afraid to make this a day ahead if you’re planning to serve it for a special occasion.
Nutritional Information & Benefits
While this bread is absolutely a treat, it does offer some nutritional benefits worth noting. Here’s a rough breakdown per slice (assuming 12 slices per loaf).
| Nutrient | Amount Per Slice |
|---|---|
| Calories | 210 |
| Total Fat | 5g |
| Saturated Fat | 3g |
| Carbohydrates | 38g |
| Fiber | 2g |
| Sugar | 9g |
| Protein | 5g |
| Vitamin A | 45% DV |
| Iron | 8% DV |
Health Highlights
- Pumpkin : Packed with vitamin A (from beta-carotene), fiber, and antioxidants. It supports eye health and immune function, making this bread a slightly more nutritious choice than plain white bread.
- Sourdough fermentation : The long fermentation process breaks down some of the gluten and phytic acid, making the nutrients more bioavailable. Some people with mild gluten sensitivities find sourdough easier to digest than regular bread.
- Cinnamon : Contains antioxidants and has anti-inflammatory properties. It may also help with blood sugar regulation, which is a nice bonus when paired with the pumpkin and brown sugar.
- Dietary considerations : This recipe is vegetarian and can be made dairy-free with simple substitutions. It’s not gluten-free unless you use a specialized flour blend, but the sourdough fermentation does make it more digestible for many people.
I’m not a nutritionist, and this bread is definitely more about pleasure than perfection. But it’s nice to know that when you’re enjoying a slice, you’re also getting some real nutritional value. Everything in moderation, right?
Frequently Asked Questions
Can I use active dry yeast instead of sourdough starter?
Technically yes, but it won’t be the same bread. The sourdough starter provides the tangy flavor and helps with the texture. If you need to use yeast, combine 1 teaspoon active dry yeast with the warm water and a pinch of sugar, let it foam for 5 minutes, then proceed with the recipe. You’ll lose the sourdough character, but you’ll still have a decent pumpkin bread.
Why is my dough so sticky?
Pumpkin puree adds a lot of moisture, so the dough will be stickier than standard sourdough. This is normal. Resist adding extra flour—wet your hands and use a bench scraper instead. The dough will become more manageable as the gluten develops during the stretch and folds.
Can I skip the overnight cold ferment?
You can, but I really don’t recommend it. The cold ferment develops flavor, firms up the dough for easier handling, and improves the texture. If you’re in a hurry, you can bake the same day after a 4-6 hour bulk fermentation at room temperature, but the bread won’t have the same depth of flavor or as nice a crumb.
My cinnamon swirl leaked out during baking. What went wrong?
This happens when the cinnamon butter paste is too wet or the dough isn’t sealed properly. Make sure your butter is soft but not melted, and spread the paste in a thin, even layer. When you roll the dough, pinch the seam and ends firmly to seal everything in. Chilling the shaped loaf in the refrigerator for 30 minutes before baking can also help the filling stay put.
How do I know when the bread is fully baked?
The best way is to use an instant-read thermometer. Insert it into the center of the loaf—it should read 200-205°F. The crust should be deep amber and sound hollow when you tap the bottom. If you don’t have a thermometer, tap the bottom of the loaf; if it sounds hollow, it’s done. Let it cool completely before slicing for the best texture.
Conclusion
This homemade pumpkin sourdough bread with cinnamon swirl has become my signature fall bake, and I think it’s going to become yours too. It’s the kind of recipe that feels special without being fussy, that fills your home with the kind of warmth that makes people linger in the kitchen. Every time I make it, I think back to that October afternoon at my neighbor’s house, standing there with a ladder in my hands, completely captivated by the smell of something she considered just bread.
What I love most about this recipe is how it brings people together. Whether you’re sharing a slice with a friend over coffee, serving it alongside a cozy soup dinner, or sneaking a piece straight from the cooling rack when no one’s looking (I won’t tell), this bread has a way of making ordinary moments feel memorable. The combination of tangy sourdough, sweet pumpkin, and warm cinnamon is something you’ll find yourself craving all season long.
I’d love to hear how yours turns out. Did you add nuts? Try a different spice blend? Make it for a holiday gathering? Drop a comment below and let me know—your variations might inspire someone else’s next bake. And if you’re feeling generous, share a photo of your loaf. There’s nothing better than seeing this recipe come to life in kitchens everywhere.
Happy baking, friends. I’m rooting for you and your bread.
Pin This Recipe!
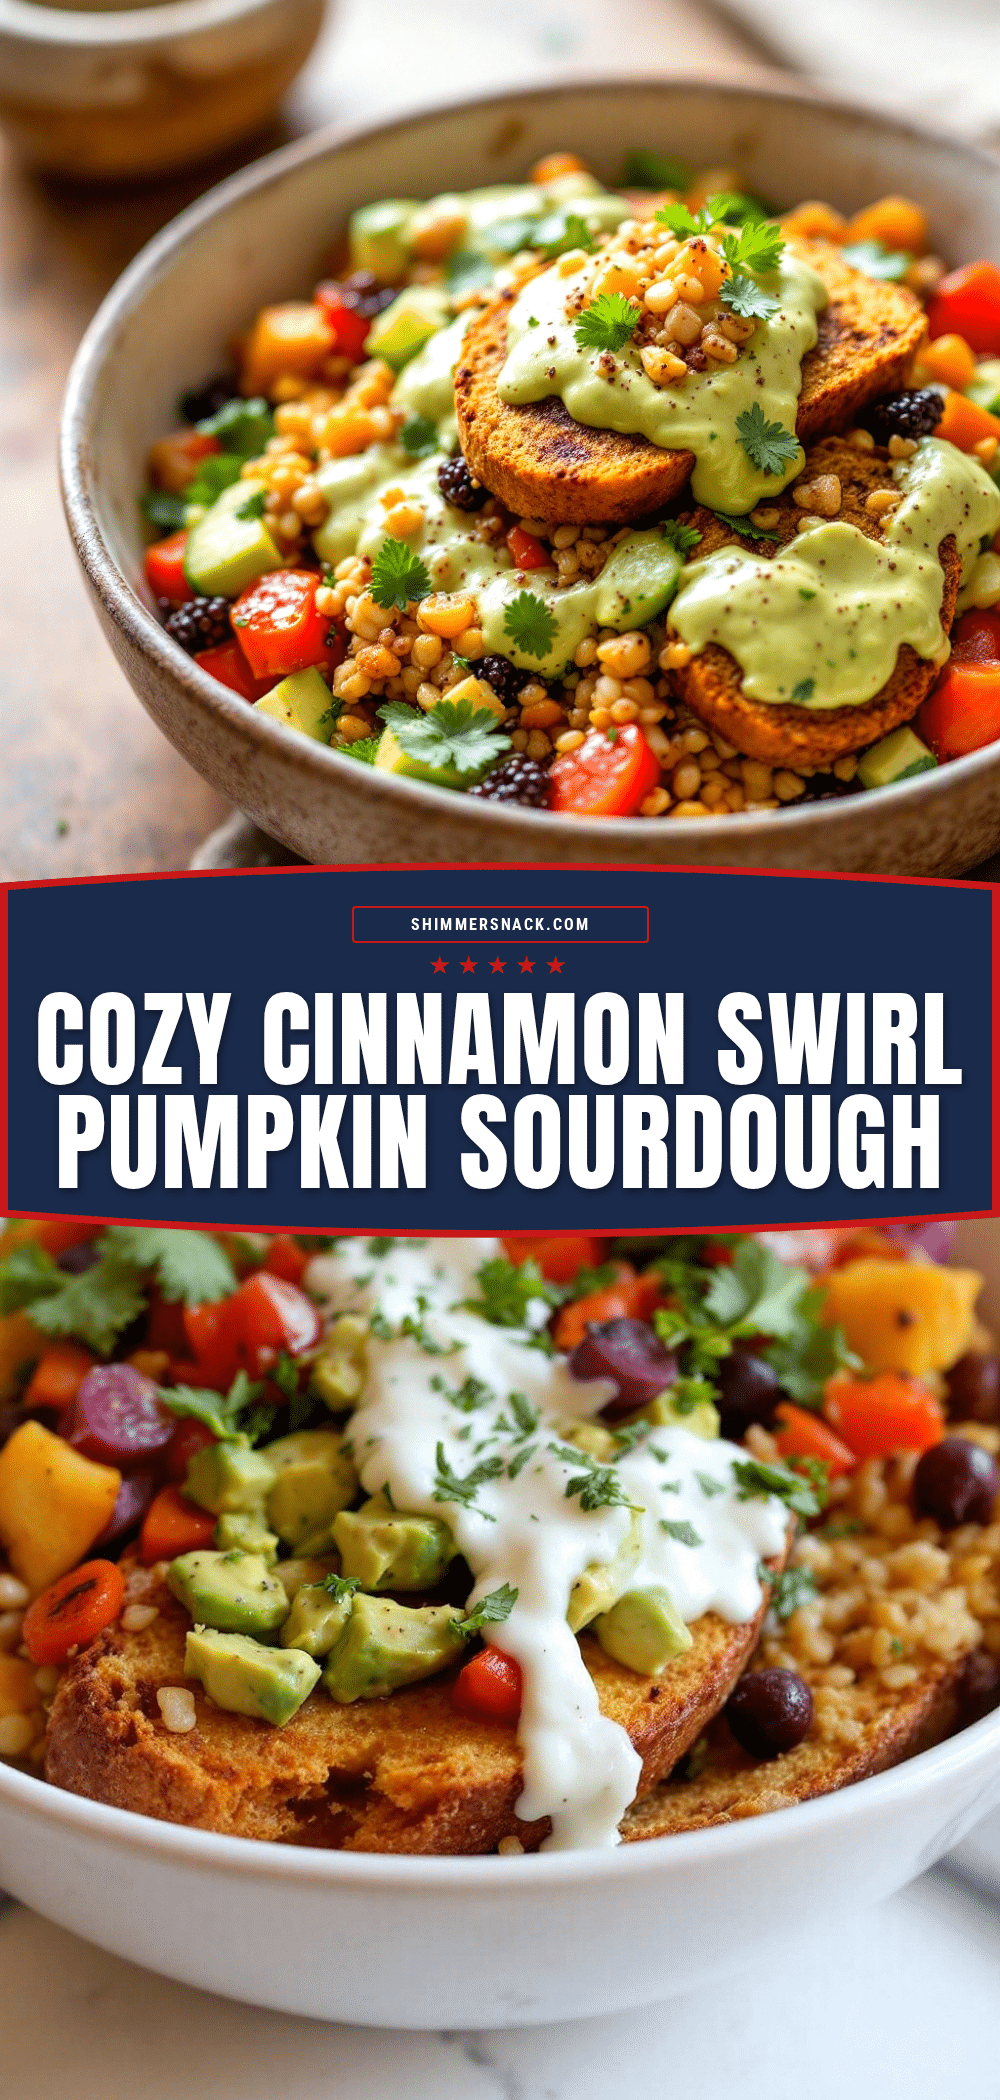
Homemade Pumpkin Sourdough Bread with Cinnamon Swirl

This homemade pumpkin sourdough bread with cinnamon swirl is a fall obsession—perfectly balanced with tangy sourdough, sweet pumpkin, and warm cinnamon. It’s achievable in your own kitchen, no matter your skill level, and turns a simple afternoon into something special.
- Prep Time: 30 minutes
- Cook Time: 45 minutes
- Total Time: 2 days (includes 12-18 hours cold ferment and 4-6 hours bulk fermentation)
- Yield: 12 servings 1x
- Category: Bread
- Cuisine: American
Ingredients
- 100g (about ½ cup) active sourdough starter, fed and bubbly
- 500g (about 4 cups) bread flour
- 200g (about ¾ cup plus 2 tablespoons) pumpkin puree (canned, not pie filling)
- 200g (about ¾ cup plus 1 tablespoon) water, room temperature
- 10g (about 1½ teaspoons) fine sea salt
- 50g (about ¼ cup) brown sugar, packed
- 30g (about 2 tablespoons) unsalted butter, softened
- 1 teaspoon cinnamon
- 1 teaspoon pumpkin pie spice
- 60g (about ¼ cup plus 1 tablespoon) brown sugar, packed (for swirl)
- 2 tablespoons cinnamon (for swirl)
- 30g (about 2 tablespoons) unsalted butter, very soft (for swirl)
- ¼ cup chopped pecans or walnuts, toasted (optional, for swirl)
- 1 egg beaten with 1 tablespoon water (for egg wash, optional)
- Coarse sugar like turbinado or demerara (for topping, optional)
Instructions
- Feed your sourdough starter 6-8 hours before mixing; it should be active, bubbly, and pass the float test.
- In a large bowl, combine 100g active starter, 200g water, and 200g pumpkin puree. Whisk until combined.
- Add 500g bread flour, 10g salt, 50g brown sugar, 1 teaspoon cinnamon, and 1 teaspoon pumpkin pie spice. Mix until no dry flour remains. Cover and rest for 30 minutes (autolyse).
- Add 30g softened butter. Squeeze and fold the dough until fully incorporated (3-4 minutes).
- Perform 4 sets of stretch and folds at 30-minute intervals over 3-4 hours. After the last set, let the dough rest, covered, for the remainder of bulk fermentation (total 4-6 hours at 72-75°F). The dough should be puffy with visible bubbles.
- While dough ferments, make the cinnamon swirl: combine 60g brown sugar and 2 tablespoons cinnamon. Add 30g very soft butter and mix into a paste. Stir in nuts if using. Set aside.
- Lightly flour your work surface. Gently turn out the dough and pat into an 8×10-inch rectangle. Spread the cinnamon butter paste evenly, leaving a 1-inch border. Roll tightly from one short end like a jelly roll. Pinch seam to seal.
- Place the log seam-side down in a floured banneton or lined bowl. Cover tightly and refrigerate for 12-18 hours (cold ferment).
- The next day, place a Dutch oven in the cold oven and preheat to 475°F. Heat for at least 30 minutes after reaching temperature.
- Remove dough from refrigerator. Turn out onto parchment paper. Optionally brush with egg wash and sprinkle with coarse sugar. Score the top with a deep slash lengthwise.
- Carefully place parchment with dough into the hot Dutch oven. Cover and bake for 25 minutes. Remove lid and bake another 20-25 minutes until deep amber and internal temperature reaches 200-205°F.
- Transfer to a cooling rack and cool completely (at least 2 hours) before slicing.
Notes
Let pumpkin puree come to room temperature before mixing. Dough will be sticky—wet hands and use a bench scraper instead of adding extra flour. The cold ferment is crucial for flavor and texture; don’t skip it. Cool completely before slicing to avoid a gummy texture. Store at room temperature for up to 4 days, or freeze sliced for up to 3 months.
Nutrition
- Serving Size: 1 slice
- Calories: 210
- Sugar: 9
- Sodium: 200
- Fat: 5
- Saturated Fat: 3
- Carbohydrates: 38
- Fiber: 2
- Protein: 5
Keywords: pumpkin sourdough, cinnamon swirl bread, fall baking, sourdough bread, pumpkin bread, homemade bread, autumn recipe


