Love this? Save it for later!
Share the inspiration with your friends
I did not trust baked tacos. For years, I was a firm believer that a taco shell needed to meet hot oil to achieve that perfect crunch. Baking them always seemed like a compromise—a sad, chewy shell pretending to be crispy. My brother swore by his method, insisting the oven could do the job without the mess. I told him he was wrong. Then, one Tuesday night, with a pound of ground turkey defrosted and no energy for a splattering skillet, I gave in. I figured I would prove him wrong, eat my words, and move on.
The kitchen smelled incredible—garlic and cumin mingling with the heat of chili powder. I lined the shells up like little soldiers, filled them with the seasoned meat, and topped them with a mountain of shredded cheese. When I pulled that baking sheet out of the oven, the cheese was bubbly and brown at the edges. The shells looked golden, almost fragile. I took a bite, and honestly, I had to sit down. The crunch was real. It was loud. It was everything I had doubted. My brother just smiled from across the table, and I knew I would be making these crispy baked ground turkey tacos again. Probably the next week.
That moment changed my Tuesday night dinner game forever. No more greasy stovetop, no more standing over a pan flipping shells. Just a sheet pan, some good seasoning, and a trust in the oven that I had never had before. If you have been skeptical about baked tacos, I get it. I was you. But trust me on this one—the oven knows what it is doing.
Why You Will Love This Recipe
These crispy baked ground turkey tacos are not just another weeknight recipe. They are a game-changer for anyone who craves that satisfying crunch without the hassle of deep frying. I have tested this method more times than I can count, tweaking the temperature and the filling ratio until everything came out perfect every single time. Here is why this recipe earns a permanent spot in your dinner rotation:
- Quick and Easy: From start to finish, these tacos are ready in about 30 minutes. That is faster than takeout and way more satisfying.
- Simple Ingredients: You probably have most of these in your pantry right now. No fancy trips to a specialty store required.
- Perfect for Taco Tuesday: This is the kind of meal that makes a weeknight feel special without any extra stress. It is also fantastic for feeding a crowd.
- Crowd-Pleaser: Kids love the crunchy shell, and adults appreciate the lighter feel of ground turkey. Everyone wins.
- Unbelievably Delicious: The edges of the shell get toasty and crisp, while the seasoned meat stays juicy. It is a texture combination that feels like a cheat code.
What makes this recipe different from the rest is the technique. I do not pre-bake the shells or use any complicated tricks. The secret is in how you fill them and the oven temperature. The cheese acts as a seal, locking in moisture while the shell bakes to perfection. It is a simple twist that delivers professional-level results. This is comfort food reimagined—healthier, faster, and with the same soul-soothing satisfaction that makes you close your eyes after the first bite. Perfect for impressing guests without breaking a sweat.
What Ingredients You Will Need
This recipe uses simple, wholesome ingredients to deliver bold flavor and satisfying texture without the fuss. Most of these are pantry staples, which makes this dish perfect for a last-minute dinner idea.
For the Turkey Filling
- 1 tablespoon olive oil – For sautéing the aromatics. Avocado oil works great too.
- 1 small yellow onion, finely diced – Adds sweetness and depth to the meat.
- 3 cloves garlic, minced – Fresh garlic is non-negotiable here for the best flavor.
- 1 pound lean ground turkey – I prefer 93/7 for the best balance of flavor and moisture.
- 1 tablespoon chili powder – The backbone of your taco seasoning.
- 1 teaspoon ground cumin – Adds that warm, earthy note.
- 1 teaspoon smoked paprika – For a subtle smokiness.
- ½ teaspoon garlic powder – Because you can never have too much garlic.
- ½ teaspoon onion powder – Rounds out the savory profile.
- ½ teaspoon dried oregano – A classic Mexican oregano if you have it.
- ½ teaspoon salt – Adjust to taste.
- ¼ teaspoon black pepper – Freshly ground is best.
- ½ cup tomato sauce – Adds moisture and helps the seasoning coat the meat evenly.
- ¼ cup low-sodium chicken broth – Keeps the filling from drying out while baking.
For the Tacos
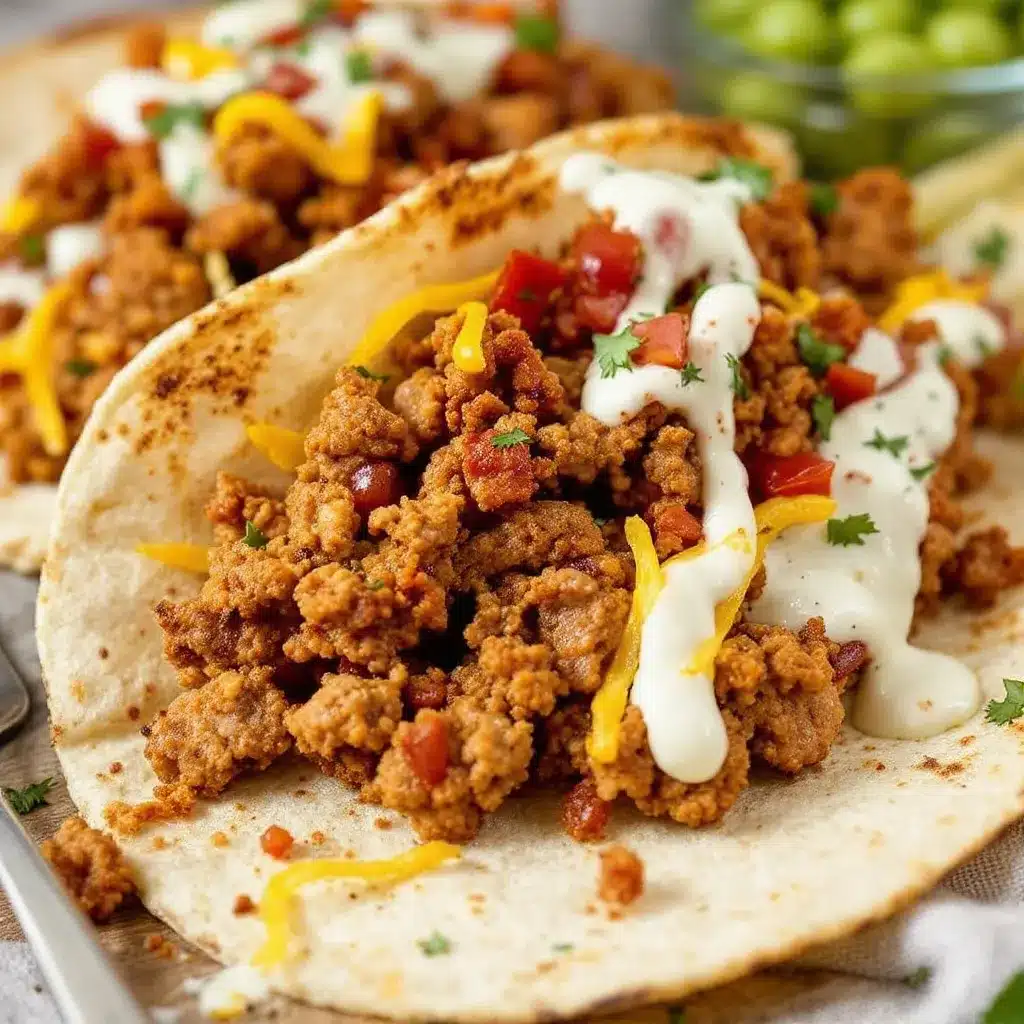
- 12 hard taco shells – I recommend the stand-up style shells for easy filling. Ortega or Old El Paso work well.
- 1 ½ cups shredded Mexican blend cheese – You can also use sharp cheddar or Monterey Jack.
Optional Toppings
- Shredded lettuce
- Diced tomatoes
- Sour cream or Greek yogurt
- Fresh cilantro, chopped
- Sliced jalapeños
- Salsa or pico de gallo
- Guacamole
Equipment Needed
You do not need a fancy kitchen to pull off these crispy baked ground turkey tacos. Here is what you will need:
- Large skillet – For cooking the turkey filling. A non-stick or cast-iron skillet works best.
- Wooden spoon or spatula – For breaking up the ground turkey as it cooks.
- 9×13-inch baking dish – This size fits 12 taco shells perfectly. A rimmed baking sheet works too, but the dish helps the shells stay upright.
- Measuring spoons and cups – Accuracy matters for the seasoning blend.
- Cheese grater – If you are shredding your own cheese (which I highly recommend for better melting).
- Small bowl – For mixing your spices if you are not using a pre-made packet.
If you do not have a 9×13 dish, you can use two smaller baking dishes or a large cast-iron skillet. Just make sure the shells are stable and not tipping over. A good pair of tongs also helps when serving, so the shells do not crack.
Preparation Method
Making these crispy baked ground turkey tacos is straightforward, but a few small details make all the difference. Follow these steps, and you will have a dinner that feels like a win.
- Preheat your oven to 400°F (200°C). Getting the oven hot is crucial for that crunch. While it heats up, start your filling.
- Heat the olive oil in a large skillet over medium-high heat. Add the diced onion and cook for about 3-4 minutes, until it becomes translucent and starts to soften. You want it fragrant but not browned.
- Add the minced garlic and cook for another 30 seconds, stirring constantly so it does not burn. The smell at this point should be incredible.
- Add the ground turkey to the skillet. Break it up with a wooden spoon and cook for about 5-7 minutes, until it is no longer pink. Do not overcook it, or it will dry out later in the oven.
- Drain any excess fat from the skillet if necessary. Lean ground turkey usually does not produce much, but it is worth checking.
- Add all the spices—chili powder, cumin, smoked paprika, garlic powder, onion powder, oregano, salt, and pepper. Stir to coat the meat evenly. Let it cook for about 1 minute to toast the spices and release their oils.
- Pour in the tomato sauce and chicken broth. Stir everything together and let it simmer for 2-3 minutes, until the liquid reduces slightly. The filling should be moist but not soupy. Taste it and adjust the salt or spice level if needed.
- Remove the skillet from the heat. The filling is ready to go into the shells.
- Arrange the taco shells standing up in your 9×13 baking dish. If they seem wobbly, you can nestle them together so they support each other.
- Spoon the turkey filling evenly into each shell. Do not overfill—you want about 2-3 tablespoons per shell. Leave a little room at the top for the cheese.
- Top each taco with a generous sprinkle of shredded cheese. Make sure some cheese touches the edges of the shell—this is what creates that crispy, cheesy crust.
- Bake for 10-12 minutes, until the cheese is melted and bubbly and the edges of the shells are golden brown. Keep an eye on them after 10 minutes to prevent burning.
- Remove from the oven and let the tacos rest in the dish for 2 minutes. This helps the filling set and makes the shells easier to handle.
- Serve immediately with your favorite toppings. The tacos are best right out of the oven while the shells are still crunchy.
Cooking Tips and Techniques
Over the years, I have made a few mistakes with these crispy baked ground turkey tacos so you do not have to. Here are my best tips for guaranteed success:
- Do not overfill the shells. I know it is tempting to pile in the meat, but too much filling will make the shells soggy. Stick to about 2-3 tablespoons per taco.
- Let the filling cool slightly. If you spoon piping hot filling into the shells, they can start to soften before they even hit the oven. A 2-minute rest on the counter helps.
- Use a high oven temperature. 400°F is the sweet spot. Too low, and the shells will dry out before they get crispy. Too high, and the cheese burns.
- Cheese is your best friend. Make sure the cheese covers the top of the filling and touches the edges of the shell. It acts as a barrier that keeps the shell crunchy while the filling stays warm.
- Line the baking dish with foil for easy cleanup. The cheese will bubble over, and trust me, scrubbing a dish with baked-on cheese is not fun.
- Do not skip the broth in the filling. The extra moisture is what keeps the ground turkey from drying out during the short bake time. It seems counterintuitive, but it works.
Variations and Adaptations
One of the best things about this recipe is how easy it is to adapt. Here are a few variations I have tried and loved:
- Spicy Version: Add 1-2 teaspoons of chipotle powder or a diced jalapeño to the filling. You can also use pepper jack cheese on top for an extra kick.
- Vegetarian Option: Swap the ground turkey for a plant-based crumble or finely chopped mushrooms. The seasoning works beautifully with both.
- Low-Carb Adaptation: Skip the hard shells and use large lettuce cups or cheese shells instead. Bake the filling in a dish and serve it like a taco bowl.
- Beef Swap: If you are out of turkey, ground beef works perfectly. Just drain the fat well before adding the spices.
- Extra Crunch: Sprinkle crushed tortilla chips or toasted pepitas over the cheese before baking. It adds another layer of texture that is amazing.
I once made a version with leftover quick cheesy ground beef quesadillas filling, and it was a fantastic mash-up. Do not be afraid to experiment with what you have on hand.
Serving and Storage Suggestions
These crispy baked ground turkey tacos are best enjoyed fresh out of the oven. That crunch is the star of the show. Serve them immediately with your favorite toppings like shredded lettuce, diced tomatoes, sour cream, and a squeeze of fresh lime juice. A side of creamy slow cooker chicken tortilla soup makes a wonderful pairing for a full taco night spread.
If you have leftovers, store the filling and shells separately. The filling keeps well in an airtight container in the refrigerator for up to 4 days. The baked shells will lose their crunch overnight, so it is best to store them in a separate container at room temperature. To reheat, warm the filling in a skillet and bake the shells at 350°F for 3-4 minutes to restore some crispiness. Assemble just before eating.
You can also freeze the turkey filling for up to 3 months. Thaw it overnight in the refrigerator and reheat it on the stovetop with a splash of broth to refresh the moisture. The flavors actually deepen over time, making it even better the next day.
Nutritional Information and Benefits
These crispy baked ground turkey tacos are a lighter take on a classic comfort food. Using lean ground turkey significantly reduces the saturated fat compared to traditional beef tacos, while still providing a solid amount of protein to keep you full. The hard shell adds a satisfying crunch without the oil of frying. Here is an approximate nutritional breakdown per taco (without toppings):
- Calories: 215
- Protein: 16g
- Fat: 11g
- Carbohydrates: 14g
- Fiber: 2g
- Sugar: 2g
The ground turkey is an excellent source of lean protein, which supports muscle health and keeps you satisfied. The spices like cumin and chili powder are rich in antioxidants and can aid digestion. If you are looking for a gluten-free option, just double-check your taco shells, as most are made from corn. This recipe is naturally nut-free and can be made dairy-free by using a vegan cheese alternative or skipping the cheese entirely.
Conclusion
These crispy baked ground turkey tacos have become a staple in my kitchen for good reason. They deliver everything you want from a taco—crunchy, savory, cheesy, and satisfying—without the mess and stress of frying. The oven does all the heavy lifting, leaving you with more time to actually enjoy your dinner. Whether you are feeding a family on a busy weeknight or hosting a casual taco bar for friends, this recipe never disappoints.
I love how versatile this dish is. You can spice it up, keep it mild, or load it with all the toppings your heart desires. It is the kind of meal that feels like a treat but fits easily into a healthy lifestyle. If you try this recipe, I would love to hear how it turns out. Leave a comment below and let me know your favorite topping combination. Do not forget to share your photos on social media and tag me—I love seeing your creations! Happy cooking, friends.
Frequently Asked Questions
Can I use soft tortillas instead of hard shells?
Yes, you can. The texture will be different—more like a soft taco casserole. You can brush the tortillas with a little oil and bake them for a few minutes to get them slightly crispy, or just leave them soft. The filling works great either way.
How do I keep the taco shells from getting soggy?
The key is not overfilling them and making sure the cheese covers the top of the meat. The cheese acts as a barrier that prevents moisture from softening the shell. Also, let the filling cool slightly before spooning it in.
Can I make this recipe ahead of time?
You can prepare the turkey filling up to 2 days in advance and store it in the refrigerator. When you are ready to eat, simply reheat the filling, assemble the tacos, and bake them fresh. The shells are best baked just before serving.
What is the best way to reheat leftover baked tacos?
For the best results, separate the filling from the shells. Reheat the filling in a skillet with a splash of broth, and crisp the shells in a 350°F oven for 3-4 minutes. Assemble just before eating to preserve the crunch.
Can I freeze the baked tacos?
I do not recommend freezing the assembled tacos because the shells will become very soft upon thawing. However, you can freeze the turkey filling in an airtight container for up to 3 months. Thaw it in the refrigerator overnight and reheat it before assembling fresh tacos.
Pin This Recipe!
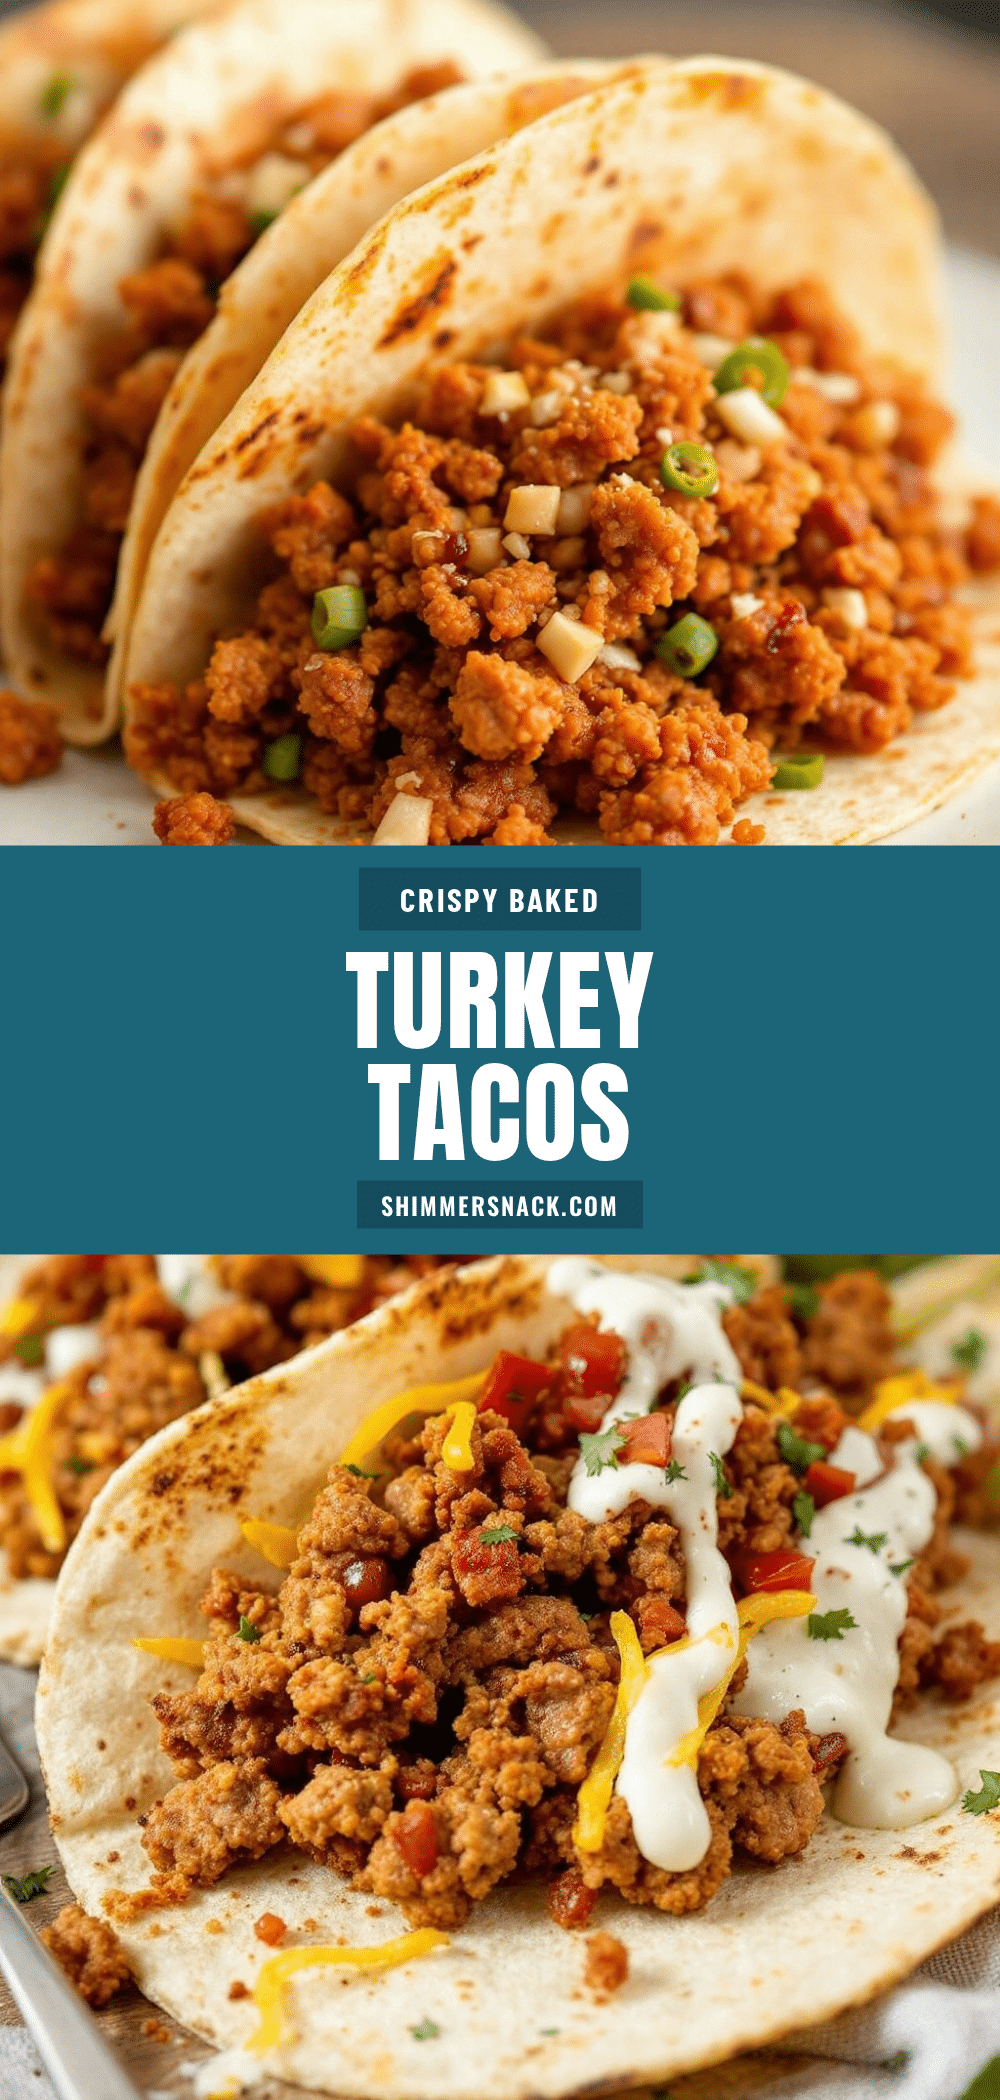
Crispy Baked Ground Turkey Tacos: Easy Weeknight Dinner

These crispy baked ground turkey tacos are a game-changer for taco night, delivering a satisfying crunch without the mess of deep frying. Ready in about 30 minutes, they are perfect for a quick and delicious weeknight dinner.
- Prep Time: 15 minutes
- Cook Time: 12 minutes
- Total Time: 27 minutes
- Yield: 4 servings 1x
- Category: Main Course
- Cuisine: Mexican
Ingredients
- 1 tablespoon olive oil
- 1 small yellow onion, finely diced
- 3 cloves garlic, minced
- 1 pound lean ground turkey (93/7)
- 1 tablespoon chili powder
- 1 teaspoon ground cumin
- 1 teaspoon smoked paprika
- ½ teaspoon garlic powder
- ½ teaspoon onion powder
- ½ teaspoon dried oregano
- ½ teaspoon salt
- ¼ teaspoon black pepper
- ½ cup tomato sauce
- ¼ cup low-sodium chicken broth
- 12 hard taco shells (stand-up style)
- 1 ½ cups shredded Mexican blend cheese
- Optional toppings: shredded lettuce, diced tomatoes, sour cream or Greek yogurt, fresh cilantro, sliced jalapeños, salsa or pico de gallo, guacamole
Instructions
- Preheat your oven to 400°F (200°C).
- Heat the olive oil in a large skillet over medium-high heat. Add the diced onion and cook for about 3-4 minutes, until translucent and softened.
- Add the minced garlic and cook for another 30 seconds, stirring constantly.
- Add the ground turkey to the skillet. Break it up with a wooden spoon and cook for about 5-7 minutes, until no longer pink.
- Drain any excess fat from the skillet if necessary.
- Add all the spices—chili powder, cumin, smoked paprika, garlic powder, onion powder, oregano, salt, and pepper. Stir to coat the meat evenly and cook for about 1 minute.
- Pour in the tomato sauce and chicken broth. Stir and let it simmer for 2-3 minutes until the liquid reduces slightly. Taste and adjust seasoning if needed.
- Remove the skillet from the heat.
- Arrange the taco shells standing up in a 9×13-inch baking dish.
- Spoon the turkey filling evenly into each shell, about 2-3 tablespoons per shell.
- Top each taco with a generous sprinkle of shredded cheese, making sure some cheese touches the edges of the shell.
- Bake for 10-12 minutes, until the cheese is melted and bubbly and the edges of the shells are golden brown.
- Remove from the oven and let the tacos rest in the dish for 2 minutes.
- Serve immediately with your favorite toppings.
Notes
Do not overfill the shells to prevent sogginess. Let the filling cool slightly before spooning into shells. Use a high oven temperature (400°F) for best crunch. Cheese acts as a barrier to keep shells crunchy. Line the baking dish with foil for easy cleanup. Do not skip the broth in the filling to keep the turkey moist.
Nutrition
- Serving Size: 3 tacos
- Calories: 645
- Sugar: 6
- Sodium: 1200
- Fat: 33
- Saturated Fat: 12
- Carbohydrates: 42
- Fiber: 6
- Protein: 48
Keywords: crispy baked ground turkey tacos, easy weeknight dinner, taco Tuesday, ground turkey recipe, baked tacos


