Love this? Save it for later!
Share the inspiration with your friends
The third quarter was winding down, and I was staring at a baking sheet piled high with tortilla chips, wondering if I had finally lost my mind. The living room was already a disaster zone of throw pillows and nacho-stained napkins, and the game was about to go into a timeout that would stretch into eternity. I had promised everyone “the best nachos ever” – a bold claim for someone who usually just dumped a bag of shredded cheese on chips and called it a day. But that day, with the clock ticking and a hungry crowd shifting impatiently on the couch, I needed a plan. I needed a system. I needed sheet pan nachos that didn’t turn into a soggy, uneven mess.
It wasn’t about being fancy. It was about survival. I had a pound of seasoned ground beef, a block of cheddar that needed using up, and a bag of chips that were about to meet their maker. The trick, I realized, was layering. Not just dumping everything on top, but building a foundation that could handle the heat without collapsing. I started with a sturdy chip, then a layer of meat and beans, then cheese, then another layer of chips, more meat, and a final blanket of cheese. It felt like architecture, not cooking.
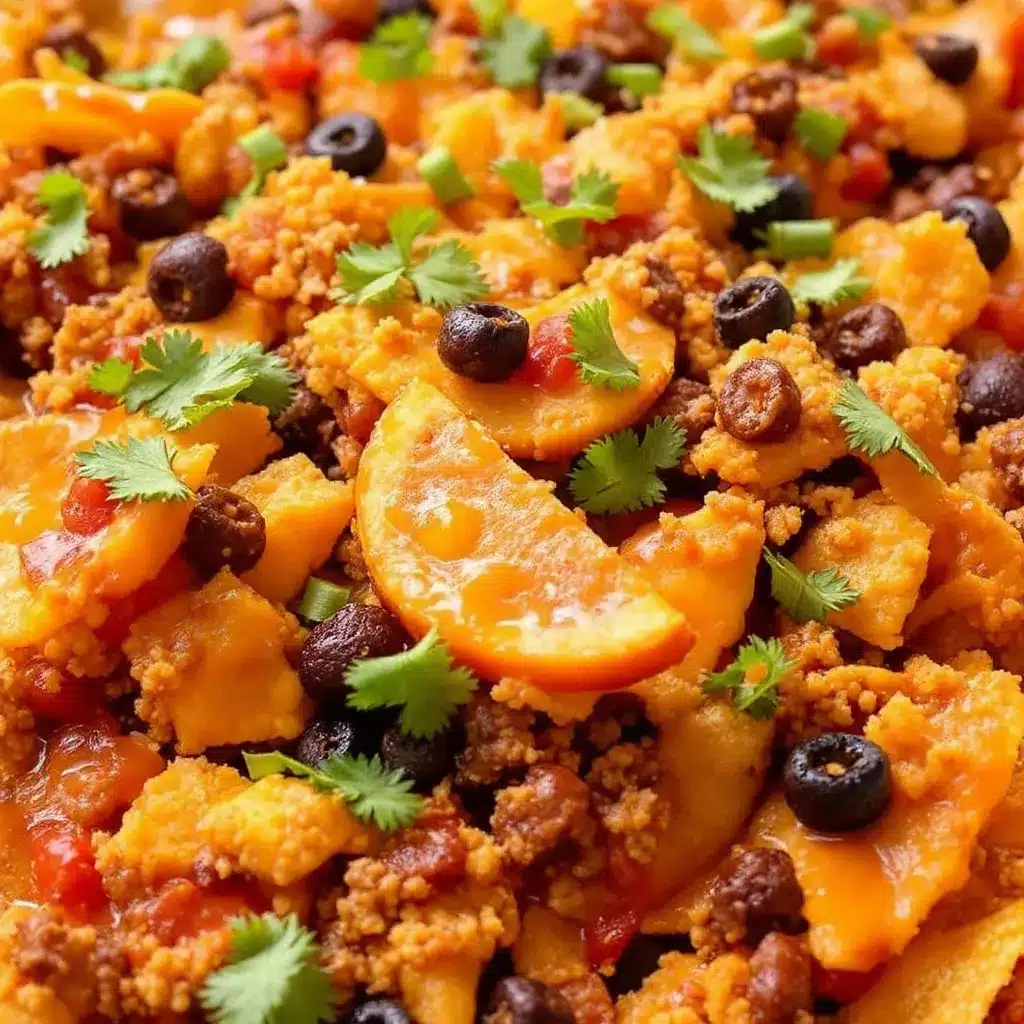
When I pulled that sheet pan out of the oven, the cheese was bubbling at the edges, and the kitchen smelled like a stadium concession stand. The first person to grab a chip didn’t just eat it—they paused. “Wait, these are actually good,” they said, which is about the highest praise you can get from a couch full of people who have already eaten their weight in Buffalo chicken dip. And honestly? That moment of quiet satisfaction, watching everyone dig in without a single complaint, is why this recipe stuck.
Why You’ll Love This Recipe
Look, I’ve made a lot of nachos in my day. Some were great. Most were just okay. But this sheet pan method? It’s a game-changer. It’s the kind of recipe that makes you look like a hero without actually doing all that much work. And let’s face it, when you’re hosting a crowd, that’s exactly what you need.
- Feeds a Crowd with Zero Fuss: This recipe scales beautifully. One sheet pan easily serves 6-8 people as a main course or 10-12 as an appetizer. No need for multiple batches or complicated plating.
- Perfect for Game Day (or Any Day): Whether it’s the Super Bowl, a playoff game, or just a Tuesday night, these nachos are the ultimate crowd-pleaser. They’re sturdy enough to hold up to dips and toppings, but still crispy and satisfying. Pair them with my football sugar cookies for the ultimate spread.
- Customizable to the Max: This is a choose-your-own-adventure recipe. Swap the beef for chicken, go vegetarian with black beans and corn, or load it up with every topping you can find. It’s impossible to mess up.
- No Soggy Chips, I Promise: The secret is in the layering and the baking time. We’re not just melting cheese; we’re creating a structural masterpiece that stays crunchy until the last bite. No more digging through a pile of sad, wet chips.
- Ready in Under 30 Minutes: From start to finish, you can have these on the table in about 25 minutes. That’s faster than delivery and way more impressive.
This recipe isn’t just good. It’s the kind of nachos that makes you close your eyes after the first bite. It’s comfort food at its finest—easy, satisfying, and guaranteed to disappear in minutes.
Ingredients Needed
This recipe uses simple, everyday ingredients to deliver maximum flavor. You probably have most of these in your pantry and fridge right now. The key is using quality ingredients where it counts—good cheese and well-seasoned meat make all the difference.
For the Nacho Base
- 1 (13-ounce) bag restaurant-style tortilla chips (I prefer Tostitos or a thick, sturdy brand—thin chips will break under the weight)
- 1 pound ground beef (80/20) (or ground turkey, chicken, or plant-based crumbles)
- 1 tablespoon chili powder
- 1 teaspoon ground cumin
- 1 teaspoon smoked paprika
- 1/2 teaspoon garlic powder
- 1/2 teaspoon onion powder
- 1/2 teaspoon salt
- 1/4 teaspoon black pepper
- 1 (15-ounce) can black beans, drained and rinsed (or pinto beans)
- 1 (15-ounce) can fire-roasted diced tomatoes, drained (or Rotel for extra heat)
- 3 cups shredded Mexican blend cheese (or a mix of sharp cheddar and Monterey Jack)
- 1 cup shredded pepper jack cheese (for a little kick)
For the Toppings (Optional, But Recommended)
- 1/2 cup sour cream
- 1/2 cup guacamole (store-bought or homemade)
- 1/2 cup pico de gallo or salsa
- 1/4 cup pickled jalapeños (I love using my spicy pickled jalapeños with habanero and lime for an extra kick)
- 1/4 cup chopped fresh cilantro
- 1 ripe avocado, diced
- 1 lime, cut into wedges
Ingredient Tips: For the best texture, use a block of cheese and shred it yourself. Pre-shredded cheese has anti-caking agents that prevent it from melting as smoothly. Also, don’t skip draining the tomatoes and beans—excess liquid is the enemy of crispy nachos. If you’re using a leaner ground meat (like 93/7), add a tablespoon of olive oil to the pan when browning to keep it from drying out.
Equipment Needed
You don’t need fancy equipment for this recipe, but having the right tools makes the process smoother. Here’s what you’ll need:
- Large rimmed baking sheet (half-sheet pan, 18×13 inches): This is non-negotiable. A rimmed sheet pan keeps everything contained and allows for even heating. A cookie sheet without edges will result in cheese dripping all over your oven floor.
- Large skillet or frying pan: For browning the meat. A 12-inch skillet works perfectly.
- Cheese grater: If you’re shredding your own cheese (which you should), a box grater or a food processor with a shredding disc will save you time.
- Cutting board and sharp knife: For prepping toppings like jalapeños, cilantro, and avocado.
- Spatula or wooden spoon: For breaking up the meat as it cooks.
- Aluminum foil or parchment paper: For easy cleanup. I line my sheet pan with foil for zero mess.
Budget-Friendly Tip: If you don’t have a half-sheet pan, you can use two smaller baking sheets. Just divide the ingredients evenly and rotate the pans halfway through baking. Also, a good quality non-stick skillet is worth the investment—it makes cleanup a breeze and prevents the meat from sticking.
Preparation Method
This is where the magic happens. Follow these steps carefully, and you’ll have nachos that are crispy, cheesy, and perfectly layered. Don’t rush the layering—it’s the key to success.
- Preheat your oven to 400°F (200°C). Position a rack in the middle of the oven. While it’s heating, line your sheet pan with aluminum foil or parchment paper for easy cleanup.
- Cook the seasoned beef. Heat a large skillet over medium-high heat. Add the ground beef and cook, breaking it up with a spatula, until browned and no longer pink, about 5-7 minutes. Drain off any excess fat (leave about a tablespoon for flavor). Add the chili powder, cumin, smoked paprika, garlic powder, onion powder, salt, and pepper. Stir to coat the meat evenly. Cook for another minute until fragrant. If using a leaner meat, add a splash of water or broth to keep it moist.
- Add the beans and tomatoes. Reduce the heat to medium. Stir in the drained black beans and fire-roasted tomatoes. Cook for 2-3 minutes, just until everything is heated through and the flavors meld. Remove from heat and set aside.
- Layer the chips (first layer). Spread about half of the tortilla chips in an even layer on the prepared sheet pan. Make sure they’re in a single layer as much as possible—overlapping is okay, but don’t pile them too high. You want every chip to get some love.
- Add the first layer of toppings. Spoon half of the beef and bean mixture evenly over the chips. Sprinkle with 1 1/2 cups of the shredded Mexican blend cheese and 1/2 cup of the pepper jack cheese. This is the foundation layer.
- Layer the chips (second layer). Arrange the remaining chips on top of the first layer. Try to position them so they cover any gaps, creating a sturdy second story.
- Add the second layer of toppings. Spoon the remaining beef and bean mixture over the chips. Top with the remaining 1 1/2 cups of Mexican blend cheese and 1/2 cup of pepper jack cheese. This double-layer approach ensures every chip has some meat and cheese, even the ones on the bottom.
- Bake to perfection. Place the sheet pan in the preheated oven and bake for 10-12 minutes, or until the cheese is fully melted and bubbly, and the edges of the chips are starting to turn golden brown. Keep an eye on it—you want melted cheese, not burnt chips. If your oven runs hot, check at the 8-minute mark.
- Add fresh toppings. Remove the sheet pan from the oven and let it cool for 2-3 minutes. This allows the cheese to set slightly so it doesn’t slide off when you add toppings. Then, scatter the pickled jalapeños, diced avocado, and fresh cilantro over the top. Dollop with sour cream and guacamole, and add spoonfuls of pico de gallo or salsa.
- Serve immediately. Squeeze a lime wedge over the whole thing for a bright, acidic finish. Serve straight from the sheet pan—it’s part of the charm. Provide small plates and forks (or just let everyone dig in with their hands).
Sensory Cues: When you pull the pan out of the oven, you should hear a gentle sizzle. The cheese should be stretchy and golden, not brown or burnt. The chips at the edges will be darker and extra crispy—those are the best ones. The kitchen will smell like a perfect blend of smoky chili, melted cheese, and toasted corn.
Cooking Tips & Techniques
I’ve made every mistake in the book when it comes to nachos. Soggy chips. Burnt edges. Cheese that slid off in one giant sheet. But after dozens of trials (and a few failures), I’ve learned a few tricks that guarantee success every time.
- Don’t overcrowd the pan. It’s tempting to pile everything on, but if the chips are stacked too high, the ones in the middle won’t get crispy. Stick to two layers max. If you need to feed more people, use two sheet pans.
- Use room temperature ingredients. Cold cheese takes longer to melt, which means the chips spend more time in the oven and can burn. Let your shredded cheese sit out for 15-20 minutes before assembling.
- Pre-toast your chips (optional but brilliant). For extra-crispy nachos, spread the chips on the sheet pan and bake them for 3-4 minutes before adding any toppings. This dries them out and makes them more resistant to sogginess.
- Drain everything. Wet ingredients are the enemy. Drain the beans, drain the tomatoes, and even blot the ground beef with a paper towel if it seems greasy. Every drop of liquid you remove is a chip saved from sogginess.
- Watch the oven like a hawk. Ovens vary wildly. At 400°F, my nachos are perfect at 11 minutes. My friend’s oven takes 14 minutes. Start checking at 8 minutes and go from there. The cheese should be fully melted and the chips should be lightly browned at the edges.
Variations & Adaptations
This recipe is endlessly adaptable. Here are some of my favorite ways to switch it up, depending on who I’m feeding or what I have in the fridge.
- Chicken Nachos: Swap the ground beef for shredded rotisserie chicken or cooked, shredded chicken breast. Toss it with the same spices and a splash of chicken broth to keep it moist. This is a great way to use up leftover chicken.
- Vegetarian Nachos: Skip the meat entirely and double up on the beans. Use a mix of black beans and pinto beans, and add a cup of corn kernels (fresh, frozen, or canned) and a diced bell pepper. The extra veggies add texture and sweetness.
- Breakfast Nachos: Who says nachos are only for dinner? Swap the beef for crumbled breakfast sausage or chorizo, and top with a fried egg or two. Use a milder cheese like cheddar or Colby Jack, and finish with a drizzle of hot sauce.
- Low-Carb Nachos: Replace the tortilla chips with pork rinds or baked cheese crisps. The rest of the recipe stays the same. It’s not exactly the same experience, but it’s a surprisingly good alternative for keto or low-carb diets.
- Spicy Nachos: Amp up the heat by using hot ground sausage instead of beef, adding a diced jalapeño to the meat mixture, and using habanero cheddar cheese. Top with extra pickled jalapeños and a drizzle of sriracha or chipotle crema.
Personal Variation: My absolute favorite version is what I call “Loaded Leftover Nachos.” I use whatever leftover protein I have from the week—shredded pork, grilled steak, or even meatballs cut into pieces. I toss it with the same spices and proceed as usual. It’s never the same twice, and it’s always delicious.
Serving & Storage Suggestions
These nachos are best served immediately, straight from the oven. But life happens, and sometimes you have leftovers (though honestly, that’s rare with this recipe).
Serving: Serve the nachos directly on the sheet pan for a casual, family-style presentation. Place it in the center of the table with small plates and forks. If you’re feeling fancy, transfer the nachos to a large platter, but be gentle—they can break apart. For a game day party, set out bowls of extra toppings (sour cream, guacamole, salsa, jalapeños) so everyone can customize their own plate.
Complementary Dishes: These nachos pair beautifully with a creamy cheeseburger potato soup for a hearty game day spread. For a lighter option, serve them alongside a simple green salad with a lime-cilantro vinaigrette. And of course, you can’t go wrong with a cold beer or a pumpkin chai latte if you’re feeling autumnal.
Storage: If you have leftovers (lucky you), let them cool completely, then transfer to an airtight container. Store in the refrigerator for up to 2 days. The chips will soften significantly, so they won’t be as crispy, but the flavor will still be great.
Reheating: The best way to reheat nachos is in the oven. Spread them on a sheet pan and bake at 350°F (175°C) for 5-7 minutes, or until heated through. Avoid the microwave—it will turn the chips into a sad, soggy mess. If you’re in a hurry, you can use an air fryer at 350°F for 3-4 minutes.
Flavor Development: Honestly, the flavors actually meld together beautifully overnight. The next day, the nachos taste even more cohesive, like all the ingredients have had a chance to get to know each other. The texture won’t be the same, but the taste is still fantastic.
Nutritional Information & Benefits
Let’s be real: nachos aren’t health food. But they can be part of a balanced diet when enjoyed in moderation. Here’s a rough estimate per serving (based on 8 servings, including typical toppings):
- Calories: Approximately 450-550 per serving
- Protein: 22-28 grams
- Fat: 28-35 grams
- Carbohydrates: 35-45 grams
- Fiber: 6-8 grams
- Sodium: 800-1000 mg (varies based on cheese and chips)
Health Benefits: Despite being indulgent, this recipe does have some redeeming qualities. The black beans are packed with fiber and plant-based protein, which help keep you full and support digestive health. The tomatoes provide lycopene, a powerful antioxidant. And the avocado offers healthy monounsaturated fats that are good for your heart. If you use lean ground beef, you’re also getting a solid dose of iron and B vitamins.
Dietary Considerations: This recipe can be made gluten-free by using certified gluten-free tortilla chips (most are, but check the label). It’s also naturally nut-free and egg-free. For a lower-sodium version, use low-sodium beans and cheese, and go easy on the salt in the meat seasoning.
Personal Wellness Perspective: I believe in balance. I’ll eat a big plate of these nachos on game day, and then I’ll have a lighter meal the next day. It’s not about deprivation; it’s about enjoying the foods you love without guilt. These nachos are worth every single calorie.
Conclusion
These Easy Sheet Pan Nachos for a Crowd are more than just a recipe—they’re a solution. They solve the problem of feeding a hungry group without spending hours in the kitchen. They solve the disappointment of soggy, uneven nachos. And they solve the eternal question of what to serve on game day that everyone will actually love.
I’ve made this recipe for Super Bowl parties, casual get-togethers, and even quiet nights when I just wanted something comforting. Every single time, the sheet pan comes back empty. That’s the kind of recipe you keep in your back pocket, ready to pull out whenever you need to impress without stress.
So go ahead. Customize it. Make it your own. Pile on your favorite toppings, swap in whatever protein you have, and don’t be afraid to get a little messy. That’s what nachos are all about. And when you take that first bite—crispy chip, melted cheese, seasoned meat, fresh toppings—you’ll know exactly why this recipe works.
I’d love to hear how yours turn out! Drop a comment below and let me know what variations you tried, or tag me in your photos on social media. Happy snacking!
Frequently Asked Questions
Can I make these nachos ahead of time?
You can prep the components ahead of time, but I don’t recommend assembling and baking them in advance. The chips will get soggy. Instead, cook the seasoned meat and bean mixture up to 2 days ahead and store it in the fridge. Shred your cheese and prep your toppings. When you’re ready to serve, just assemble and bake. It takes less than 15 minutes.
What’s the best way to reheat leftover nachos?
The oven or air fryer is your best bet. Spread the leftovers on a sheet pan and bake at 350°F (175°C) for 5-7 minutes. The chips won’t be as crispy as the first time, but they’ll be much better than microwaved nachos. If you use an air fryer, go for 3-4 minutes at 350°F.
Can I use a different type of meat?
Absolutely. Ground turkey, chicken, pork, or even shredded rotisserie chicken all work great. For a vegetarian option, use plant-based crumbles or double up on the beans. Just make sure to season whatever you use well—the spices are what give the nachos their signature flavor.
How do I prevent the chips from getting soggy?
Three golden rules: 1) Drain all wet ingredients (beans, tomatoes, meat) thoroughly. 2) Use sturdy, restaurant-style chips—thin chips will break down. 3) Don’t overload the pan with toppings. Stick to two layers of chips and a moderate amount of meat and cheese. Also, pre-toasting the chips for 3-4 minutes before adding toppings helps a ton.
Can I make these nachos in a slow cooker or on the grill?
You can, but the texture will be different. For a slow cooker, layer the chips, meat, and cheese in the crock and cook on low for 1-2 hours. The chips will be soft, almost like a nacho casserole. For the grill, use a disposable aluminum pan and cook over indirect heat at 375°F (190°C) for about 10 minutes. Keep the lid closed to melt the cheese evenly.
Pin This Recipe!
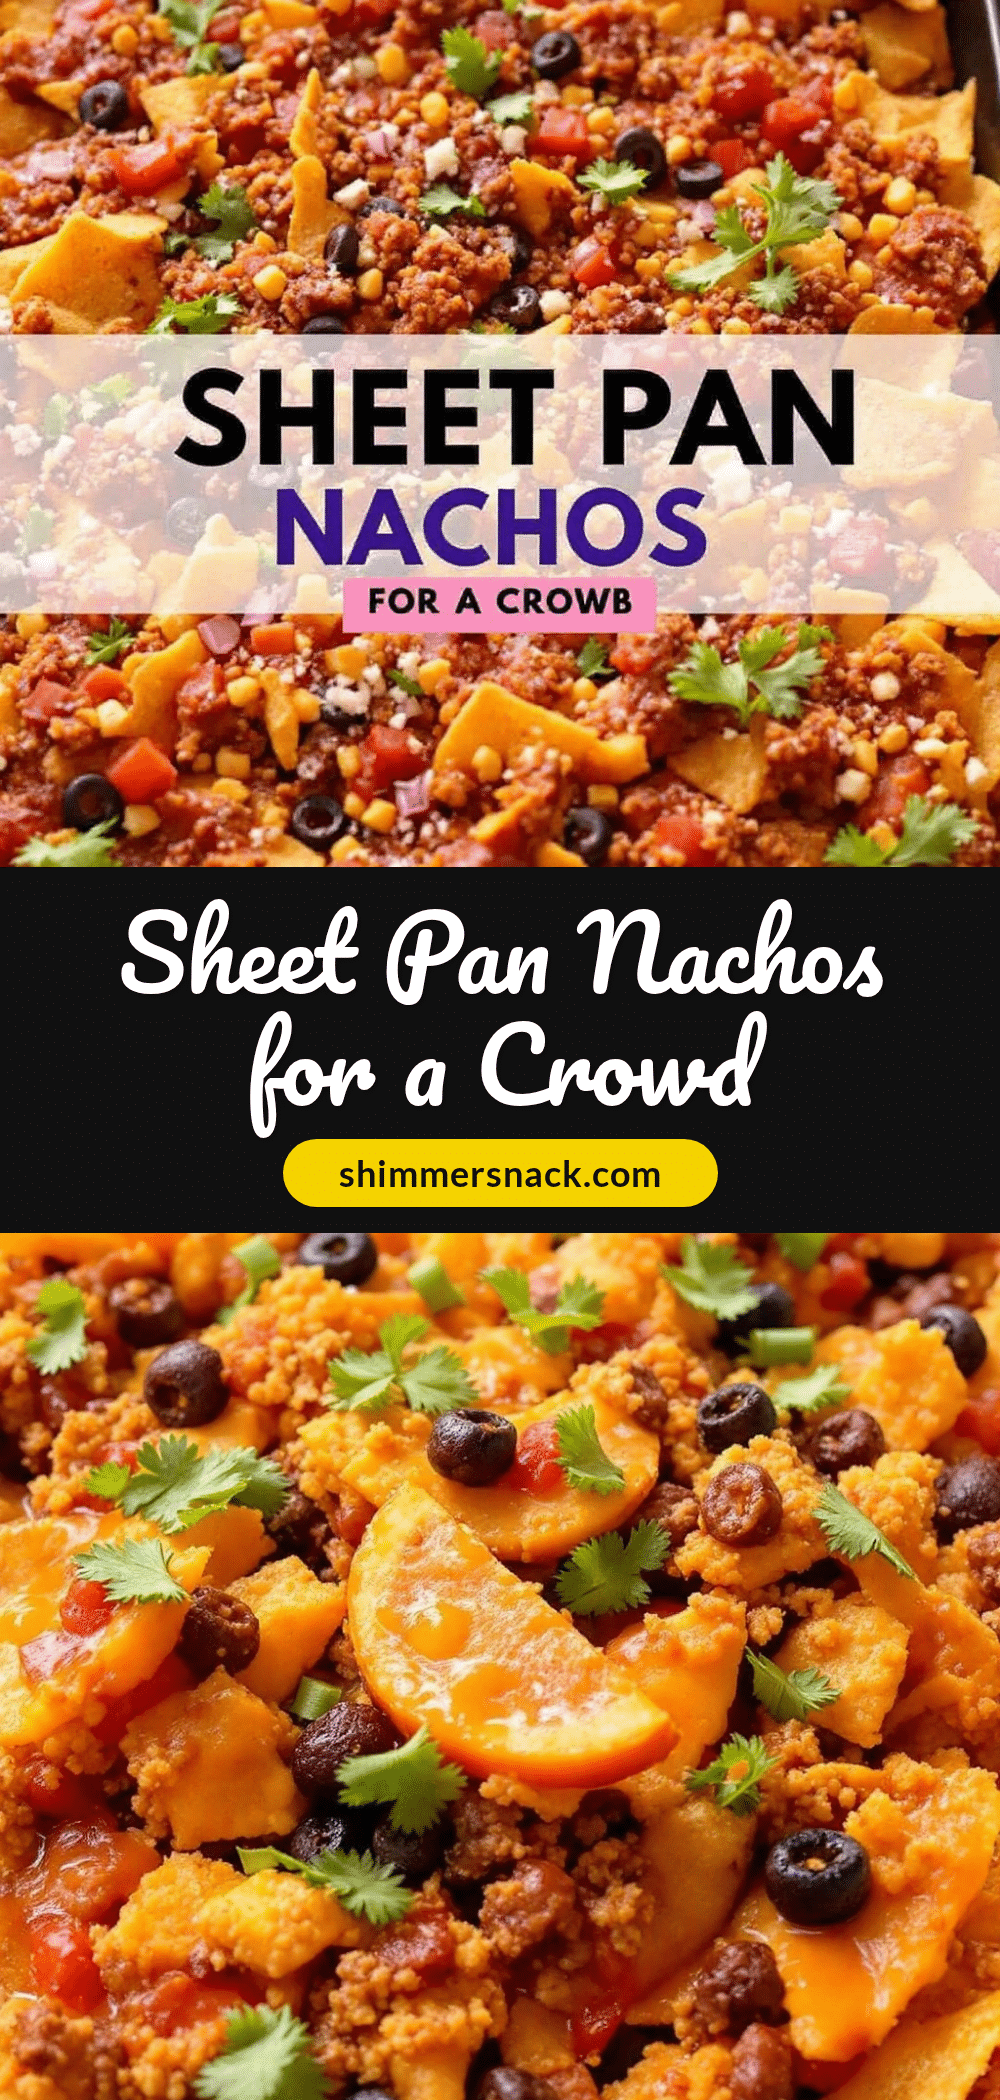
Easy Sheet Pan Nachos for a Crowd: Best Game Day Recipe

These sheet pan nachos are the ultimate crowd-pleaser, featuring crispy tortilla chips layered with seasoned ground beef, black beans, fire-roasted tomatoes, and a blend of melted cheeses. Ready in under 30 minutes, they’re perfect for game day or any gathering.
- Prep Time: 15 minutes
- Cook Time: 12 minutes
- Total Time: 27 minutes
- Yield: 8 servings 1x
- Category: Main Course
- Cuisine: Mexican-American
Ingredients
- 1 (13-ounce) bag restaurant-style tortilla chips
- 1 pound ground beef (80/20)
- 1 tablespoon chili powder
- 1 teaspoon ground cumin
- 1 teaspoon smoked paprika
- 1/2 teaspoon garlic powder
- 1/2 teaspoon onion powder
- 1/2 teaspoon salt
- 1/4 teaspoon black pepper
- 1 (15-ounce) can black beans, drained and rinsed
- 1 (15-ounce) can fire-roasted diced tomatoes, drained
- 3 cups shredded Mexican blend cheese
- 1 cup shredded pepper jack cheese
- 1/2 cup sour cream
- 1/2 cup guacamole
- 1/2 cup pico de gallo or salsa
- 1/4 cup pickled jalapeños
- 1/4 cup chopped fresh cilantro
- 1 ripe avocado, diced
- 1 lime, cut into wedges
Instructions
- Preheat your oven to 400°F (200°C). Position a rack in the middle of the oven. Line a large rimmed baking sheet with aluminum foil or parchment paper.
- Heat a large skillet over medium-high heat. Add the ground beef and cook, breaking it up with a spatula, until browned and no longer pink, about 5-7 minutes. Drain off excess fat, leaving about a tablespoon for flavor.
- Add chili powder, cumin, smoked paprika, garlic powder, onion powder, salt, and pepper to the beef. Stir to coat evenly and cook for another minute until fragrant.
- Reduce heat to medium. Stir in the drained black beans and fire-roasted tomatoes. Cook for 2-3 minutes until heated through. Remove from heat and set aside.
- Spread about half of the tortilla chips in an even layer on the prepared sheet pan, ensuring they are mostly in a single layer.
- Spoon half of the beef and bean mixture evenly over the chips. Sprinkle with 1 1/2 cups of the shredded Mexican blend cheese and 1/2 cup of the pepper jack cheese.
- Arrange the remaining chips on top of the first layer, covering any gaps.
- Spoon the remaining beef and bean mixture over the chips. Top with the remaining 1 1/2 cups of Mexican blend cheese and 1/2 cup of pepper jack cheese.
- Bake for 10-12 minutes, or until the cheese is fully melted and bubbly, and the edges of the chips are starting to turn golden brown.
- Remove from the oven and let cool for 2-3 minutes. Scatter pickled jalapeños, diced avocado, and fresh cilantro over the top. Dollop with sour cream and guacamole, and add spoonfuls of pico de gallo or salsa.
- Squeeze a lime wedge over the whole thing and serve immediately straight from the sheet pan.
Notes
For best results, shred your own cheese from a block to avoid anti-caking agents. Drain all wet ingredients thoroughly to prevent soggy chips. Pre-toast chips for 3-4 minutes before adding toppings for extra crispiness. Use room temperature cheese for even melting.
Nutrition
- Serving Size: 1 serving (approxima
- Calories: 500
- Sugar: 4
- Sodium: 900
- Fat: 31
- Saturated Fat: 12
- Carbohydrates: 40
- Fiber: 7
- Protein: 25
Keywords: sheet pan nachos, game day nachos, easy nachos, crowd-pleasing nachos, beef nachos, loaded nachos


