Love this? Save it for later!
Share the inspiration with your friends
My toddler stared at the plate, eyes wide, and then quietly pushed his plate away. It wasn’t that he didn’t like cheese. He loves cheese. It was the little strip of dough that looked suspiciously like a bandage wrapped around the golden wheel. He asked if the brie was “haunted.” I laughed, took a bite of the crispy pastry, and realized I had accidentally created a Halloween horror story instead of a cute snack. Honestly, it was the funniest thing I have seen all month.
That moment changed how I approach party food. We spend so much time trying to make things look perfect, but kids—and honestly, most adults—respond to playfulness. The “Crispy Mummy-Wrapped Brie with Crackers” started as a way to use up leftover puff pastry sheets. I was tired of buying ingredients for recipes I would only use once. Puff pastry is expensive if you don’t use the whole package. So, I wrapped a whole wheel of brie in strips, baked it until golden, and served it with a stack of sturdy crackers.
The smell of baking butter and melted cheese filled the kitchen. It smelled like comfort, not fear. When I brought it out, the mood at the table shifted. The “haunted” comment turned into laughter. Everyone reached for the crackers. The crispy exterior gave way to the creamy center, and suddenly, the fear of the “monster” vanished. It was just delicious food.
I kept making it because it works. It works for Halloween parties where you need something that looks spooky but tastes like a hug. It works for casual Tuesday dinners when you want to feel fancy without doing any real work. The reaction from my family was the best review I could ask for. They stopped asking if it was haunted and started asking for the recipe. That is the real magic of this dish. It turns a simple ingredient into a memorable moment.
Why You’ll Love This Recipe
Let’s face it, most appetizers are just an afterthought. You throw some nuts on a board or buy a bag of chips, and hope for the best. This recipe is different. It is the kind of dish that makes people stop scrolling on their phones and actually look at what is in front of them. Here is why this mummy brie deserves a spot in your rotation.
- Quick & Easy: You know how it goes. You want something impressive, but you don’t have hours. This comes together in under 30 minutes from start to finish. The puff pastry does all the heavy lifting. You just wrap, bake, and serve.
- Simple Ingredients: No fancy grocery trips needed. You likely already have puff pastry in your freezer and a wheel of brie in your fridge. If you don’t, it is a cheap trip to the store. No obscure spices or hard-to-find items.
- Perfect for Parties: Great for Halloween, game day, or just a cozy night in. It is a crowd-pleaser because it is interactive. People love dipping. It gets rave reviews from kids who think it is a game and adults who appreciate the quality of the cheese.
- Unbelievably Delicious: The texture combo is next-level. You get the shatteringly crisp, buttery layers of the pastry against the warm, gooey, salty brie inside. It is comfort food reimagined. It’s not just good; it is the kind of bite that makes you close your eyes.
- Visual Impact: This isn’t just another version of baked brie. The mummy shape is unique. It stands out on a table full of dips and spreads. It looks like you spent hours when you spent minutes.
This recipe isn’t just about feeding people. It is about creating a vibe. It’s the kind of snack that turns a simple gathering into a celebration. You don’t need to be a chef to make it work. You just need a little patience with the pastry strips and an oven. It is healthier than fried appetizers, faster than a slow-cooker dish, but with the same soul-soothing satisfaction. Perfect for impressing guests without stress, or turning a simple meal into something memorable.
What Ingredients You Will Need
This recipe uses simple, wholesome ingredients to deliver bold flavor and satisfying texture without the fuss. The beauty here is in the contrast. You have the rich, fatty cheese balanced by the crisp, neutral pastry. Most of these items are pantry staples or freezer staples that you probably already have.
- Whole Wheel of Brie (8-10 oz): This is the star. Look for a small-curd, soft-ripened brie. I recommend brands like Bel Paese or a local artisanal wheel from the cheese counter. Avoid pre-sliced brie; it won’t hold its shape as well. The cheese needs to be whole so it melts evenly.
- Puff Pastry Sheets (1 or 2 boxes): You can use thawed frozen puff pastry or refrigerated sheets. Thawed frozen pastry often gives a flakier result because the layers are more distinct. Make sure it is fully thawed before you start wrapping, or it will crack.
- Egg Wash: One large egg beaten with a tablespoon of water or milk. This is crucial for getting that golden, shiny crust. Don’t skip this step. It gives the pastry that professional bakery look.
- Sesame Seeds or Poppy Seeds (Optional): These add the “eyes” or texture to the mummy. Sesame seeds are traditional for a mummy look, but poppy seeds work too. You can also skip them if you want a smoother pastry finish.
- Sturdy Crackers: You need crackers that can hold the weight of the cheese. Water crackers, plain baguette slices, or sturdy wheat crackers work best. Avoid thin, delicate crackers that might break when you dip them into the gooey cheese.
- Apricot Jam or Fig Jam (Optional): A small side dish of jam adds a sweet contrast to the salty cheese. It is a classic pairing. If you have leftover jam from another recipe, this is a great way to use it up.
The key to success here is the quality of the brie. If it is too hard, it won’t melt. If it is too runny, it might leak out (though a little leak is delicious). Look for a brie that yields slightly to gentle pressure. Also, keep your pastry cold until the last minute. Warm pastry is sticky and hard to work with. If your kitchen is hot, pop the wrapped brie back in the fridge for 10 minutes before baking. This helps the layers stay separate and crisp.
Equipment Needed
You don’t need a fancy kitchen to make this. A few basic tools will get you the best results.
- Baking Sheet: A standard half-sheet pan is perfect. Line it with parchment paper. This is non-negotiable for easy cleanup. The cheese can bubble over, and parchment catches it all.
- Parchment Paper: As mentioned, lining the pan is essential. It prevents sticking and makes cleanup a breeze. If you don’t have parchment, you can use a silicone baking mat, but parchment is cheaper and easier to dispose of.
- Pastry Brush: For the egg wash. A silicone brush is easier to clean than a bristle brush. Just make sure you brush the pastry evenly for a consistent color.
- Sharp Knife: You don’t need to cut the brie, but you might need to trim the pastry strips if they are too long. A sharp knife makes clean cuts without squishing the cheese.
- Rolling Pin (Optional): If your puff pastry sheets are too large for your baking pan, you might need to roll them out slightly. A rolling pin helps thin them evenly.
If you don’t have a baking sheet, a large cast-iron skillet can work if you are serving directly from the oven. However, a sheet pan is easier for transferring the mummy in and out. Budget-friendly option: Use whatever baking pan you have. The result is the same. Just ensure it fits in your oven.
Preparation Method
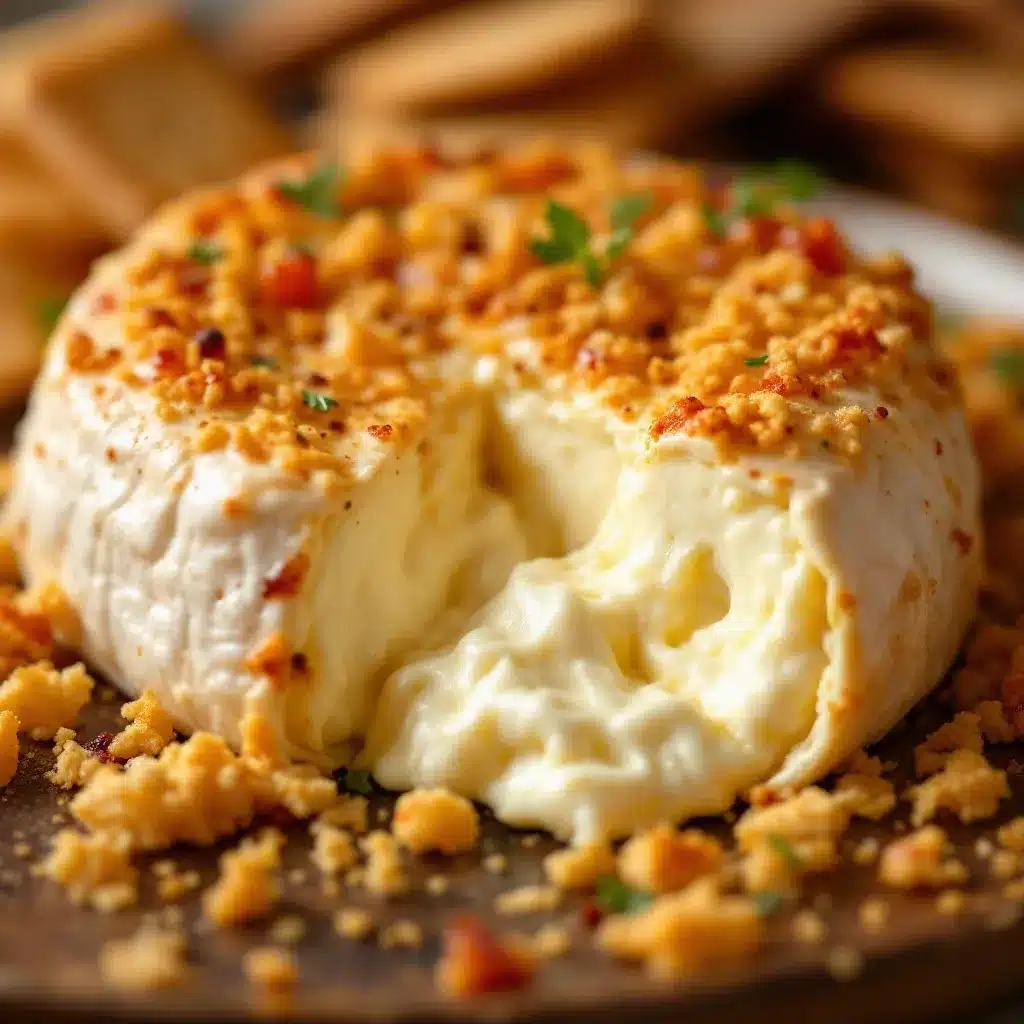
Making this is easier than it looks. The trick is to work quickly so the pastry stays cold. Here is how to do it step by step.
- Preheat the Oven: Start by preheating your oven to 400°F (200°C). Place a rack in the center position. This ensures even heating. Let it fully preheat while you prep the ingredients.
- Prepare the Brie: Take the wheel of brie out of the fridge. Remove the wax or plastic wrapper. If there is a white paper lining, remove that too. Pat it dry with a paper towel. This helps the pastry stick better. Place the brie in the center of a large piece of parchment paper.
- Roll Out the Pastry: Unroll your puff pastry sheets onto a lightly floured surface. If using two sheets, overlap them slightly to create a large enough rectangle to wrap the brie. Roll them out gently to smooth out any creases. Do not roll too thin; you want layers.
- Cut the Strips: Cut the pastry into strips that are about 1.5 to 2 inches wide. You will need about 6-8 strips to wrap the brie completely. The strips should be long enough to go around the brie and overlap slightly.
- Wrap the Brie: Start wrapping the strips around the brie like a mummy. Leave the top and bottom exposed. This allows the cheese to melt and ooze out slightly. Overlap the strips slightly to ensure no cheese is exposed. Tuck the ends under the brie to secure them. It should look like a wrapped bundle.
- Add the Eyes: If using seeds, press them into the top of the pastry to create eyes. Two sesame seeds for eyes, maybe a third for a nose if you want a face. This is the fun part. Get creative.
- Egg Wash: Beat the egg with water. Brush the pastry strips generously with the egg wash. Make sure to get into the crevices. This will give it a golden brown color. If you skip this, the pastry will look pale and dry.
- Chill (Optional but Recommended): Place the wrapped brie in the fridge for 10-15 minutes. This helps the pastry set and prevents it from shrinking too much in the oven. It also keeps the butter cold, which creates flakier layers.
- Bake: Transfer the baking sheet to the oven. Bake for 15-20 minutes, or until the pastry is puffed and golden brown. Keep an eye on it after 15 minutes. If the top is browning too fast, cover it loosely with foil.
- Cool and Serve: Let it cool for 5 minutes. The cheese will be extremely hot. Serve immediately with crackers and jam. The contrast of hot cheese and cool crackers is perfect.
Watch for bubbles forming in the pastry. This means the cheese is melting. If you see cheese leaking out, don’t panic. It’s delicious. Just scoop it up with a cracker. The key is not to open the oven too often, as the temperature drop can affect the rise.
Cooking Tips & Techniques
There are a few tricks I’ve learned over the years to make this recipe foolproof. The biggest mistake people make is letting the pastry get too warm.
- Keep it Cold: If your kitchen is warm, work in short bursts. Put the pastry back in the fridge if it starts to stick. Cold pastry equals flaky pastry. Warm pastry equals dense, soggy pastry.
- Don’t Overlap Too Much: You want the strips to overlap slightly to cover the cheese, but if you overlap too much, the pastry will be thick and doughy in spots. Aim for a single layer with just a tiny overlap.
- Leave the Ends Open: Leaving the top and bottom open allows the steam to escape. If you seal it completely, the pressure can build up and burst the pastry. You want the cheese to ooze, not explode.
- Use a Thawed Pastry: If you use frozen pastry, let it thaw in the fridge overnight. Do not use the microwave. Microwave thawing makes the pastry rubbery. Thawed pastry rolls out smoothly and bakes evenly.
- Check the Oven Temp: Ovens vary. If your oven runs hot, check the brie at 15 minutes. If it runs cool, it might take 25 minutes. Use your eyes, not just the timer.
I once tried to use phyllo dough instead of puff pastry. It was a disaster. The phyllo dried out and became brittle. Stick to puff pastry. The layers are what make this recipe special. Also, don’t rush the egg wash. Make sure you cover every bit of the pastry. Bare spots will remain pale and unappetizing.
Variations & Adaptations
This recipe is flexible. You can tweak it to fit your taste or dietary needs.
- Gluten-Free Option: Use a gluten-free puff pastry brand. Many brands now make great GF versions. Just be careful, as GF pastry can be more fragile. Handle it gently.
- Dairy-Free: Use a dairy-free brie alternative. Brands like Violife or Miyoko’s make good vegan bries. They melt similarly to dairy brie. The pastry will need to be vegan puff pastry, which is widely available.
- Spicy Twist: Add a layer of spicy mustard or jalapeño slices around the brie before wrapping. The heat cuts through the richness of the cheese. It’s a great option for game day.
- Herb Infused: Mix dried herbs like thyme or rosemary into the egg wash. This adds a savory aroma to the crust. It pairs well with the salty cheese.
- Mini Mummies: Use mini brie wheels and cut the pastry into smaller strips. These are perfect for individual servings or party favors. Bake for 10-12 minutes.
I once tried wrapping the brie in bacon instead of pastry. It was good, but the pastry adds a texture that bacon doesn’t. The crunch is essential. However, if you are avoiding carbs, the bacon option is a solid backup. Just cook the bacon halfway before wrapping to ensure it is crispy at the end.
Serving & Storage Suggestions
Serve this warm. The best time to eat it is right out of the oven. The cheese should be molten and the pastry crisp.
- Pairings: Serve with sturdy crackers, baguette slices, or apple slices. The sweetness of the apple balances the saltiness of the cheese. A side of apricot jam is classic.
- Drinks: Pair with a crisp white wine, like a Sauvignon Blanc, or a light beer. The acidity cuts through the fat of the cheese.
- Storage: Leftovers can be stored in the refrigerator for up to 2 days. Wrap the brie tightly in plastic wrap. The pastry will soften, but the cheese will still be good.
- Reheating: Reheat in the oven at 350°F for 10 minutes. Do not use the microwave, or the pastry will become chewy. The oven will restore some crispness.
- Freezing: You can freeze the wrapped brie before baking. Wrap it tightly in plastic and foil. Bake from frozen, adding 5-10 minutes to the cooking time. This is great for meal prep.
The flavors develop over time. The cheese becomes creamier as it sits. If you make it ahead, let it come to room temperature before baking for more even cooking.
Nutritional Information & Benefits
This snack is rich in fat and protein, which makes it satisfying. A typical serving includes about 300-400 calories, depending on the amount of pastry and cheese used.
- High in Protein: Brie is a good source of protein, which helps keep you full.
- Calcium: Dairy brie provides calcium for bone health.
- Gluten-Free Option: If you use GF pastry, this can be a gluten-free snack.
- Allergens: Contains gluten, dairy, and eggs. Be mindful for guests with allergies.
From a wellness perspective, this is an indulgent treat. It’s not a health food, but it can be part of a balanced diet. The key is portion control. Pair it with vegetables or fruit to add fiber and balance the meal. I enjoy it as a special occasion snack rather than a daily staple.
Conclusion
This Crispy Mummy-Wrapped Brie with Crackers is more than just a snack. It is a moment of joy. It turns a simple ingredient into a conversation starter. Whether you are hosting a Halloween party or just having a quiet night in, this recipe delivers. It is easy to make, delicious to eat, and fun to look at.
I encourage you to try it. Customize it with your favorite jams or spices. Make it your own. I love this recipe because it brings people together. There is something special about sharing food that is made with care and a little bit of playfulness.
Please leave a comment below and let me know how it turned out. Did your kids think it was haunted? Did you add spicy mustard? I love hearing your variations. Share this recipe with a friend who needs a easy party idea. And don’t forget to snap a photo and tag me. I want to see your mummies!
Frequently Asked Questions
Can I use cream cheese instead of brie?
Yes, you can use a block of cream cheese. However, it will not melt as oozy as brie. Brie has a softer texture that melts beautifully. If you use cream cheese, it will be more firm and spreadable.
How do I prevent the pastry from burning?
Keep an eye on the oven after 15 minutes. If the top is browning too quickly, cover it loosely with aluminum foil. This protects the pastry while the cheese finishes melting.
Can I make this ahead of time?
Yes, you can wrap the brie and keep it in the fridge for up to 24 hours before baking. Let it sit at room temperature for 15 minutes before baking for more even cooking.
What kind of crackers go best with this?
Sturdy crackers are best. Water crackers, plain baguette slices, or wheat crackers work well. Avoid thin, delicate crackers that might break under the weight of the cheese.
Is this recipe gluten-free?
Traditional puff pastry contains gluten. To make this gluten-free, use a gluten-free puff pastry brand. Ensure your brie is also gluten-free, which it usually is.
Pin This Recipe!
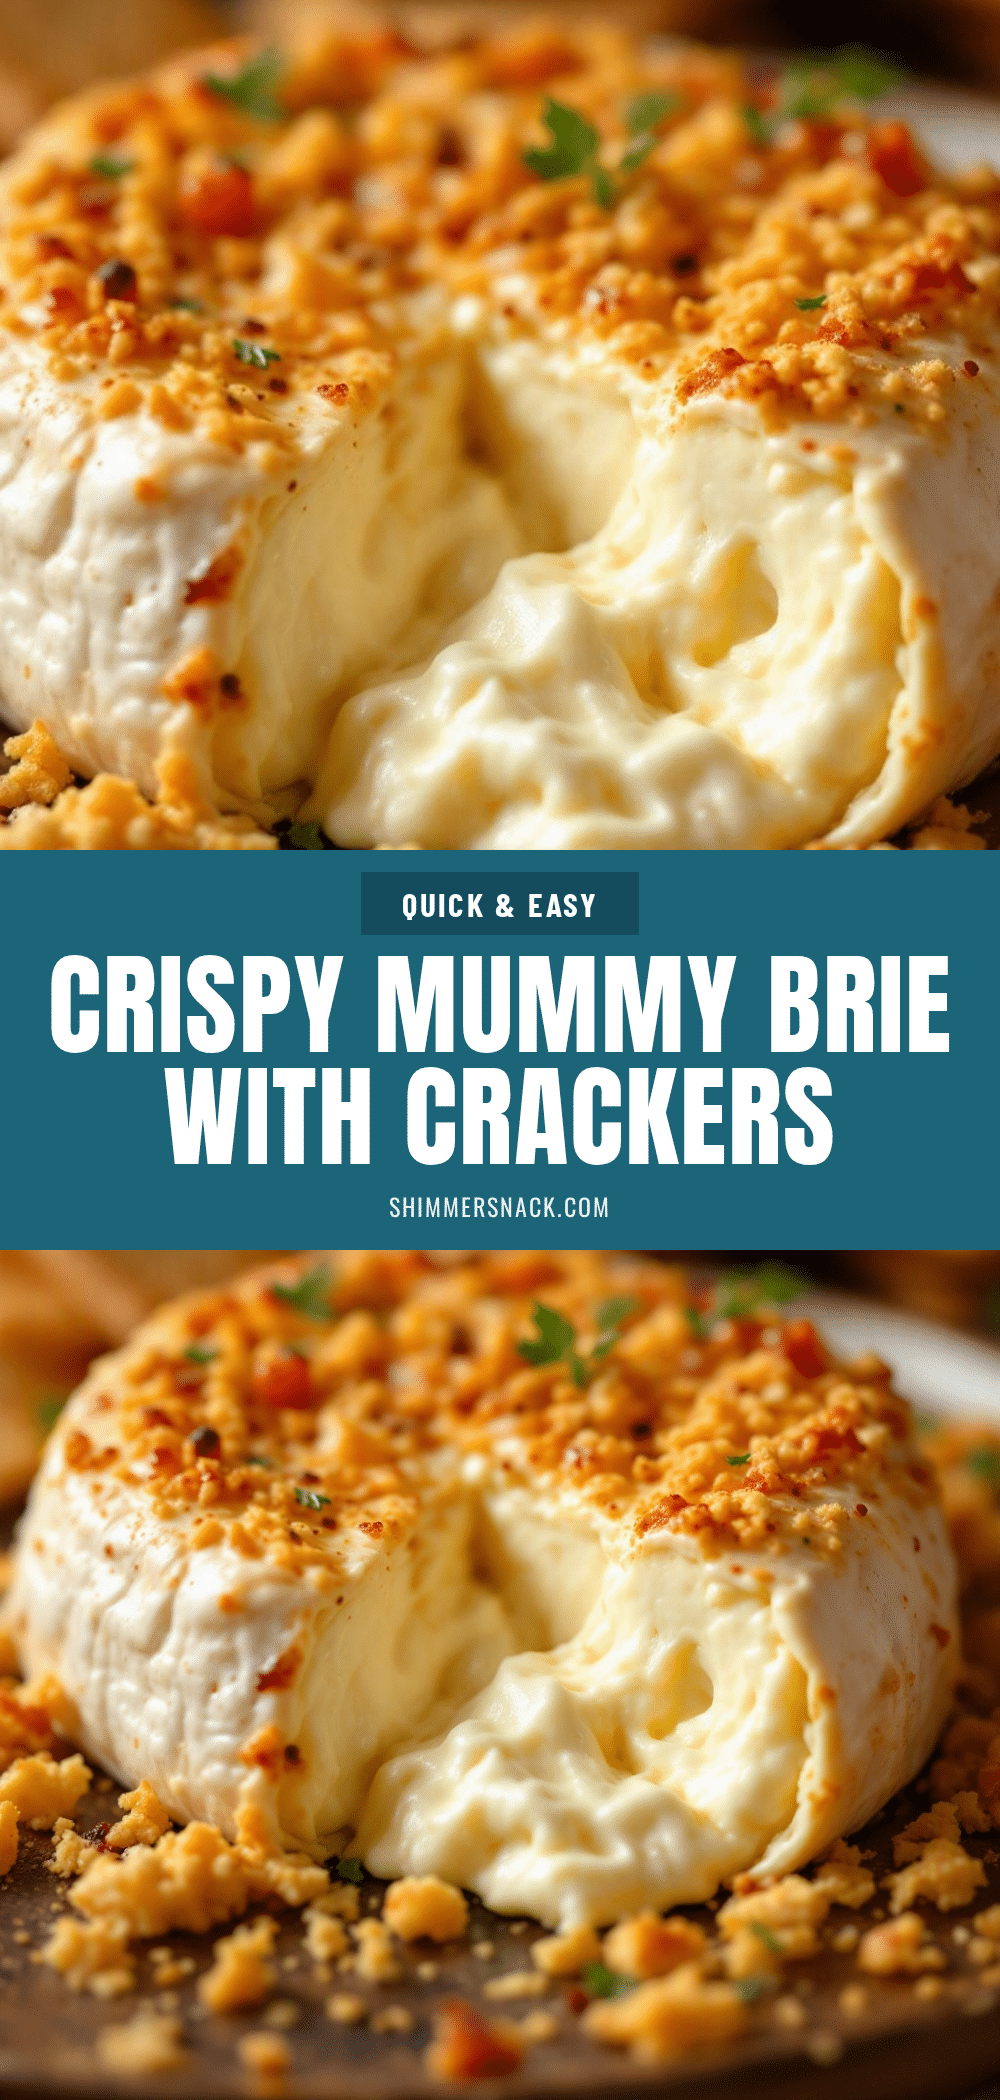
Crispy Mummy-Wrapped Brie with Crackers

A fun and spooky Halloween appetizer featuring a whole wheel of brie wrapped in crispy puff pastry strips, baked until golden and served with sturdy crackers and jam.
- Prep Time: 15 minutes
- Cook Time: 20 minutes
- Total Time: 35 minutes
- Yield: 4 servings 1x
- Category: Appetizer
- Cuisine: American
Ingredients
- 1 whole wheel of Brie cheese (8–10 oz)
- 1–2 boxes puff pastry sheets (thawed)
- 1 large egg beaten with 1 tablespoon water or milk (for egg wash)
- Sesame seeds or poppy seeds (optional, for eyes)
- Sturdy crackers (e.g., water crackers, wheat crackers)
- Apricot jam or fig jam (optional, for serving)
Instructions
- Preheat oven to 400°F (200°C) and place a rack in the center position.
- Remove the wax and paper from the brie wheel and pat dry.
- Unroll puff pastry sheets onto a lightly floured surface and roll gently to smooth creases.
- Cut the pastry into strips approximately 1.5 to 2 inches wide.
- Wrap the strips around the brie like a mummy, leaving the top and bottom exposed. Tuck ends under to secure.
- Press sesame or poppy seeds into the top of the pastry to create eyes.
- Brush the pastry generously with the egg wash.
- Chill the wrapped brie in the fridge for 10-15 minutes (optional but recommended).
- Bake on a parchment-lined baking sheet for 15-20 minutes until golden brown and puffed.
- Let cool for 5 minutes before serving with crackers and jam.
Notes
Keep the pastry cold until baking to ensure flakiness. If the top browns too quickly, cover loosely with foil. The cheese will be extremely hot when fresh out of the oven. Leftovers can be stored in the fridge for up to 2 days and reheated in the oven.
Nutrition
- Serving Size: 1/4 of the brie whee
- Calories: 350
- Sugar: 2
- Sodium: 400
- Fat: 25
- Saturated Fat: 14
- Carbohydrates: 20
- Fiber: 1
- Protein: 10
Keywords: Halloween snack, baked brie, puff pastry appetizer, mummy brie, easy party food, cheese dip, holiday appetizer


