Love this? Save it for later!
Share the inspiration with your friends
My sister-in-law showed up at my door with her three kids and a bottle of wine, and the only thing in my fridge was a can of pumpkin puree and a block of cream cheese. Honestly, I panicked for about ten seconds. I had planned to make that pumpkin spice sheet cake for a party next week, but this was an immediate crisis. The kids were hungry, the adults were tired, and I had zero time to run to the store. I stared at those two ingredients like they were going to magically turn into a gourmet dessert if I squinted hard enough.
It was one of those moments where you just have to trust your gut and the pantry staples hiding in your cabinets. I grabbed some gingersnap cookies from the pantry, melted some butter, and started thinking about texture. You know how big cheesecakes can be intimidating to serve? Mini versions solve that problem entirely. I whipped up the batter quickly, knowing it needed to be dense and rich to stand up to the crunch of the crust. The smell of cinnamon and nutmeg filling the kitchen actually calmed me down a bit.
While they baked, I felt that familiar knot of anxiety in my stomach—will they be too runny? Will the crust fall apart? But then the timer went off, and the kitchen smelled like autumn itself. They came out of the oven puffed up and golden, settling into perfect little cups of comfort. My family took one bite and immediately started fighting over the last one, which is the best kind of validation. That night proved that sometimes the best recipes aren’t planned; they’re just the result of being resourceful with what you have. Now, I make these creamy mini pumpkin cheesecakes every single fall, not because I have to, but because they are just that good.
Why You’ll Love This Recipe
Let’s be real for a second: most pumpkin cheesecakes are either too dense or too watery. I’ve spent years testing different ratios to get this texture just right. This recipe uses a simple trick that changes everything. By using a food processor to crush the cookies and blend the cream cheese until it’s absolutely silken, you get a mouthfeel that is incredibly smooth. It’s not just good; it’s the kind of dessert that makes you close your eyes after the first bite. It’s comfort food reimagined—faster, but with the same soul-soothing satisfaction.
- Quick & Easy: Comes together in under 30 minutes of prep time, perfect for busy weeknights or last-minute cravings when you need a win.
- Simple Ingredients: No fancy grocery trips needed; you likely already have pumpkin puree and cream cheese in your fridge right now.
- Perfect for Fall Gatherings: Great for potlucks, Thanksgiving sides, or cozy dinners when you want something seasonal without the fuss.
- Crowd-Pleaser: Always gets rave reviews from kids and adults alike. The gingersnap crust adds a spice kick that adults love, while the sweet filling keeps the kids happy.
- Unbelievably Delicious: The texture and flavor combo is next-level comfort food. It balances the earthiness of pumpkin with the tang of cream cheese perfectly.
What makes this recipe different from the rest is the crust. Most people use a graham cracker base, but gingersnaps bring a ginger snap (pun intended) of flavor that complements the pumpkin spice blend so much better. It’s not just another version—it’s your best version. Plus, making them in mini muffin tins means you get individual portions that look fancy but are actually super easy to handle. Whether you are trying to impress guests without stress or just want a small treat for yourself, these deliver.
What Ingredients You Will Need
This recipe uses simple, wholesome ingredients to deliver bold flavor and satisfying texture without the fuss. The beauty here is that you don’t need specialty items. Most of this is standard pantry fare, with just a couple of fresh additions. I’ve listed the key components below, along with some tips on what to look for to ensure the best results.
For the Gingersnap Crust
- Gingersnap cookies: You’ll need about 1 ½ cups of crumbs. I prefer using store-bought gingersnaps because they have a consistent spice profile, but homemade ones work too if you crush them fine enough.
- Unsalted butter: Melted, about ¼ cup. This binds the crumbs together. Make sure it’s fully melted but not hot, or it’ll make the crumbs greasy.
- Granulated sugar: 1 tablespoon. Just a little bit to help the crust crisp up slightly in the oven.
- Ground cinnamon: ½ teaspoon. Adds warmth to the base layer.
For the Pumpkin Cheesecake Filling
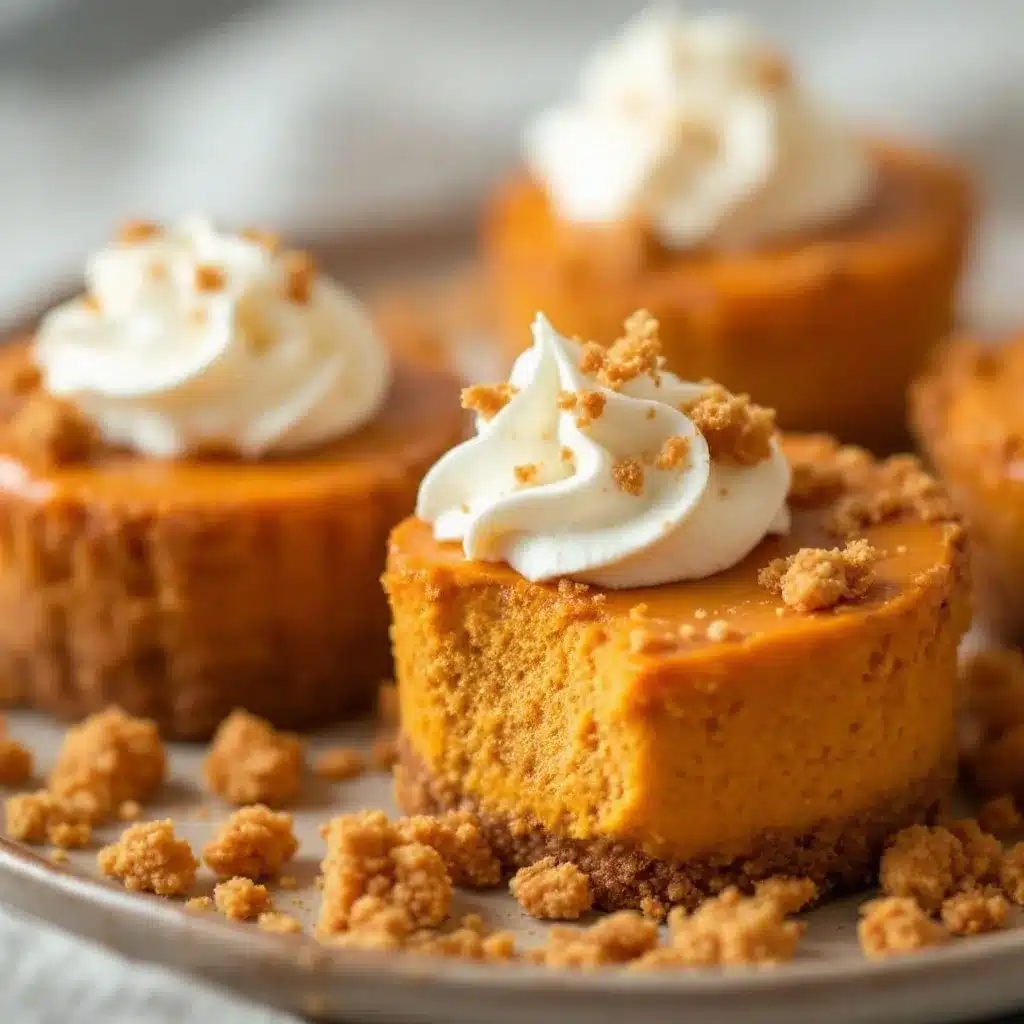
- Full-fat cream cheese: Two 8-ounce blocks, softened to room temperature. This is non-negotiable. Low-fat cream cheese will result in a grainy texture. I recommend Kraft Philadelphia for consistency, but any high-quality brand works.
- Pumpkin puree: 1 cup (not pumpkin pie filling). Make sure you get the plain canned puree. Pie filling has added sugar and spices that will throw off the balance.
- Granulated sugar: ¾ cup. This provides sweetness and helps with the structure.
- Large eggs: 2 large eggs, room temperature. Cold eggs can cause the batter to curdle when mixed with the cream cheese.
- Vanilla extract: 1 teaspoon. Pure vanilla is best here; it rounds out the spices.
- Pumpkin pie spice: 1 ½ teaspoons. This is the classic blend of cinnamon, ginger, nutmeg, and cloves.
- Salt: A pinch. Just a pinch to enhance the sweetness.
If you need to substitute, you can use almond flour in the crust for a gluten-free option, though the texture will be slightly different. For the eggs, you can use a flax egg if needed, but it might change the firmness slightly. Always look for firm, small-curd cottage cheese if you were swapping cream cheese, but honestly, stick to cream cheese for this one.
Equipment Needed
You don’t need a lot of fancy gear to make these, but having the right tools makes the process much smoother. Here is what you’ll need:
- Mini muffin tin: A standard 24-cavity mini muffin pan is ideal. I use a heavy-gauge metal one because it conducts heat evenly. Non-stick versions are great for easy removal.
- Food processor: This is the best tool for crushing the gingersnaps into fine crumbs. You can also use a zip-top bag and a rolling pin, but it takes more elbow grease.
- Mixing bowls: One large bowl for the crust and one medium bowl for the filling.
- Electric mixer: A hand mixer or stand mixer with a paddle attachment works well to beat the cream cheese until smooth. Be careful not to overmix once you add the eggs, as that incorporates too much air.
- Measuring cups and spoons: Basic kitchen staples for accuracy.
- Piping bag or spoon: To transfer the batter into the cups. A spoon works fine, but a piping bag makes it look very professional.
If you don’t have a food processor, a blender works too, just pulse it in short bursts so you don’t turn the cookies into powder. Also, make sure your muffin tin is clean and dry before starting. If you’re worried about sticking, you can lightly spray the cups with cooking spray after adding the crust.
Preparation Method
- Preheat and Prep (5 minutes): Start by preheating your oven to 325°F (165°C). This lower temperature is key for cheesecakes to cook gently without cracking. Line your mini muffin tin with paper liners or grease them well. I prefer liners for easy cleanup, but grease makes for a crispier crust.
- Make the Crust (5 minutes): In your food processor, pulse the gingersnap cookies until they are fine crumbs. It should look like wet sand. Add the melted butter, sugar, and cinnamon. Pulse again just until the mixture is combined and looks damp. Spoon about 1 tablespoon of this mixture into each mini muffin cup. Use the back of a measuring spoon or your fingers to press the crumbs firmly into the bottom and slightly up the sides. You want them packed tight so they don’t fall apart.
- Beat the Cream Cheese (3 minutes): In a large bowl, beat the softened cream cheese on medium speed until it is completely smooth and creamy. This usually takes about 2 minutes. Scrape down the sides of the bowl with a spatula to ensure there are no lumps. Lumps are the enemy of creamy cheesecake.
- Add Sugar and Spices (2 minutes): Add the ¾ cup of granulated sugar, pumpkin pie spice, and salt to the cream cheese. Beat on low speed until just combined. You don’t want to overmix here, or you’ll get air bubbles.
- Incorporate Pumpkin and Eggs (3 minutes): Add the pumpkin puree and vanilla extract. Mix on low speed until the batter is uniform in color. Now, add the eggs one at a time, mixing on low speed just until the yellow disappears. Stop mixing as soon as the eggs are incorporated. Overmixing at this stage is the most common mistake—it leads to cracks and a dense texture.
- Fill the Cups (5 minutes): Spoon the batter into the prepared crusts. Fill them almost to the top, but leave a tiny bit of room as they will puff up slightly. If you have a piping bag, use it now for neat filling. If not, use a small spoon and be gentle.
- Bake (15-18 minutes): Place the tin in the center of the oven. Bake for 15 to 18 minutes. The edges should be set, but the centers should still have a slight jiggle when you gently shake the pan. They will firm up as they cool. Do not overbake, or they will become dry.
- Cool and Chill (2 hours): Turn off the oven and crack the door open slightly. Let the cheesecakes sit in the oven for 30 minutes. This gradual cooling helps prevent cracking. Then, remove them to a wire rack to cool completely to room temperature. Once cooled, cover them and refrigerate for at least 2 hours, or preferably overnight. This chilling time is crucial for the flavors to meld and the texture to set properly.
How Do I Prevent Cracks in My Cheesecakes?
Cracks usually happen because of rapid temperature changes or overmixing. By cooling them slowly in the turned-off oven, you give the structure time to stabilize. Also, make sure your ingredients are at room temperature before you start mixing. Cold cream cheese leads to overmixing to get it smooth, which introduces air.
Can I Make These Ahead of Time?
Absolutely. These actually taste better the next day. The flavors deepen and the texture becomes even more cohesive. You can make them up to 3 days in advance. Just keep them covered in the fridge.
Cooking Tips & Techniques
There are a few little secrets I’ve picked up over the years that make these mini cheesecakes stand out. First, room temperature ingredients are your best friend. If your cream cheese is cold, you’ll end up beating it longer, which incorporates air. Air expands in the oven and then collapses, causing cracks. So, take that cream cheese out of the fridge an hour before you start.
Another tip is to tap the pan. After you fill the cups with batter, gently tap the muffin tin on the counter a few times. This releases any air bubbles trapped in the batter. It’s a small step that makes a big difference in the final texture. Also, don’t skip the chilling time. I know it’s tempting to eat them right out of the oven, but warm cheesecake is more like a custard than a solid dessert. It needs time to set.
If you want an extra layer of flavor, you can add a dollop of whipped cream on top before serving. I like to sweeten the whipped cream with a little bit of brown sugar and a dash of cinnamon. It adds a nice lightness to the dense cheesecake. Also, if you have any leftover gingersnap crumbs, sprinkle them on top for garnish. It looks professional and adds a bit of crunch.
One common mistake is using too much pumpkin. If the batter is too wet, the cheesecake won’t set. Stick to the measurements provided. If your pumpkin puree seems very watery, you can drain it in a cheesecloth for 15 minutes before adding it to the batter. This ensures the right consistency.
Variations & Adaptations
While the classic version is my favorite, there are plenty of ways to tweak this recipe to suit your tastes or dietary needs. Here are a few ideas:
- Gluten-Free Option: Use gluten-free gingersnap cookies for the crust. Make sure to check the label, as some brands may contain wheat. You can also use almond flour mixed with a little sugar and butter for a nutty, grain-free crust.
- Dairy-Free Version: Swap the cream cheese for a high-quality dairy-free alternative, like Kite Hill or Tofutti. You’ll need to adjust the sugar slightly, as some dairy-free creams are sweeter. Use coconut oil instead of butter for the crust.
- Maple Pecan Twist: Add ½ cup of chopped pecans to the crust mixture. It adds a wonderful crunch and earthiness. You can also fold ¼ cup of pecans into the batter for extra texture.
- White Chocolate Swirl: Melt some white chocolate and drizzle it over the batter before baking. Use a toothpick to swirl it around for a marbled effect. It adds a rich, sweet contrast to the spiced pumpkin.
- Lower Sugar: Reduce the sugar in the filling to ½ cup. Since the pumpkin puree is unsweetened, the cheesecake will still be sweet, but less so. You can also use a sugar substitute if needed, but note that it may affect the texture.
I once tried adding a layer of caramel sauce to the bottom of the crust, and it was incredible. Just drizzle a teaspoon of caramel into each cup before adding the crust crumbs. It’s a bit messier, but the flavor is worth it. Feel free to experiment with different spices, too. A pinch of cardamom or allspice can add a unique twist to the classic pumpkin pie spice.
Serving & Storage Suggestions
These mini cheesecakes are perfect for serving at room temperature or slightly chilled. I usually take them out of the fridge about 15 minutes before serving to let the flavors open up. They look beautiful on a platter, especially if you garnish them with a sprinkle of cinnamon or a small piece of candied ginger.
For storage, keep them in an airtight container in the refrigerator. They will stay fresh for up to 5 days. If you want to make them further in advance, you can freeze them. Place the unbaked cheesecakes in the freezer on a baking sheet until solid, then transfer them to a freezer-safe bag. Bake them straight from the freezer, adding a few extra minutes to the baking time. Once baked and cooled, they can also be frozen for up to 2 months.
To reheat, I don’t recommend it. Cheesecake is best served cold or at room temperature. If you must warm them, just let them sit out for 10-15 minutes. Do not microwave them, or the texture will become grainy. They pair wonderfully with a cup of hot coffee or a glass of cold milk. You can also serve them alongside apple cider margaritas for a festive fall party.
How Do I Know When They Are Done?
The jiggle test is the most reliable method. The edges should be firm, but the center should still wobble slightly like Jell-O. They will continue to cook from the residual heat as they cool. If they are completely firm in the oven, they are likely overbaked.
Nutritional Information & Benefits
Here is an approximate nutritional breakdown for one mini cheesecake (without toppings):
- Calories: 120 kcal
- Total Fat: 8g
- Saturated Fat: 5g
- Cholesterol: 35mg
- Sodium: 110mg
- Total Carbohydrates: 12g
- Dietary Fiber: 0.5g
- Sugars: 9g
- Protein: 3g
Pumpkin is a great source of Vitamin A and fiber, which adds a bit of nutritional value to this dessert. The gingersnap crust provides a quick energy boost from the sugar, but the overall calorie count is relatively low for a dessert, especially since the portions are small. This makes it a great option if you are watching your calorie intake but still want something sweet. It’s also naturally gluten-free if you use GF cookies, making it accessible for more guests. Just be mindful of the dairy content if you have lactose intolerance.
Conclusion
These creamy mini pumpkin cheesecakes with gingersnap crust are the perfect way to embrace the fall season. They are easy to make, delicious to eat, and impressive enough for any gathering. I love how they bring together the cozy flavors of pumpkin and spice in a bite-sized package. Whether you are a baking novice or a seasoned pro, this recipe is foolproof and rewarding.
I encourage you to try this recipe and customize it to your liking. Add your favorite toppings, swap the spices, or make it gluten-free. The possibilities are endless. If you make them, please let me know how they turned out in the comments below. I love hearing from you and seeing your creations. Share your photos on social media and tag me so I can see your delicious results. Happy baking, and enjoy every bite!
Frequently Asked Questions
Can I use pumpkin pie filling instead of puree?
No, do not use pumpkin pie filling. It contains added sugar and spices that will make the cheesecake too sweet and alter the texture. Always use plain canned pumpkin puree.
Why did my cheesecakes crack?
Cracking is usually caused by overmixing, which incorporates air, or by baking at too high a temperature. Make sure to mix gently, use room temperature ingredients, and cool the cheesecakes slowly in the turned-off oven.
Can I freeze these cheesecakes?
Yes, you can freeze them. Bake them, cool them completely, and then store them in an airtight container in the freezer for up to 2 months. Thaw them in the fridge overnight before serving.
How long do these last in the fridge?
They will last for up to 5 days in the refrigerator when stored in an airtight container. They often taste even better the next day as the flavors meld.
Can I make these in a regular muffin tin?
Yes, but you will need to adjust the baking time. If using a regular muffin tin, the cheesecakes will be larger and may take 20-25 minutes to bake. Keep an eye on them to avoid overbaking.
Pin This Recipe!
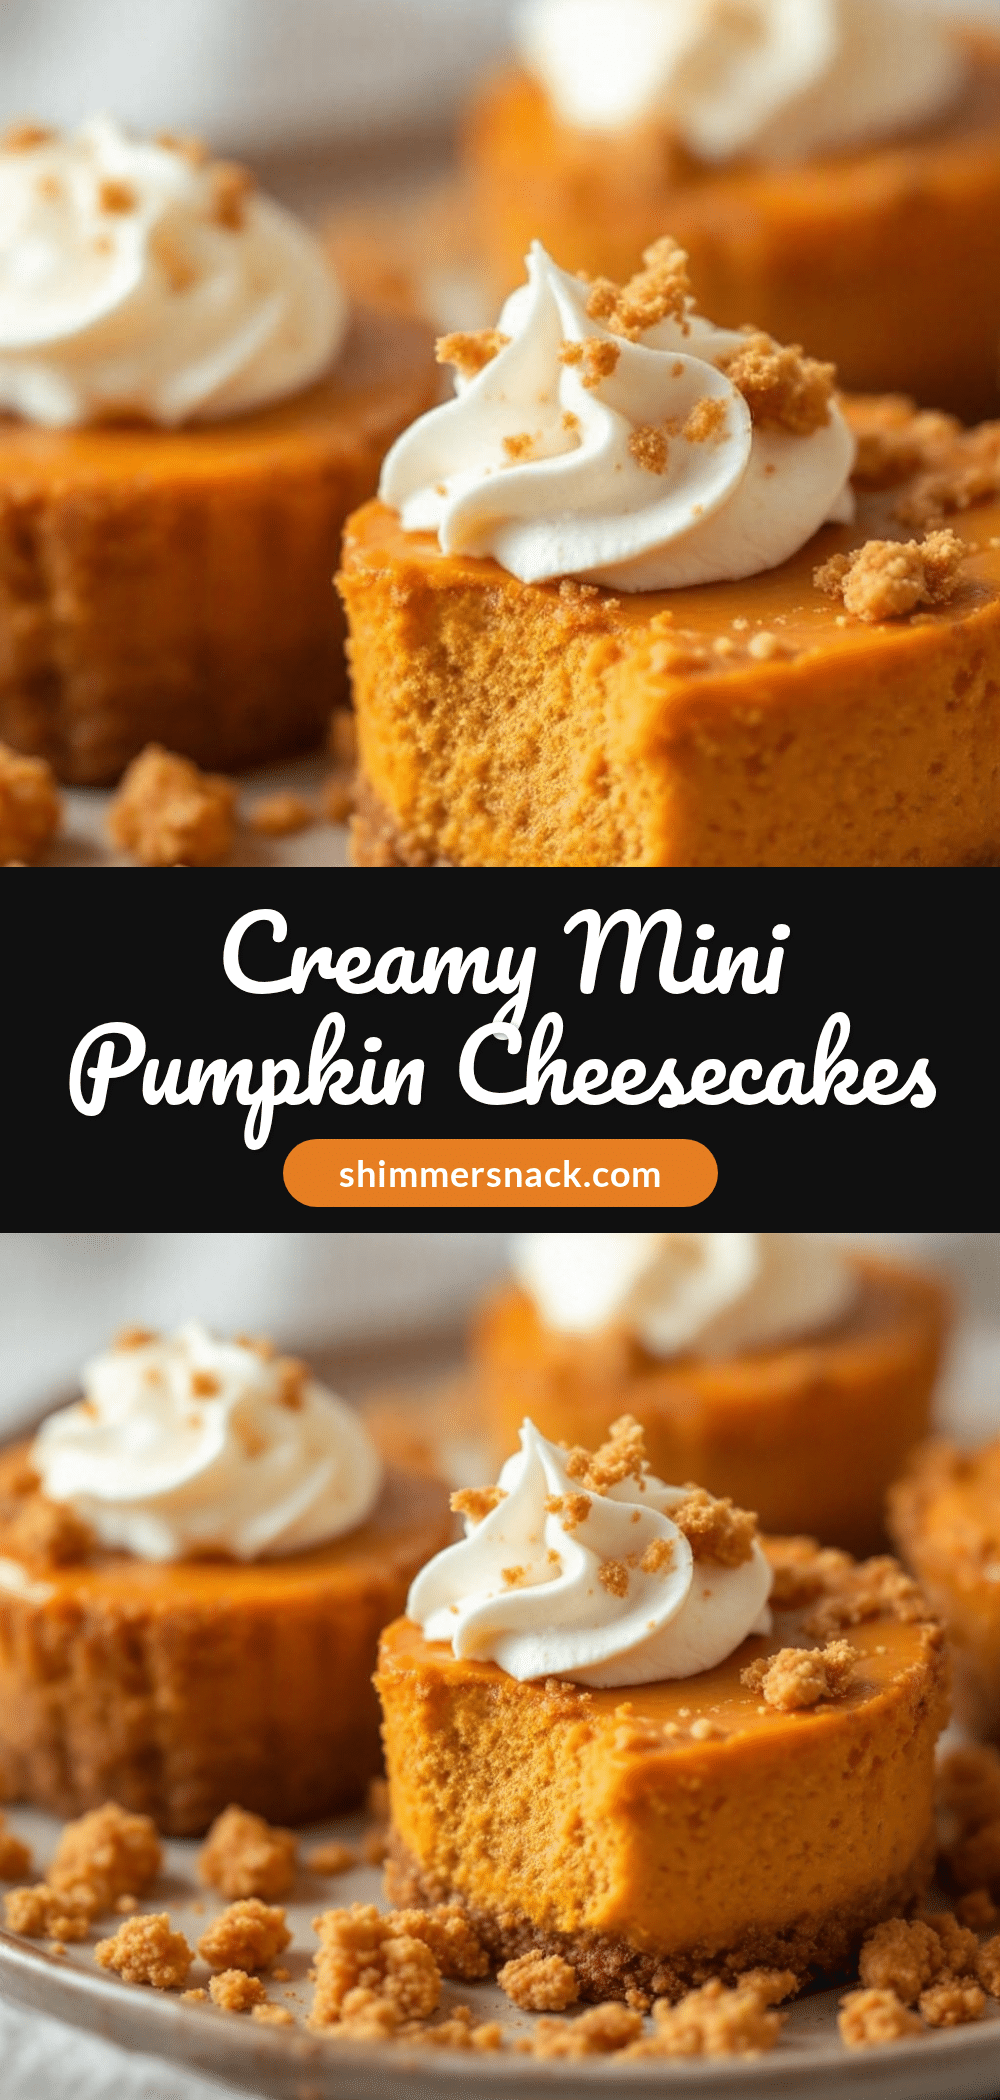
Creamy Mini Pumpkin Cheesecakes: Best Easy Fall Dessert Recipe
These creamy mini pumpkin cheesecakes feature a rich, silken filling made with pumpkin puree and cream cheese, set atop a crunchy gingersnap crust. They are easy to make, perfect for fall gatherings, and require only pantry staples.
- Prep Time: 30 minutes
- Cook Time: 15-18 minutes
- Total Time: 2 hours 45 minutes
- Yield: 24 servings 1x
- Category: Dessert
- Cuisine: American
Ingredients
- 1 ½ cups gingersnap cookie crumbs
- ¼ cup unsalted butter, melted
- 1 tablespoon granulated sugar
- ½ teaspoon ground cinnamon
- 2 (8-ounce) blocks full-fat cream cheese, softened to room temperature
- 1 cup pumpkin puree (not pie filling)
- ¾ cup granulated sugar
- 2 large eggs, room temperature
- 1 teaspoon vanilla extract
- 1 ½ teaspoons pumpkin pie spice
- Pinch of salt
Instructions
- Preheat oven to 325°F (165°C). Line a 24-cavity mini muffin tin with paper liners or grease well.
- In a food processor, pulse gingersnap cookies until fine crumbs form. Add melted butter, 1 tablespoon sugar, and cinnamon; pulse until combined.
- Press about 1 tablespoon of the crust mixture firmly into the bottom and slightly up the sides of each muffin cup.
- In a large bowl, beat softened cream cheese on medium speed until smooth and creamy (about 2 minutes). Scrape down sides.
- Add ¾ cup sugar, pumpkin pie spice, and salt to the cream cheese. Beat on low speed until just combined.
- Add pumpkin puree and vanilla extract. Mix on low until uniform.
- Add eggs one at a time, mixing on low speed just until incorporated. Do not overmix.
- Spoon or pipe batter into the prepared crusts, filling almost to the top.
- Bake for 15-18 minutes until edges are set but centers still have a slight jiggle.
- Turn off oven and crack door open; let cheesecakes sit in oven for 30 minutes to cool gradually.
- Remove to a wire rack to cool completely to room temperature.
- Refrigerate for at least 2 hours or overnight before serving.
Notes
Ensure cream cheese and eggs are at room temperature to prevent cracking and ensure a smooth texture. Do not use pumpkin pie filling; use plain canned pumpkin puree. For a gluten-free option, use gluten-free gingersnap cookies or almond flour. Tap the pan gently after filling to release air bubbles. Cheesecakes taste better the next day as flavors meld.
Nutrition
- Serving Size: 1 mini cheesecake
- Calories: 120
- Sugar: 9
- Sodium: 110
- Fat: 8
- Saturated Fat: 5
- Carbohydrates: 12
- Fiber: 0.5
- Protein: 3
Keywords: pumpkin cheesecake, mini cheesecake, fall dessert, gingersnap crust, easy dessert, pumpkin puree recipe, cream cheese dessert


