Love this? Save it for later!
Share the inspiration with your friends
The empty plate stared back at me, crusted with a few stray bits of flaky crust and a smear of mustard. My niece, usually the type to leave half her dinner for later, had picked every last bite off her napkin. She looked up with a grin that was equal parts mischief and satisfaction, holding up a single, tiny olive eye she’d saved for last.
“Again?” she asked, not really asking, just stating a fact.
It was the third time that week. Honestly, I didn’t even mind. Usually, getting toddlers to eat anything that isn’t a nugget feels like negotiating a peace treaty with a tiny, sticky diplomat. But these fun mummy hot dogs with crescent roll wrap? They were a cheat code. The kids didn’t see vegetables or processed meat. They saw a spooky snack that looked like it came straight from a Halloween movie set.
I remember the first time I made them. I was scrambling, trying to find something festive that wouldn’t require hours of prep or a trip to a specialty store. I grabbed a can of refrigerated dough, some cheap hot dogs, and a bag of black olives. I wasn’t expecting much. Just something quick to put on the table while I finished wrapping presents.
But then the smell hit. The buttery, yeasty scent of baking crescent rolls mixed with the savory heat of the sausages. It was comforting in a weird way, like a Halloween party had crashed a Sunday brunch. By the time they came out of the oven, golden brown and wrapped in their pastry bandages, the house felt different. Lighter.
I watched my son carefully place the olive eyes on his hot dog. He was serious about it, concentrating like he was performing surgery. That’s when I knew this wasn’t just a snack. It was a moment. A small, silly moment where food became fun again.
Now, whenever October rolls around, this is the first thing I make. It’s not fancy. It doesn’t require expensive ingredients or complex techniques. But it does require patience with the wrapping, and a willingness to laugh when the mummy unravels in the oven. And honestly? That’s the best part. The imperfections make them real. The mess makes it memorable.
Why You’ll Love This Recipe
Let’s be real for a second. Parenting is exhausting. Between work, chores, and trying to keep everyone fed, your energy budget is probably already maxed out by 5 PM. That is exactly why this recipe works so well. It taps into that sweet spot where convenience meets creativity. You know those days when you need to impress guests or keep the kids entertained without spending your entire evening in the kitchen? This is it.
Here is why this dish keeps coming back to the top of my list:
* **Quick & Easy**: From opening the can to pulling the pan out of the oven, you’re looking at about 30 minutes of total time. That is perfect for busy weeknights or last-minute Halloween parties where you forgot to shop until the morning of.
* **Simple Ingredients**: You likely already have everything in your kitchen right now. Crescent rolls, hot dogs, mustard, and olives. No fancy grocery trips needed. It’s pantry-friendly comfort food.
* **Perfect for Parties**: Great for Halloween gatherings, sleepovers, or even as a fun twist on a regular Tuesday dinner. The visual appeal does all the heavy lifting.
* **Crowd-Pleaser**: Always gets rave reviews from kids and adults alike. Even the picky eaters get curious when the food looks like a character from a movie.
* **Unbelievably Delicious**: The texture and flavor combo is next-level comfort food. The salty snap of the hot dog against the soft, buttery dough is just right.
What makes this recipe different from the rest? It’s the balance of salty and savory, wrapped in a way that feels homemade but is actually store-bought convenience. I’ve tried wrapping hot dogs in bacon before, but that requires more attention and can get greasy. The crescent roll method keeps it lighter and adds that flaky, golden crust that everyone loves. It’s not just another version of a hot dog; it’s your best version because it’s foolproof.
This recipe isn’t just good—it is the kind that makes you close your eyes after the first bite and smile. It’s comfort food reimagined for the spooky season. Perfect for impressing guests without stress, or turning a simple meal into something memorable. Plus, the kids love helping with the assembly. It keeps them busy, which, let’s face it, is half the battle.
What Ingredients You Will Need
This recipe uses simple, wholesome ingredients to deliver bold flavor and satisfying texture without the fuss. The beauty of this dish lies in its accessibility. You don’t need to hunt down obscure spices or exotic meats. Everything here is designed to work together, creating a cohesive snack that is both visually striking and tasty.
Here is what you need to gather for your mummy-making session:
* **Refrigerated Crescent Roll Dough**: This is your mummy’s bandage. I recommend using a standard 8-ounce can of crescent rolls for best results. The pre-cut triangles make it easier to wrap around the hot dogs uniformly. Look for brands that feel pliable and don’t tear easily.
* **Hot Dogs**: Standard beef or pork hot dogs work best. You’ll need about 8 to 10 dogs, depending on the size. For a slightly healthier twist, you can swap in turkey hot dogs, though they might be a bit smaller.
* **Yellow Mustard**: This acts as the glue for the olive eyes. It’s tangy and helps the eyes stick without sliding off. Don’t skip this step, or you’ll end up with blind mummies.
* **Black Olives**: Sliced black olives are essential for the eyes. You need two slices per hot dog. If you can’t find sliced olives, you can use whole black olives cut in half, but it takes more time.
* **Butter (Optional)**: Some people like to brush the finished mummies with melted butter for extra shine and flavor. I usually skip it because the dough is already buttery enough, but it’s a nice touch if you’re going for maximum richness.
A quick note on sourcing: If you’re making this for a large group, buy an extra can of crescent rolls. They tend to shrink slightly when baked, and you want to make sure every hot dog gets a full wrap. Also, check the expiration date on the dough. Fresh dough rolls out easier and holds its shape better than dough that’s been sitting in the fridge for a while.
If you need to accommodate dietary restrictions, you can use gluten-free crescent roll dough if available, though the texture might be slightly denser. For the hot dogs, look for nitrate-free options if that’s important to your family. The simplicity of the ingredient list is what makes this recipe so reliable. You can trust it to turn out every single time, provided you follow the wrapping technique.
Equipment Needed
You don’t need a fancy kitchen to pull this off. In fact, keeping the equipment list short is part of why this recipe is so popular. Here is what you’ll need to get the job done:
* **Baking Sheet**: A standard 13×18 inch baking sheet is ideal. Make sure it has a rim to catch any potential drips, though with this recipe, messes are minimal.
* **Parchment Paper or Silicone Baking Mat**: Lining your baking sheet is crucial. It prevents the crescent dough from sticking and makes cleanup a breeze. I always use parchment paper because it’s disposable and saves me from scrubbing pans later.
* **Sharp Knife**: You’ll need a knife to slice the hot dogs lengthwise if you want to stuff them, and to slice the olives if they aren’t pre-sliced. A paring knife works well for precision.
* **Small Spoon or Toothpick**: To help place the olive eyes if they are slippery. Sometimes the mustard isn’t sticky enough on its own, and a little nudge helps.
* **Oven**: Obviously, you need a preheated oven. Make sure it’s calibrated correctly so the dough browns evenly.
If you don’t have a baking sheet, a heavy-duty rimmed skillet can work in a pinch, but the results might not be as uniform. For budget-friendly options, any standard metal baking pan will do. Just avoid dark non-stick pans if you are sensitive to burning, as they absorb more heat. Keep your tools simple and clean, and you’ll be golden.
Preparation Method
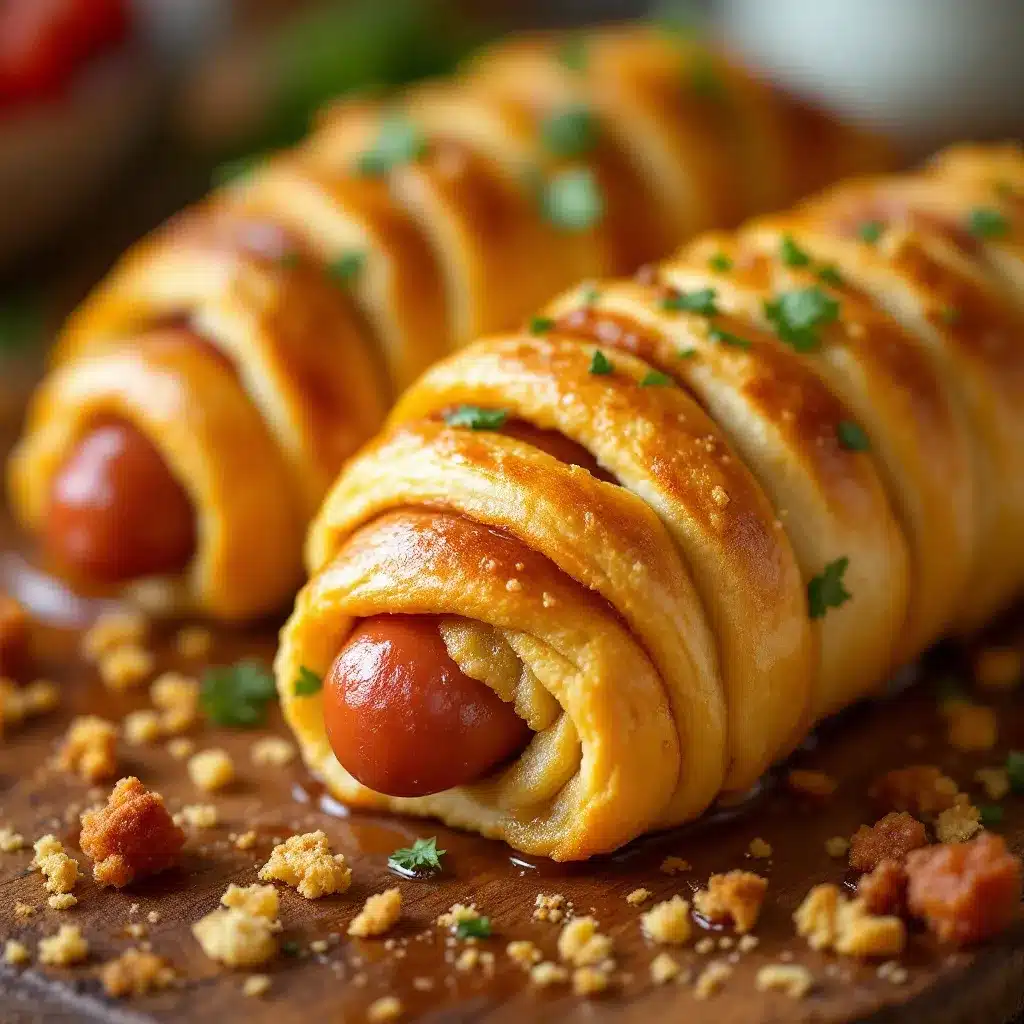
Getting these mummies ready is straightforward, but there is a right way and a wrong way to wrap them. Let’s walk through the steps so you can get that perfect spooky look.
1. **Preheat Your Oven**: Start by preheating your oven to 375°F (190°C). This temperature is key. It’s hot enough to cook the dough quickly and get it golden, but not so hot that the hot dogs explode before the dough is done. Take about 10 minutes to get your oven up to temperature.
2. **Prepare the Baking Sheet**: Line your baking sheet with parchment paper. This is non-negotiable if you want easy cleanup. The dough can get sticky, and parchment paper saves you from scraping burnt cheese off your pan later.
3. **Prep the Hot Dogs**: If you want to add some extra flavor, you can make a shallow lengthwise cut down the center of each hot dog without cutting all the way through. This creates a pocket where you can stuff cream cheese or a small strip of cheese. If you are keeping it simple, just leave them whole. Pat them dry with a paper towel. This helps the dough adhere better.
4. **Unroll the Dough**: Open the can of crescent rolls and unroll the dough onto a clean surface. Separate the triangles along the perforated lines. You want to work with one triangle at a time. If the dough tears, just patch it with a small piece of the remaining dough.
5. **Wrap the Mummies**: Place a hot dog at the wide end of a dough triangle. Roll the dough up around the hot dog, leaving the ends exposed. Then, take the remaining points of the triangle and wrap them horizontally around the hot dog, like bandages. Leave a small gap at the top for the eyes. You want the dough to overlap slightly to create that mummy look. Don’t wrap too tightly, or the hot dog won’t cook evenly.
6. **Add the Eyes**: Once all the hot dogs are wrapped, place them on the baking sheet with some space between them. Squirt a small dot of yellow mustard on the top of each mummy. Place a slice of black olive on each dot for the eyes. Press gently to secure them.
7. **Bake**: Slide the baking sheet into the oven. Bake for 12-15 minutes, or until the dough is golden brown and cooked through. Keep an eye on them after 10 minutes, as oven temperatures can vary. You want the crust to be firm, not soft.
8. **Cool and Serve**: Let them cool for a couple of minutes on the pan. The dough will firm up as it cools. Serve warm with extra mustard or ketchup for dipping.
Cooking Tips & Techniques
I’ve made these mummies enough times to know where things can go wrong. Here are some professional techniques and lessons learned from my own kitchen failures.
* **Don’t Overlap Too Much**: One of the most common mistakes is wrapping the dough too thickly. If the dough is too thick, it won’t cook through, and you’ll end up with a gummy center. Aim for a single layer of dough around the hot dog.
* **Use Cold Dough**: Keep the crescent roll dough cold until the moment you are ready to wrap it. Warm dough is sticky and hard to handle. If it gets too warm, put it back in the fridge for 10 minutes.
* **Watch the Eyes**: Black olives can burn if they are exposed to direct heat for too long. If your oven runs hot, consider adding the eyes in the last 5 minutes of baking. Or, just accept that slightly charred eyes add to the spooky aesthetic.
* **Spacing Matters**: Leave at least an inch of space between each mummy on the baking sheet. The dough will expand slightly as it bakes. If they are too close, they might stick together, and you’ll lose the individual mummy shape.
* **Stuffing Wisdom**: If you choose to stuff the hot dogs, use a cream cheese mixture. It stays creamy and doesn’t melt out as quickly as cheddar. Mix the cream cheese with a little garlic powder for an extra flavor boost.
Timing is everything here. You want the hot dog to be heated through, which usually happens at the same time the dough is golden. If you pull them out too early, the dough will be pale and raw. If you leave them too long, the hot dogs might split open. Trust your eyes, not just the timer.
Variations & Adaptations
While the classic mummy hot dog is a winner, there are plenty of ways to mix it up. Here are a few variations I’ve tried that work well:
* **Cheese-Stuffed Mummies**: As mentioned, stuff the hot dogs with cream cheese or a small strip of cheddar before wrapping. This adds a gooey, melty center that contrasts nicely with the salty hot dog.
* **Vegetarian Option**: Swap the hot dogs for high-quality meatless sausages. Brands like Beyond or Gardein work well. Just check the size, as some meatless sausages are thinner than traditional ones.
* **Spicy Twist**: Use jalapeño cheese sticks instead of plain hot dogs. Wrap the dough around the cheese stick, and you get a spicy, cheesy treat that kids love. Just be careful with the heat level.
* **Mini Mummies**: Use cocktail sausages or mini hot dogs for bite-sized appetizers. These are perfect for parties because guests can eat them in one or two bites. Adjust the baking time to 8-10 minutes.
For different cooking methods, you can actually make these in an air fryer. Preheat the air fryer to 350°F and cook for 6-8 minutes. The results are similar, but the dough might get crispier faster. Keep an eye on them to prevent burning.
If you have guests with allergies, gluten-free crescent dough is available in some stores. Just note that it might not brown as nicely. You can also use a homemade pie crust if you want to avoid processed ingredients, though it takes more effort.
Serving & Storage Suggestions
These mummy hot dogs are best served warm, right out of the oven. The dough is at its crispiest during this time, and the hot dogs are juicy and flavorful.
* **Presentation**: Arrange them on a platter with a little “graveyard” of pretzel sticks or popcorn to look like dirt. It adds to the spooky vibe and makes for great photos.
* **Dipping Sauces**: Serve with extra yellow mustard, ketchup, or even a spicy mayo. Kids love dipping, and it adds another layer of flavor.
* **Storage**: If you have leftovers (which is rare), let them cool completely before storing. Place them in an airtight container in the refrigerator for up to 3 days.
* **Reheating**: Reheat in the oven at 350°F for 5-7 minutes to restore the crispiness. Avoid the microwave, as it will make the dough soggy.
* **Freezing**: You can freeze the unbaked mummies. Place them on a baking sheet and freeze until solid, then transfer to a freezer bag. Bake from frozen, adding 2-3 minutes to the cooking time.
The flavors develop over time, becoming more savory as the dough absorbs the juices from the hot dogs. But honestly, they are best fresh.
Nutritional Information & Benefits
While these are definitely a treat, they can fit into a balanced diet if enjoyed in moderation.
* **Estimated Values**: Each mummy hot dog is approximately 250-300 calories, depending on the size of the hot dog and the amount of dough used.
* **Health Benefits**: The dough provides carbohydrates for energy, while the hot dogs offer protein. It’s not a health food, but it’s not empty calories either.
* **Dietary Considerations**: This recipe is not gluten-free or dairy-free unless you use specific substitutions. It is high in sodium due to the hot dogs and processed dough.
* **Allergens**: Contains wheat, dairy, and soy. Be aware of these if serving guests with allergies.
From a personal wellness perspective, I try to balance these treats with healthier meals during the week. It’s about moderation and enjoying the fun of the season without guilt.
Conclusion
These fun mummy hot dogs with crescent roll wrap are more than just a snack. They are a way to bring joy to the table, especially during the busy Halloween season. The simplicity of the ingredients and the ease of preparation make them accessible for everyone, from novice cooks to experienced chefs.
I encourage you to customize them to your liking. Try different stuffings, add some spice, or make them mini for parties. The possibilities are endless.
I love this recipe because it brings back memories of my own childhood Halloween parties. It’s a taste of nostalgia, wrapped in a modern, easy-to-make package.
Please share your creations with me! I’d love to see your spooky mummies. Leave a comment below with your tips and variations. And don’t forget to share this recipe with your friends who need a easy party idea.
Enjoy the spooky fun, and happy cooking!
FAQs
Can I make these ahead of time?
Yes, you can assemble them ahead of time and store them in the refrigerator for up to 24 hours before baking. Just cover them with plastic wrap to prevent the dough from drying out.
What if I don’t have crescent rolls?
You can use puff pastry or homemade pie crust, but the texture will be different. Puff pastry will be flakier, while pie crust will be more crumbly.
How do I keep the olive eyes from falling off?
Use a small amount of mustard as glue. If they still slide, you can use a toothpick to secure them temporarily, but it’s usually not necessary.
Can I use turkey hot dogs?
Yes, turkey hot dogs work well. They are leaner and have a milder flavor. Just adjust the cooking time slightly, as they may cook faster.
What is the best way to reheat leftovers?
Reheat in the oven or toaster oven at 350°F for 5-7 minutes. This restores the crispiness of the dough. Avoid the microwave.
Pin This Recipe!
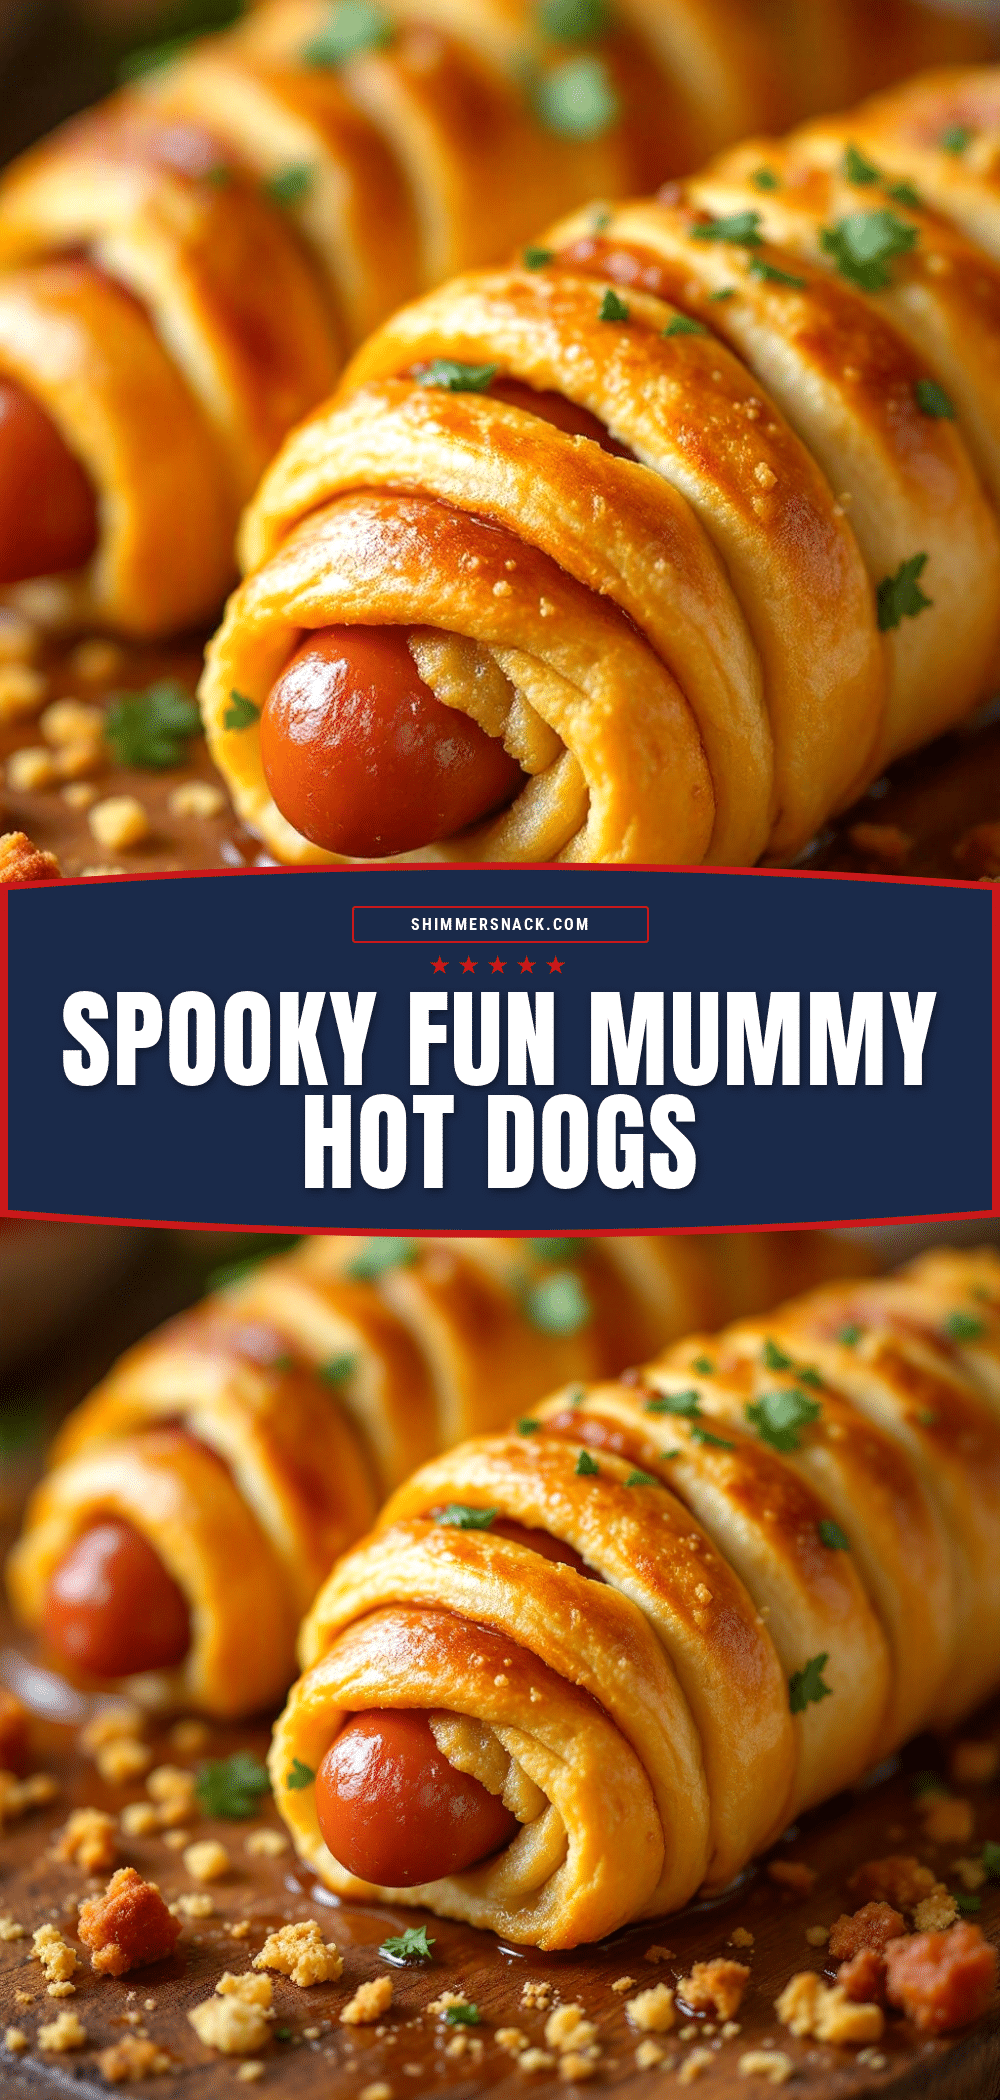
Fun Mummy Hot Dogs: Easy Halloween Crescent Roll Recipe

A spooky and delicious Halloween snack featuring hot dogs wrapped in flaky crescent roll dough with olive eyes. This easy, kid-friendly recipe is perfect for parties and busy weeknights.
- Prep Time: 15 minutes
- Cook Time: 15 minutes
- Total Time: 30 minutes
- Yield: 8-10 servings 1x
- Category: Appetizer
- Cuisine: American
Ingredients
- 1 can (8 oz) refrigerated crescent roll dough
- 8–10 standard beef or pork hot dogs
- Yellow mustard (for glue)
- Sliced black olives (2 slices per hot dog)
- Butter, melted (optional, for brushing)
Instructions
- Preheat oven to 375°F (190°C).
- Line a standard baking sheet with parchment paper.
- Pat hot dogs dry with a paper towel. Optionally, make a shallow lengthwise cut in the center to stuff with cream cheese or cheese.
- Unroll crescent dough and separate triangles along perforated lines.
- Place a hot dog at the wide end of a dough triangle. Roll dough around the hot dog, leaving ends exposed.
- Wrap the remaining points of the triangle horizontally around the hot dog like bandages, overlapping slightly.
- Place wrapped hot dogs on the baking sheet with space between them.
- Squirt a small dot of mustard on top of each mummy and place an olive slice on each dot for eyes.
- Bake for 12-15 minutes until dough is golden brown and cooked through.
- Cool for a couple of minutes before serving warm.
Notes
Keep dough cold until wrapping to prevent sticking. Leave space between mummies on the pan as dough expands. For stuffing, cream cheese works better than cheddar as it stays creamy. Can be made in an air fryer at 350°F for 6-8 minutes.
Nutrition
- Serving Size: 1 mummy hot dog
- Calories: 275
- Sugar: 2
- Sodium: 600
- Fat: 15
- Saturated Fat: 4
- Carbohydrates: 20
- Fiber: 1
- Protein: 8
Keywords: Halloween recipes, mummy hot dogs, crescent roll recipes, kid-friendly snacks, easy party food, spooky treats


