Love this? Save it for later!
Share the inspiration with your friends
My sister-in-law showed up at the back door at 4:30 PM on a Tuesday, shaking rain off her coat, and the only thing in the fridge was a can of pumpkin puree and a stick of butter. She wasn’t supposed to be there; her car had broken down three towns over, and she just needed a place to crash until the tow truck arrived. I looked at her, then at the empty counter, and realized I had no plan for dinner. We had been arguing about whose turn it was to cook for months, so this felt like a cosmic joke.
I grabbed the pumpkin and started thinking about what I actually had in the pantry. There was no time to make a complex meal, but I couldn’t just serve her a sandwich after she drove two hours in the rain. I needed something warm, something that smelled like home, and something that would make her feel like she was actually wanted here. The kitchen was quiet except for the hum of the refrigerator and the sound of rain against the window.
I remembered my grandmother’s old trick for making a crust without a food processor, using just her hands and a little patience. It was messy, it was fast, and it tasted like the holidays, even though it was just mid-autumn. I mixed the flour and butter, feeling the cold chunks melt into the dough. It wasn’t perfect, but it was honest.
We sat on the floor of the kitchen, eating slices of pie straight from the pan with plastic forks. She didn’t say anything for a long time, just closed her eyes and took a bite. That moment stuck with me more than any planned dinner party ever could. It wasn’t about the recipe being fancy; it was about making something good with what you had when things went wrong. This classic pumpkin pie from scratch with flaky crust became our peace treaty, and honestly, it’s still the best pie I ever made.
Why You’ll Love This Recipe
Let’s face it, most pumpkin pie recipes out there are either too sweet or have a crust that’s more cardboard than pastry. I’ve spent years testing different ratios of spices and fats to find that sweet spot. This recipe isn’t just another version; it’s the result of trial, error, and a lot of burnt fingers. It’s the kind of pie that makes you close your eyes after the first bite because the flavor is just that comforting.
Here is why this specific recipe stands out from the crowd:
- Quick & Easy Crust: You don’t need a fancy machine. This comes together in under 20 minutes, perfect for busy weeknights or when you’re hosting last-minute guests like my sister-in-law did.
- Simple Ingredients: No fancy grocery trips needed. You likely already have flour, butter, and pumpkin puree in your kitchen right now.
- Perfect for Autumn: Whether it’s a cozy dinner for two or a holiday gathering, this pie fits every occasion perfectly.
- Crowd-Pleaser: It always gets rave reviews from kids who usually hate “vegetable” pies and adults who are picky about texture.
- Unbelievably Delicious: The texture and flavor combo is next-level comfort food. The crust is flaky, and the filling is smooth.
What makes this recipe different is the balance. Many recipes use too much sugar, masking the natural earthiness of the pumpkin. I’ve adjusted the spice blend to let the nutmeg and cinnamon shine without overpowering the pumpkin. It’s comfort food reimagined—simpler, faster, but with the same soul-soothing satisfaction you get from a bakery. It’s perfect for impressing guests without stress, or turning a simple meal into something memorable.
What Ingredients You Will Need
This recipe uses simple, wholesome ingredients to deliver bold flavor and satisfying texture without the fuss. You don’t need anything obscure or hard to find. In fact, the beauty of this classic pumpkin pie from scratch with flaky crust is that it relies on pantry staples that you probably already have. I like to keep things straightforward because sometimes the simplest ingredients taste the best when they are high quality.
Here is what you will need to get started:
For the Flaky Crust
- All-purpose flour: 1 and 1/2 cups (about 190g). I recommend Gold Medal flour for its consistent protein content, which helps with structure.
- Unsalted butter: 1/2 cup (1 stick), cold and cubed. This is crucial. If the butter is warm, the crust will be tough. Look for high-quality butter like Plugra or Kerrygold for the best flavor.
- Vegetable shortening: 1/4 cup (about 45g). This is the secret to flakiness. Shortening has a higher melting point than butter, creating layers. You can use all butter if you prefer, but the crust will be less flaky.
- Salt: 1/2 teaspoon. Just a pinch to balance the sweetness.
- Ice water: 3 to 4 tablespoons. Use ice water straight from the fridge. Warm water will melt the fat too early.
For the Pumpkin Filling
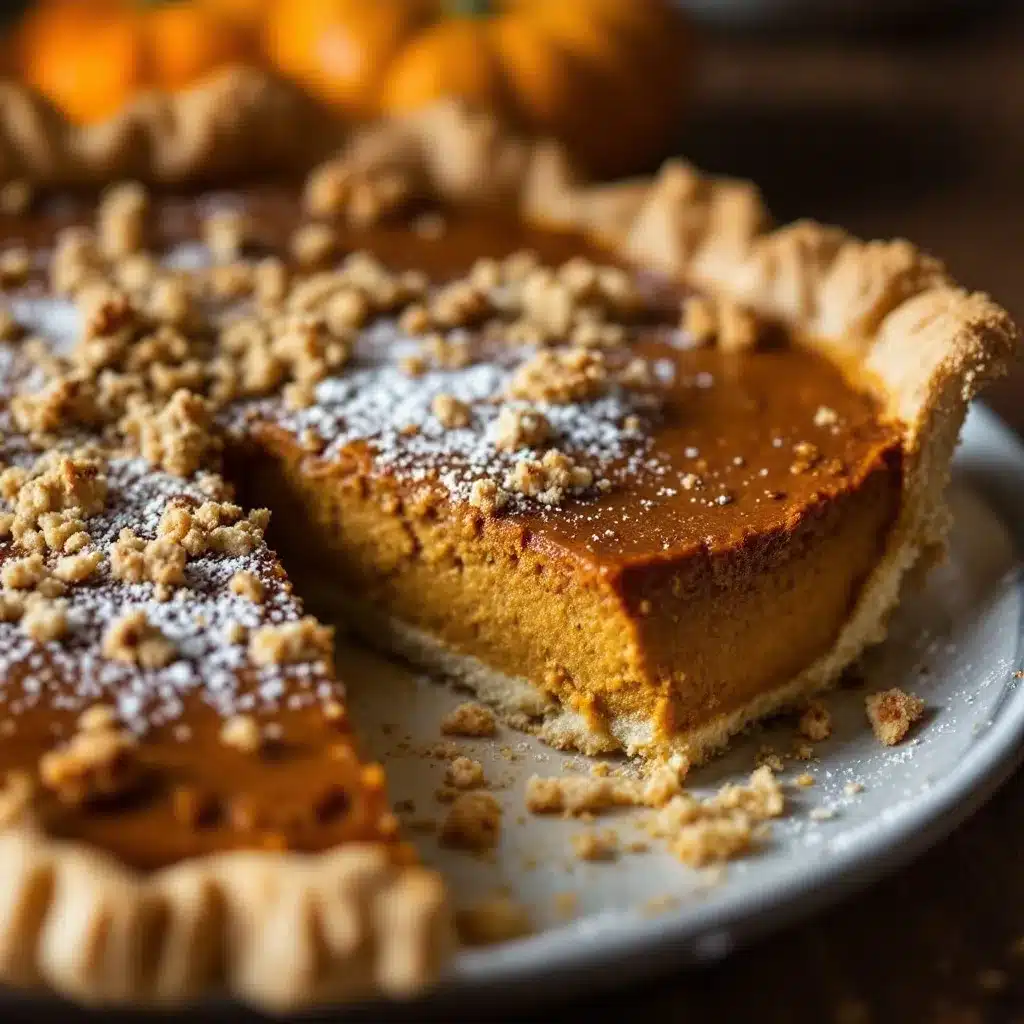
- Pumpkin puree: 15 oz (about 1 cup). Make sure it is 100% pure pumpkin, not pumpkin pie mix. The mix already has sugar and spices, which will throw off the balance.
- Evaporated milk: 12 oz (1 can). This is different from condensed milk. It’s unsweetened and adds a rich, creamy texture without being too heavy. Arm & Hammer is a trusted brand I always keep in my pantry.
- Eggs: 2 large eggs, room temperature. These act as the binder. If your eggs are cold, let them sit on the counter for 15 minutes.
- Sugar: 3/4 cup (150g). I use granulated white sugar. Brown sugar can be used for a deeper molasses flavor, but white sugar keeps the pumpkin taste bright.
- Spices: 1 teaspoon cinnamon, 1/2 teaspoon ginger, 1/4 teaspoon nutmeg, and 1/4 teaspoon cloves. Freshly grated nutmeg makes a huge difference if you have a microplane.
For the Topping (Optional)
- Heavy cream: 1 cup, whipped with 1 tablespoon of powdered sugar.
If you need to substitute, you can use coconut milk for a dairy-free option, though the texture will be slightly less rich. For the crust, you can try King Arthur flour if you want a slightly higher protein content for a sturdier crust.
Equipment Needed
You don’t need a lot of fancy gadgets to make this pie. In fact, some of the best pies are made with basic tools. Here is what you’ll need:
- 9-inch pie dish: Glass or ceramic is best because it heats evenly. Metal pans can sometimes burn the bottom crust.
- Pastry cutter or fork: To cut the butter into the flour. A pastry cutter makes it faster, but a fork works fine if you have the wrist strength.
- Rolling pin: A standard wooden rolling pin is perfect. Make sure it’s clean and dry.
- Mixing bowls: One large bowl for the filling and one medium bowl for the crust.
- Measuring cups and spoons: Accuracy matters, especially with flour. Use the spoon-and-level method for best results.
- Whisk: For blending the filling ingredients smoothly.
If you don’t have a pastry cutter, you can use your fingers, but keep them cold. A budget-friendly option is to buy a simple plastic pastry blender, which is cheap and lasts forever. Avoid using a food processor unless you are in a huge rush, as it can easily overwork the dough and make it tough.
Preparation Method
Making a classic pumpkin pie from scratch with flaky crust might seem intimidating, but it’s really just about following a few simple steps. Take your time with the crust, and the rest will come together easily.
Step 1: Make the Dough (15 minutes)
- Combine dry ingredients: In a large mixing bowl, whisk together the flour and salt. Make sure there are no lumps.
- Cut in the fats: Add the cold, cubed butter and the shortening. Use a pastry cutter or two forks to cut the fat into the flour. You want the mixture to look like coarse crumbs with some pea-sized pieces of butter remaining. These butter chunks are what create the flaky layers.
- Add water: Sprinkle ice water over the mixture, one tablespoon at a time. Mix gently with a spatula or your hands. Stop adding water when the dough just starts to come together. Do not overmix. It should hold together when pinched but still look shaggy.
- Chill the dough: Divide the dough in half. Flatten each half into a disk, wrap tightly in plastic wrap, and refrigerate for at least 30 minutes. This relaxes the gluten and re-chills the butter.
Step 2: Blind Bake the Crust (20 minutes)
- Preheat oven: Preheat your oven to 375°F (190°C).
- Roll out the dough: On a floured surface, roll one disk of dough into a 12-inch circle. Transfer it to the pie dish. Trim the edges and crimp the crust as desired.
- Line and weigh: Line the crust with parchment paper and fill it with pie weights or dried beans. This prevents the crust from puffing up.
- Bake: Bake for 15 minutes. Then, carefully remove the weights and parchment. Bake for another 5 minutes until the bottom looks set. Remove from the oven and let it cool slightly while you make the filling.
Step 3: Make the Filling (10 minutes)
- Whisk wet ingredients: In a large bowl, whisk the eggs, sugar, cinnamon, ginger, nutmeg, and cloves until smooth.
- Add pumpkin and milk: Stir in the pumpkin puree and evaporated milk. Mix until completely combined. The filling should be smooth and orange.
- Pour and bake: Pour the filling into the pre-baked crust. Place the pie on a baking sheet (to catch any spills) and bake at 350°F (175°C) for 50-60 minutes.
- Check for doneness: The center should still have a slight jiggle, like Jell-O, when you shake the pan. It will set as it cools. If the edges are browning too fast, cover them with foil.
Step 4: Cool and Serve (2 hours)
- Cool completely: Let the pie cool on a wire rack for at least 2 hours. This is crucial for the filling to set properly.
- Top and serve: Whip the heavy cream with powdered sugar and dollop it on top. Slice and enjoy.
Cooking Tips & Techniques
I’ve made this pie more times than I can count, and I’ve learned a few hard lessons along the way. The biggest mistake people make is overworking the dough. When you’re mixing the crust, handle it as little as possible. Every time you touch it, you’re developing gluten, which leads to a tough crust instead of a tender, flaky one.
Another tip is to keep everything cold. If your butter starts to melt before it goes into the oven, you lose those flaky layers. If your kitchen is warm, put your flour and butter in the fridge for 15 minutes before you start. It’s a small step that makes a huge difference.
For the filling, don’t skip the blind baking step. Pumpkin pie filling is very wet, and if you put it into an unbaked crust, the bottom will be soggy. Blind baking creates a barrier that helps keep the crust crisp. Also, remember that the pie continues to cook after you take it out of the oven. If you wait until the center is completely firm in the oven, it will overcook and crack as it cools. A little jiggle is your friend.
If you notice cracks forming on top, it’s usually because the pie cooled too quickly. Try to let it cool gradually on the counter rather than moving it to a cold surface immediately. And for the love of all things holy, use pure pumpkin puree. The cans labeled “pumpkin pie mix” are already sweetened and spiced, which will make your pie cloyingly sweet and bland.
Variations & Adaptations
While I love the classic version, this recipe is pretty flexible. Here are a few ways to change it up:
- Spiced Latte Pie: Add 1 tablespoon of instant espresso powder to the filling for a coffee kick. It pairs beautifully with the pumpkin spices.
- Maple Pecan Pie: Swap half the sugar for maple syrup and add 1 cup of toasted pecans on top before baking. It adds a nice crunch and deeper flavor.
- Gluten-Free Crust: Use a 1:1 gluten-free flour blend for the crust. Just make sure it contains xanthan gum, or add 1/2 teaspoon to help hold it together.
- Dairy-Free: Use coconut oil instead of shortening and coconut milk instead of evaporated milk. The flavor will be slightly coconutty, which works well with pumpkin.
I once tried making this with sweet potato puree instead of pumpkin, and it was surprisingly good. It was a bit denser, but the spices still worked. If you’re hosting guests with nut allergies, just avoid the pecan variation and stick to the classic or maple version.
Serving & Storage Suggestions
This pie is best served at room temperature or slightly chilled. Cold pie can make the crust feel a bit greasy, so let it sit out for 15 minutes before slicing. It goes perfectly with a hot cup of coffee or a glass of cold milk. I also like to serve it alongside a side of crispy bacon-wrapped jalapeño popper bites for a savory contrast if you’re having a large meal.
For storage, cover the pie loosely with plastic wrap or aluminum foil. It can be kept at room temperature for up to 2 days. After that, it should be refrigerated. It will last in the fridge for up to 5 days.
To reheat, warm individual slices in the microwave for 15-20 seconds. You can also reheat the whole pie in a 300°F oven for 10 minutes. The flavors actually develop and meld together over the first day, so it often tastes better on day two.
Nutritional Information & Benefits
Pumpkin is a nutritional powerhouse. It’s low in calories but high in fiber, vitamin A, and potassium. This pie provides a good source of these nutrients, especially if you use less sugar. One slice contains approximately 350 calories, with 15g of fat, 45g of carbohydrates, and 4g of protein.
It is not gluten-free due to the crust, but you can easily adapt it for gluten-free diets. It is also vegetarian. For those watching their sugar intake, you can reduce the sugar in the filling by 25% without significantly affecting the texture. I always try to enjoy this pie as a special treat rather than an everyday snack, balancing it with a healthy dinner earlier in the day.
Conclusion
Making a classic pumpkin pie from scratch with flaky crust is a rewarding experience. It’s not just about the end result, but the process of creating something from simple ingredients. I hope this recipe brings you as much joy as it did for me and my sister-in-law that rainy Tuesday. Feel free to tweak the spices or add your own toppings to make it your own.
If you try this recipe, I’d love to hear how it turns out. Leave a comment below and let me know if you added any special twists. Share your photos on social media and tag me so I can see your creations. Happy baking, and may your kitchen always be filled with good smells and good company.
FAQs
Can I use fresh pumpkin instead of canned?
Yes, you can roast a sugar pumpkin and puree it yourself. Just make sure to drain the puree well to remove excess moisture, or the pie will be runny.
Why did my crust shrink during baking?
This usually happens if the dough wasn’t chilled long enough before rolling. Relaxing the gluten prevents shrinkage. Also, don’t stretch the dough when placing it in the pan; just press it in gently.
Can I make this pie ahead of time?
Absolutely. You can make the crust and filling up to 2 days in advance. Store the unbaked pie in the fridge and bake it the day you need it.
What is the best way to slice a pumpkin pie?
Use a sharp knife and wipe it clean between slices. For the cleanest cuts, chill the pie for an hour before slicing. This firms up the filling and makes it easier to handle.
Can I freeze this pie?
Yes, you can freeze unbaked pies wrapped tightly in plastic and foil for up to 3 months. Thaw in the fridge overnight before baking. Baked pies can also be frozen, but the crust may lose some crispness upon thawing.
Pin This Recipe!
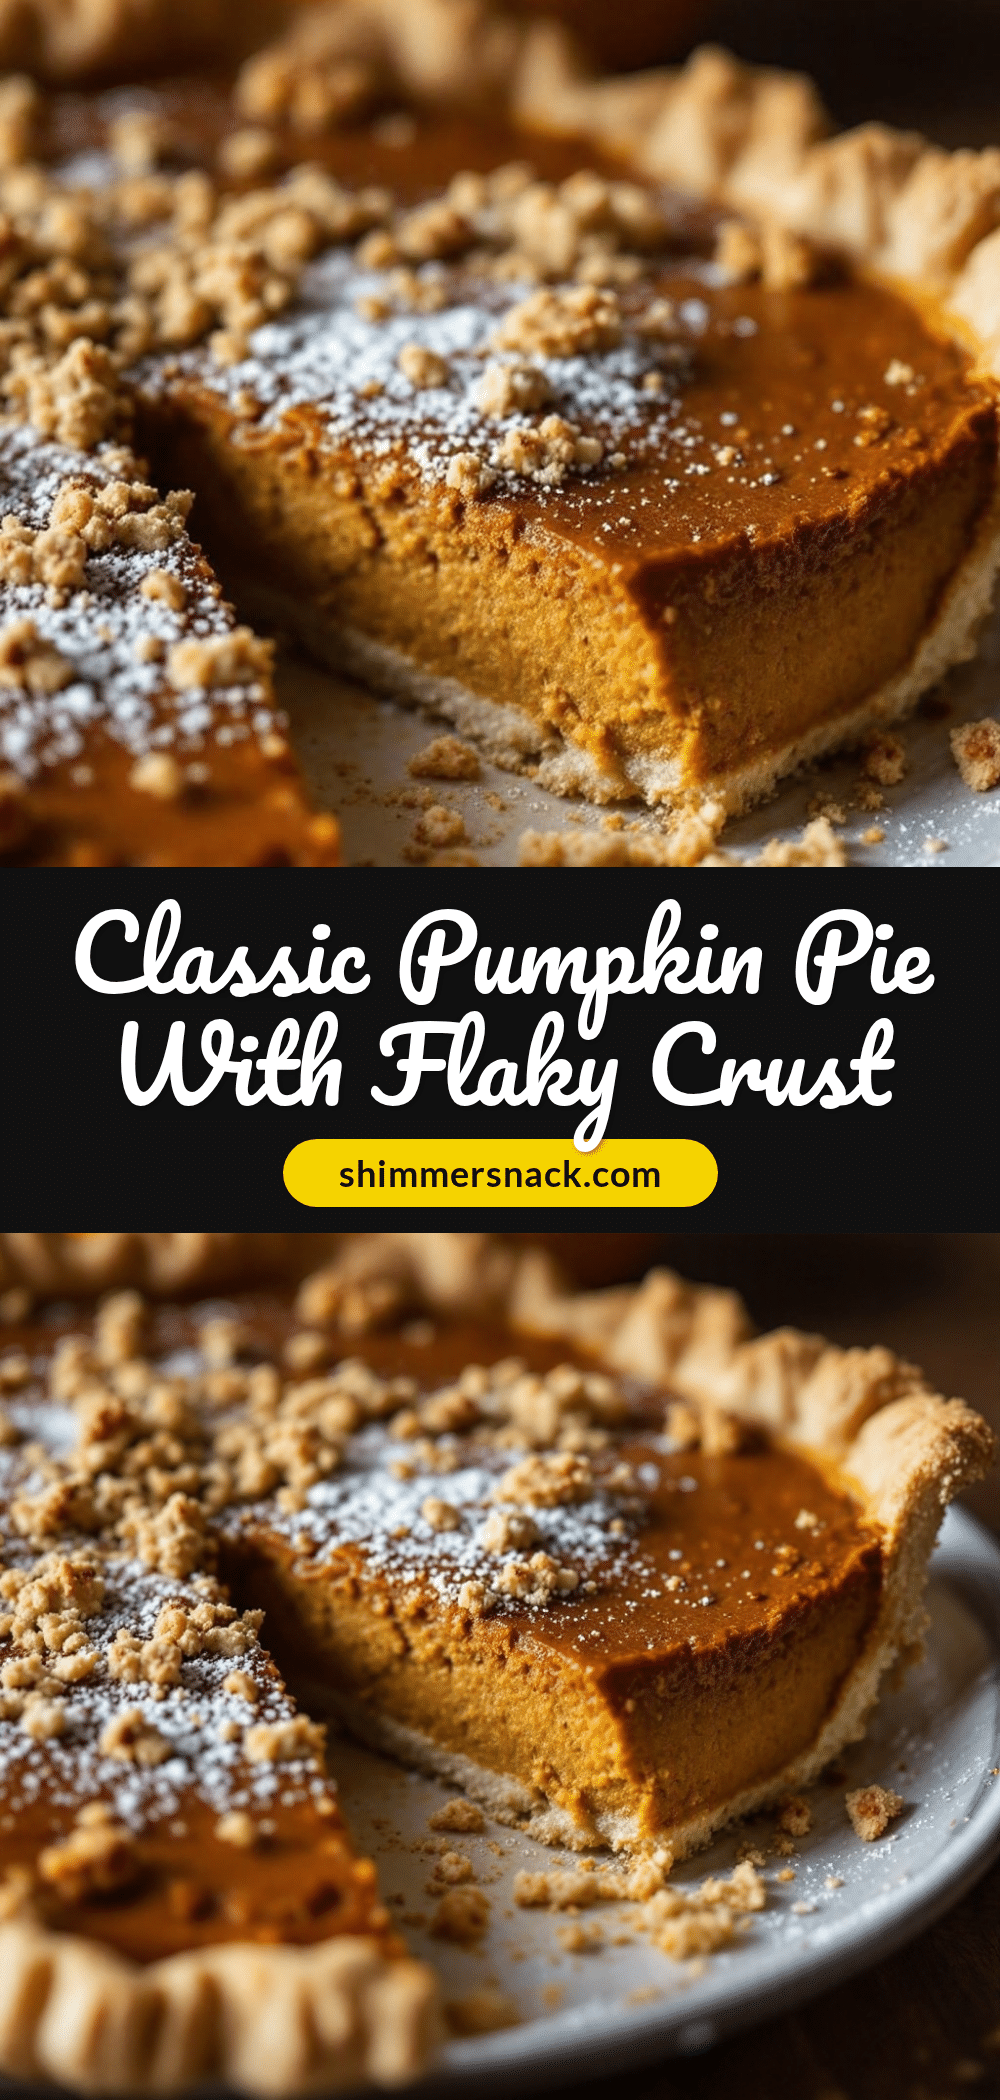
Classic Pumpkin Pie from Scratch: 3-Step Easy Flaky Crust
A comforting, easy-to-make pumpkin pie featuring a homemade flaky crust and a smooth, spiced filling. Perfect for autumn gatherings or last-minute guests, this recipe uses simple pantry staples for a delicious, crowd-pleasing dessert.
- Prep Time: 15 minutes
- Cook Time: 70 minutes
- Total Time: 2 hours 25 minutes
- Yield: 8 servings 1x
- Category: Dessert
- Cuisine: American
Ingredients
- 1 and 1/2 cups all-purpose flour
- 1/2 cup unsalted butter, cold and cubed
- 1/4 cup vegetable shortening
- 1/2 teaspoon salt
- 3 to 4 tablespoons ice water
- 15 oz (1 cup) 100% pure pumpkin puree
- 12 oz (1 can) evaporated milk
- 2 large eggs, room temperature
- 3/4 cup granulated white sugar
- 1 teaspoon cinnamon
- 1/2 teaspoon ginger
- 1/4 teaspoon nutmeg
- 1/4 teaspoon cloves
- 1 cup heavy cream, whipped (optional topping)
- 1 tablespoon powdered sugar (optional topping)
Instructions
- In a large mixing bowl, whisk together the flour and salt.
- Add the cold, cubed butter and shortening. Use a pastry cutter or two forks to cut the fat into the flour until the mixture resembles coarse crumbs with pea-sized butter pieces.
- Sprinkle ice water over the mixture one tablespoon at a time, mixing gently until the dough just starts to come together. Do not overmix.
- Divide the dough in half, flatten into disks, wrap in plastic wrap, and refrigerate for at least 30 minutes.
- Preheat oven to 375°F (190°C).
- Roll one disk of dough into a 12-inch circle on a floured surface and transfer to a 9-inch pie dish. Trim and crimp edges.
- Line the crust with parchment paper and fill with pie weights or dried beans. Bake for 15 minutes.
- Remove weights and parchment, then bake for another 5 minutes until the bottom is set. Remove and let cool slightly.
- In a large bowl, whisk eggs, sugar, cinnamon, ginger, nutmeg, and cloves until smooth.
- Stir in pumpkin puree and evaporated milk until completely combined.
- Pour filling into the pre-baked crust. Place on a baking sheet and bake at 350°F (175°C) for 50-60 minutes.
- The center should have a slight jiggle when shaken. Cover edges with foil if browning too fast.
- Cool completely on a wire rack for at least 2 hours before slicing and serving with whipped cream if desired.
Notes
Keep all ingredients cold to ensure a flaky crust. Do not overwork the dough. Ensure you use pure pumpkin puree, not pumpkin pie mix. The pie continues to cook after removal from the oven; a slight jiggle in the center indicates it is done. Let the pie cool completely to allow the filling to set.
Nutrition
- Serving Size: 1 slice
- Calories: 350
- Sugar: 30
- Sodium: 250
- Fat: 15
- Saturated Fat: 8
- Carbohydrates: 45
- Fiber: 2
- Protein: 4
Keywords: pumpkin pie, flaky crust, from scratch, easy dessert, autumn recipes, holiday baking, pumpkin pie recipe, homemade pie


