Love this? Save it for later!
Share the inspiration with your friends
I had been looking for a dessert that actually felt like part of the Thanksgiving spread, not just an afterthought.
For a while, I just accepted that holiday baking was going to taste like heavy, complicated labor. The oven was already full of casseroles. The counter space was gone. I didn’t want to fight for oven room with the sweet potato pie or the green bean casserole. Honestly, who has time for that?
The problem wasn’t just space. It was the mess. Thanksgiving morning is chaotic enough without flour dusting every surface. I wanted something that looked festive but didn’t require a degree in pastry engineering. I wanted bite-sized joy that could sit on a platter while we argued about football scores.
Then I figured out the turkey cake pop trick. It wasn’t some grand revelation. It was just mixing leftover cake crumbs with frosting and rolling them into little balls. The magic came when I dipped them in orange and white chocolate. They looked like tiny turkeys. Realistic enough to make guests laugh, cute enough to eat without feeling guilty.
Now, every November, I make a batch. They disappear faster than the gravy. It’s become this quiet tradition, a little sweet surprise that ties the whole meal together. You know, the kind of treat that makes the holidays feel less like work and more like a party.
Why You’ll Love This Recipe
These aren’t just cake pops. They are the edible highlight of the holiday table. I’ve tested dozens of variations over the years, from using leftover turkey dinner scraps to trying different chocolate coatings. This specific method strikes the perfect balance between fun and flavor.
- Quick & Easy: You can make these in under an hour if you start with store-bought cake. Perfect for busy weeknights or last-minute holiday prep.
- Simple Ingredients: No fancy grocery trips needed. You likely already have cake mix, frosting, and chocolate chips in your kitchen.
- Perfect for Holidays: Great for Thanksgiving potlucks, Christmas parties, or just a cozy family dessert.
- Crowd-Pleaser: Always gets rave reviews from kids and adults alike. Even the pickiest eaters love the turkey shape.
- Unbelievably Delicious: The texture is moist and cake-like, wrapped in a smooth chocolate shell. It’s next-level comfort food.
What makes these different is the attention to detail in the assembly. Most people just roll balls. We are adding features. The little candy corn beaks and the chocolate wattle give them personality. It’s not just cake; it’s a character.
It’s the kind of dessert that makes you close your eyes after the first bite. It’s comfort food reimagined—simpler, faster, but with the same soul-soothing satisfaction. Perfect for impressing guests without stress, or turning a simple meal into something memorable. If you love easy party snacks, you might also enjoy checking out our easy mini football cheese ball recipe with pretzel laces for game day.
What Ingredients You Will Need
This recipe uses simple, wholesome ingredients to deliver bold flavor and satisfying texture without the fuss. You don’t need gourmet items. You need pantry staples that come together to create something special. The key is using ingredients that hold their shape when rolled and dip.
For the Cake Base
- Yellow or Vanilla Cake Mix: One box (15.25 oz / 432g). I recommend Duncan Hines for a consistent, moist crumb.
- Ingredients to bake the cake: Follow the box instructions (usually eggs, oil, and water). Baking it slightly underdone helps with crumbling.
- Vanilla Frosting: One container (16 oz / 450g). Cream cheese frosting works too, but vanilla is sweeter and holds better for this shape.
For the Turkey Decoration
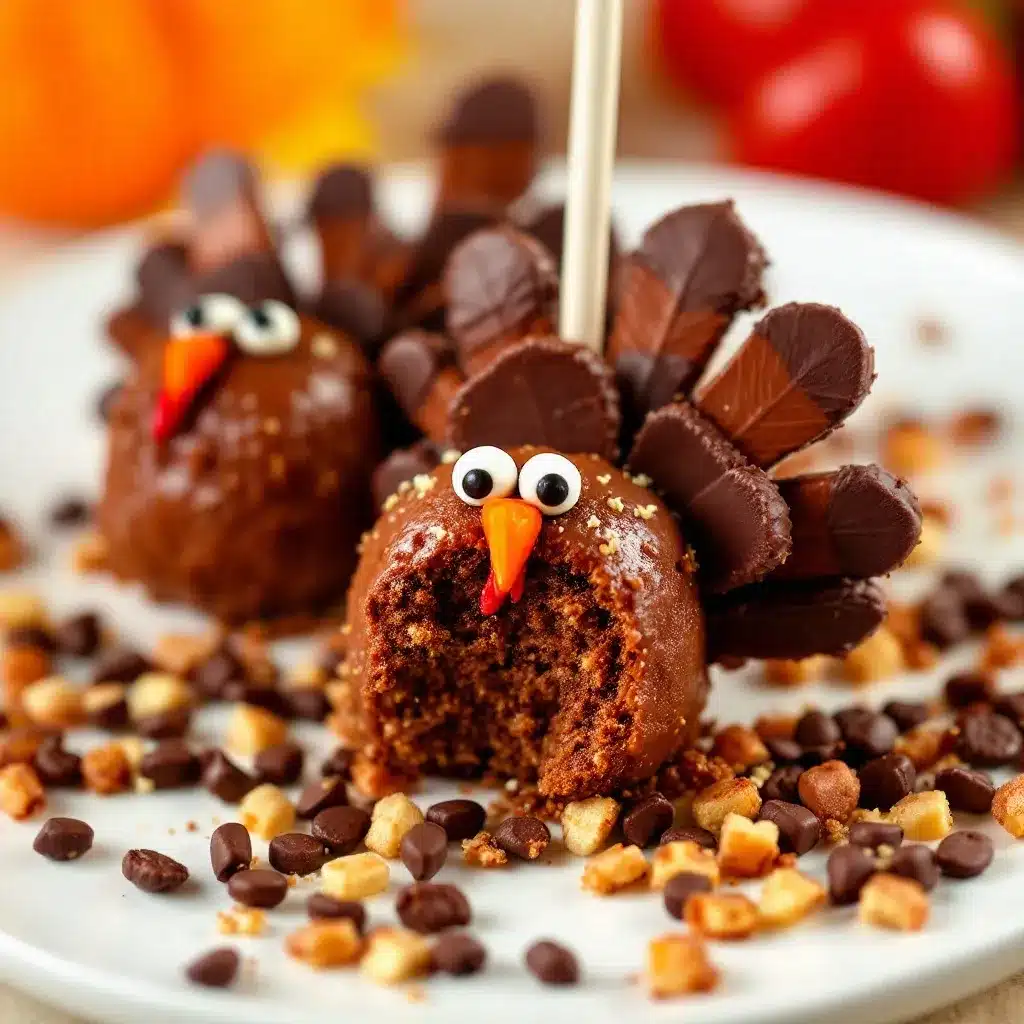
- White Candy Melts: 2 cups. These melt smoother than regular chocolate and stay white. I prefer Wilton brand.
- Orange Candy Melts: 1 cup. For the beak and wattle.
- Dark Chocolate Chips: ½ cup. Melted for the eyes and tail feathers.
- Candy Corn: Small pieces for the beak detail.
- Lollipop Sticks: Wooden sticks, about 4-5 inches long.
If you want a gluten-free option, you can use a gluten-free cake mix and ensure your frosting is certified gluten-free. For a dairy-free version, swap the butter-based frosting for a coconut oil-based one, though it may change the texture slightly. In summer, you could swap the orange candy for red to make little Christmas turkeys.
Equipment Needed
You don’t need a fancy kitchen to pull this off. A few basic tools will get you professional-looking results.
- Bundt Pan or Round Cake Pan: A Bundt pan creates a nice shape, but a standard 9-inch round pan works fine. Grease it well.
- Food Processor or Stand Mixer: To crumble the cake evenly. A food processor is faster and gives a finer crumb.
- Microwave-Safe Bowls: For melting the candy melts. Glass or ceramic works best.
- Piping Bag or Ziploc Bag: Snip the corner to pipe chocolate details.
- Paraffin Wax Paper or Parchment Paper: Essential for lining your workspace. Candy melts stick to everything else.
- Styrofoam Block or Cupcake Carrier: To hold the sticks while the chocolate sets.
A microwave is your best friend here. It melts candy quickly without burning. If you don’t have a food processor, just use your hands to crumble the cake. It takes longer, but it’s honest work. For a budget-friendly option, generic store-brand cake mix and frosting work perfectly. The secret is in the technique, not the price tag.
Preparation Method
Let’s break this down step-by-step. It sounds complicated, but it’s mostly assembly.
- Bake the Cake: Preheat oven to 350°F (175°C). Bake your cake mix according to the box. Tip: Bake it for 2-3 minutes less than the box says. It should be slightly dense. Let it cool completely. This is crucial. Warm cake = mushy pops.
- Crumble the Cake: Once cool, crumble the cake into fine crumbs. Use a food processor for about 30 seconds, or a fork for a few minutes. You want it to look like sand.
- Mix the Dough: Add the frosting to the crumbs. Start with 1 cup. Mix until combined. Add more frosting a tablespoon at a time until the mixture holds together when squeezed. It should feel like playdough. This takes about 10 minutes.
- Chill the Mixture: Cover the bowl and refrigerate for at least 1 hour. Cold dough is easier to roll and doesn’t stick to your hands.
- Roll the Balls: Scoop out tablespoon-sized portions. Roll them into smooth balls. Place them on a parchment-lined tray. Chill again for 30 minutes. This makes dipping easier.
- Insert Sticks: Dip the tip of each lollipop stick into melted white chocolate. Insert it into the center of a cake ball. This acts as glue. Chill for 15 minutes.
- Dip in White Chocolate: Melt white candy melts in 30-second intervals, stirring in between. Dip each pop, swirling to coat. Tap off excess chocolate gently against the side of the bowl. Place back on the parchment.
- Add Details: While the white chocolate is still wet, add the orange candy corn for the beak. Use a toothpick to add a dot of dark chocolate for the eye. Let them set completely. This takes about 20 minutes at room temperature.
If the chocolate is too thick, add a teaspoon of coconut oil to thin it. If the cake balls crack when you dip them, they weren’t cold enough. Patience is key here.
Cooking Tips & Techniques
I’ve made my fair share of mistakes with these. Here’s how to avoid them.
- Temperature Control: The biggest mistake is warm cake. If your cake isn’t cool, the frosting will melt and separate. Wait until it’s room temp, then chill.
- Coating Thickness: Don’t dip too long. A thin, even coat looks better than a thick, clumpy one. Quick dips are the way to go.
- Thinning the Chocolate: Candy melts can get stiff. Always have a backup bowl of melted chocolate in case the first batch thickens up too much.
- Setting Time: If it’s humid, the chocolate might take longer to set. Keep them in a cool, dry place. Don’t rush the setting process.
- Handling: Always hold the pops by the stick, never the cake part. Fingerprints show up on white chocolate instantly.
One trick I learned: if you want the tail feathers to look like turkey feathers, pipe small lines of dark chocolate on the back before the white chocolate sets. It adds texture that looks surprisingly realistic. It’s a small detail that makes a big difference.
Variations & Adaptations
While the classic turkey is the star, you can tweak this recipe.
- Flavor Swap: Use chocolate cake mix and chocolate frosting. Dip in orange and brown candy melts for a “pumpkin” look. It’s great for October.
- Dietary Adjustments: Use almond flour cake mix for a low-carb option. Just be aware the texture will be denser. You may need less frosting.
- Gluten-Free: As mentioned, swap the cake mix. Ensure your candy melts are gluten-free (most are, but check labels).
- Vegan Version: Use a vegan cake mix and dairy-free frosting. Melt dairy-free chocolate chips. The structure might be slightly more fragile, so handle with care.
- Personal Favorite: I sometimes add a pinch of cinnamon to the frosting for a “pie” flavor. It pairs beautifully with the orange theme.
You can also change the colors. For Christmas, use red and green candy melts. For Easter, pastel colors with bunny ears made from fondant. The base recipe is a blank canvas.
Serving & Storage Suggestions
Serve these at room temperature. Cold chocolate can feel waxy. Arrange them on a platter with some autumn leaves or twigs for a rustic look. They pair well with coffee or hot cider.
Store leftovers in an airtight container at room temperature for up to 5 days. Do not refrigerate, as condensation can ruin the chocolate finish. If you must freeze them, place them in a single layer in the freezer for 2 hours, then transfer to a container. They last for 2 months. Thaw at room temperature before serving.
Flavors develop over time. The cake absorbs moisture from the frosting, making it softer and more flavorful after a day or two. That’s why they taste better the next day. Just make sure they are sealed tight to prevent drying out.
Nutritional Information & Benefits
These are treats, so enjoy them in moderation. Each pop is roughly 150-200 calories, depending on size. They provide a quick energy boost from the sugar in the cake and chocolate.
The cake mix provides carbohydrates, while the frosting adds fat. It’s not a health food, but it’s a fun way to celebrate. If you’re watching sugar, try using a sugar-free cake mix and frosting. The taste won’t be as sweet, but the structure will hold.
For my clients with gluten sensitivities, the gluten-free version is a safe bet. Always check labels for cross-contamination. Personally, I view these as a joyful indulgence, not a daily staple. Balance is key.
Conclusion
Thanksgiving turkey cake pops are the perfect way to end a big meal. They are fun, festive, and surprisingly easy to make. I love that they bring a smile to everyone’s face, especially the kids.
Feel free to customize them. Make them your own. Add sprinkles, change the colors, or try a different flavor cake. The possibilities are endless.
I hope you try this recipe. It’s become a staple in my home for a reason. It’s simple, delicious, and full of holiday spirit. If you make them, I’d love to see your creations. Share your photos on social media and tag me. Let’s celebrate the holidays together.
Happy baking, and happy Thanksgiving!
FAQs
Can I use leftover cake instead of baking fresh?
Yes, absolutely. Leftover cake works perfectly. Just make sure it’s fully cooled before crumbling. Store-bought cake from a bakery is also a great shortcut.
Why is my chocolate cracking?
This usually happens if the cake pops are too cold or the chocolate is too thick. Let the cake pops sit out for 10 minutes before dipping. Thin the chocolate with a little coconut oil if needed.
How long do cake pops last?
At room temperature, they last about 5 days. In the freezer, they can last up to 2 months. Always store in an airtight container.
Can I make these ahead of time?
Yes. You can make the cake balls up to 2 days in advance. Dip them the day before serving for the best presentation.
What if I don’t have candy melts?
You can use real chocolate chips, but they need to be tempered or thinned with oil to dip properly. Candy melts are easier because they melt smoothly without tempering.
Pin This Recipe!
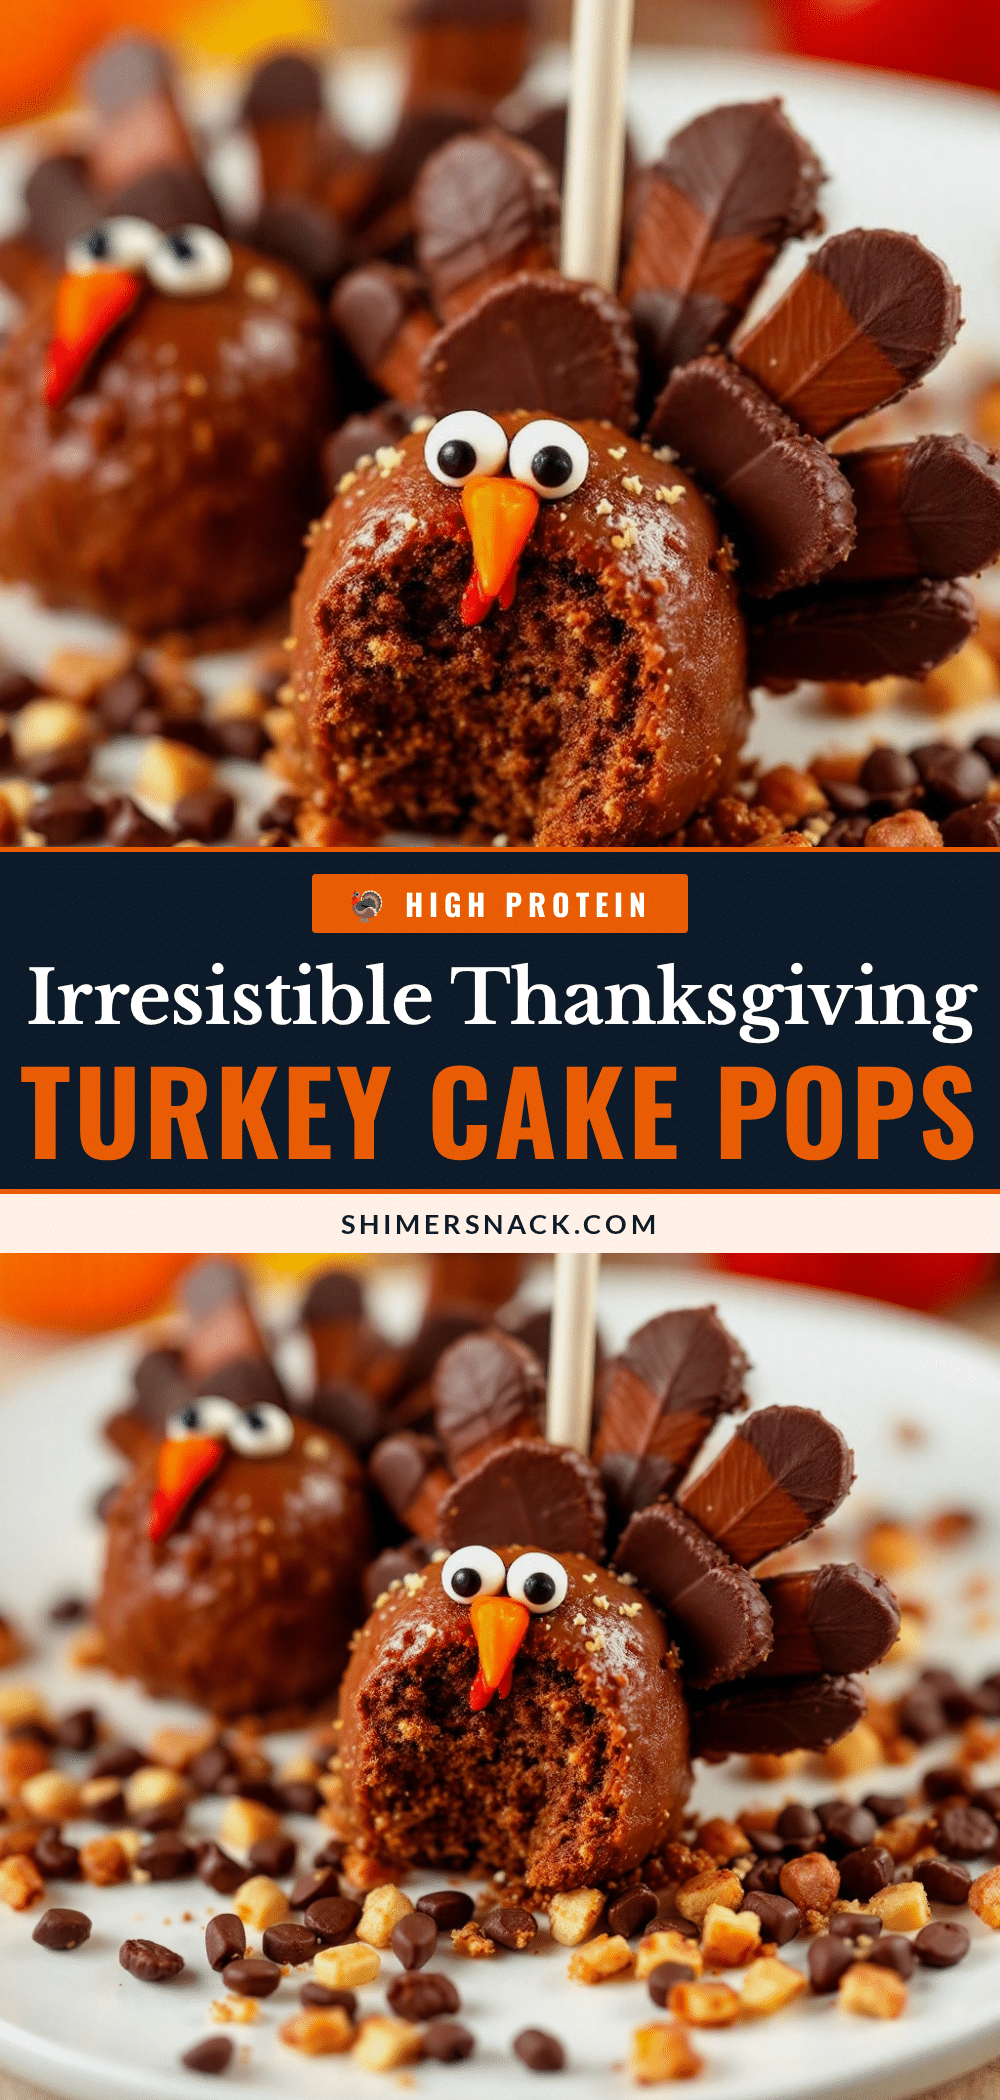
Irresistible Thanksgiving Turkey Cake Pops
Festive bite-sized cake pops shaped like turkeys, made with simple pantry staples and dipped in white and orange chocolate. Perfect for Thanksgiving and holiday parties.
- Prep Time: 30 minutes
- Cook Time: 30 minutes
- Total Time: 1 hour 30 minutes
- Yield: Approximately 20 cake pops 1x
- Category: Dessert
- Cuisine: American
Ingredients
- 1 box (15.25 oz / 432g) Yellow or Vanilla Cake Mix
- Ingredients to bake the cake (eggs, oil, water) per box instructions
- 1 container (16 oz / 450g) Vanilla Frosting
- 2 cups White Candy Melts
- 1 cup Orange Candy Melts
- ½ cup Dark Chocolate Chips
- Candy Corn (small pieces)
- Wooden Lollipop Sticks (4-5 inches long)
Instructions
- Preheat oven to 350°F (175°C). Bake cake mix according to box instructions, but bake for 2-3 minutes less than directed so it remains slightly dense.
- Let the cake cool completely. Warm cake will result in mushy pops.
- Crumble the cooled cake into fine crumbs using a food processor or fork until it resembles sand.
- Mix the cake crumbs with 1 cup of frosting. Add more frosting a tablespoon at a time until the mixture holds together like playdough.
- Cover the bowl and refrigerate the mixture for at least 1 hour.
- Roll the mixture into tablespoon-sized smooth balls and place on a parchment-lined tray. Chill again for 30 minutes.
- Dip the tip of each lollipop stick into melted white chocolate and insert it into the center of a cake ball. Chill for 15 minutes.
- Melt white candy melts in 30-second intervals, stirring in between. Dip each pop, swirling to coat, and tap off excess chocolate.
- While the white chocolate is still wet, add candy corn for the beak and use a toothpick to add a dot of dark chocolate for the eye.
- Let the pops set completely at room temperature for about 20 minutes.
Notes
Ensure the cake is completely cool before crumbling to prevent the frosting from melting. If the chocolate is too thick, add a teaspoon of coconut oil to thin it. Store in an airtight container at room temperature for up to 5 days; do not refrigerate as condensation can ruin the chocolate finish.
Nutrition
- Serving Size: 1 cake pop
- Calories: 175
- Sugar: 18
- Sodium: 150
- Fat: 8
- Saturated Fat: 4
- Carbohydrates: 25
- Fiber: 1
- Protein: 2
Keywords: Thanksgiving dessert, cake pops, turkey treats, holiday baking, easy party snacks, kid-friendly desserts


