Love this? Save it for later!
Share the inspiration with your friends
“You know, it wasn’t until last winter when my neighbor, Mrs. Jensen, invited me over for tea that I discovered the magic of classic chewy peanut butter blossom cookies,” I often recall with a smile. She wasn’t the type to flaunt her baking skills, but the moment I bit into one of those delicious cookies, I was hooked. Honestly, the way the soft peanut butter dough cradled that perfectly melty chocolate kiss on top was something else. The warmth spread not just through my mouth, but all through my heart. It was a chilly Thursday afternoon, and as I sat near her crackling fireplace, those cookies made the whole room feel like a cozy hug.
Let me tell you, this recipe didn’t come from a fancy cookbook or a trendy food blog. It was scribbled on a slightly crumpled note that Mrs. Jensen pulled out from an old tin box, stained with years of flour and butter. She told me it had been passed down through generations, a humble yet irresistible cookie that never fails to bring smiles. I mean, I’ve baked countless cookies before, but these stood out. The dough was chewy but tender, the peanut butter taste rich and unmistakable, and that Hershey’s kiss on top just sealed the deal.
Maybe you’ve been there — craving something sweet that’s simple, nostalgic, and utterly comforting. This recipe has become my go-to whenever I want to impress friends without spending hours in the kitchen. I once forgot to chill the dough and the cookies still came out perfectly chewy (though I don’t recommend skipping that step!). Honestly, it’s that kind of forgiving recipe that makes baking fun, not stressful. So, if you’re ready for a soft treat that takes you back to those warm, happy moments, keep reading — these classic chewy peanut butter blossom cookies are waiting to become your new favorite.
Why You’ll Love This Recipe
After many rounds of testing and tasting, I can confidently say this classic chewy peanut butter blossom cookie recipe hits all the right notes. It’s a simple recipe, but don’t let that fool you — it delivers big on flavor and texture. Here’s why you might just fall in love with it too:
- Quick & Easy: Ready in under 30 minutes, this recipe fits perfectly into busy afternoons or last-minute baking plans.
- Simple Ingredients: No need for specialty shops — peanut butter, sugar, flour, and those iconic Hershey’s kisses are probably already in your pantry.
- Perfect for Gatherings: Whether it’s a holiday party, school bake sale, or a cozy night in, these cookies always get rave reviews.
- Crowd-Pleaser: Kids and adults alike adore the chewy texture paired with the melty chocolate center.
- Unbelievably Delicious: The balance of salty peanut butter and sweet chocolate is just… chef’s kiss. Trust me, you’ll close your eyes on the first bite.
This isn’t just another peanut butter cookie. I’ve played around with countless variations, but this version nails the chewy texture with a slight crisp at the edges — thanks to a small trick of chilling the dough and rolling it in sugar. Plus, pairing it with the classic Hershey’s kiss isn’t just tradition; it adds that perfect chocolate hit without overpowering the peanut butter. It’s comforting, nostalgic, and honestly, a little addictive.
Ingredients Needed for Classic Chewy Peanut Butter Blossom Cookies
This recipe uses simple, wholesome ingredients that come together effortlessly to create a bold, satisfying flavor. Most of these are pantry staples, and if you don’t have something, I’ve included handy substitutions too.
- 1/2 cup (115g) unsalted butter, softened (use salted if preferred but reduce added salt)
- 1/2 cup (125g) creamy peanut butter (I like Skippy for its smooth texture)
- 1/2 cup (100g) granulated sugar (plus extra for rolling)
- 1/2 cup (110g) packed light brown sugar
- 1 large egg, room temperature (helps with binding and moisture)
- 1 1/4 cups (155g) all-purpose flour (for gluten-free, swap with almond or oat flour)
- 1/2 teaspoon baking soda (key for that chewy texture)
- 1/4 teaspoon salt (omit if using salted butter)
- 1 teaspoon vanilla extract (fresh is best!)
- About 36 Hershey’s Kisses, unwrapped (milk chocolate or special dark for a twist)
If you’re feeling adventurous, swapping creamy peanut butter with natural peanut butter can add a nuttier edge — just be aware it might affect dough consistency. For a dairy-free version, try replacing butter with coconut oil and use dairy-free chocolate kisses. And in summer months, I sometimes toss in a handful of chopped roasted peanuts for extra crunch.
Equipment Needed
- Mixing bowls: One large bowl for the dough and a smaller one for rolling sugar.
- Electric mixer: Stand or hand mixer helps cream butter and sugar smoothly. If you don’t have one, a sturdy whisk and some elbow grease work too.
- Baking sheets: Two or more, lined with parchment paper or silicone mats to prevent sticking.
- Measuring cups and spoons: For accuracy — especially important with baking soda and flour.
- Spoon or small cookie scoop: To portion out uniform balls of dough.
- Cooling rack: Helps cookies cool evenly without getting soggy underneath.
I’ve baked these cookies with everything from old-school mixers to manual hand beaters, and honestly, the results are still great either way. For budget-conscious bakers, parchment paper can be swapped for a well-greased baking sheet, but I find cleanup is much easier with parchment. Also, don’t skip the cooling rack — I learned the hard way that cookies can get mushy if left on a hot pan!
Preparation Method for Classic Chewy Peanut Butter Blossom Cookies

- Preheat your oven to 375°F (190°C). Line your baking sheets with parchment paper or silicone mats. This usually takes about 10 minutes, giving you time to prep the dough.
- Cream the butter, peanut butter, granulated sugar, and brown sugar. In a large bowl, use an electric mixer on medium speed for about 2-3 minutes until the mixture is light and fluffy. This aeration is crucial for soft cookies.
- Add the egg and vanilla extract. Beat again until fully incorporated, scraping the bowl sides as needed. The batter will look smooth and creamy.
- Whisk together the flour, baking soda, and salt in a separate bowl. Slowly add this dry mix to your wet ingredients, mixing on low speed until just combined. Don’t overmix — you want the dough tender, not tough.
- Chill the dough. Cover the bowl with plastic wrap and refrigerate for at least 30 minutes. This step is key for chewy, well-shaped cookies. I sometimes forget this (life, right?), and the cookies spread a bit too much, but chilling really helps.
- Prepare rolling sugar. Pour about 1/4 cup (50g) granulated sugar into a small bowl for rolling the cookie dough balls.
- Form dough balls. Using a teaspoon or cookie scoop, roll dough into 1-inch (2.5cm) balls. Roll each ball in the sugar until fully coated.
- Arrange on baking sheets. Place dough balls about 2 inches (5cm) apart to allow for spreading.
- Bake for 8-10 minutes. The edges should be set but the centers still soft. Remove from the oven and immediately press one unwrapped Hershey’s kiss gently into the center of each cookie, twisting slightly to secure.
- Cool on baking sheet for 5 minutes. Then transfer cookies to a wire rack to cool completely. This prevents soggy bottoms and helps the chocolate set perfectly.
Pro tip: If your kisses seem too firm to press in, microwave them for 5-10 seconds to soften slightly. Remember, underbaking by a minute or two is better than overbaking for that chewy texture.
Cooking Tips & Techniques for Perfect Peanut Butter Blossom Cookies
Let me share some learned tricks that make these classic chewy peanut butter blossom cookies stand out every time.
- Don’t skip chilling the dough. It’s tempting to bake immediately, but chilling firms up the fat and prevents excessive spreading.
- Use room temperature ingredients. Especially the egg and butter — this helps everything blend smoothly and evenly.
- Measure flour correctly. Spoon it lightly into your measuring cup and level it off, rather than scooping directly, to avoid dense cookies.
- Roll in sugar twice. Once when forming the dough balls and again just before baking if you want extra sparkle and slight crispness on the outside.
- Press the chocolate kisses right after baking. This keeps them warm enough to meld slightly with the cookie, creating that iconic soft center.
- Watch your oven closely. Every oven heats differently — mine runs hot, so I check at 8 minutes. You want soft centers that firm up as they cool.
One time, I accidentally used crunchy peanut butter — the cookies still tasted great but had a different texture that some friends loved! Cooking is forgiving if you keep an eye on timing and texture cues.
Variations & Adaptations
If you like to mix things up, these cookies are surprisingly versatile.
- Chocolate Peanut Butter Blossoms: Swap half the flour for cocoa powder for a chocolate dough base. Use dark chocolate kisses for a richer bite.
- Gluten-Free Option: Use a 1:1 gluten-free flour blend. I recommend Bob’s Red Mill for consistent results. Add an extra 1/4 teaspoon xanthan gum if your blend doesn’t contain it.
- Nut-Free Version: Replace peanut butter with sunflower seed butter and use allergen-free chocolate drops. This was a lifesaver when my niece visited with allergies.
- Spiced Up: Add 1/2 teaspoon cinnamon or a pinch of cayenne pepper for a subtle warmth that surprises and delights.
- Mini Blossoms: Make smaller dough balls (about 3/4 inch) for bite-sized treats, perfect for parties or lunchboxes.
Personally, I tried adding a drizzle of salted caramel over the cooled cookies once. It was decadent and perfect for a special occasion. Feel free to experiment — these cookies are forgiving and welcoming to creativity.
Serving & Storage Suggestions
These classic chewy peanut butter blossom cookies are best served at room temperature to enjoy that soft, chewy texture and melty chocolate center. They pair beautifully with a cold glass of milk or a warm cup of coffee.
For gatherings, arrange them on a platter with a few sprigs of fresh mint or a dusting of powdered sugar for a touch of elegance. They also make great gifts wrapped in parchment and tied with twine.
Store leftover cookies in an airtight container at room temperature for up to 5 days. If you want to keep them longer, freeze them in a single layer on a baking sheet, then transfer to a freezer bag for up to 3 months. Thaw at room temperature before serving.
Reheat frozen or stored cookies in a 300°F (150°C) oven for 5-7 minutes to refresh that just-baked softness. The flavors also meld and deepen a bit after a day or two, making them even tastier.
Nutritional Information & Benefits
Each classic chewy peanut butter blossom cookie contains approximately:
| Nutrient | Per Cookie (1 of 36) |
|---|---|
| Calories | 110 kcal |
| Fat | 6g (mostly from peanut butter and butter) |
| Carbohydrates | 12g |
| Protein | 2g |
| Fiber | 1g |
| Sugar | 7g |
Peanut butter is a good source of plant-based protein and healthy fats, which help keep you fuller longer. While these cookies are a treat, they offer a bit more nutrition than your average sugar cookie thanks to the nuts. If you’re mindful of allergens, note these contain peanuts and dairy (butter and chocolate). For dairy-free or nut-free diets, try the adaptations mentioned earlier.
Conclusion
Classic chewy peanut butter blossom cookies are a timeless treat that blends simplicity and comfort in every bite. Whether you’re baking for a crowd, a special occasion, or just because, this recipe delivers consistent, delicious results that feel like a warm hug from the inside out. I love how forgiving and adaptable it is — it’s become a staple in my kitchen for good reason.
Give it a try, tweak it to your liking, and make it your own. And hey, if you bake these cookies, I’d love to hear how they turned out for you — maybe you added a secret twist or discovered your own perfect bake time. Share your stories and keep the tradition going!
FAQs About Classic Chewy Peanut Butter Blossom Cookies
Can I use crunchy peanut butter instead of creamy?
Yes! Crunchy peanut butter will add texture and a nuttier flavor but might change the dough’s consistency slightly. You may need to chill the dough longer to prevent spreading.
How do I prevent the cookies from spreading too much?
Chilling the dough for at least 30 minutes is key. Also, avoid using melted butter and measure your flour carefully to maintain structure.
Can I make these cookies ahead of time?
Absolutely! The dough can be refrigerated for up to 48 hours before baking. Baked cookies store well at room temperature for several days or can be frozen for months.
What’s the best way to press in the chocolate kisses?
Press the kisses gently into the cookies immediately after baking, while the cookies are still warm but not hot. This helps the chocolate soften and stick without melting completely.
Are these cookies gluten-free?
The traditional recipe uses all-purpose flour, but you can swap in a gluten-free flour blend 1:1 to make them gluten-free. Just make sure your baking soda and other ingredients are gluten-free certified.
For a fun twist, if you enjoy peanut butter treats, you might want to try my crispy garlic chicken recipe or these classic blueberry muffins for breakfast. Both pair nicely with a cozy afternoon snack vibe, just like these cookies.
Pin This Recipe!
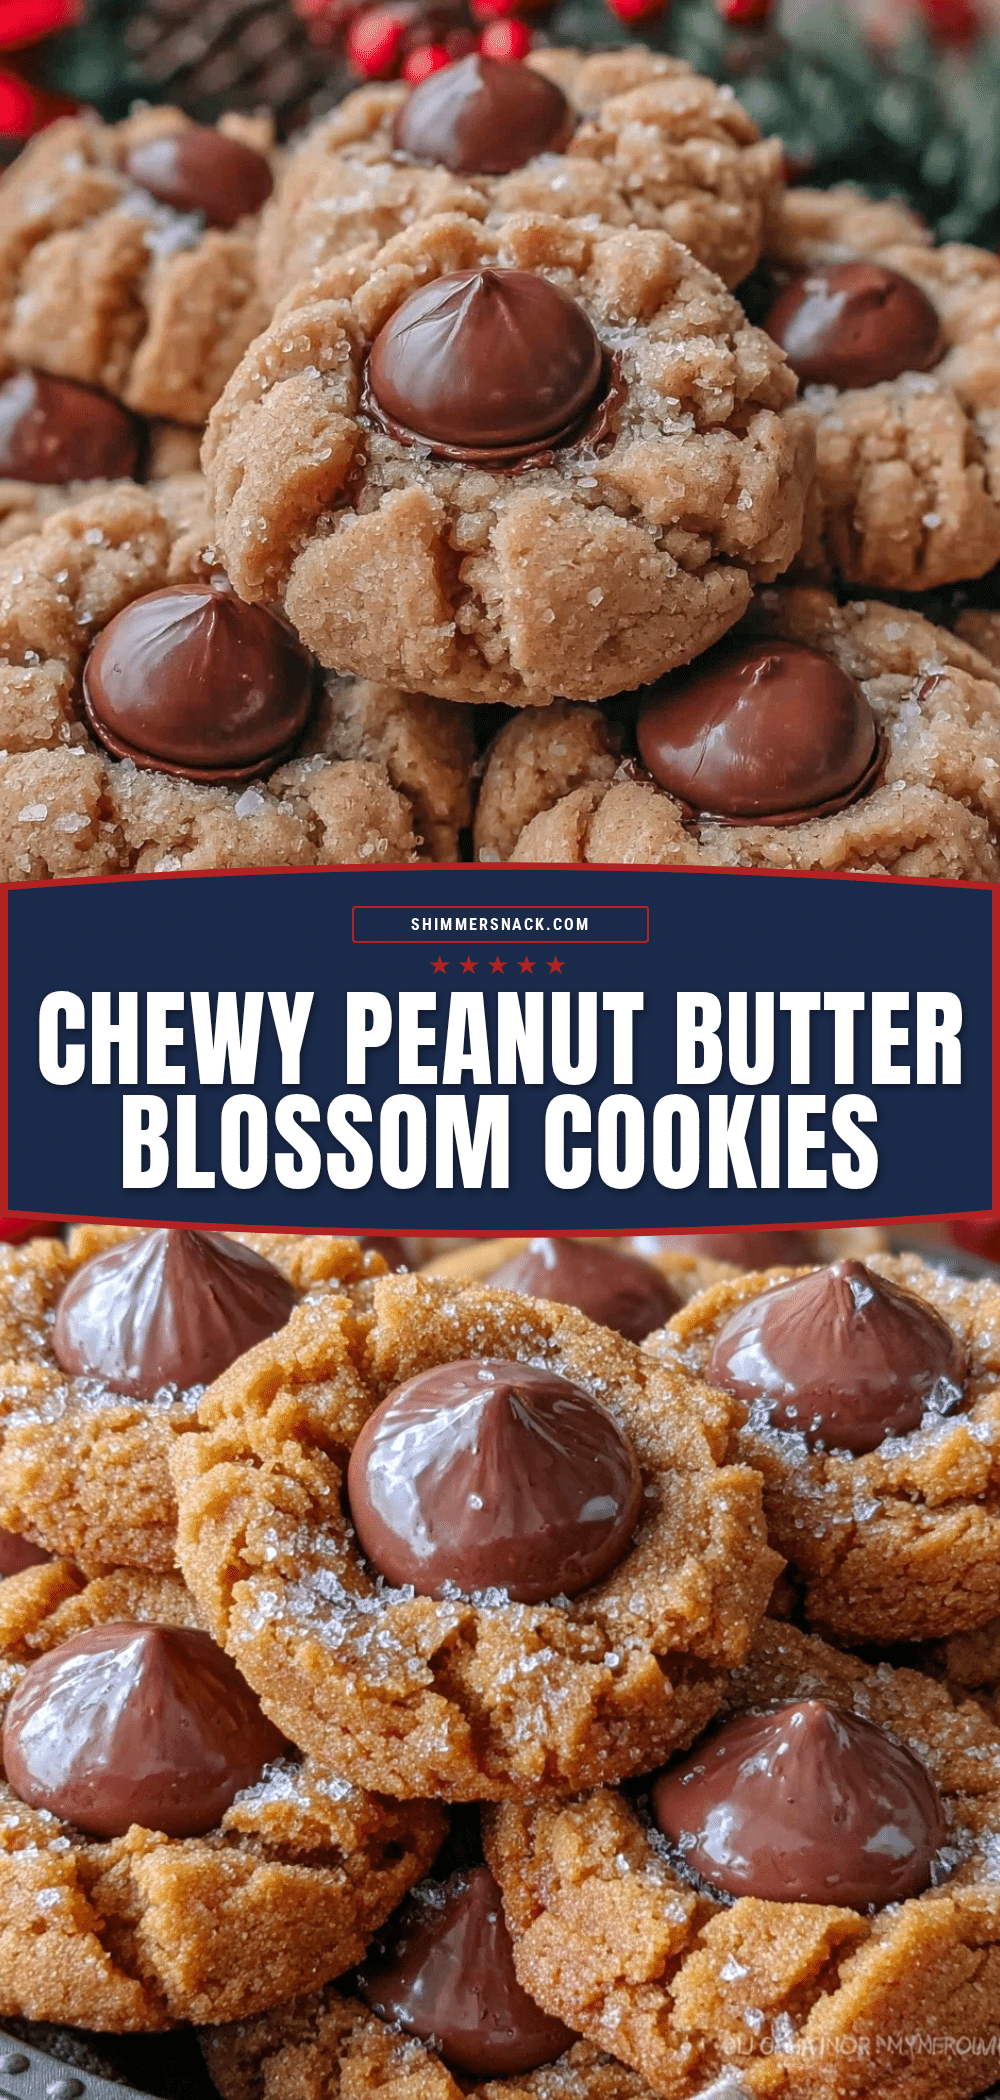
Classic Chewy Peanut Butter Blossom Cookies

A timeless recipe for soft, chewy peanut butter cookies topped with a melty Hershey’s kiss, perfect for gatherings and nostalgic treats.
- Prep Time: 15 minutes
- Cook Time: 10 minutes
- Total Time: 25 minutes
- Yield: 36 cookies 1x
- Category: Dessert
- Cuisine: American
Ingredients
- 1/2 cup (115g) unsalted butter, softened
- 1/2 cup (125g) creamy peanut butter
- 1/2 cup (100g) granulated sugar, plus extra for rolling
- 1/2 cup (110g) packed light brown sugar
- 1 large egg, room temperature
- 1 1/4 cups (155g) all-purpose flour
- 1/2 teaspoon baking soda
- 1/4 teaspoon salt (omit if using salted butter)
- 1 teaspoon vanilla extract
- About 36 Hershey’s Kisses, unwrapped
Instructions
- Preheat your oven to 375°F (190°C). Line baking sheets with parchment paper or silicone mats.
- Cream the butter, peanut butter, granulated sugar, and brown sugar in a large bowl using an electric mixer on medium speed for 2-3 minutes until light and fluffy.
- Add the egg and vanilla extract; beat until fully incorporated.
- Whisk together the flour, baking soda, and salt in a separate bowl. Slowly add to the wet ingredients and mix on low speed until just combined.
- Cover the dough and chill in the refrigerator for at least 30 minutes.
- Pour about 1/4 cup granulated sugar into a small bowl for rolling the dough balls.
- Roll dough into 1-inch balls using a teaspoon or cookie scoop, then roll each ball in the sugar until fully coated.
- Place dough balls about 2 inches apart on the prepared baking sheets.
- Bake for 8-10 minutes until edges are set but centers are still soft.
- Remove from oven and immediately press one unwrapped Hershey’s kiss into the center of each cookie, twisting slightly to secure.
- Cool on the baking sheet for 5 minutes, then transfer to a wire rack to cool completely.
Notes
Chilling the dough is key to prevent spreading and achieve chewy texture. Use room temperature ingredients for best results. Press chocolate kisses into cookies immediately after baking while warm. If kisses are too firm, microwave for 5-10 seconds to soften.
Nutrition
- Serving Size: 1 cookie
- Calories: 110
- Sugar: 7
- Fat: 6
- Carbohydrates: 12
- Fiber: 1
- Protein: 2
Keywords: peanut butter cookies, chewy cookies, peanut butter blossom, Hershey's kiss cookies, classic cookies, easy cookie recipe