Love this? Save it for later!
Share the inspiration with your friends
The neighborhood barbecue was in less than two hours, and I’d realized I had absolutely nothing dessert-worthy ready to bring. Everyone else was already boasting about their triple-layer cakes or fancy homemade pies that had been marinating in the fridge for days. Meanwhile, I was staring at a pantry full of crumbs and half a tub of cream cheese, wondering how on earth I’d pull something together that wouldn’t embarrass me. Honestly, I almost considered just showing up empty-handed. But then I spotted a pack of Oreo cookies sitting on the counter, and a lightbulb flickered on.
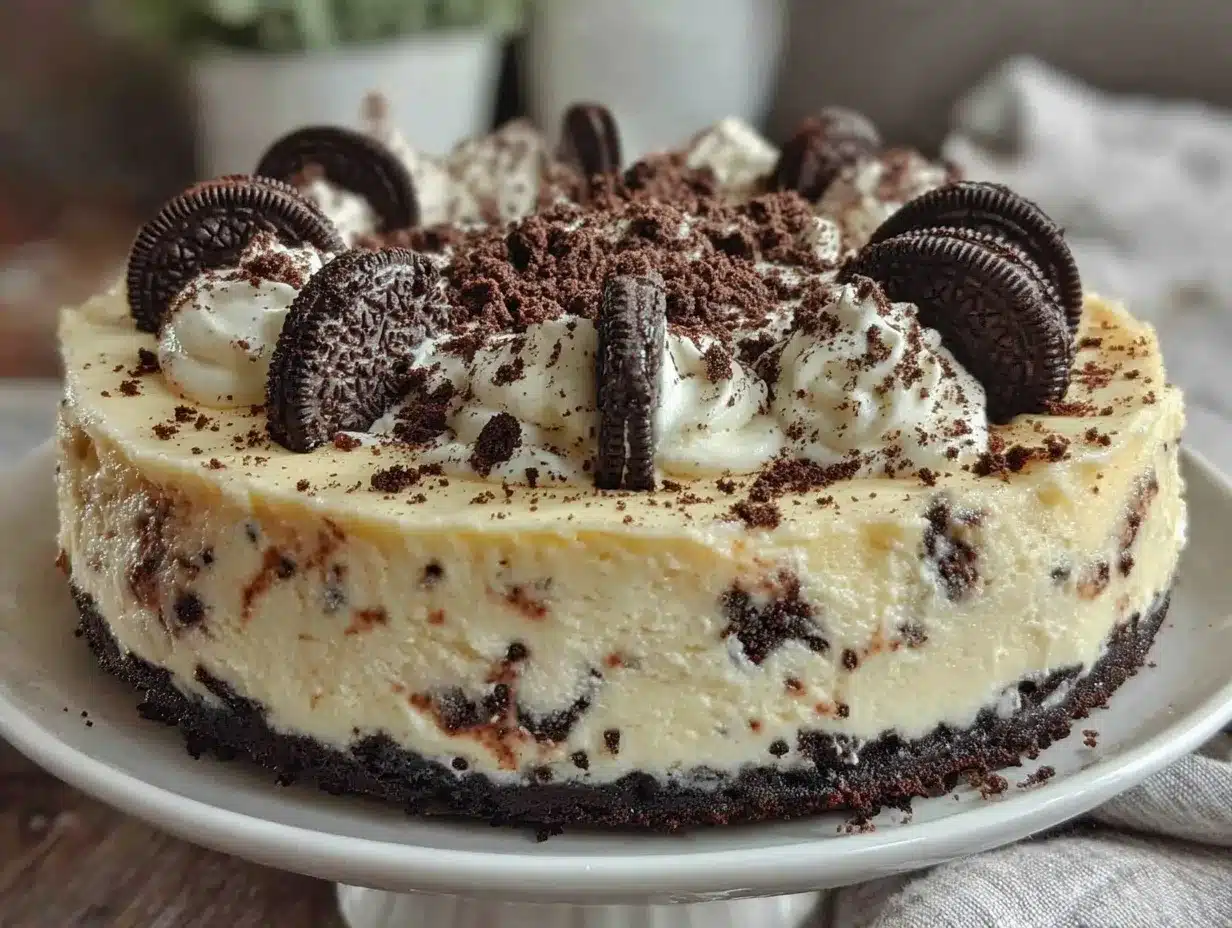
With a cracked mixing bowl and a slightly sticky countertop, I threw together what would become my signature Creamy No-Bake Oreo Cheesecake Delight. It was a bit of a mad dash—mixing, crushing, folding, and chilling—but I managed to get it into the cooler just in time. The funny thing is, that simple, no-fuss recipe ended up stealing the show. Maybe you’ve been there—scrambling last minute, hoping for the best, and somehow nailing it anyway. That sweet, creamy richness combined with crunchy cookie bits made all that panic totally worth it. It’s stayed in my recipe box ever since, ready for whenever I need to whip up a crowd-pleaser without breaking a sweat.
Why You’ll Love This Creamy No-Bake Oreo Cheesecake Delight
Let me tell you, this recipe isn’t just a quick fix—it’s a little slice of magic that makes dessert time effortless yet impressive. Over the years, I’ve tested different no-bake cheesecakes, and this Oreo version consistently wins hearts (and second helpings). Here’s why it might just become your go-to:
- Quick & Easy: Comes together in under 30 minutes, perfect for those last-minute dessert emergencies or casual gatherings.
- Simple Ingredients: You probably already have most of these staples in your pantry and fridge—no fancy shopping runs required.
- Perfect for Any Occasion: Whether it’s a birthday, potluck, or just a cozy night in, this cheesecake fits right in.
- Crowd-Pleaser: Kids and adults alike rave about the creamy texture paired with those crunchy Oreo bits—always a hit.
- Unbelievably Delicious: The cream cheese mixed with whipped cream creates that melt-in-your-mouth softness, while the cookie base adds the perfect snap.
What sets this recipe apart is the balance it strikes—no overly sweet fillings or crumbly crusts that fall apart. Also, blending the cream cheese until ultra-smooth before folding in the whipped cream gives it that luxurious, cloud-like feel you don’t always get with no-bake desserts. Honestly, it’s comfort food reimagined—easy, delightful, and just the right amount of indulgence.
What Ingredients You Will Need
This recipe uses simple, wholesome ingredients to deliver bold flavor and satisfying texture without the fuss. Most of these are pantry staples, and the Oreos bring that nostalgic crunch we all love.
- For the Crust:
- 24 Oreo cookies (crushed finely, including filling for extra sweetness)
- 6 tablespoons unsalted butter, melted (adds richness and binds the crust)
- For the Filling:
- 16 ounces (450g) cream cheese, softened (I prefer Philadelphia brand for smoothness)
- 1 cup (240ml) heavy whipping cream, cold (helps achieve that fluffy texture)
- ¾ cup (90g) powdered sugar (adjust sweetness to taste)
- 1 teaspoon pure vanilla extract (brings out the flavors)
- 10 Oreo cookies, chopped roughly (for folding into the filling)
Substitution tips: Use dairy-free cream cheese and coconut cream for a vegan option. Almond flour can replace crushed Oreos for a gluten-free crust, though that changes the flavor significantly. In summer, swapping the crushed cookies for fresh berries on top adds a fresh twist.
Equipment Needed
- Mixing bowls (one large for crust, one medium for filling)
- Electric mixer or hand whisk (to whip the cream and beat cream cheese smoothly)
- 9-inch (23 cm) springform pan or pie dish (springform makes removal easier)
- Food processor or sturdy plastic bag & rolling pin (for crushing Oreos)
- Rubber spatula (ideal for folding in chopped Oreos without deflating the cream)
- Measuring cups and spoons
If you don’t have a food processor, just pop the cookies in a sealed bag and bash away with a rolling pin or heavy pan. I’ve done that plenty of times and it works just fine! For whipping cream, an electric mixer saves time and effort, but a good whisk and some elbow grease also do the trick. A springform pan is my favorite because it lets the cheesecake slide out cleanly, but a regular pie dish works well if you’re careful.
Preparation Method
- Prepare the crust: Crush 24 Oreo cookies finely using a food processor or by smashing them in a sealed bag. Transfer crumbs to a bowl and mix in 6 tablespoons melted butter until combined and crumbly. Press the mixture firmly into the bottom of a 9-inch springform pan, creating an even layer. Chill in the fridge for about 10 minutes to set.
- Make the filling: Using an electric mixer, beat 16 ounces softened cream cheese on medium speed until smooth and creamy (about 2-3 minutes). Add ¾ cup powdered sugar and 1 teaspoon vanilla extract, then continue mixing until fully incorporated.
- Whip the cream: In a separate chilled bowl, whip 1 cup cold heavy cream to stiff peaks. This usually takes 3-5 minutes with an electric mixer. Be careful not to overwhip or it will get grainy.
- Combine filling and cream: Gently fold the whipped cream into the cream cheese mixture using a rubber spatula. Fold carefully to keep the airy texture intact.
- Add Oreo chunks: Fold in 10 roughly chopped Oreo cookies into the filling, distributing them evenly without crushing them too much.
- Assemble and chill: Pour the filling over the chilled crust and smooth the top with a spatula. Cover the pan tightly with plastic wrap and refrigerate for at least 4 hours, ideally overnight, so the cheesecake sets perfectly.
- Serve: Release the springform pan sides and slice the cheesecake. Garnish with extra cookie crumbs or whipped cream if desired.
Pro tip: If the cream cheese isn’t fully softened, you’ll get lumps. I usually leave it out for about 30 minutes before starting, or soften in the microwave for 10 seconds at a time. Also, chilling time is key—don’t rush it or the cheesecake will be too soft to slice cleanly.
Cooking Tips & Techniques
One of the trickiest parts is folding the whipped cream into the cream cheese without losing that fluffy texture. I learned this the hard way after accidentally stirring vigorously and ending up with a dense filling. Use a light hand and a rubber spatula, gently “cutting” through the mixture and turning it over.
Another common mistake is not chilling the crust well enough before adding the filling. The melted butter needs to firm up, or else your crust will crumble when cutting. Press the crust firmly into the pan—it helps keep the base together.
Timing is everything here. If you whip the cream just right and let the cheesecake chill long enough, you get that perfect slice that holds its shape but still melts on your tongue. I usually whip the cream right before mixing to keep it cold and stable.
For multitasking, prepare the crust first and pop it in the fridge while you whip cream cheese. It saves time and keeps things moving smoothly.
Variations & Adaptations
- Chocolate Lovers: Add ¼ cup cocoa powder to the cream cheese mixture for an extra chocolatey kick.
- Fruit Twist: Fold in fresh raspberries or strawberries for a fruity contrast against the rich filling.
- Nutty Upgrade: Sprinkle chopped toasted pecans or almonds on top for crunch and flavor.
- Dairy-Free Version: Use vegan cream cheese and coconut whipped cream, and swap Oreos for gluten-free cookies.
- Mini Cheesecakes: Make individual portions in mason jars or cupcake liners—great for parties or meal prep.
I once swapped the Oreos with crushed Biscoff cookies for a caramelized spice flavor, and it was surprisingly delicious—definitely worth trying if you want a twist.
Serving & Storage Suggestions
This cheesecake is best served chilled, straight from the fridge. Let it sit at room temperature for 5-10 minutes before slicing to make cutting easier. Presentation-wise, a dusting of crushed Oreos or a dollop of whipped cream on each slice adds a nice touch.
Pair it with a cup of strong coffee or a glass of cold milk to balance the richness. For a special occasion, a drizzle of chocolate or caramel sauce can turn it into a decadent treat.
Store leftovers tightly covered in the fridge for up to 4 days. You can also freeze slices wrapped well in plastic wrap and foil for up to a month—just thaw overnight in the fridge before serving. The flavors actually mature a bit during chilling, making it taste even better the next day.
Nutritional Information & Benefits
Each slice (assuming 12 slices) contains roughly 350 calories, 25g fat, 30g carbs, and 5g protein. While it’s definitely a dessert indulgence, cream cheese and heavy cream provide calcium and some protein. Using Oreos adds a nostalgic crunch, though they’re mostly a treat ingredient.
This no-bake cheesecake is gluten-friendly if you swap Oreos for gluten-free cookies, and dairy-free versions are easily made with plant-based alternatives. Honestly, it’s a sweet treat that feels like a reward after a busy day and pairs perfectly with mindful eating.
Conclusion
If you’re searching for an easy, no-fuss dessert that still wows, this Creamy No-Bake Oreo Cheesecake Delight is your answer. It’s the kind of recipe that makes you look like a dessert pro without hours of effort. Feel free to tweak it to your taste—swap cookies, add fruit, or go nuts with toppings. Personally, I keep this recipe close because it’s rescued me more times than I can count, turning panicked moments into sweet celebrations.
Give it a try, and don’t forget to share your own twists or stories—there’s nothing better than hearing how a simple recipe becomes part of your kitchen adventures. Happy baking (or should I say, no baking)!
FAQs About Creamy No-Bake Oreo Cheesecake Delight
Can I make this cheesecake ahead of time?
Absolutely! It’s best chilled overnight to let the flavors meld and the texture set perfectly.
What if I don’t have a springform pan?
You can use a regular pie dish, but be gentle when slicing and serving to avoid crumbling.
Can I use a different type of cookie for the crust?
Yes, graham crackers, Biscoff, or gluten-free cookies work well—just adjust sweetness accordingly.
Is it possible to freeze this cheesecake?
Yes, wrap slices tightly and freeze for up to a month. Thaw in the fridge overnight before serving.
How do I avoid lumps in the cream cheese filling?
Make sure the cream cheese is fully softened before mixing. You can microwave it for a few seconds if needed.
Pin This Recipe!
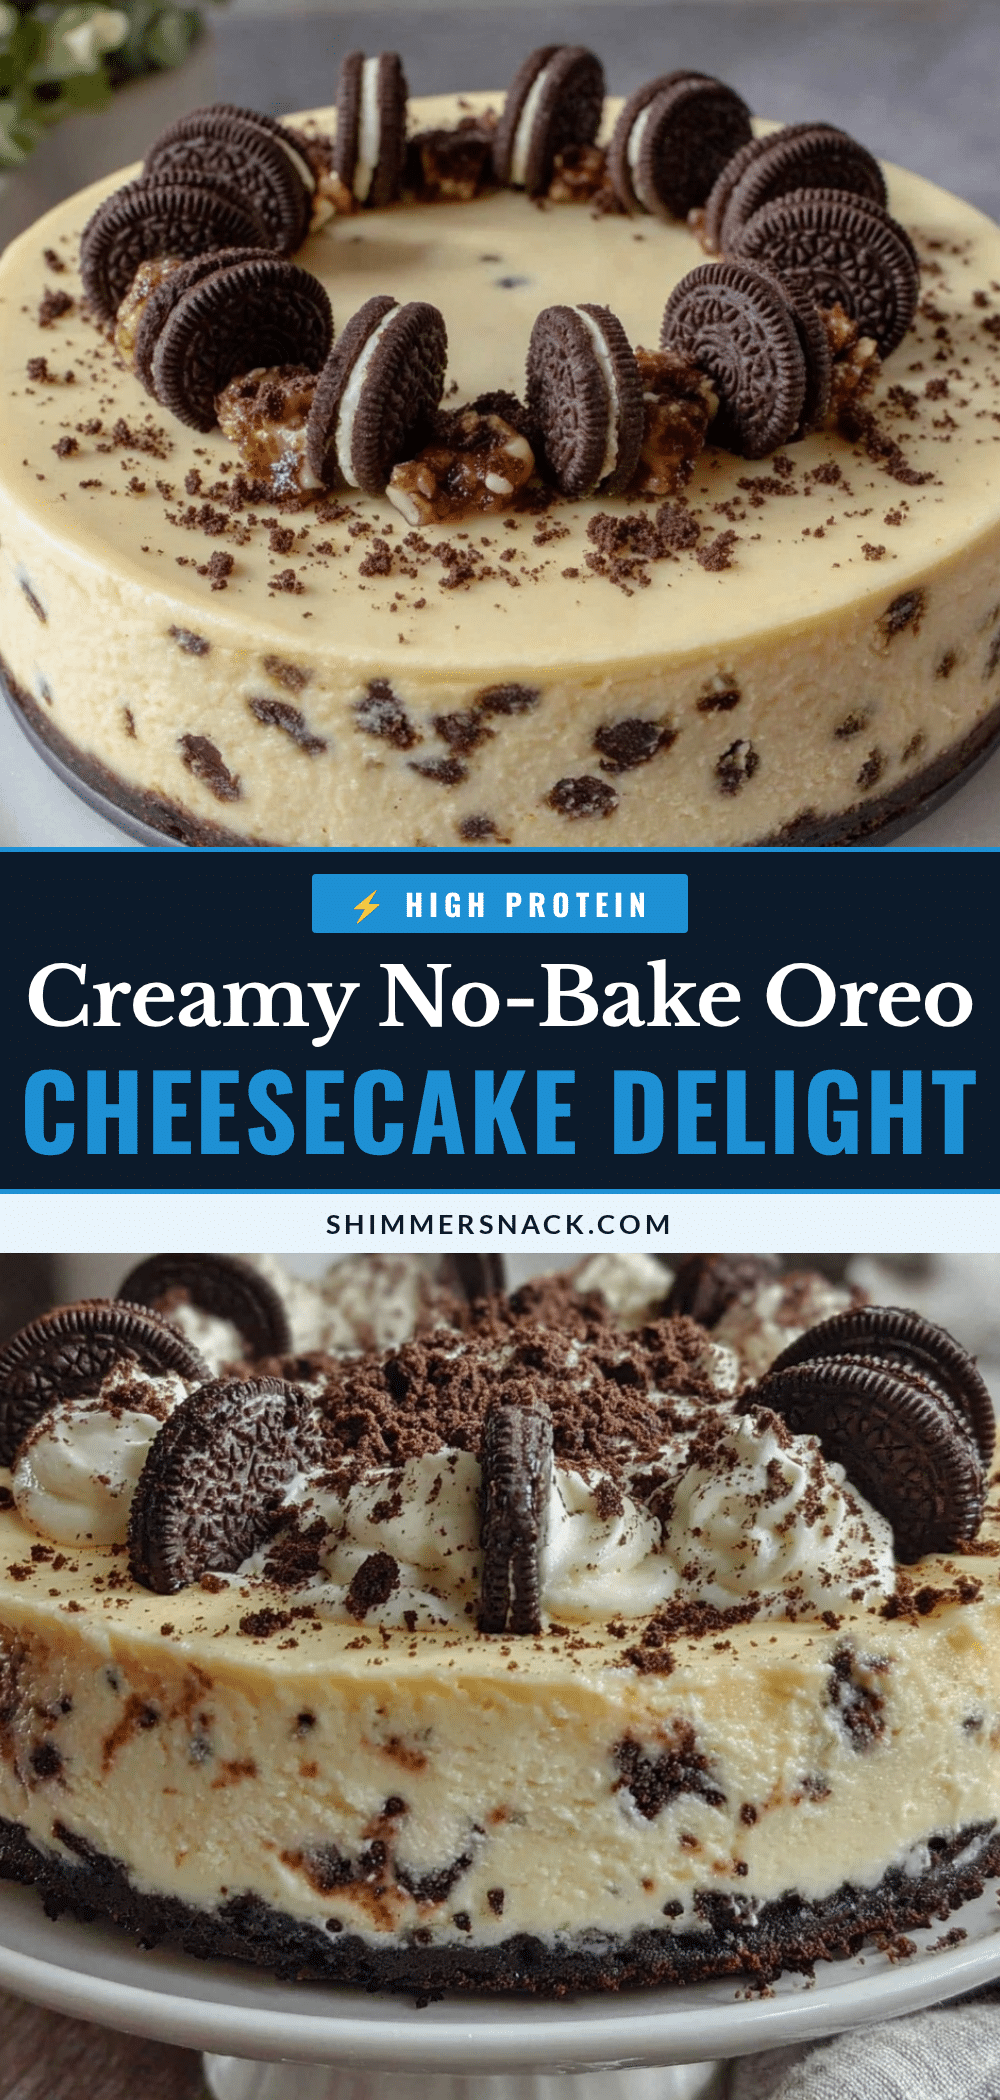
Creamy No-Bake Oreo Cheesecake Delight

A quick and easy no-bake cheesecake featuring a crunchy Oreo crust and a creamy, fluffy filling with chunks of Oreo cookies. Perfect for last-minute desserts and crowd-pleasing occasions.
- Prep Time: 20 minutes
- Cook Time: 0 minutes
- Total Time: 4 hours 20 minutes
- Yield: 12 servings 1x
- Category: Dessert
- Cuisine: American
Ingredients
- 24 Oreo cookies (crushed finely, including filling)
- 6 tablespoons unsalted butter, melted
- 16 ounces (450g) cream cheese, softened
- 1 cup (240ml) heavy whipping cream, cold
- ¾ cup (90g) powdered sugar
- 1 teaspoon pure vanilla extract
- 10 Oreo cookies, chopped roughly
Instructions
- Prepare the crust: Crush 24 Oreo cookies finely using a food processor or by smashing them in a sealed bag. Transfer crumbs to a bowl and mix in 6 tablespoons melted butter until combined and crumbly. Press the mixture firmly into the bottom of a 9-inch springform pan, creating an even layer. Chill in the fridge for about 10 minutes to set.
- Make the filling: Using an electric mixer, beat 16 ounces softened cream cheese on medium speed until smooth and creamy (about 2-3 minutes). Add ¾ cup powdered sugar and 1 teaspoon vanilla extract, then continue mixing until fully incorporated.
- Whip the cream: In a separate chilled bowl, whip 1 cup cold heavy cream to stiff peaks. This usually takes 3-5 minutes with an electric mixer. Be careful not to overwhip or it will get grainy.
- Combine filling and cream: Gently fold the whipped cream into the cream cheese mixture using a rubber spatula. Fold carefully to keep the airy texture intact.
- Add Oreo chunks: Fold in 10 roughly chopped Oreo cookies into the filling, distributing them evenly without crushing them too much.
- Assemble and chill: Pour the filling over the chilled crust and smooth the top with a spatula. Cover the pan tightly with plastic wrap and refrigerate for at least 4 hours, ideally overnight, so the cheesecake sets perfectly.
- Serve: Release the springform pan sides and slice the cheesecake. Garnish with extra cookie crumbs or whipped cream if desired.
Notes
Ensure cream cheese is fully softened to avoid lumps. Chill crust well before adding filling to prevent crumbling. Fold whipped cream gently to maintain fluffy texture. Best chilled overnight for perfect set and flavor melding. Can substitute dairy-free and gluten-free ingredients for vegan or gluten-free versions.
Nutrition
- Serving Size: 1 slice (1/12th of c
- Calories: 350
- Sugar: 22
- Sodium: 250
- Fat: 25
- Saturated Fat: 15
- Carbohydrates: 30
- Fiber: 1
- Protein: 5
Keywords: no-bake cheesecake, Oreo cheesecake, easy dessert, no bake dessert, creamy cheesecake, Oreo dessert, quick dessert


