Love this? Save it for later!
Share the inspiration with your friends
The tacky, slightly sticky feeling on my fingertips as I rolled the last ball into a perfect sphere—that’s the moment I knew this snack was a keeper. Not the taste first, not the smell of peanut butter wafting through the kitchen, but that specific texture. That satisfying, just-right consistency that tells you the ratio of wet to dry is spot on. I’d been on a mission for weeks, trying to find a snack my kids would actually eat after school that didn’t involve a crumb trail through the house or a sugar crash an hour later. These easy peanut butter banana protein balls were born out of pure desperation one Tuesday afternoon when the snack cupboard was bare and the clock was ticking toward hangry territory.
I remember standing in my kitchen, staring at a bunch of spotty bananas on the counter (you know the ones—too ripe for eating, perfect for baking or, as it turns out, protein balls). I had peanut butter, I had oats, and I had a bag of chocolate chips calling my name from the pantry. So I just started mixing. No recipe, no plan, just a hope that it would all come together. And honestly? It did. The first batch was a little too sticky, so I added more oats. The second batch was too dry, so I added more peanut butter. But that third batch? That was the one. The texture was exactly what I wanted—soft, chewy, and just firm enough to hold its shape without crumbling.
These little guys have become a staple in our house, and I’ve made them so many times now that I can practically make them with my eyes closed. They’re the snack I pack for road trips, the quick bite I grab before a run, and the thing my kids ask for when they say they’re hungry but dinner is still thirty minutes away. There’s something incredibly satisfying about knowing you have a batch of these in the fridge, ready to go whenever hunger strikes. And the best part? They come together in about five minutes flat, no baking required. If you’ve ever been let down by bland, dry protein balls from the store, let me tell you—this homemade version is a game changer.
Why You’ll Love This Recipe
Let me be real with you—I’ve tested a lot of protein ball recipes over the years, and most of them fall into one of two camps: either they taste like cardboard or they fall apart the second you try to eat them. These easy peanut butter banana protein balls are different. They’re the Goldilocks of the snack world—just right in every way. Here’s why this recipe has earned a permanent spot in my weekly rotation:
- Quick & Easy: From start to finish, you’re looking at about five minutes of active time. No oven, no stove, no complicated steps. Just mix, roll, and chill. Perfect for those days when you need a snack now.
- Simple Ingredients: You probably have most of these ingredients in your kitchen right now. No weird superfood powders or hard-to-find specialty items. Just real, whole foods that come together beautifully.
- Perfect for Busy Families: These are the ultimate grab-and-go snack for school lunches, after-school hunger attacks, or post-workout refueling. I pack them in my kids’ lunchboxes alongside their sandwiches, and they come back empty every time.
- Crowd-Pleaser: I’ve brought these to playdates, work potlucks, and family gatherings, and they disappear fast. Kids love them, adults love them, and nobody guesses they’re actually pretty good for you.
- Unbelievably Delicious: The combo of creamy peanut butter, sweet banana, and rich chocolate chips is basically a flavor dream team. The texture is soft and chewy, not dry or crumbly, and the banana keeps everything naturally sweet without needing loads of added sugar.
What really sets this recipe apart is the texture. I’ve tried versions that use protein powder, and they always end up tasting chalky or artificial. These easy peanut butter banana protein balls use oats as the base instead, which gives them that satisfying, hearty chew. The banana acts as a natural binder and sweetener, so you don’t need a ton of honey or maple syrup. It’s the kind of snack that makes you feel good about what you’re eating—and that’s coming from someone who’s not exactly a health nut. If you’re looking for a snack that actually delivers on flavor without the fuss, this is it.
What Ingredients You Will Need
This recipe keeps things refreshingly simple. You don’t need a long grocery list or a trip to a specialty store. Everything here is probably already in your pantry or fridge, which is exactly how I like my recipes to be. Let’s break down what you’ll need and why each ingredient matters.
For the Protein Balls
- 1 cup rolled oats (use certified gluten-free oats if needed) — These form the backbone of the texture. I prefer rolled oats over quick oats because they give a heartier chew and hold up better when mixed with the wet ingredients. If you want a finer texture, you can pulse them in a food processor a few times, but I like the rustic feel of whole oats.
- 1/2 cup creamy peanut butter (natural, no-stir variety works best) — This is where the flavor and binding power come from. I’ve tried this recipe with both natural peanut butter (the kind where the oil separates) and the processed stuff, and honestly, the natural version works better. It’s less oily and gives a cleaner peanut taste. My go-to brand is Justin’s or Smucker’s Natural, but use whatever you have on hand.
- 1 large ripe banana, mashed (about 1/2 cup) — The riper the banana, the sweeter your protein balls will be. I’m talking spotty, almost-brown bananas—the ones that are too soft to eat but perfect for this recipe. The banana not only adds natural sweetness but also helps bind everything together so you don’t need extra sticky ingredients.
- 1/4 cup honey or maple syrup — A little extra sweetness and moisture. I usually use honey because I like the floral notes it adds, but maple syrup works beautifully too. If you’re vegan, go with maple syrup.
- 1/3 cup mini chocolate chips — Because everything is better with chocolate. I use mini chips because they distribute more evenly throughout the dough and give you a little chocolate in every bite. Dark chocolate chips are my preference for a less sweet option, but milk chocolate works too.
- 1/4 cup ground flaxseed or chia seeds (optional but recommended) — This adds a boost of fiber and omega-3s without changing the flavor. I toss it in when I want to make these extra nutritious, but you can leave it out and the recipe still works perfectly.
- Pinch of salt — Just a tiny bit to balance the sweetness and bring out the peanut butter flavor. If your peanut butter is already salted, you can skip this.
One thing I want to mention about ingredient selection: the quality of your peanut butter really matters here. I’ve made these with cheap, sugary peanut butter before, and the flavor was just off—too sweet and artificial. Stick with a natural peanut butter that has peanuts as the main ingredient (ideally the only ingredient besides salt). Trust me, it makes a difference. Also, if you’re using a very dry oat or a particularly sticky banana, you might need to adjust the ratios slightly. That’s okay—cooking is about feeling, not just following. If the mixture seems too dry, add a splash of milk or a little more peanut butter. Too wet? Toss in another tablespoon of oats.
Equipment Needed
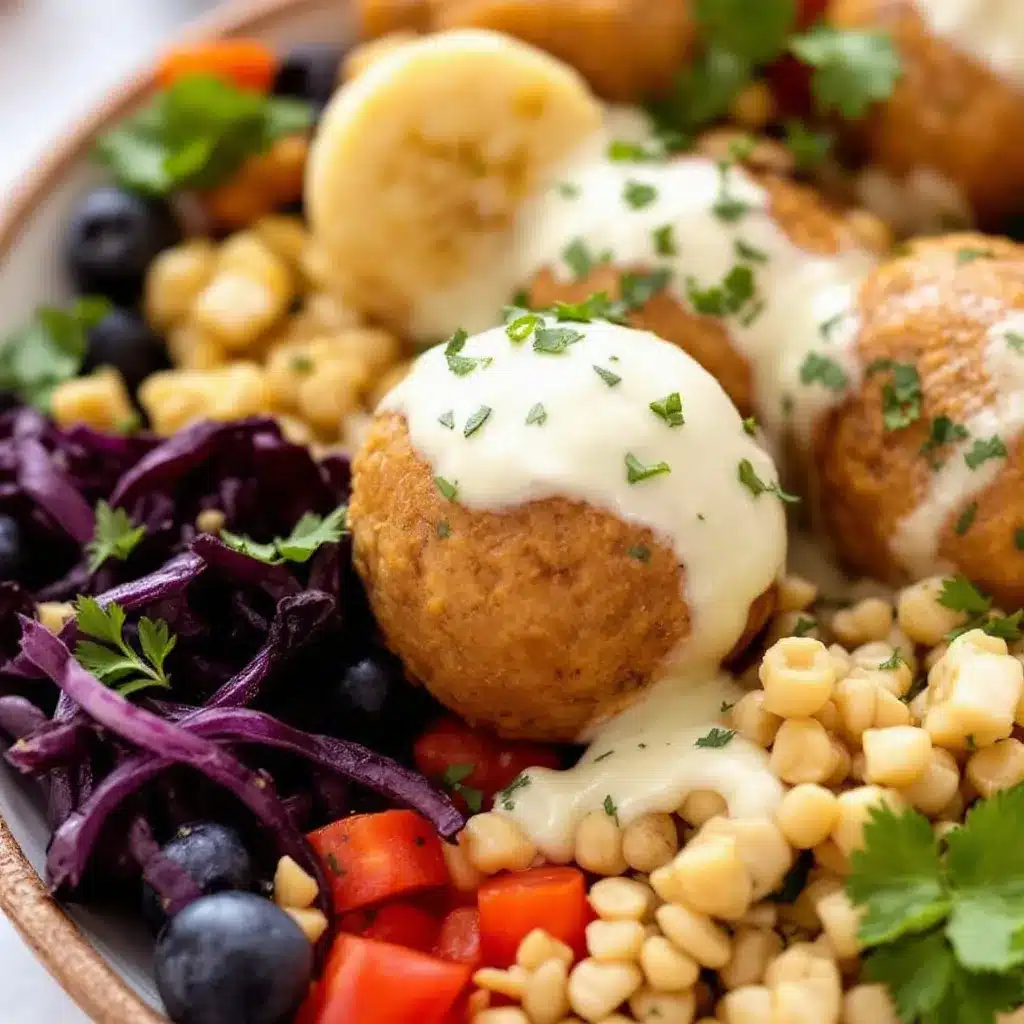
One of the best things about this recipe is how little equipment you need. You won’t be pulling out stand mixers or food processors unless you want to. Here’s what you’ll need:
- Large mixing bowl — Any bowl will do, but I like using a wide, shallow bowl so I can easily mix everything without ingredients flying everywhere.
- Fork or potato masher — For mashing that banana until it’s smooth with no lumps. A fork works fine, but a potato masher makes it even quicker.
- Rubber spatula or wooden spoon — For mixing everything together. A rubber spatula is my favorite because it scrapes the sides of the bowl clean.
- Measuring cups and spoons — Standard set for accurate measurements. I’ve learned the hard way that eyeballing ingredients in recipes like this can lead to texture disasters.
- Small cookie scoop or tablespoon — For portioning the dough into uniform balls. This isn’t strictly necessary, but it makes the process faster and gives you evenly sized protein balls. I use a 1-tablespoon scoop, and it’s perfect.
- Parchment paper or wax paper-lined baking sheet — For placing the rolled balls on while they chill. The parchment prevents sticking and makes cleanup a breeze.
- Air-tight container — For storing the finished protein balls in the fridge or freezer.
If you don’t have a cookie scoop, don’t worry. Just use your hands to roll the mixture into balls—it’s actually kind of therapeutic. I will say, though, that having a good set of measuring spoons makes a big difference. I’ve used cheap ones that bent over time, and now I swear by the sturdy stainless steel kind. They’re worth the investment. Also, if you’re making a double batch (which I highly recommend), a larger bowl will save you from mixing in stages.
Preparation Method
Alright, let’s get to the fun part. These easy peanut butter banana protein balls come together so quickly that you’ll wonder why you ever bought store-bought snacks. Follow these steps, and you’ll have a batch ready in no time.
- Mash the banana — Start by peeling your ripe banana and placing it in a large mixing bowl. Use a fork or potato masher to mash it until it’s smooth and mostly lump-free. You want it to be almost like a puree, not chunky. This usually takes about 30 seconds of mashing. If your banana isn’t very ripe, you can microwave it for 10-15 seconds to soften it up.
- Add the wet ingredients — To the mashed banana, add the peanut butter and honey (or maple syrup). Stir everything together with your rubber spatula until it’s fully combined. The mixture should be thick, creamy, and smell amazing at this point. Take a second to taste it—adjust the sweetness if you want, but remember the oats and chocolate will balance it out.
- Mix in the dry ingredients — Add the rolled oats, ground flaxseed (if using), and a pinch of salt to the bowl. Stir until everything is evenly incorporated. The dough will start to come together and form a thick, slightly sticky mixture. If it feels too dry and crumbly, add a teaspoon of milk or a tiny bit more peanut butter. If it’s too wet and sticky, add another tablespoon of oats.
- Fold in the chocolate chips — Gently fold the mini chocolate chips into the dough until they’re evenly distributed. Make sure you don’t overmix—you want those little pockets of chocolate throughout, not mashed into oblivion.
- Chill the dough (optional but recommended) — For easiest rolling, cover the bowl and pop it in the fridge for 15-20 minutes. This firms up the dough and makes it less sticky to handle. If you’re in a hurry (and honestly, I usually am), you can skip this step and go straight to rolling. The dough will be a bit stickier, but it’s still manageable.
- Roll into balls — Using a small cookie scoop or a tablespoon, portion out the dough and roll it between your palms into smooth balls. You should get about 12-15 balls, depending on how big you make them. Place each ball on a parchment-lined baking sheet or plate as you go. If your hands get too sticky, lightly wet them with cold water or rub a tiny bit of oil on your palms.
- Chill to set — Place the tray of protein balls in the refrigerator for at least 30 minutes to firm up. This step is important because it helps them hold their shape. If you try to eat them right away, they’ll be a little soft and fall apart easily. Patience, my friend—good things come to those who wait.
- Store and enjoy — Once they’re firm, transfer the protein balls to an airtight container and keep them in the fridge. They’ll last for up to a week, though I doubt they’ll stick around that long.
A quick note on texture: if your dough feels too sticky after mixing, don’t panic. This can happen if your banana was extra large or your peanut butter was on the runny side. Just add oats one tablespoon at a time until the consistency feels right. The dough should be pliable and hold together when pressed, not slide off your fingers. On the flip side, if the dough is too dry and crumbly, add a splash of milk or a little extra honey. This is your recipe, so trust your instincts.
Cooking Tips & Techniques
I’ve made these easy peanut butter banana protein balls more times than I can count, and I’ve learned a few things along the way that I wish I’d known from the start. Here are my best tips for getting perfect results every time.
Use room temperature ingredients — This is a small thing that makes a big difference. If your peanut butter is straight from the fridge, it will be stiff and hard to mix. Let it sit on the counter for 10-15 minutes before you start. Same goes for the banana—a room temperature banana mashes much more smoothly than a cold one.
Don’t overmix the dough — I know it’s tempting to keep stirring until everything looks perfectly uniform, but overmixing can make the protein balls dense and tough. Stop mixing as soon as the ingredients are combined. A few streaks of oats or a slightly uneven texture is totally fine—it adds character.
Wet your hands for easier rolling — This is a game changer. When you’re rolling the dough into balls, lightly dampen your hands with cold water. The moisture prevents the dough from sticking to your palms, and you’ll get smoother, more uniform balls. Just don’t make your hands soaking wet—a light mist is all you need.
Make a test ball first — Before rolling the entire batch, make one test ball and see how it holds together. If it falls apart, add a little more peanut butter or honey. If it’s too sticky, add more oats. This saves you from having to re-roll the whole batch later.
Chill the dough if you have time — I mentioned this in the method, but it bears repeating. Chilling the dough for even 10 minutes makes rolling infinitely easier. The dough firms up, becomes less sticky, and the flavors have a chance to meld together. If you’re making these for a party or meal prep, definitely don’t skip this step.
One mistake I made early on was using old oats that had been sitting in my pantry for months. They were stale and gave the protein balls an off flavor. Make sure your oats are fresh—if you can’t remember when you bought them, it’s time for a new bag. Another thing: don’t be afraid to adjust the sweetness. Some bananas are sweeter than others, and some peanut butters have added sugar. Taste the dough before you add the chocolate chips and adjust the honey or maple syrup accordingly. You’re the boss of your snack.
Variations & Adaptations
One of the reasons I love this recipe is how endlessly adaptable it is. You can change it up based on what you have in your pantry, what your dietary needs are, or just what you’re craving. Here are some of my favorite variations.
Chocolate Peanut Butter Protein Balls — Add 1 tablespoon of unsweetened cocoa powder to the dry ingredients for a double-chocolate version. This turns them into a fudgy, decadent treat that still feels healthy. I make these when I’m craving something chocolatey but don’t want to bake a whole cake.
Vegan Version — This is super easy. Swap the honey for maple syrup or agave nectar, and use dairy-free chocolate chips. Everything else in the recipe is already plant-based. I’ve made these for vegan friends and they couldn’t tell the difference.
Nut-Free Option — If you’re dealing with nut allergies, replace the peanut butter with sunflower seed butter (like SunButter) or tahini. The flavor will be different, but still delicious. Just note that sunflower seed butter can sometimes react with baking soda in recipes, but since we’re not baking here, it’s totally fine.
Add Some Crunch — Fold in 1/4 cup of chopped peanuts, almonds, or walnuts for extra texture. I love the contrast of creamy dough with crunchy nuts. If you’re using this variation, reduce the chocolate chips slightly to keep the ratio balanced.
Protein Powder Boost — Want to amp up the protein content even more? Add 1 scoop (about 30g) of your favorite vanilla or chocolate protein powder. You’ll need to increase the liquid slightly—add an extra tablespoon of milk or honey—to compensate for the dry powder. I’ve done this with both whey and plant-based protein powders, and both work well.
Seasonal Twist — In the fall, I add 1/2 teaspoon of pumpkin pie spice and swap the chocolate chips for dried cranberries. In the summer, I use fresh blueberries instead of chocolate chips (though you’ll need to eat these within a day or two because the berries add moisture). It’s fun to experiment with the seasons.
I once made a batch with a spoonful of instant coffee granules mixed into the dough, and it gave the protein balls a subtle mocha flavor that was incredible. Don’t be afraid to get creative—that’s half the fun of cooking.
Serving & Storage Suggestions
These easy peanut butter banana protein balls are incredibly versatile when it comes to serving. Here’s how I like to enjoy them and how to keep them fresh.
Serving Temperature — I prefer them straight from the fridge—they’re firm, cold, and satisfyingly chewy. But if you like a softer texture, let them sit at room temperature for 5-10 minutes before eating. They’ll soften up nicely and the flavors will become more pronounced.
Presentation Ideas — For a snack board or party platter, arrange the protein balls on a plate with fresh fruit, nuts, and maybe some dark chocolate pieces. They look beautiful alongside a healthy after-school snack board with fresh fruits. For a quick breakfast on the go, pair 2-3 protein balls with a piece of fruit and you’re set.
Storage Instructions — Store the protein balls in an airtight container in the refrigerator. They’ll stay fresh for up to 7 days. If you want to keep them longer, you can freeze them for up to 3 months. To freeze, place the balls on a baking sheet in a single layer and freeze until solid (about 1-2 hours), then transfer them to a freezer-safe bag or container. This prevents them from sticking together.
Reheating Tips — You don’t need to reheat these, but if you want a softer texture, microwave one ball for 5-10 seconds. It will become warm and almost cookie-like. Be careful not to overdo it, or they’ll get too soft and lose their shape.
Flavor Development — I’ve noticed that these protein balls actually taste better the next day. The flavors meld together overnight, and the texture becomes more cohesive. So if you can resist eating them all immediately, you’re in for a treat. I often make a batch in the evening specifically for the next day’s snacks.
One thing to keep in mind: if you add fresh fruit like blueberries or chopped strawberries, the shelf life drops to about 2-3 days because the fruit adds moisture and can spoil. Stick to dried fruit or chocolate chips if you want them to last longer.
Nutritional Information & Benefits
Let’s talk numbers. These easy peanut butter banana protein balls are packed with good-for-you ingredients that make them a smart choice for a snack. Here’s a rough estimate per ball (based on 12 servings):
| Nutrient | Amount per Ball |
|---|---|
| Calories | 150-170 |
| Protein | 5-6g |
| Carbohydrates | 18-20g |
| Fiber | 3-4g |
| Sugar | 8-10g (mostly natural from banana and honey) |
| Fat | 8-9g |
| Saturated Fat | 2-3g |
The exact numbers will vary depending on the specific ingredients you use (like the type of peanut butter and chocolate chips), but this gives you a general idea. What I love about these is that they provide sustained energy—the combination of complex carbs from oats, healthy fats from peanut butter, and natural sugars from banana and honey keeps you full and focused without a crash.
Health Benefits: Oats are a great source of beta-glucan, a type of soluble fiber that supports heart health and helps regulate blood sugar. Peanut butter is rich in protein and monounsaturated fats, which are good for your heart. Bananas provide potassium, vitamin B6, and vitamin C. And if you add flaxseed, you’re getting a boost of omega-3 fatty acids and lignans, which have antioxidant properties.
Dietary Considerations: This recipe is naturally gluten-free if you use certified gluten-free oats. It’s also vegetarian and can easily be made vegan and nut-free with the substitutions I mentioned earlier. The main allergens are peanuts (if using peanut butter) and oats (which contain gluten unless specified). Always check your ingredient labels if you’re cooking for someone with allergies.
From my perspective, these protein balls are a great example of how you can have a treat that tastes indulgent but actually supports your health goals. They’re not a meal replacement, but they’re a fantastic snack that bridges the gap between meals without derailing your efforts. And honestly, knowing that I’m feeding my kids something wholesome that they actually enjoy? That’s a win in my book.
Conclusion
So there you have it—my go-to recipe for easy peanut butter banana protein balls that come together in five minutes flat. No oven, no fuss, no complicated techniques. Just simple, wholesome ingredients that taste amazing and keep you going. Whether you’re a busy parent trying to get snacks on the table, a fitness enthusiast looking for a post-workout bite, or just someone who loves a good no-bake treat, these protein balls are for you.
I’ve made these for my kids’ lunchboxes, for road trips, for after-school snacks, and even for myself on days when I need a quick energy boost. They’ve never let me down. The best part is that you can customize them to your heart’s content—add different mix-ins, swap the nut butter, or adjust the sweetness to your liking. This recipe is a starting point, not a rulebook. I’d love to hear how you make them your own.
If you give these a try, drop a comment below and let me know what you think. Did you add something unexpected? Did your kids gobble them up? Share your wins (and your experiments) in the comments—I read every single one. And if you’re looking for more quick and easy snack ideas, check out our easy make-ahead protein breakfast muffins for another grab-and-go option. Happy snacking, friends—you’ve got this.
Frequently Asked Questions
Can I use quick oats instead of rolled oats?
Yes, you can! Quick oats will work, but the texture will be slightly softer and less chewy. Rolled oats give a heartier bite that I personally prefer, but if quick oats are what you have, go for it. The recipe will still turn out delicious.
How long do these protein balls last in the fridge?
Stored in an airtight container, they’ll stay fresh for up to 7 days in the refrigerator. If they last that long in your house—mine usually don’t make it past day three! You can also freeze them for up to 3 months if you want to make a big batch.
My dough is too sticky. What did I do wrong?
Don’t worry—this happens sometimes! It usually means your banana was extra large or your peanut butter was on the runny side. Just add more rolled oats, one tablespoon at a time, until the dough reaches a consistency you can roll into balls. You can also chill the dough for 15-20 minutes to make it easier to handle.
Can I make these without chocolate chips?
Absolutely! The chocolate chips add a nice touch, but they’re not essential. Try swapping them for raisins, dried cranberries, chopped nuts, or shredded coconut. You can also leave them out entirely for a simpler, less sweet version. The protein balls will still taste great.
Are these protein balls suitable for kids?
Yes, they’re perfect for kids! Just be mindful of the honey content if you’re serving them to children under one year old—honey isn’t safe for infants. For older kids, these are a fantastic snack that’s way healthier than store-bought options. My own kids love them, and I love that they’re getting oats, peanut butter, and banana instead of processed sugar.
Pin This Recipe!
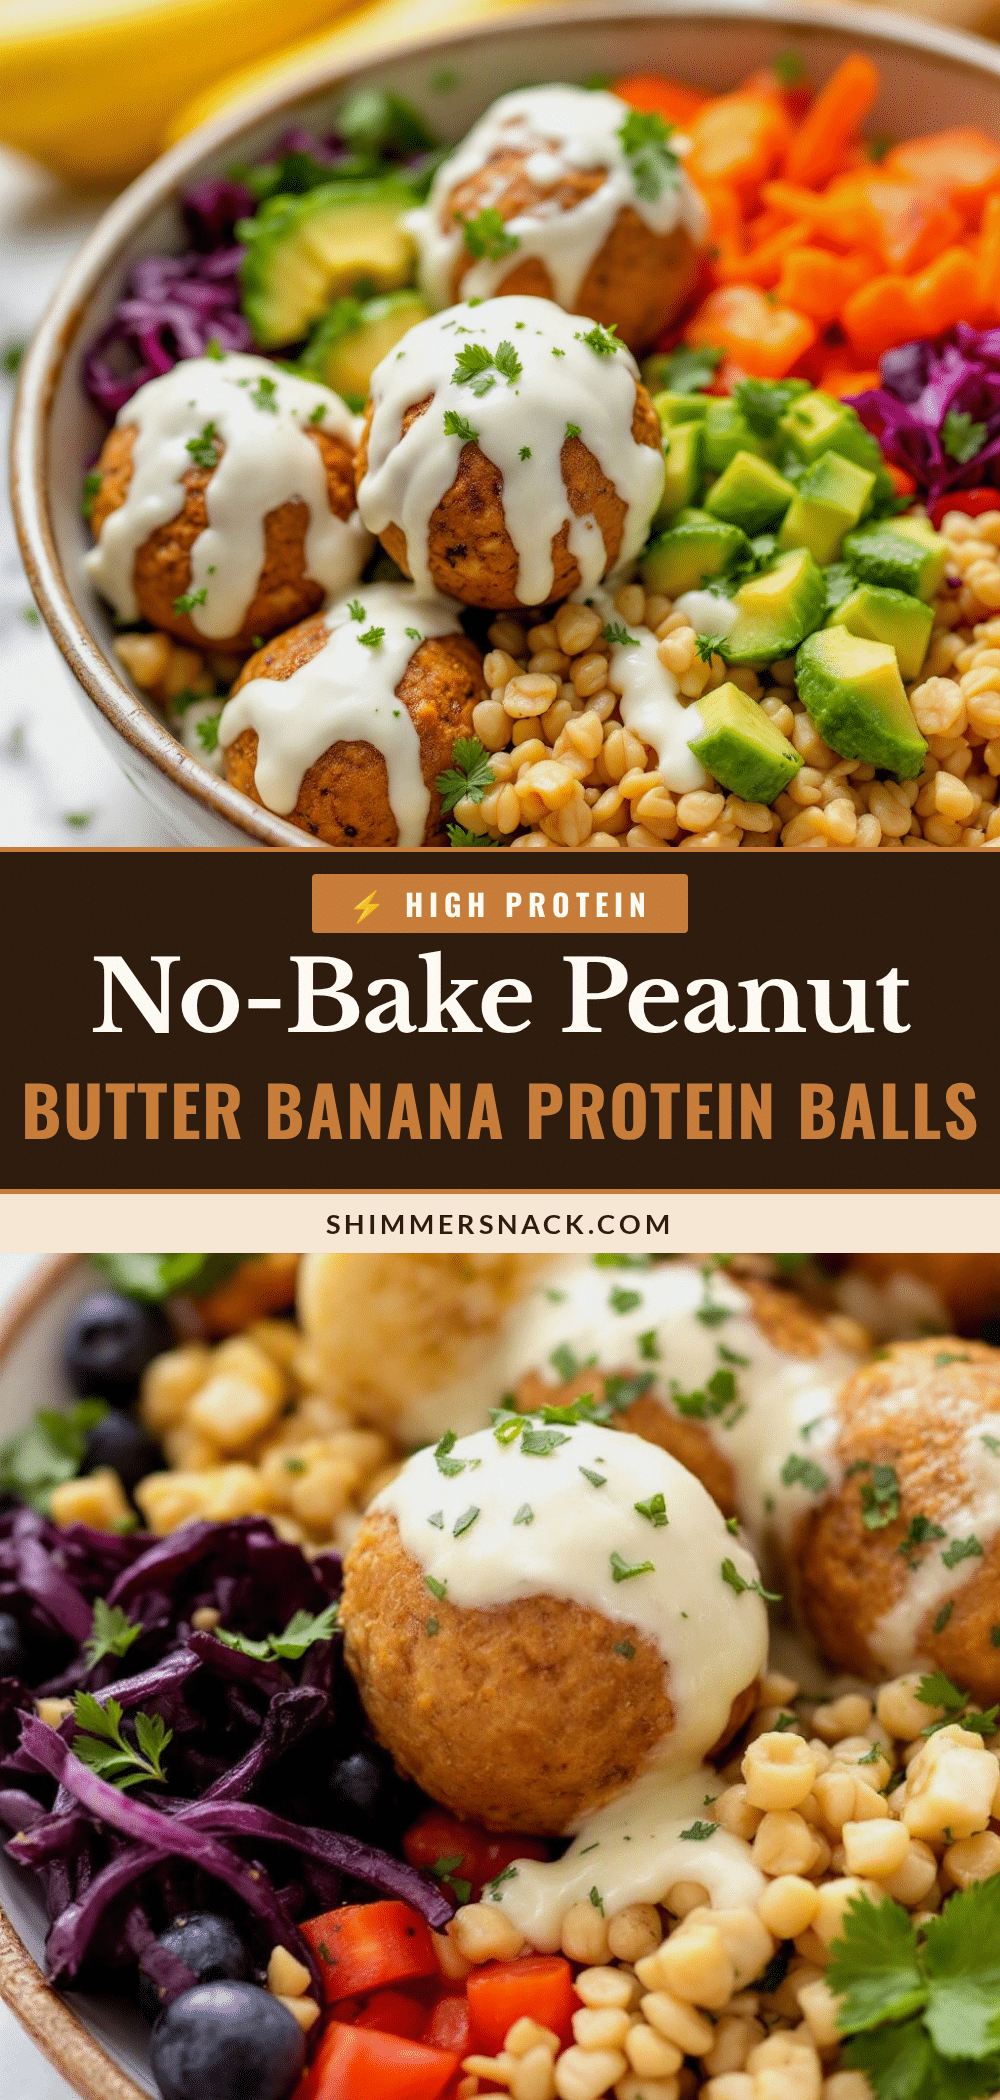
Easy Peanut Butter Banana Protein Balls: Best 5-Minute Snack
These easy peanut butter banana protein balls are a quick, no-bake snack made with simple ingredients like oats, peanut butter, and ripe banana. Perfect for busy families, they come together in just five minutes and are a crowd-pleasing, healthy treat.
- Prep Time: 5 minutes
- Cook Time: 0 minutes
- Total Time: 5 minutes (plus 30 minutes chilling time)
- Yield: 12-15 servings 1x
- Category: Snack
- Cuisine: American
Ingredients
- 1 cup rolled oats (use certified gluten-free oats if needed)
- 1/2 cup creamy peanut butter (natural, no-stir variety works best)
- 1 large ripe banana, mashed (about 1/2 cup)
- 1/4 cup honey or maple syrup
- 1/3 cup mini chocolate chips
- 1/4 cup ground flaxseed or chia seeds (optional but recommended)
- Pinch of salt
Instructions
- Mash the banana: Peel the ripe banana and place it in a large mixing bowl. Use a fork or potato masher to mash it until smooth and mostly lump-free, about 30 seconds.
- Add the wet ingredients: To the mashed banana, add the peanut butter and honey (or maple syrup). Stir with a rubber spatula until fully combined.
- Mix in the dry ingredients: Add the rolled oats, ground flaxseed (if using), and a pinch of salt. Stir until evenly incorporated. If the dough is too dry, add a teaspoon of milk or more peanut butter; if too wet, add another tablespoon of oats.
- Fold in the chocolate chips: Gently fold the mini chocolate chips into the dough until evenly distributed.
- Chill the dough (optional but recommended): Cover the bowl and refrigerate for 15-20 minutes to firm up the dough for easier rolling.
- Roll into balls: Using a small cookie scoop or tablespoon, portion out the dough and roll it between your palms into smooth balls. You should get about 12-15 balls. Place each on a parchment-lined baking sheet or plate.
- Chill to set: Refrigerate the tray of protein balls for at least 30 minutes to firm up.
- Store and enjoy: Transfer the protein balls to an airtight container and keep in the refrigerator for up to a week.
Notes
For best texture, use a very ripe banana (spotty and soft). If the dough is too sticky, add more oats; if too dry, add a splash of milk or more peanut butter. Chilling the dough before rolling makes it easier to handle. These protein balls taste even better the next day as flavors meld.
Nutrition
- Serving Size: 1 ball
- Calories: 150170
- Sugar: 810
- Fat: 89
- Saturated Fat: 23
- Carbohydrates: 1820
- Fiber: 34
- Protein: 56
Keywords: protein balls, peanut butter banana protein balls, no-bake snack, healthy snack, easy snack, gluten-free snack, kid-friendly snack


