Love this? Save it for later!
Share the inspiration with your friends
“Wait, is that meatloaf? In a muffin tin?” My husband stared at the pan I pulled from the oven, his fork hovering in mid-air. He looked genuinely confused, maybe even a little suspicious. I nodded, smiling at the golden-brown edges of my Crispy Cheesy Meatloaf Muffins. He took a bite, chewed slowly, and then immediately went for a second one without saying another word. That was the moment I knew I had cracked the code on weeknight dinners.
We’ve all been there. You come home tired, the kids are hangry, and the idea of standing over a hot stove for an hour feels impossible. Traditional meatloaf is a weekend project. It takes time, it requires a loaf pan, and let’s be honest, it often ends up a bit dry or too dense for the picky eaters at the table. But these little savory bites? They are the answer to every dinner dilemma I’ve ever faced.
I started experimenting with this idea last autumn, mostly because I had leftover ground beef and a bag of shredded cheese that needed to be used up. I tossed some breadcrumbs, spices, and cheese into a muffin tin and hoped for the best. The result wasn’t just edible; it was addictive. The crispy edges created by the muffin tin shape are something you just can’t get in a traditional loaf. Plus, the cheese melts into every pocket, creating these little pockets of flavor that hit the spot every time.
It’s funny how the best recipes often come from lazy moments. I don’t claim to be a gourmet chef, but I do know how to make dinner work for a busy family. These muffins have become a staple in our rotation. They are easy to make, easy to eat, and surprisingly elegant if you serve them with a nice salad. Honestly, they might just change your mind about what comfort food can be.
I love that they feel like a treat but are actually pretty reasonable to make. They bridge that gap between a quick snack and a full meal. And if you are looking for other ways to use ground beef quickly, this method is a game-changer. It’s simple, it’s effective, and it tastes like home. Let’s face it, if it makes dinner time less stressful and the kids eat their veggies, I’m calling it a win.
Why You’ll Love This Recipe
There is a specific kind of magic that happens when you take a classic, heavy dish like meatloaf and shrink it down into bite-sized portions. It changes the entire experience. I’ve tested dozens of variations of this recipe over the past year, tweaking the spice blends and cheese ratios until I landed on this perfect balance. Here is why these Crispy Cheesy Meatloaf Muffins have earned a permanent spot in my kitchen rotation.
- Quick & Easy: Let’s be honest, time is our most valuable resource. This recipe comes together in under 30 minutes from start to finish. The prep is minimal, and the baking time is short. It is perfect for busy weeknights when you need dinner on the table fast, or for those last-minute cravings that hit right after work.
- Simple Ingredients: You likely already have everything you need in your kitchen. Ground beef, breadcrumbs, eggs, milk, and cheese are pantry staples for most households. There is no need for a fancy grocery trip or obscure ingredients. It’s wholesome, simple cooking that delivers big flavor without the fuss.
- Perfect for Meal Prep: These muffins are the ultimate meal prep hero. You can make a double batch on Sunday and have lunches sorted for the week. They reheat beautifully in the microwave or even in an air fryer if you want to keep that crispy edge intact. They are also great for potlucks or casual family dinners where everyone wants to customize their own portion.
- Crowd-Pleaser: I have served these to groups of adults and groups of toddlers, and they get rave reviews from both. The kids love that they are bite-sized and cheesy. The adults love that it feels like a real meal, not just a snack. It’s a versatile dish that works for brunch, lunch, or dinner.
- Unbelievably Delicious: The texture and flavor combo is next-level comfort food. The exterior gets wonderfully crispy in the muffin tin, while the interior stays juicy and tender. The cheese melts throughout, ensuring every single bite has that savory, gooey satisfaction you crave. It is the kind of dish that makes you close your eyes after the first bite.
What makes this recipe different from the rest is the technique. By using a muffin tin, you increase the surface area, which allows for more browning and crisping. Most meatloaf recipes struggle with a soggy top or a dry bottom. These muffins cook evenly. Whether it is the specific blend of herbs I use or the way I bind the mixture, this isn’t just another version—it’s my best version. It’s comfort food reimagined—healthier, faster, but with the same soul-soothing satisfaction. It is perfect for impressing guests without stress, or turning a simple meal into something memorable.
What Ingredients You Will Need
This recipe uses simple, wholesome ingredients to deliver bold flavor and satisfying texture without the fuss. The beauty of this dish lies in its accessibility. You don’t need high-end specialty stores to make this work. In fact, the simpler the ingredients, the better the result. I like to keep the spice profile classic but robust, relying on good quality staples to do the heavy lifting. Here is what you will need to get started.
- Ground Beef (1 lb / 450g): I prefer 80/20 ground beef for the best flavor and juiciness. Leaner meats can dry out quickly in the oven. If you are watching your fat intake, 90/10 works, but you might need to add a splash more milk. Look for fresh, bright red meat from your local butcher or grocery store.
- Shredded Cheddar Cheese (1 cup / 100g): Sharp cheddar adds a nice bite that cuts through the richness of the beef. Pre-shredded cheese often has anti-caking agents that can prevent melting, so I recommend buying a block and shredding it yourself. It melts smoother and tastes better. (Adds richness and creaminess).
- Breadcrumbs (1/2 cup / 50g): Plain dry breadcrumbs are the standard binder here. They absorb the moisture from the meat and eggs, keeping the muffins from falling apart. If you are gluten-free, you can swap this for almond flour or gluten-free breadcrumbs. (Use fine crumbs for a tighter texture).
- Eggs (2 large): Eggs act as the glue for the mixture. They hold everything together during the baking process. Make sure they are at room temperature for easier mixing. (Essential for binding).
- Milk (1/4 cup / 60ml): A little milk keeps the interior moist. Whole milk is best for richness, but any milk will work. (Keeps it juicy).
- Onion (1 small, finely diced): Fresh onion adds sweetness and depth. I dice it very small so it blends seamlessly into the muffin. You can also use 1 tablespoon of onion powder if you are in a hurry or want to skip the prep.
- Garlic (2 cloves, minced): Fresh garlic is non-negotiable for me. It adds that essential savory punch. If you don’t have fresh garlic, 1/2 teaspoon of garlic powder works in a pinch. (Adds aroma and flavor).
- Worcestershire Sauce (1 tablespoon): This is the secret weapon. It adds umami and depth that salt alone can’t achieve. Just a little goes a long way. (Adds savory depth).
- Spices: I use 1 teaspoon of dried parsley, 1/2 teaspoon of paprika, 1/2 teaspoon of salt, and 1/4 teaspoon of black pepper. These are basic pantry items that create that classic meatloaf flavor profile. (For seasoning).
- Ketchup or BBQ Sauce (for topping): I drizzle a little ketchup or my favorite BBQ sauce on top before baking. It adds a tangy sweetness and helps create that sticky, caramelized crust. (For glaze).
I personally prefer using a high-quality ground beef from a local source if I can get it, as the flavor is just superior. But honestly, any good supermarket brand will work fine. The key is not to overwork the meat when mixing, which we will discuss later. For the cheese, I always shred my own. It melts so much better and doesn’t have that waxy texture that pre-shredded cheese sometimes has. If you are in a pinch, pre-shredded is fine, but you might notice a slight difference in texture. For the breadcrumbs, I usually keep a box of panko on hand because it adds a nice crunch, but standard dry breadcrumbs work well too. Just make sure your ingredients are fresh. Old spices won’t give you the same pop of flavor.
Equipment Needed
You don’t need a fancy kitchen to make these muffins. In fact, one of the best things about this recipe is how accessible the equipment is. You likely have everything you need right now.
- Muffin Tin (Standard 12-cup): This is the star of the show. A standard metal muffin tin works best because it conducts heat well and helps create those crispy edges. Dark non-stick tins might brown the bottoms too quickly, so keep an eye on them. If you don’t have a muffin tin, you can bake them in a small loaf pan, but the cooking time will increase, and you won’t get the same crispy exterior.
- Mixing Bowls: You will need one medium-sized bowl for mixing the meatloaf ingredients. A large bowl can be messy, so medium is ideal. I prefer glass or stainless steel bowls because they are easy to clean.
- Fork or Hands: I actually prefer using my hands to mix the meatloaf mixture. It ensures everything is evenly distributed. Just wash your hands thoroughly before and after. If you are uncomfortable using your hands, a sturdy fork works too, but it takes a bit more effort to break up the clumps.
- Silicone Baking Mats or Foil: To make cleanup easier, you can line your muffin tin with silicone baking cups or foil liners. This prevents sticking and makes removing the muffins a breeze. However, skipping the liners gives you a crispier bottom, which I personally love. If you skip liners, be sure to grease the tin well with cooking spray or butter.
- Small Spoon or Ice Cream Scoop: To portion the mixture evenly into the muffin cups, a small spoon or a mini ice cream scoop is helpful. It ensures each muffin is the same size, which helps them bake evenly. An ice cream scoop is particularly useful for getting clean portions without the mess.
- Measuring Cups and Spoons: Precision matters in baking, especially when dealing with binders like breadcrumbs and eggs. Having a good set of measuring tools ensures your texture is consistent every time.
I have tried using silicone muffin liners in the past. They make cleanup incredibly easy, but the muffins don’t get quite as crispy on the bottom. If you prioritize convenience over texture, they are a great option. For a budget-friendly approach, standard metal tins are the way to go. They last forever and conduct heat beautifully. Just remember to wash them well after each use to remove any lingering odors from previous meals. A little baking soda scrub can work wonders for stubborn stains.
Preparation Method
Making these Crispy Cheesy Meatloaf Muffins is straightforward, but there are a few key steps to ensure they turn out perfectly. Follow these instructions carefully, and you will have a delicious, stress-free dinner in no time.
- Preheat and Prep (5 minutes): Start by preheating your oven to 375°F (190°C). This ensures the oven is at the right temperature when the muffins go in. While the oven heats, take your muffin tin and grease it thoroughly. Use cooking spray, butter, or olive oil. If you are using silicone liners, you can skip this step, but greasing the tin directly gives better browning. (Time: 2 minutes)
- Prepare the Aromatics (5 minutes): Finely dice the onion and mince the garlic. You want the onion pieces to be very small so they don’t create large pockets in the muffin. If you are using fresh garlic, crush it with the side of your knife before mincing to make it easier. (Time: 3 minutes)
- Mix the Wet Ingredients (2 minutes): In your medium mixing bowl, whisk together the eggs, milk, and Worcestershire sauce. This step ensures the wet ingredients are evenly distributed before you add the meat. It prevents clumps of egg or milk in the final mixture. (Time: 2 minutes)
- Combine the Dry Ingredients (2 minutes): Add the breadcrumbs, diced onion, minced garlic, dried parsley, paprika, salt, and black pepper to the wet mixture. Stir until combined. The breadcrumbs will start to absorb the liquid immediately. Let this sit for a minute while you get the meat ready. (Time: 2 minutes)
- Add the Meat and Cheese (3 minutes): Add the ground beef and half of the shredded cheddar cheese to the bowl. Now comes the most important part: mix gently. Use your hands or a fork to combine the ingredients. Do not overmix! Overmixing develops the proteins in the meat, which can make the muffins tough and dense. Mix just until everything is incorporated. You should still see some variation in the color of the meat. (Time: 3 minutes)
- Portion the Mixture (5 minutes): Divide the meat mixture evenly among the 12 cups of your muffin tin. Press the mixture firmly into each cup. I like to create a small well in the center of each muffin with my thumb. This helps the heat penetrate the center more evenly and prevents them from doming too much. Also, reserve the remaining half cup of cheese for the topping. (Time: 5 minutes)
- Add the Topping (2 minutes): Sprinkle the remaining shredded cheese evenly over the top of each muffin. Then, drizzle a small amount of ketchup or BBQ sauce over each one. The sauce will bubble and caramelize in the oven, creating a sticky, flavorful crust. (Time: 2 minutes)
- Bake (15-18 minutes): Place the muffin tin in the preheated oven. Bake for 15 to 18 minutes. You are looking for the tops to be golden brown and the cheese to be bubbly. The internal temperature of the meat should reach 160°F (71°C) for food safety. If you don’t have a thermometer, cut one open to check that the center is no longer pink. (Time: 18 minutes)
- Cool and Serve (5 minutes): Remove the tin from the oven and let the muffins cool for 5 minutes. This is crucial. They are very hot and fragile right out of the oven. Cooling allows them to set and firm up, making them easier to remove from the tin. Use a small knife to loosen the edges if needed. Serve warm. (Time: 5 minutes)
One thing to watch out for is the baking time. Every oven is different. If your muffins are browning too quickly on top but the inside is still raw, you can cover them loosely with foil for the last few minutes of baking. Conversely, if they are done on the outside but still pink in the middle, give them a couple more minutes. Trust your senses. The smell of cooking meat and caramelized cheese is a great indicator that they are almost ready.
Cooking Tips & Techniques
After making these muffins dozens of times, I have learned a few tricks that make the process smoother and the results better. Here are my professional tips for achieving the perfect Crispy Cheesy Meatloaf Muffins.
- Don’t Overmix the Meat: I cannot stress this enough. When you mix the ground beef, handle it as little as possible. Think of it like making a good burger patty. You want it tender. If you pack it too tight, the muffins will be dense and tough. Gentle mixing ensures a light, fluffy interior.
- Use Room Temperature Ingredients: If your eggs and milk are cold, they can shock the meat and make it harder to mix evenly. Letting your ingredients sit out for 15-20 minutes before starting helps them blend more smoothly. It’s a small step that makes a big difference in texture.
- Grease Generously: Meatloaf can stick to metal tins, especially with the cheese and sugar from the ketchup. Be liberal with your grease. If you are using a non-stick tin, you can get away with less, but a little extra insurance never hurts. It ensures easy removal and prevents tearing.
- Check for Doneness: Visual cues are good, but a meat thermometer is best. Since these are smaller portions, they cook quickly, but the center can still be undercooked. Aim for 160°F (71°C). If you cut one open and it’s pink, pop it back in the oven for 2-3 minutes. It’s better to be safe than sorry.
- Let Them Rest: I know it’s tempting to dig in immediately, but patience pays off. Letting the muffins cool for 5 minutes allows the proteins to relax and the cheese to set slightly. This makes them much easier to handle and eat without falling apart.
- Multitask for Efficiency: While the muffins are baking, you can start preparing a simple side salad or steaming some vegetables. This recipe comes together so fast that you can have a complete meal on the table in under 40 minutes. Use the time in the oven wisely.
- Consistency is Key: Try to make each muffin the same size. If some are larger than others, they will cook at different rates. Using a scoop or a scale can help ensure uniformity, which leads to even cooking and a better presentation.
I once tried making these with a leaner turkey breast instead of beef. It was… okay, but much drier. The fat in the beef is essential for moisture. If you must use turkey, add a bit more milk or even a tablespoon of olive oil to the mixture. Also, be careful not to overbake them. Turkey dries out faster than beef, so start checking at 12 minutes. These tips have saved me from many kitchen disasters over the years. Trust the process, and you will be rewarded with delicious, crispy, cheesy goodness.
Variations & Adaptations
One of the best things about this recipe is its versatility. You can tweak it to fit your dietary needs or flavor preferences. Here are a few variations I have tried and loved.
- Turkey or Chicken Version: Swap the ground beef for ground turkey or chicken. This makes the recipe lighter and lower in fat. Just remember to add a bit more moisture, like an extra egg or a splash of milk, to prevent dryness. The flavor will be milder, so you might want to add extra herbs or spices.
- Veggie-Boosted: Add finely chopped spinach, zucchini, or mushrooms to the mixture. This adds volume and nutrients without changing the flavor profile too much. It’s a great way to sneak in some extra veggies for picky eaters. Just make sure to squeeze out any excess moisture from the vegetables before adding them.
- Spicy Kick: If you like heat, add some diced jalapeños, a dash of cayenne pepper, or some chipotle powder to the mixture. Top with pepper jack cheese instead of cheddar for an extra spicy melt. This variation is great for game day or when you want a bit of zing.
- Italian Style: Swap the cheddar for mozzarella or provolone. Add dried oregano, basil, and red pepper flakes to the mixture. Top with a spoonful of marinara sauce instead of ketchup. It tastes like mini meatball subs in muffin form.
- Gluten-Free Option: Use gluten-free breadcrumbs or almond flour instead of regular breadcrumbs. Most other ingredients are naturally gluten-free, so this is an easy swap. Just ensure your Worcestershire sauce and spices are certified gluten-free.
I have also tried making these in the air fryer. It works surprisingly well! You just need to use a smaller air fryer basket or cook them in batches. The cooking time is slightly shorter, about 10-12 minutes at 350°F (175°C). The air fryer gives an even crispier exterior, which I personally love. It’s a great option if you don’t want to heat up your oven. Feel free to experiment with different cheese blends, too. A mix of cheddar and gouda adds a smoky depth that is incredible. The possibilities are endless, so don’t be afraid to get creative in the kitchen.
Serving & Storage Suggestions
These Crispy Cheesy Meatloaf Muffins are versatile when it comes to serving. They are delicious warm right out of the oven, but they also hold up well at room temperature, making them perfect for potlucks or lunchboxes.
- Serving Suggestions: I like to serve these with a simple green salad with a vinaigrette dressing. The acidity of the salad cuts through the richness of the meatloaf. They also pair well with roasted vegetables, like asparagus or broccoli. For a complete meal, add some crusty bread or garlic knots on the side. They are also great as an appetizer with a dipping sauce, like ranch or extra ketchup.
- Reheating: To reheat, place the muffins in the microwave for 30-60 seconds. They will be soft, but tasty. For a crispier result, reheat them in an air fryer or toaster oven at 350°F (175°C) for 3-5 minutes. This restores that lovely crispy exterior. Avoid the microwave if you want to maintain texture.
- Storage: Store leftover muffins in an airtight container in the refrigerator for up to 4 days. They stay moist and flavorful for several days. You can also freeze them for up to 3 months. Place them in a single layer on a baking sheet to freeze, then transfer to a freezer bag. Thaw in the refrigerator overnight before reheating.
- Flavor Development: Interestingly, these muffins taste even better the next day. The flavors have time to meld together, making them more cohesive and savory. If you make a double batch, you will likely find that the leftovers are gone faster than the fresh ones.
I often pack these for my husband’s lunch. They travel well and don’t need to be reheated if you don’t want to. They are a great alternative to sandwiches or salads. Just make sure to let them cool completely before packing them to prevent condensation, which can make them soggy. With proper storage, they remain delicious for days. Don’t waste the leftovers; they are a gift from the dinner gods.
Nutritional Information & Benefits
While these muffins are comfort food, they can be part of a balanced diet. Here is a general overview of the nutritional profile per muffin (assuming 12 muffins per batch).
- Calories: Approximately 150-180 calories per muffin, depending on the fat content of the beef and cheese used.
- Protein: A good source of protein, with about 12-15 grams per muffin. This helps keep you full and satisfied.
- Fat: Contains about 10-12 grams of fat, mostly from the beef and cheese. Using leaner beef can reduce this.
- Carbohydrates: Low in carbs, with about 3-5 grams per muffin, primarily from the breadcrumbs and onion. This makes them suitable for low-carb diets if you use almond flour.
- Health Benefits: Ground beef is rich in iron and vitamin B12. Cheese provides calcium and protein. The onions and garlic offer antioxidants and anti-inflammatory properties. It’s a hearty, nutrient-dense meal that fuels your body.
I like to think of these muffins as a balanced meal in a bite. They provide protein, fat, and just enough carbs for energy. It’s a comforting dish that doesn’t leave you feeling sluggish. Of course, portion control is key. Eating 2-3 muffins with a side of vegetables makes for a well-rounded dinner. They are a great way to incorporate more protein into your diet without feeling like you are eating a diet. It’s food that nourishes both body and soul.
Conclusion
These Crispy Cheesy Meatloaf Muffins are more than just a recipe; they are a solution to the daily dinner dilemma. They are easy to make, delicious to eat, and adaptable to almost any diet. I hope you try them and see why they have become a favorite in my home. The combination of crispy edges, juicy interior, and melted cheese is simply unbeatable.
I encourage you to experiment with the variations. Try adding your favorite herbs or cheeses to make it your own. Cooking is about creativity and enjoyment. Don’t be afraid to tweak the recipe to suit your taste. And if you do try them, I would love to hear how they turned out for you. Please leave a comment below with your thoughts or any variations you tried. Sharing our experiences helps us all learn and grow as cooks.
Thank you for joining me in the kitchen today. I hope this recipe brings some joy and ease to your weeknight dinners. Happy cooking!
FAQs
Can I freeze these meatloaf muffins?
Yes, absolutely. Let them cool completely after baking, then place them in a freezer-safe bag or container. They will last for up to 3 months. Thaw in the refrigerator overnight before reheating in the microwave or oven.
Can I use ground turkey instead of beef?
Yes, you can substitute ground turkey for beef. Just be aware that turkey is leaner, so the muffins may be slightly drier. Consider adding an extra egg or a tablespoon of olive oil to the mixture to help retain moisture.
How do I prevent the muffins from sticking to the pan?
Grease your muffin tin generously with cooking spray, butter, or oil before adding the mixture. If you are worried about sticking, you can also use silicone baking liners or foil cups, though greasing the tin directly yields a crispier bottom.
Can I make these ahead of time?
Yes, you can prep the mixture and fill the muffin tin up to 24 hours in advance. Cover the tin with plastic wrap and refrigerate. When you are ready to bake, you may need to add a couple of extra minutes to the baking time since the mixture will be cold.
What side dishes go well with these muffins?
These muffins pair beautifully with a simple green salad, steamed broccoli, roasted asparagus, or garlic mashed potatoes. They are also great with a side of crusty bread or a light vinaigrette-based slaw.
Pin This Recipe!
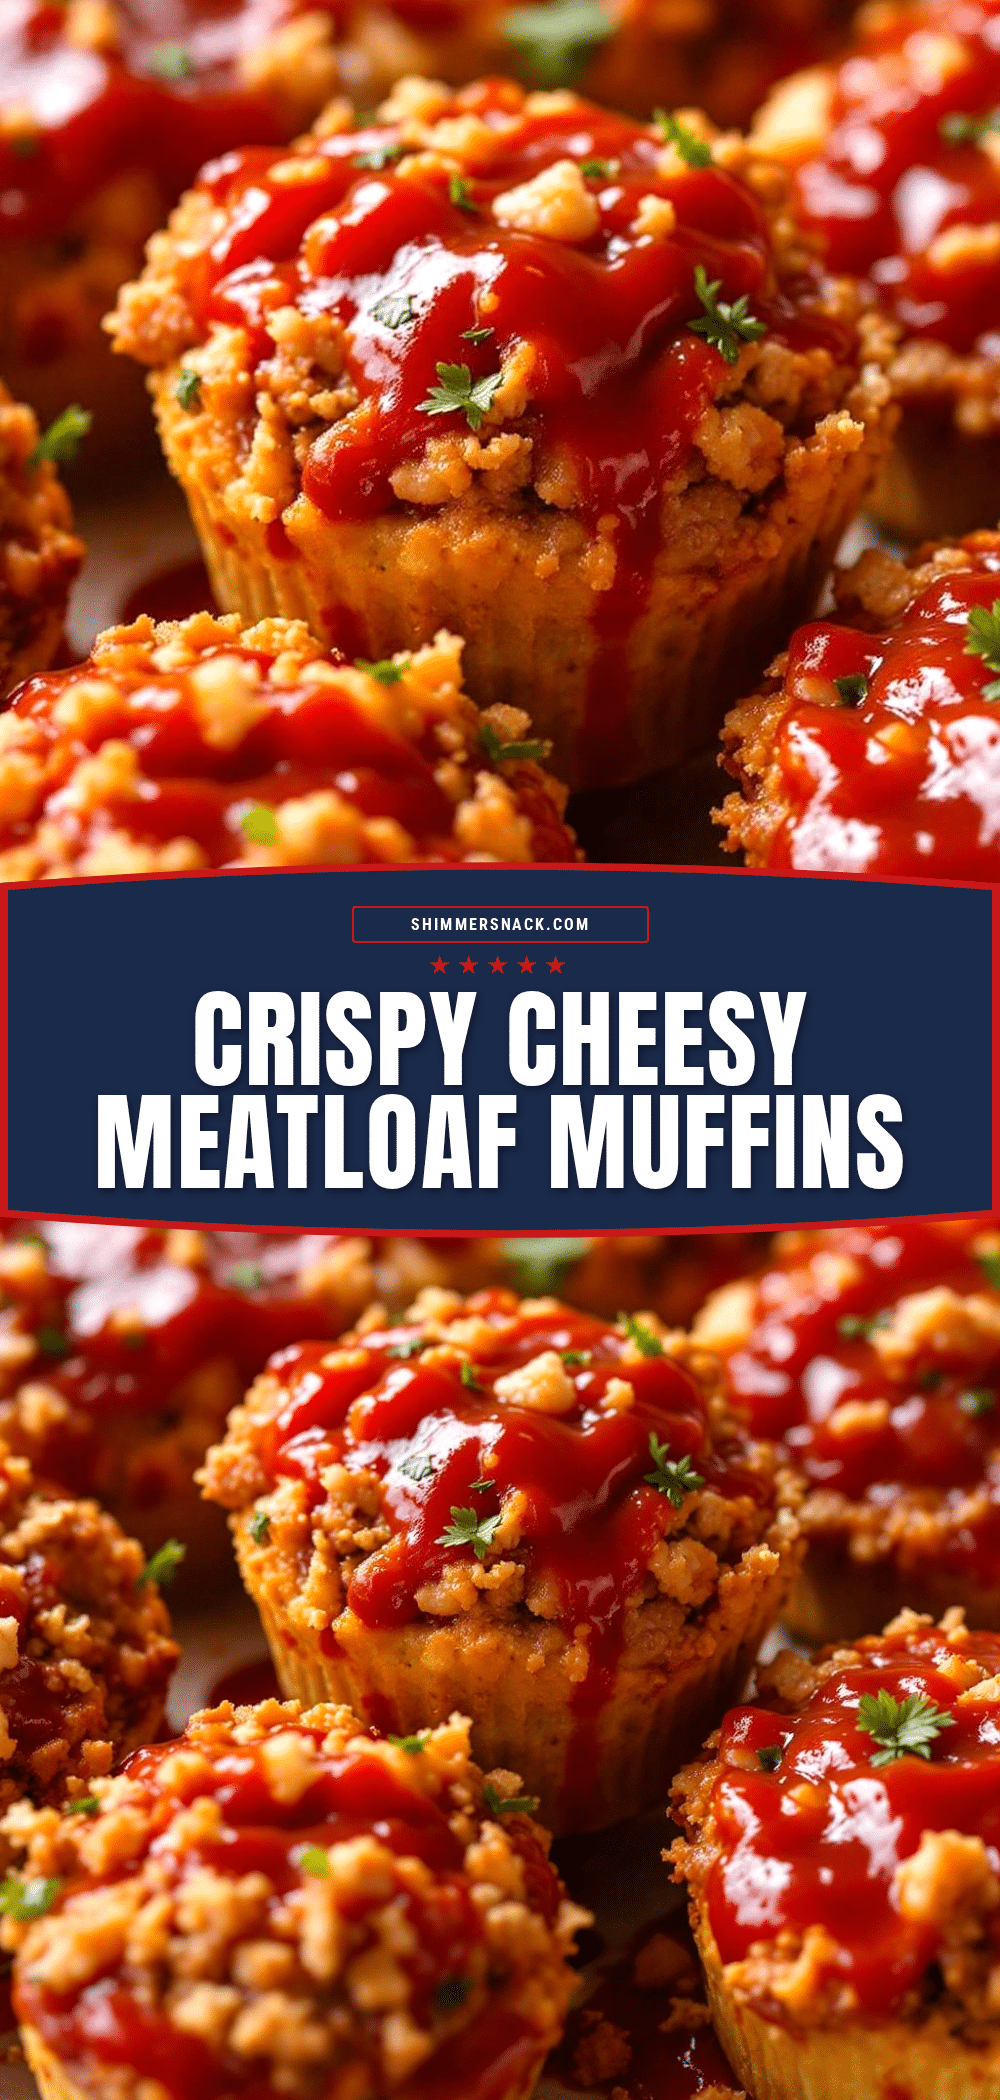
Crispy Cheesy Meatloaf Muffins: Easy 30-Min Meal Prep

These bite-sized meatloaf muffins offer the comfort of traditional meatloaf with crispy edges and melted cheese, ready in under 30 minutes. Perfect for busy weeknights, meal prep, and picky eaters.
- Prep Time: 15 minutes
- Cook Time: 18 minutes
- Total Time: 33 minutes
- Yield: 12 servings 1x
- Category: Main Course
- Cuisine: American
Ingredients
- 1 lb (450g) ground beef (80/20 preferred)
- 1 cup (100g) shredded cheddar cheese, divided
- 1/2 cup (50g) plain dry breadcrumbs
- 2 large eggs
- 1/4 cup (60ml) milk
- 1 small onion, finely diced
- 2 cloves garlic, minced
- 1 tablespoon Worcestershire sauce
- 1 teaspoon dried parsley
- 1/2 teaspoon paprika
- 1/2 teaspoon salt
- 1/4 teaspoon black pepper
- Ketchup or BBQ sauce for topping
Instructions
- Preheat oven to 375°F (190°C) and grease a standard 12-cup muffin tin thoroughly.
- Finely dice the onion and mince the garlic.
- In a medium mixing bowl, whisk together eggs, milk, and Worcestershire sauce.
- Add breadcrumbs, diced onion, minced garlic, parsley, paprika, salt, and pepper to the wet ingredients and stir to combine.
- Add ground beef and half of the shredded cheese to the bowl. Mix gently by hand or with a fork until just incorporated; do not overmix.
- Divide the mixture evenly among the 12 muffin cups, pressing firmly. Create a small well in the center of each with your thumb.
- Sprinkle the remaining cheese over the tops and drizzle with ketchup or BBQ sauce.
- Bake for 15-18 minutes until tops are golden brown and internal temperature reaches 160°F (71°C).
- Let cool in the pan for 5 minutes before removing and serving.
Notes
Do not overmix the meat to keep the muffins tender. Let them cool for 5 minutes to allow them to set. They can be stored in the fridge for up to 4 days or frozen for up to 3 months. For a gluten-free version, swap breadcrumbs for almond flour or gluten-free breadcrumbs.
Nutrition
- Serving Size: 1 muffin
- Calories: 165
- Sugar: 1.5
- Sodium: 350
- Fat: 11
- Saturated Fat: 5
- Carbohydrates: 4
- Fiber: 0.5
- Protein: 13.5
Keywords: meatloaf muffins, easy dinner, meal prep, ground beef recipes, cheesy meatloaf, quick weeknight meals, family friendly


