Love this? Save it for later!
Share the inspiration with your friends
The platter was empty before the last guest even finished their second glass of wine. It wasn’t just that the cookies were gone; it was the way they vanished. People weren’t just eating them; they were hunting for the little chocolate chip eyes. I turned around to grab more napkins from the kitchen and heard my friend Sarah ask, “Wait, are these the ones with the ghost faces? I need the recipe for those.” Honestly, I was a little stunned. I had made a batch of Crispy Ghost Meringue Cookies with Chocolate Chip Eyes mostly because I had leftover egg whites and a sudden urge to make something that looked spooky but tasted like a cloud. I expected a few polite nibbles. Instead, I got three text messages later that night asking where I bought them.
It’s funny how a simple dessert can become the center of attention. Meringues are tricky for a lot of people, so I assumed they’d be too delicate or too sweet. But these? They stayed on the counter for hours. That’s the quiet pride of a baker—you don’t need to shout about how good it is. The empty plate does the talking. The first bite is a crunch, followed by that melt-in-your-mouth sweetness that feels like comfort. It’s not heavy like a brownie or rich like a cake. It’s light. Airy. And those chocolate chip eyes? They add just enough saltiness to keep it from being cloying. I didn’t plan for it to be a hit, but seeing them disappear so fast makes me want to make them again. Just for the look on people’s faces when they realize it’s just sugar, egg whites, and cream of tartar.
Why You’ll Love This Recipe
There is something deeply satisfying about mastering meringue. It sounds intimidating, like something only professional patissiers can handle, but honestly, it’s mostly about patience and not rushing the beaters. This recipe cuts through all that complexity with just three main ingredients. You get the crisp exterior that shatters gently, giving way to a chewy, marshmallow-like center. It’s the perfect balance of textures that keeps you coming back for just one more.
- Quick & Easy Prep: The actual hands-on time is minimal. Once you start whipping, it’s mostly waiting. Perfect for those last-minute Halloween prep sessions when you’re running around.
- Simple Ingredients: You likely have everything right now. Egg whites, sugar, cream of tartar, and mini chocolate chips. No fancy flours or exotic spices needed.
- Perfect for Halloween: They are naturally white, making them the ideal canvas for spooky faces. They fit right in with your other treats without looking out of place.
- Crowd-Pleaser: Kids love the ghost shapes, and adults love that they aren’t overly sugary like candy. It’s a sophisticated treat that everyone can enjoy.
- Unbelievably Delicious: The texture is next-level. It’s not just sweet; it’s airy and dissolves on your tongue. It feels like eating a cloud that has a personality.
What makes this recipe stand out from other meringue tutorials is the specific focus on the chocolate chip eyes. Many recipes just leave them plain or use candy melts, which can be messy and hard to get right. Using mini chocolate chips gives you that instant, recognizable ghost look with zero extra effort. It’s the kind of detail that makes the cookie feel crafted, not just baked. It’s comfort food for the eyes as much as the palate. You close your eyes, bite into that crisp shell, and it’s just pure, simple joy. No stress, no complicated techniques, just a reliable recipe that works every time.
What Ingredients You Will Need
This recipe relies on the chemistry of egg whites and sugar to create its structure. You don’t need fancy equipment or rare ingredients. The magic happens when you whip air into the whites, creating a stable foam that holds its shape in the oven. Here is what you need to get started.
- Egg Whites: You will need large egg whites, about 3 to 4 of them. Room temperature egg whites whip up to a greater volume than cold ones, so let them sit out for 30 minutes before you start. Freshness matters here; older whites whip faster but can be less stable, so use the freshest eggs you have.
- Granulated White Sugar: Standard white sugar is best. Brown sugar can make meringues chewy and brown, which isn’t what we want for a ghost. Use high-quality granulated sugar for the cleanest flavor. I prefer organic cane sugar if I can find it, as it has a slightly cleaner taste.
- Cream of Tartar: This is the secret weapon. It stabilizes the egg whites and prevents them from collapsing. It also helps with that crisp exterior. Do not skip this step. It’s inexpensive and keeps your meringues from weeping or deflating.
- Vanilla Extract: Just a teaspoon or two. Pure vanilla adds depth to the sweet sugar. Avoid imitation vanilla if you can help it; it can taste chemical. A good quality vanilla bean paste is also an option if you want speckled ghosts, but pure extract is fine.
- Mini Chocolate Chips: These are essential for the eyes. Mini chips are small enough to fit on a tiny meringue ghost without overwhelming it. Semi-sweet or milk chocolate both work. Semi-sweet offers a nice contrast to the sweet meringue. Make sure they are mini chips, not regular chips, which are too big.
- Pinch of Salt: Just a tiny pinch to balance the sweetness. It enhances the flavor without making it taste salty.
If you want to get fancy, you can add a drop of food coloring to the whites for colored ghosts, but white is classic. For a gluten-free option, this recipe is naturally gluten-free, so you don’t need to worry about flour substitutions. Just ensure your chocolate chips are certified gluten-free if that’s a concern.
Equipment Needed
You don’t need much, but the right tools make a huge difference. A stand mixer or a hand mixer is highly recommended. Whipping egg whites by hand is possible but exhausting and often results in inconsistent peaks. A copper bowl is traditional for meringues because copper ions strengthen the protein structure, but a clean glass or metal bowl works fine. Just ensure it is absolutely grease-free; even a drop of yolk can ruin the batch. Parchment paper or a silicone baking mat is necessary to prevent sticking. A piping bag with a round tip helps with uniform shapes, but a spoon works too if you’re in a hurry. I always keep my beaters in the freezer for 10 minutes before starting; it helps the whites whip faster.
Preparation Method
- Preheat and Prep: Preheat your oven to 200°F (95°C). This low temperature is crucial. It dries out the meringues without browning them. Line two baking sheets with parchment paper. If you don’t have parchment, silicone mats work well. Ensure your baking sheets are clean and dry.
- Whip the Egg Whites: Place your egg whites in a clean, dry bowl. Add the cream of tartar and the pinch of salt. Start mixing on medium speed. You’ll see foamy bubbles form. Keep beating until soft peaks form. This means when you lift the beater, the peaks curl over. This takes about 2 minutes.
- Add the Sugar: Slowly pour in the sugar, about a tablespoon at a time, while the mixer is running. Don’t dump it all in at once. Once all the sugar is added, increase the speed to high. Beat until stiff, glossy peaks form. This is the key stage. When you lift the beater, the peak should stand straight up. Rub a little meringue between your fingers; if you feel grit, keep beating. It should feel smooth like silk.
- Add Vanilla: Mix in the vanilla extract on low speed just to combine. Be careful not to overmix now, or you might deflate the whites.
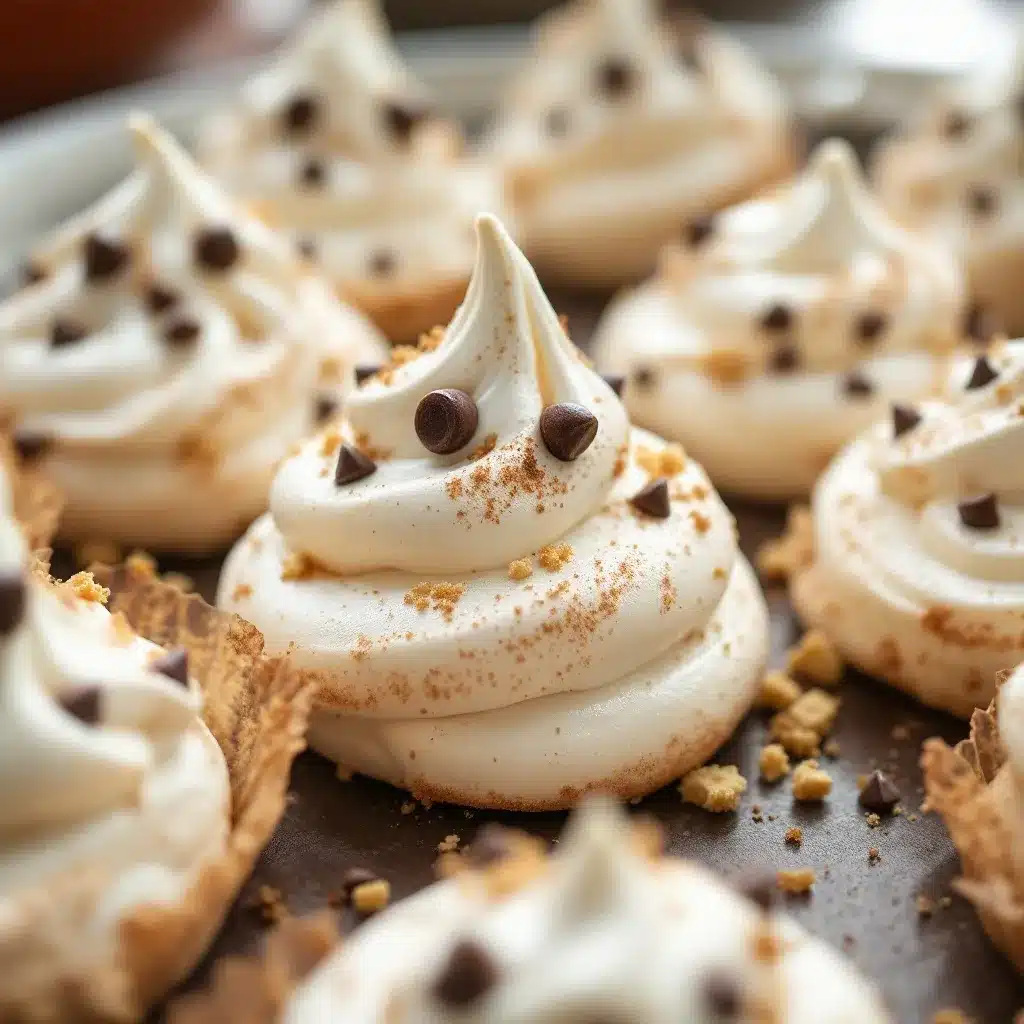
- Pipe the Ghosts: Transfer the meringue to a piping bag fitted with a round tip. Pipe small mounds onto the baking sheets. You can pipe them into ghost shapes by making a round base and a taller top, or just keep them simple. Leave space between them as they might spread slightly.
- Bake: Bake for 1 to 1.5 hours. The meringues should be dry to the touch and easily lift off the parchment. They should not be browned. If they are browning, your oven is too hot. Lower the temperature slightly.
- Add Eyes: Remove from the oven. While they are still warm, press two mini chocolate chips onto each ghost for eyes. The residual heat will help them stick. If they don’t stick, you can use a tiny dot of melted chocolate as glue. Let them cool completely on the baking sheet. They will crisp up as they cool.
Cooking Tips & Techniques
The biggest mistake people make is rushing the whipping process. If you add sugar too fast, the meringue won’t stabilize. Take your time. Also, ensure no yolk gets into the whites. Even a tiny speck can prevent the whites from whipping up properly. If you are having trouble, chill your bowl first. Another tip is to let the meringues cool in the turned-off oven with the door slightly ajar. This gradual cooling prevents cracking. I once left them in a hot oven and they collapsed. Lesson learned: slow is smooth, and smooth is fast.
Variations & Adaptations
You can easily adapt this recipe. For a vanilla bean version, scrape the seeds from a vanilla bean into the whites. For a minty twist, add a drop of green food coloring and use mint chocolate chips. You can also use almond flour instead of some of the sugar for a crunchier texture, but that changes the classic meringue feel. For a dairy-free option, ensure your chocolate chips are dairy-free. I’ve tried adding a pinch of cinnamon for a spiced ghost, which was surprisingly good. It’s a great base for seasonal changes.
Serving & Storage Suggestions
Serve these cookies on a platter with a spooky theme. They pair well with coffee or milk. Store them in an airtight container at room temperature for up to two weeks. They can absorb moisture, so keep them dry. If they get soft, you can re-crisp them in a 200°F oven for 10 minutes. They travel well for parties or school treats. Just pack them carefully so the chocolate eyes don’t get knocked off.
Nutritional Information & Benefits
These cookies are relatively low in calories compared to other desserts. They are mostly sugar and air, so they are light. They are naturally gluten-free and can be made dairy-free. However, they are high in sugar, so enjoy in moderation. They provide a quick energy boost. For those with egg allergies, this recipe isn’t suitable, but there are aquafaba-based meringues if you need a vegan alternative.
Conclusion
Making Crispy Ghost Meringue Cookies with Chocolate Chip Eyes is a fun, easy way to get into the Halloween spirit. It’s a recipe that looks impressive but is actually quite simple. I hope you try it and see the joy on people’s faces when they see them. Customize them to your liking and share them with friends. Leave a comment below if you try them. I’d love to hear how they turned out. Happy baking!
FAQs
Can I use brown sugar instead of white sugar?
It’s not recommended. Brown sugar contains molasses, which adds moisture and can cause the meringues to spread and turn brown. White sugar ensures a crisp, white result.
Why did my meringues collapse?
This usually happens if the egg whites weren’t whipped to stiff peaks or if sugar was added too quickly. Ensure your bowl is clean and dry, and beat until the peaks stand straight up.
Can I make these ahead of time?
Yes, they can be made up to two weeks in advance. Store them in an airtight container to keep them crisp.
What if I don’t have cream of tartar?
You can use lemon juice or white vinegar, but cream of tartar is best for stability. Use 1/4 teaspoon of acid for every 1/4 teaspoon of cream of tartar.
How do I get the chocolate eyes to stick?
Press them onto the meringues while they are still warm from the oven. The residual heat helps them adhere. If they slip, use a tiny dot of melted chocolate as glue.
Pin This Recipe!
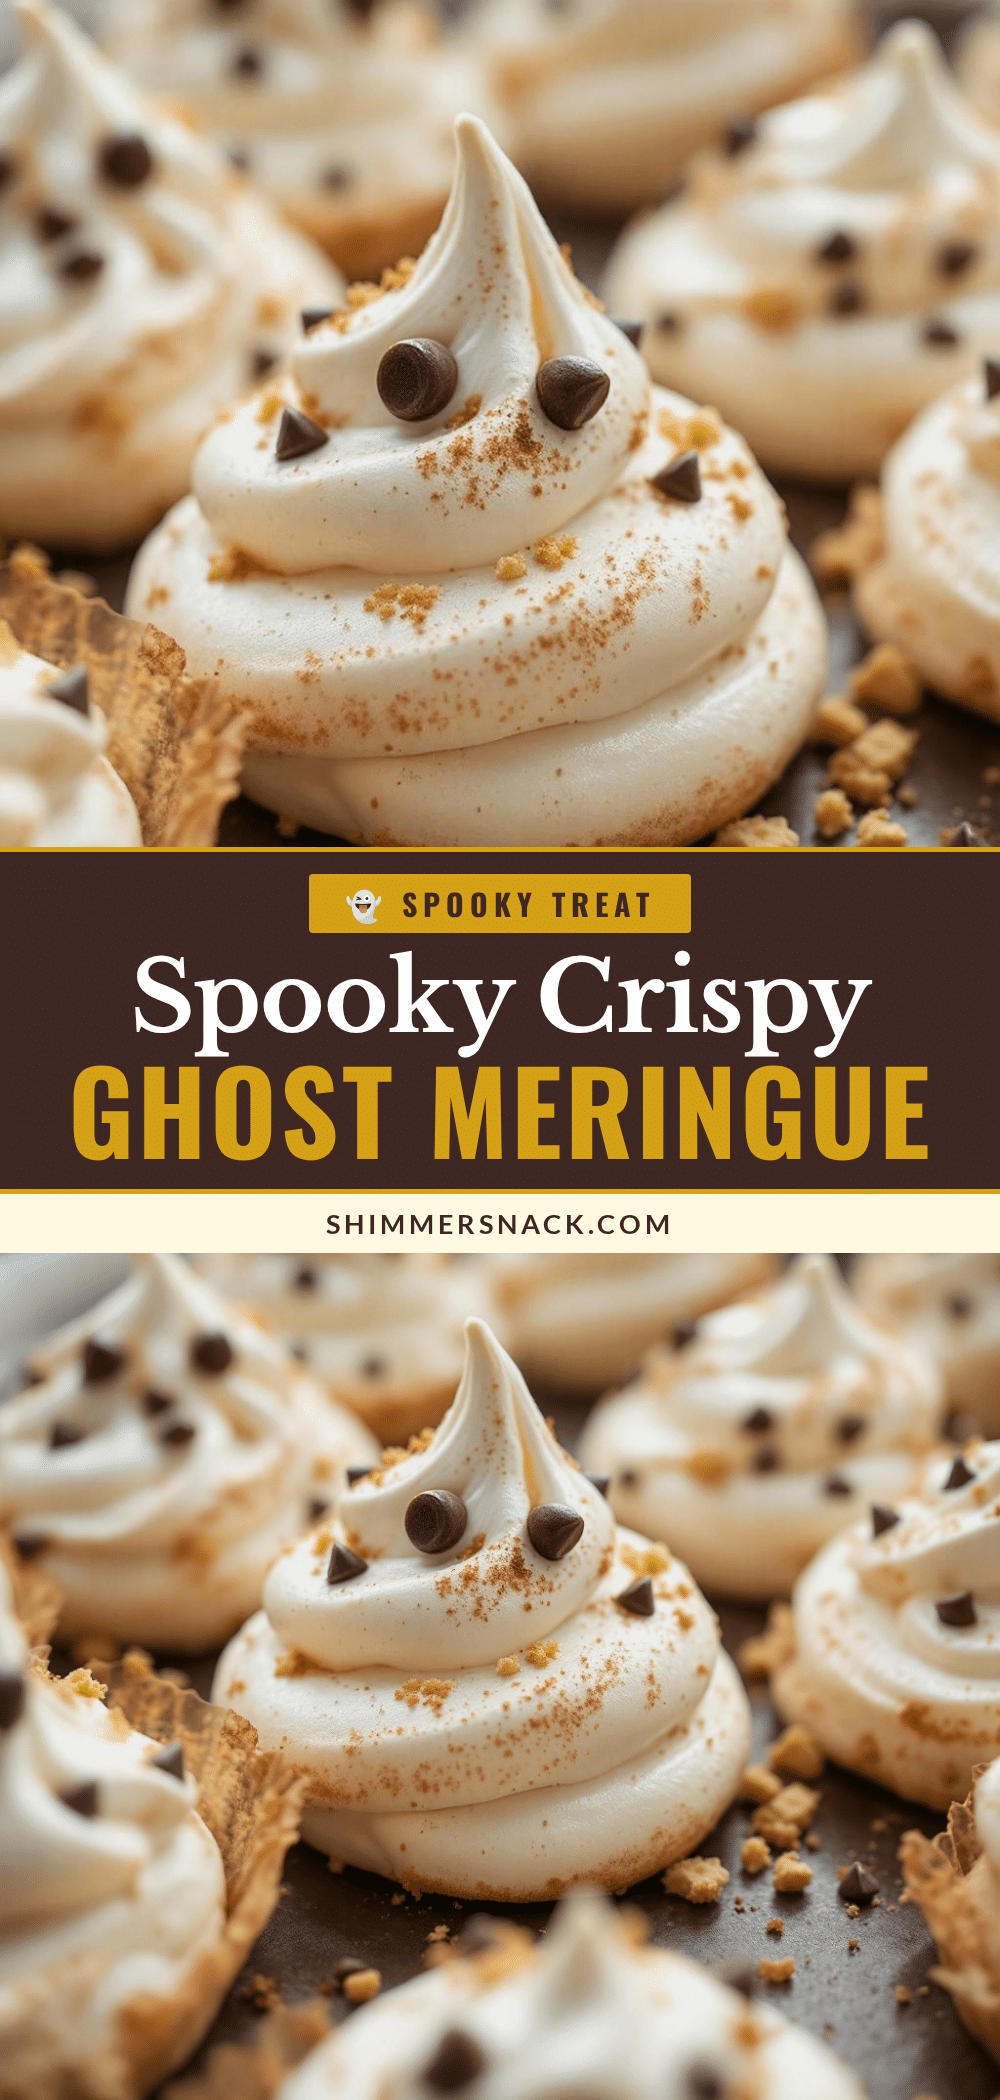
Crispy Ghost Meringue Cookies with Chocolate Chip Eyes
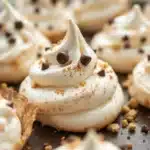
These spooky yet simple Halloween treats feature a crisp, airy meringue shell with a chewy center, decorated with mini chocolate chip eyes for a festive ghost look.
- Prep Time: 15 minutes
- Cook Time: 1 hour 15 minutes
- Total Time: 1 hour 30 minutes
- Yield: Approximately 24 cookies 1x
- Category: Dessert
- Cuisine: American
Ingredients
- 3–4 large egg whites, room temperature
- 1 cup granulated white sugar
- 1/4 teaspoon cream of tartar
- 1–2 teaspoons vanilla extract
- Mini chocolate chips (semi-sweet or milk)
- Pinch of salt
Instructions
- Preheat oven to 200°F (95°C). Line two baking sheets with parchment paper.
- Place egg whites, cream of tartar, and salt in a clean, dry bowl. Whip on medium speed until foamy bubbles form.
- Continue beating until soft peaks form (peaks curl over when beater is lifted), about 2 minutes.
- Slowly add sugar, one tablespoon at a time, while mixing. Increase speed to high and beat until stiff, glossy peaks form (peaks stand straight up).
- Mix in vanilla extract on low speed just to combine.
- Pipe meringue into small ghost shapes or mounds onto prepared baking sheets.
- Bake for 1 to 1.5 hours until dry to the touch and not browned.
- Remove from oven. While still warm, press two mini chocolate chips onto each ghost for eyes.
- Let cool completely on the baking sheet to crisp up.
Notes
Ensure all equipment is completely grease-free and dry. Egg whites must be room temperature for best volume. Do not rush the whipping process. Cool meringues in the turned-off oven with the door ajar to prevent cracking. Store in an airtight container for up to two weeks.
Nutrition
- Serving Size: 1 cookie
- Calories: 45
- Sugar: 11
- Sodium: 5
- Carbohydrates: 11
- Protein: 1
Keywords: Halloween, meringue, cookies, ghost, easy dessert, gluten-free, 3-ingredient, spooky treats