Love this? Save it for later!
Share the inspiration with your friends
The power outlet in the kitchen kept tripping. I was standing there holding a bowl of melted butter, staring at the breaker box while the clock ticked past 7:30 PM. My husband had just mentioned that three of his college friends were driving through town, and we had zero plans. The fridge was a disaster zone of wilted spinach and half a jar of pickles. But then I saw them. Five shiny, red Honeycrisp apples sitting on the counter, looking suspiciously like they were begging to be eaten.
I didn’t have time to bake. I didn’t have time to cook anything that required an oven, especially since the breaker was still out. So I looked at those apples and thought about the candy bowl on the coffee table. It was overflowing with Halloween leftovers from last year. You know the type—the weird gummies and the chocolate bars that lost their wrappers. I grabbed a pot, dumped in some brown sugar, and started melting. It was chaos, honestly.
The kitchen smelled like burnt sugar for a minute before it turned sweet. I sliced the apples while the caramel bubbled. It wasn’t a planned dinner party. It was a rescue mission. But when we plated those glossy, candy-topped apple slices, the mood shifted. The guys walked in, tired from the drive, and stopped dead in their tracks. They didn’t care about the tripped breaker. They only cared about the snack.
That night, I realized this simple combo of crisp fruit and salty-sweet candy was the perfect solution for unexpected guests. It’s easy, it’s fun, and it tastes like Halloween itself. I’ve made this exact batch of caramel apple slices with Halloween candy toppings every October since. It’s become my go-to for saving the evening when everything goes wrong.
Why You’ll Love This Recipe
Let’s be real for a second. Most caramel apple recipes are a mess. You end up with sticky fingers, hard rock candy that breaks a tooth, and a kitchen that looks like a sugar factory exploded. This version is different because it skips the hard-crack stage entirely. We are making a soft, chewy caramel sauce right on the stovetop. It’s forgiving. If you burn it slightly, you can salvage it. If you undercook it, it’s just a thick syrup.
Here is why this recipe has become a staple in my kitchen:
* **Quick & Easy**: You can have this ready in under 20 minutes. No candy thermometer required. No waiting for hours. It is perfect for busy weeknights or last-minute cravings when you need something sweet fast.
* **Simple Ingredients**: You likely already have everything in your kitchen. Brown sugar, butter, milk, and apples are pantry and fridge staples. The candy toppings are just whatever you have lying around.
* **Perfect for Halloween Parties**: This is the ultimate finger food for fall gatherings. It looks festive, it’s easy to eat while standing around, and it fits the spooky theme perfectly.
* **Crowd-Pleaser**: Kids love the candy, and adults appreciate the tartness of the apple cutting through the sugar. It always gets rave reviews because it feels indulgent but isn’t overly heavy.
* **Unbelievably Delicious**: The texture combo is next-level comfort food. The crunch of the apple against the chewy caramel and the crunch of the candy pieces is satisfying in every bite.
What makes this recipe stand out from the rest is the freedom to use whatever candy you have. Unlike traditional caramel apples that require specific hard candies or chocolates that melt weirdly, this method uses crushed or chopped pieces that adhere to the sticky surface. It’s not just another version of a caramel apple; it’s your best version because it’s less stressful and way more customizable.
This recipe isn’t just good—it is the kind that makes you close your eyes after the first bite. It’s comfort food reimagined—healthier than a full candy bar, faster than baking, but with the same soul-soothing satisfaction. It’s perfect for impressing guests without stress, or turning a simple meal into something memorable. Plus, compared to heavy dishes like our easy sheet pan nachos, this feels lighter and fresher, which is nice when you’re eating all day at a party.
What Ingredients You Will Need
This recipe uses simple, wholesome ingredients to deliver bold flavor and satisfying texture without the fuss. The beauty here is that the caramel base is stable and forgiving, allowing the candy toppings to shine without sliding off. You want apples that are crisp and hold their shape, not mealy ones that turn to mush.
For the caramel sauce, you will need:
* **Brown sugar, packed**: Two cups. This provides the deep molasses flavor that white sugar lacks. I recommend using a high-quality brand like Domino for consistent moisture.
* **Unsalted butter, cubed**: Half a cup. Use real butter, not margarine. The fat content is crucial for that rich, smooth mouthfeel.
* **Heavy cream or whole milk**: Half a cup. Cream makes it richer, but milk works if you want it slightly less heavy. Room temperature is best to prevent curdling.
* **Vanilla extract**: One teaspoon. Added at the end to preserve the flavor.
* **Salt**: Half a teaspoon. Essential to balance the sweetness.
For the apples:
* **Honeycrisp or Fuji apples**: Five medium-sized apples. These varieties are crisp and tart, which pairs perfectly with sweet caramel. Avoid Gala apples as they can get too soft.
* **Lemon juice**: One tablespoon. Squeeze this over the cut apples to prevent browning. It keeps them looking fresh and bright.
* **Toothpicks or popsicle sticks**: For handling and dipping.
For the Halloween candy toppings, get creative:
* **Reese’s Pieces**: A classic choice that adds a nice crunch.
* **Mini M&Ms**: The milk chocolate shell holds up well against the warm caramel.
* **Crushed candy corn**: Use it sparingly for a traditional fall look.
* **White chocolate chips**: Melted slightly to drizzle on top for a spooky design.
* **Sprinkles**: Halloween-themed orange and black sprinkles add visual flair.
If you need to substitute, use almond flour for a gluten-free option if you are adding a crumble topping, though this recipe is naturally gluten-free if your candy brands are safe. Look for firm, small-curd cottage cheese for best texture if you decide to add a cheesecake variation later, but for this basic version, stick to the basics. In summer, swap in fresh berries instead of apples, though the caramel setting time will change.
Equipment Needed
You don’t need fancy gadgets for this. A medium-sized saucepan is the most important tool. I recommend one with a heavy bottom, like stainless steel or copper core, because it distributes heat evenly. This prevents the sugar from burning in spots while remaining raw in others. A silicone spatula is also essential for scraping the bottom of the pan. Metal spoons can scratch non-stick surfaces and don’t scrape as effectively.
You will need a baking sheet lined with parchment paper. This is non-negotiable. The caramel will stick to everything else, and parchment makes cleanup a breeze. If you don’t have parchment, you can use foil, but grease it heavily with butter.
For the candy toppings, a resealable plastic bag and a rolling pin (or a heavy skillet) are useful if you want to crush hard candies. If you are using small candies like M&Ms, you can skip this step. A paring knife is needed for slicing the apples. I prefer a serrated knife for precision, but a standard chef’s knife works fine.
Budget-friendly options include using a regular pot instead of a specialty saucepan. The key is constant stirring, not the tool itself. Maintenance tip: clean your saucepan immediately after use. Once caramel hardens, it is a nightmare to scrub. Soak it in hot soapy water for ten minutes, and it will wipe right off.
Preparation Method
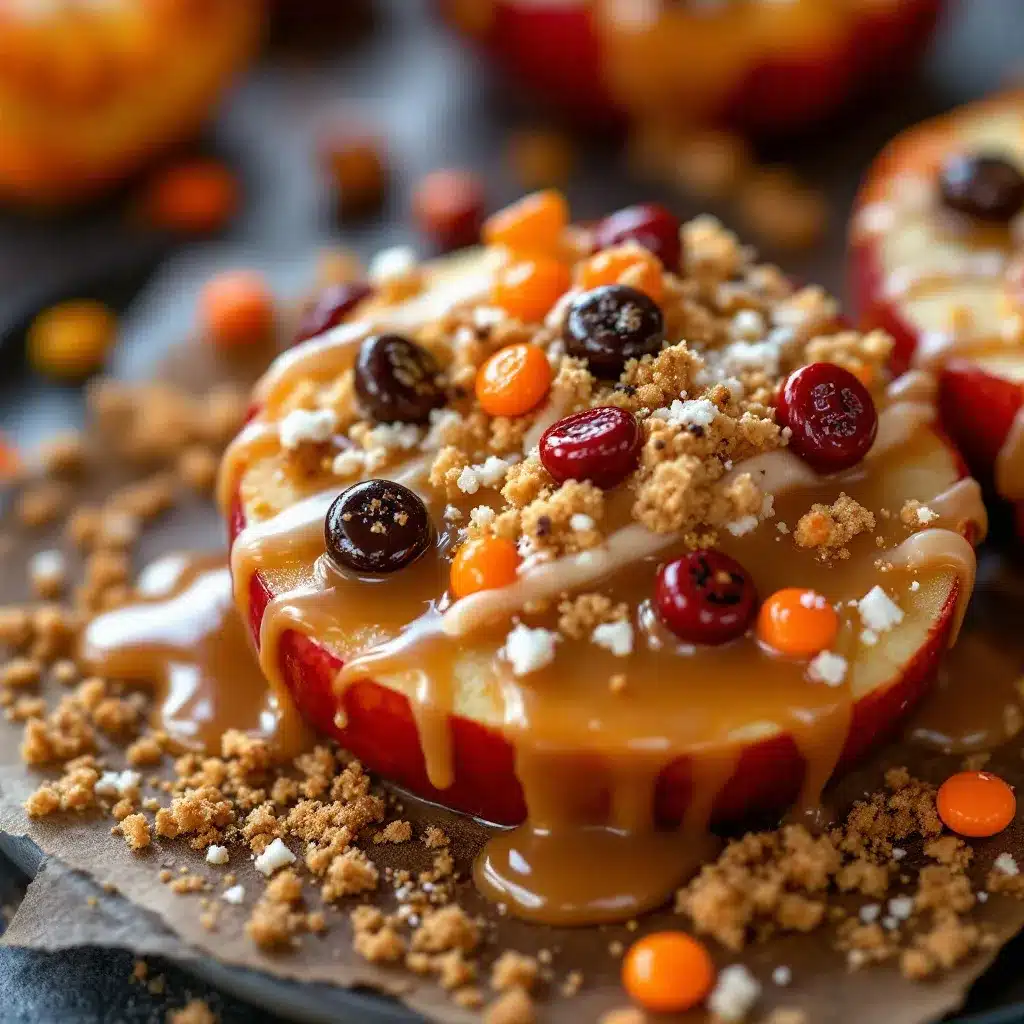
Start by preparing your apples. Wash them thoroughly and dry them completely. Moisture is the enemy of caramel adhesion. If the apples are wet, the caramel will slide right off. Slice them into wedges, about one inch thick. Keep the core intact on each slice so it’s easier to hold. Toss them in the lemon juice to keep them bright. Insert a toothpick or popsicle stick into the bottom of each wedge. Set them aside on a plate.
Next, make the caramel sauce. Grab your medium saucepan and add the brown sugar, butter, and heavy cream. Place the pan over medium heat. Stir constantly with your silicone spatula. This step takes about five to seven minutes. You are looking for the sugar to dissolve and the mixture to come to a gentle boil. Do not let it boil too vigorously, or it will bubble over.
Once it reaches a boil, keep stirring. The mixture will thicken slightly. You want it to coat the back of a spoon. This usually takes another three to four minutes. If you see dark spots on the bottom of the pan, stop immediately. That means it’s burning. Stir well to distribute the heat.
Remove the pan from the heat. Stir in the vanilla extract and salt. The mixture will bubble up aggressively, so be careful. Let it sit for about two minutes. It needs to cool down slightly so it isn’t scalding hot when you dip the apples. This prevents the apples from getting soggy too quickly.
Now, the fun part. Dip each apple wedge into the warm caramel. Hold it by the stick and swirl it around to coat evenly. Let the excess drip off for a few seconds. Don’t rush this, or you’ll end up with a pool of caramel on your plate.
While the caramel is still wet, roll the apple in your chosen candy toppings. Press the candy gently into the caramel so it sticks. Place the coated apple on the parchment-lined baking sheet. Repeat with all the apples. If the caramel starts to harden in the pan, you can return it to low heat for ten seconds to soften it up.
Let the apples set at room temperature for about 15 to 20 minutes. The caramel will firm up and become chewy. Do not refrigerate them yet, as condensation can make them sticky. Once set, they are ready to eat.
How do I keep the caramel from burning?
Use medium heat, not high. Stir constantly, especially around the edges of the pan. If you see the mixture turning dark brown too fast, take it off the heat immediately and stir in the cream to stop the cooking process.
Can I make this ahead of time?
Yes. You can make the caramel sauce up to three days in advance and store it in the fridge. Reheat it gently before dipping. The apples are best eaten the same day, but you can store them in the fridge for up to two days.
Cooking Tips & Techniques
Getting the caramel consistency right is the biggest hurdle. Many people worry about the “soft ball” stage, but for this recipe, you don’t need a thermometer. The visual cues are enough. The sauce should look glossy and thick. If it looks watery, cook it longer. If it looks dark and smells nutty, it’s done.
One common mistake is using cold cream. This can cause the sugar to seize up and become grainy. Always use room temperature or slightly warmed cream. If your caramel does seize, don’t panic. Add a splash of hot water and stir gently over low heat until it smooths out again.
Another tip is to work in batches if you are making a large quantity. The caramel cools quickly, so you don’t want to dip all the apples at once and have the sauce harden in the pan. Keep the pan warm by placing it on a burner set to the lowest possible setting. Stir it every minute to keep it fluid.
I once tried to dip apples in caramel that was too hot. The apples steamed, and the caramel turned into a hard shell that cracked when I bit into it. Letting it cool for two minutes makes a huge difference in texture. You want chewy, not rock-hard.
Multitasking is key here. Have all your candy toppings in small bowls within arm’s reach. Have your dipping apples lined up. Have your baking sheet ready. This recipe moves fast, and you need to be prepared.
For consistency, use the same size apples. This ensures that each slice has a similar ratio of caramel to fruit. If you have very large apples, cut them into fourths instead of wedges.
Variations & Adaptations
This recipe is incredibly flexible. You can adapt it to suit different dietary needs or flavor preferences. Here are a few ideas:
* **Dairy-Free Option**: Swap the butter for coconut oil and the cream for full-fat coconut milk. The flavor will be slightly coconutty, which pairs well with Halloween themes. Use dark chocolate candies to ensure they are dairy-free.
* **Gluten-Free**: Most hard candies and chocolates are naturally gluten-free, but always check the labels. Avoid candies with wheat starch or barley malt. Our easy Halloween charcuterie board often includes similar safe snacks.
* **Low-Sugar**: Use a sugar substitute like erythritol or monk fruit sweetener. Note that these do not caramelize the same way, so the texture will be different. It will be more like a syrup.
* **Flavor Twist**: Add a pinch of cinnamon or nutmeg to the caramel for a spiced apple pie flavor. This goes especially well with the easy homemade crockpot cinnamon applesauce vibe.
* **Savory-Sweet**: Add a drizzle of honey or a sprinkle of sea salt before adding the candy. This balances the sweetness and makes it feel more gourmet.
I once tried using crushed pretzels instead of candy. It was a hit with my husband. The saltiness contrasted with the sweet caramel perfectly. You can also use crushed graham crackers for a s’mores vibe.
For a healthier twist, use Greek yogurt instead of some of the cream, but this changes the texture significantly. It’s better to stick to the traditional ingredients for the best result.
Serving & Storage Suggestions
Serve these caramel apple slices immediately after they have set. They look best when arranged on a platter with a mix of candy toppings. The orange and black colors are festive and eye-catching. Pair them with a cold glass of milk or a hot cup of cider.
If you have leftovers, store them in an airtight container in the refrigerator. Place parchment paper between layers to prevent sticking. They will keep for up to three days. However, the apples will release some moisture over time, which can make the caramel sticky.
To reheat, let them sit at room temperature for 15 minutes. This softens the caramel slightly. Do not microwave them, as this will melt the candy toppings and make a mess.
The flavors develop over time. The caramel becomes slightly chewier as it cools. The apple stays crisp for the first day but may soften after two days. For the best experience, eat them within 24 hours.
These are also great for packing in lunches. They are portable and don’t require reheating. Just keep them in a cool place.
Nutritional Information & Benefits
Each serving provides a good amount of energy from the natural sugars in the fruit and the caramel. Apples are a great source of fiber and vitamin C. The caramel adds calories and sugar, so moderation is key.
For dietary considerations, this recipe is naturally gluten-free if you choose safe candies. It is not low-carb due to the sugar content. However, the fiber in the apple helps slow down sugar absorption.
Potential allergens include dairy (butter, cream) and possibly nuts if you use certain candies. Always check labels.
From a wellness perspective, this is a treat, not a health food. But compared to a candy bar, it has the added benefit of fruit. It’s a balanced indulgence. I try to enjoy these as a special occasion treat rather than a daily snack.
Conclusion
This easy caramel apple slices with Halloween candy toppings recipe is a game-changer for fall entertaining. It’s simple, fun, and delicious. I love making it because it brings back memories of childhood Halloween, but with a twist that feels modern and easy.
I encourage you to customize it with your favorite candies. Don’t be afraid to experiment. Maybe try peanut butter cups or crushed peppermint. The possibilities are endless.
I hope you enjoy making this as much as I do. It’s a recipe that brings people together. If you try it, please leave a comment below and let me know which candy topping you chose. Share your photos on social media and tag me. I love seeing your creations.
Enjoy the process and the sweet results. Happy Halloween!
FAQs
Can I use green apples instead of red ones?
Yes, Granny Smith apples work well. They are tarter, which balances the sweet caramel nicely. Just make sure they are firm and not mealy.
How do I prevent the caramel from sliding off?
Dry the apples thoroughly before dipping. Any moisture will cause the caramel to slide. Also, let the caramel cool slightly so it’s thick but not runny.
Can I freeze these caramel apple slices?
It’s not recommended. The apples will become mushy when thawed. The texture of the caramel will also change. It’s best to eat them fresh.
What if I don’t have heavy cream?
You can use whole milk, but the caramel will be slightly less rich. You may need to cook it a bit longer to thicken. Evaporated milk is also a good substitute.
How long does the caramel stay good?
The caramel sauce can be stored in the fridge for up to a week. Reheat it gently before using. The coated apples are best eaten within 24 hours.
Pin This Recipe!
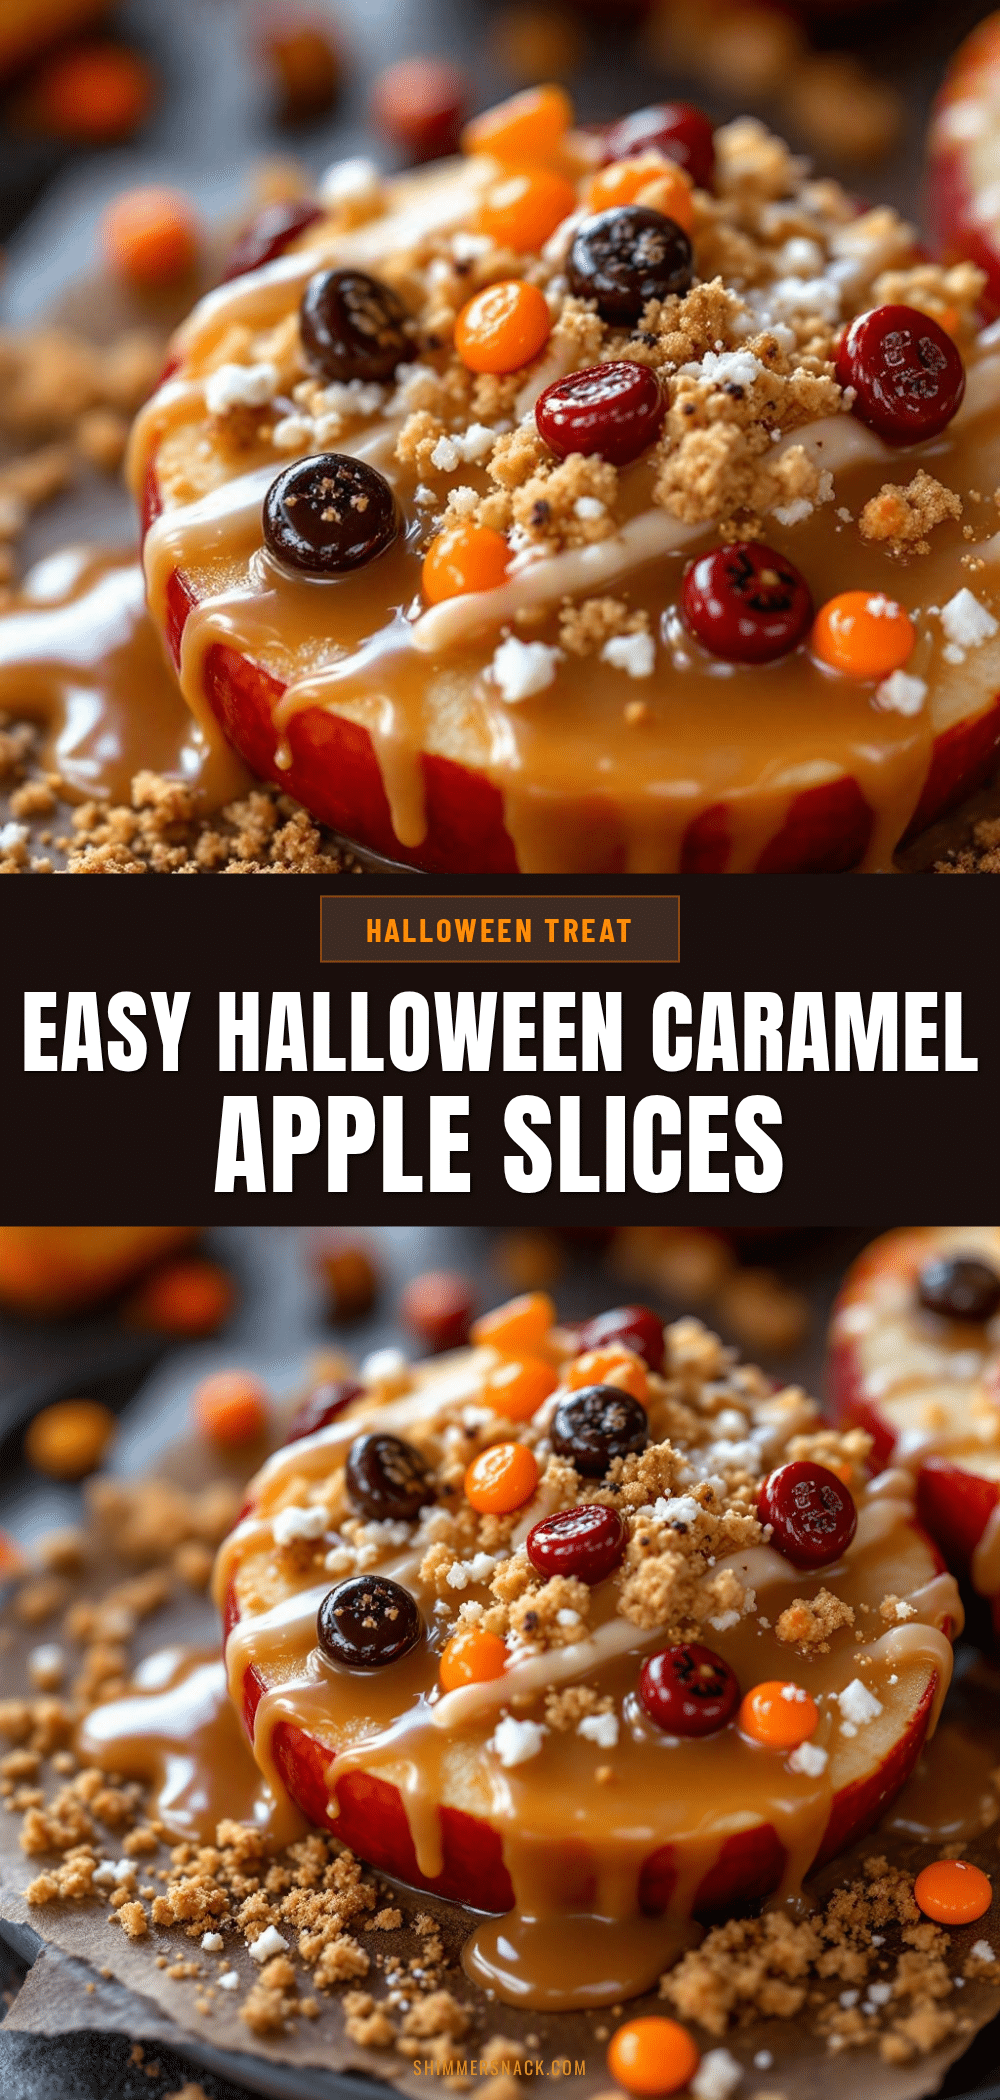
Easy Caramel Apple Slices: 5 Best Halloween Candy Toppings

A quick, stovetop caramel sauce made with brown sugar and butter, poured over crisp apple wedges and topped with Halloween candies for a festive, no-bake treat.
- Prep Time: 10 minutes
- Cook Time: 10 minutes
- Total Time: 20 minutes
- Yield: 5 servings 1x
- Category: Dessert
- Cuisine: American
Ingredients
- 2 cups packed brown sugar
- 1/2 cup unsalted butter, cubed
- 1/2 cup heavy cream or whole milk, room temperature
- 1 teaspoon vanilla extract
- 1/2 teaspoon salt
- 5 medium Honeycrisp or Fuji apples
- 1 tablespoon lemon juice
- Toothpicks or popsicle sticks
- Halloween candy toppings (e.g., Reese’s Pieces, Mini M&Ms, crushed candy corn, white chocolate chips, sprinkles)
Instructions
- Wash and dry apples thoroughly. Slice into 1-inch wedges, keeping the core intact on each slice. Toss with lemon juice to prevent browning. Insert toothpicks or sticks into the bottom of each wedge.
- Line a baking sheet with parchment paper.
- In a medium heavy-bottomed saucepan, combine brown sugar, butter, and heavy cream over medium heat.
- Stir constantly with a silicone spatula for 5-7 minutes until the sugar dissolves and the mixture comes to a gentle boil.
- Continue stirring for another 3-4 minutes until the mixture thickens and coats the back of a spoon. Do not let it boil vigorously.
- Remove from heat and stir in vanilla extract and salt. Let cool for 2 minutes.
- Dip each apple wedge into the warm caramel, swirling to coat evenly. Let excess drip off.
- While the caramel is wet, roll the apple in chosen candy toppings, pressing gently to adhere.
- Place coated apples on the parchment-lined baking sheet.
- Let set at room temperature for 15-20 minutes until the caramel firms up.
- Serve immediately or store in an airtight container in the refrigerator for up to 3 days.
Notes
Ensure apples are completely dry before dipping to prevent caramel from sliding off. Use room temperature cream to prevent seizing. If caramel hardens in the pan, reheat gently on low heat. Do not refrigerate immediately after dipping to avoid condensation making them sticky.
Nutrition
- Serving Size: 1 apple wedge
- Calories: 280
- Sugar: 38
- Sodium: 150
- Fat: 12
- Saturated Fat: 7
- Carbohydrates: 42
- Fiber: 2
- Protein: 2
Keywords: Halloween dessert, caramel apples, no bake treats, easy party snacks, fall recipes, candy toppings, stovetop caramel


