Love this? Save it for later!
Share the inspiration with your friends
That text message popped up on my phone at 4:30 PM on a Tuesday. It was from my sister-in-law, who was hosting a last-minute baby shower for her cousin. She was stressed, running around in circles, and had zero time to bake. She didn’t want a heavy, flour-heavy cake that would make everyone sleepy. She wanted something fun, light, and undeniably delicious. Honestly, I laughed because I knew exactly what she needed. I told her to stop worrying and look in my pantry, because I was about to send her a five-ingredient miracle that would save her afternoon.
This is the story behind my go-to Creamy No-Bake Birthday Cake Batter Dip. It wasn’t born in a fancy kitchen or tested for months. It was born out of necessity and a shared craving for that specific, nostalgic flavor of yellow cake mix with sprinkles. You know the taste? That sweet, vanilla-forward hug in a bowl. I’ve made this dip for everything from toddler parties to office potlucks, and it never fails to get people talking. It’s the kind of recipe that feels like cheating, but it’s actually just smart cooking. No oven required, no mess, and it comes together in the time it takes to boil water for pasta.
The best part? It’s incredibly forgiving. If you’re not a fan of sprinkles, skip them. If you want it richer, add a bit more cream cheese. It adapts to whatever you have on hand. I remember making a batch for a summer BBQ last year. The sun was beating down, and everyone was looking for something cool and refreshing. This dip, served chilled with graham crackers or fresh fruit, was a hit. People kept coming back for seconds, asking if I had a secret ingredient. I just smiled and told them the secret was zero effort. It’s that simple, yet it delivers that big-party flavor we all love. It’s not just a dip; it’s a mood lifter.
Over the years, I’ve tweaked the ratios to get that perfect consistency—thick enough to hold its shape, but creamy enough to scoop easily. You’ll find my notes on exactly how to achieve that texture below. This recipe has stuck with me because it solves a real problem: how to get a sweet, celebratory treat on the table without the stress. It’s reliable, tasty, and always a crowd-pleaser. Let’s face it, life is busy enough. We shouldn’t need a degree in pastry arts to make something people enjoy. This dip proves that sometimes, the simplest things are the best. And honestly, the smell of vanilla and cream cheese is just pure comfort.
Why You’ll Love This Recipe
There is a special kind of magic in a recipe that respects your time while delivering restaurant-quality results. This Creamy No-Bake Birthday Cake Batter Dip isn’t just another dessert; it’s a testament to smart, efficient cooking. I’ve tested this version multiple times, adjusting the sweetness and texture until it was perfect. The result is a dip that is incredibly versatile and easy to make. Here is why it stands out from the crowd:
- Quick & Easy: This comes together in under 10 minutes. Seriously, you can have it ready before your oven preheats. It’s perfect for busy weeknights or when you need a last-minute treat for unexpected guests.
- Simple Ingredients: You likely already have everything in your kitchen. Cream cheese, butter, vanilla, cake mix, and sprinkles. No fancy grocery trips needed. It uses pantry staples that you probably already own.
- Perfect for Parties: Whether it’s a birthday, a baby shower, or just a cozy Friday night, this dip fits any occasion. It’s also great for potlucks because it travels well and doesn’t require reheating.
- Crowd-Pleaser: Kids love the sprinkles, and adults love the creamy texture. It gets rave reviews from everyone. It’s the kind of dessert that disappears fast.
- Unbelievably Delicious: The combination of tangy cream cheese and sweet vanilla cake mix creates a flavor profile that is next-level comfort food. It’s rich, sweet, and satisfying.
What makes this recipe different is the balance. Many no-bake dips are too sweet or too dense. By using cream cheese as the base, you get a tangy contrast that cuts through the sugar. It feels indulgent but not heavy. I’ve also found that using a high-quality yellow cake mix makes a huge difference in flavor. It’s not just about convenience; it’s about getting that authentic birthday cake taste without the work. This isn’t just a dip—it’s the kind of treat that makes you close your eyes after the first bite. It’s comfort food reimagined for the modern kitchen.
What Ingredients You Will Need
This recipe relies on simple, wholesome ingredients to deliver bold flavor and satisfying texture without the fuss. You don’t need specialty items or hard-to-find stores. Most of these are pantry staples. The key is quality. Using good cream cheese and a decent cake mix will elevate the final result significantly. Here is exactly what you need to make this Creamy No-Bake Birthday Cake Batter Dip.
- Full-Fat Cream Cheese (8 oz, softened): This is the base. Do not use light cream cheese; it will be too watery and won’t hold its shape. I recommend brands like Philadelphia for their consistent texture. Make sure it is fully softened to room temperature so there are no lumps.
- Unsalted Butter (1/2 cup, softened): Adds richness and helps create a smooth, creamy consistency. Using unsalted butter allows you to control the saltiness. If you only have salted butter, reduce any added salt in other steps.
- Yellow Cake Mix (1 cup, dry): This is the star of the show. Use a standard box mix like Duncan Hines or Betty Crocker. Do not bake it first; use it dry. The dry mix provides the cake flavor and structure.
- Vanilla Extract (1 teaspoon): Enhances the overall flavor profile. Use pure vanilla extract, not imitation, for the best taste. It adds that classic bakery smell.
- Vanilla Pudding Mix (1 small box, dry): This is the secret ingredient for extra creaminess and thickness. It helps bind the dip and gives it a custard-like texture. I prefer Jell-O instant pudding mix for this.
- Funfetti Sprinkles (1/4 cup): For that classic birthday cake look. You can use rainbow jimmies or nonpareils. These add a fun crunch and visual appeal. You can also mix some into the dip and save some for topping.
- Heavy Cream (2 tablespoons, optional): If the dip is too thick, add a splash of heavy cream to loosen it up. This is useful if you plan to use it as a dip for fruits or cookies.
For substitutions, you can use dairy-free cream cheese and butter if needed, though the texture might be slightly different. If you want a lower-sugar option, look for sugar-free cake mix, but the flavor profile will change. The dry pudding mix is essential for the right consistency, so don’t skip it unless you are making a very small batch. These ingredients work together to create a dip that is smooth, sweet, and perfectly balanced.
Do I need to bake the cake mix?
No, absolutely not. The cake mix is used dry. This is what makes the recipe so quick and easy. If you bake it, you lose the convenience and the unique texture of the dip.
Can I use light cream cheese?
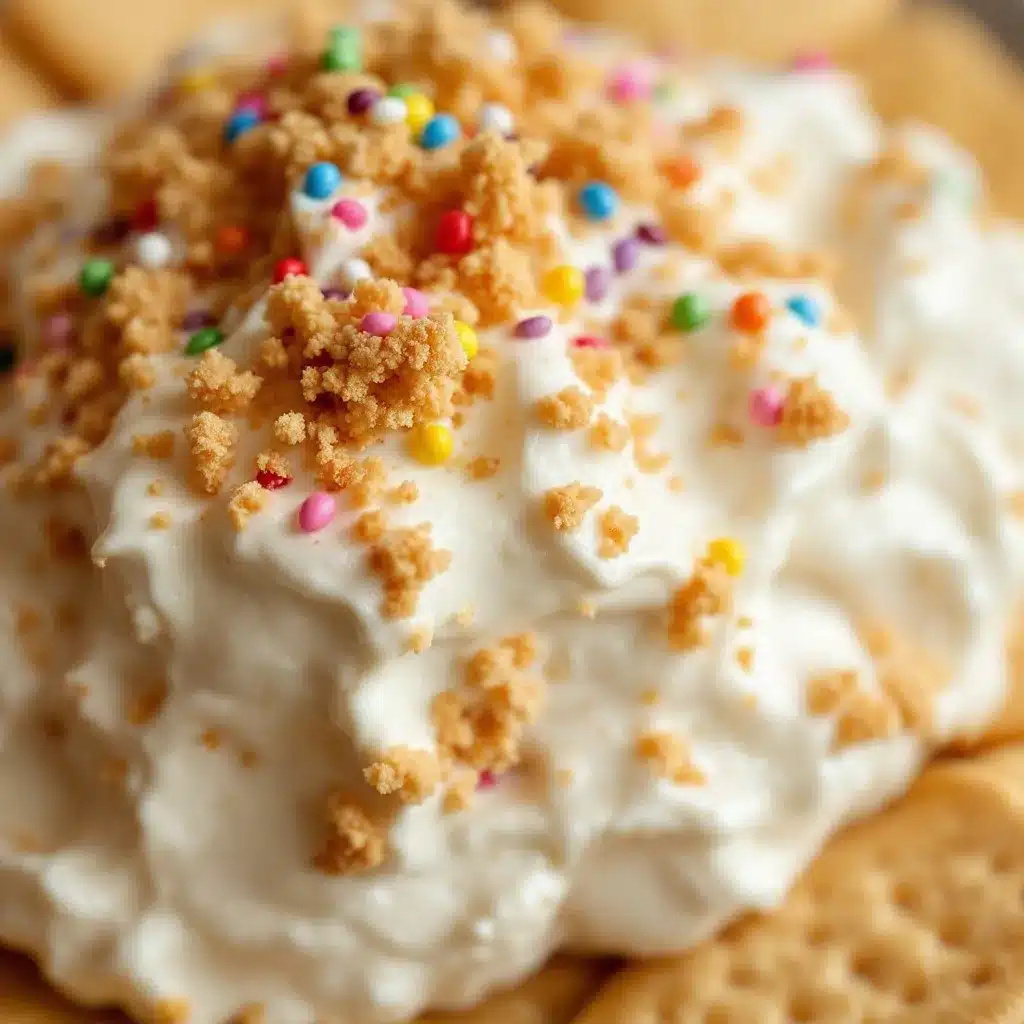
I don’t recommend it. Light cream cheese has more water and less fat, which can make the dip runny and less flavorful. Full-fat cream cheese ensures a thick, rich consistency.
Equipment Needed
You don’t need a lot of fancy tools to make this dip. A few basic kitchen items will do the job perfectly. Having the right equipment makes the process smoother and ensures a lump-free texture.
- Electric Hand Mixer or Stand Mixer: This is the most important tool. Mixing by hand is possible but very tiring. An electric mixer ensures the cream cheese and butter are smooth and creamy. I use a hand mixer for quick batches.
- Mixing Bowl (Large): Use a bowl that is large enough to accommodate all ingredients without spilling. A bowl with a pouring spout is helpful if you need to add liquid.
- Spatula: A rubber spatula is useful for scraping down the sides of the bowl to ensure everything is incorporated. It also helps when folding in the sprinkles.
- Measuring Cups and Spoons: Precision matters, especially with dry ingredients. Use standard measuring cups for the cake mix and pudding mix.
- Serving Bowl: A nice glass or ceramic bowl for serving. Clear glass shows off the colorful sprinkles nicely.
If you don’t have an electric mixer, you can use a whisk, but it will take more effort. Make sure your cream cheese is very soft to help it mix evenly. For specialty equipment, a food processor can also be used to get an ultra-smooth texture, but a mixer is usually sufficient. Keep your equipment clean and dry to prevent any issues with the cream cheese.
Preparation Method
Making this dip is straightforward, but there are a few key steps to ensure it turns out perfectly. Follow these instructions carefully for the best results. The whole process takes about 10-15 minutes.
- Soften the Cream Cheese: Start by taking your cream cheese out of the fridge at least 30 minutes before you start. It needs to be soft to the touch. If it’s too cold, it will be hard to mix and you’ll end up with lumps. Cut it into cubes to help it soften faster.
- Beat the Cream Cheese and Butter: In a large mixing bowl, add the softened cream cheese and softened butter. Using an electric mixer on medium speed, beat them together until they are completely smooth and creamy. This should take about 2-3 minutes. Scrape down the sides of the bowl with a spatula to ensure even mixing.
- Add Vanilla Extract: Pour in the vanilla extract and mix for another 30 seconds. This distributes the flavor evenly throughout the base.
- Incorporate Dry Ingredients: Add the dry yellow cake mix and the dry vanilla pudding mix. Start mixing on low speed to avoid creating a cloud of flour. Once the dry ingredients are mostly combined, increase the speed to medium and beat for another 2-3 minutes. The mixture will become thick and creamy.
- Add Sprinkles: Fold in the funfetti sprinkles using a spatula. Be gentle so you don’t crush the sprinkles. You can save a few for topping later if you want.
- Chill the Dip: Cover the bowl with plastic wrap and refrigerate for at least 30 minutes. This helps the dip set and the flavors meld together. It also makes it easier to scoop and serve.
- Serve: Transfer the dip to a serving bowl. Top with extra sprinkles if desired. Serve with graham crackers, pound cake cubes, or fresh fruit. Enjoy!
If the dip is too thick after chilling, you can add a tablespoon of heavy cream or milk to thin it out. Mix well until you reach your desired consistency. Remember, the dip will thicken more as it sits in the fridge, so keep that in mind when adjusting.
What if the dip is too sweet?
If you find it too sweet, you can add a small amount of lemon juice or zest to balance it out. The acidity cuts the sweetness nicely.
Can I make this ahead of time?
Yes, this dip can be made up to 2 days in advance. Store it in an airtight container in the fridge. It actually tastes better after the flavors have had time to meld.
Cooking Tips & Techniques
To get the best results with your Creamy No-Bake Birthday Cake Batter Dip, keep these tips in mind. I’ve learned a few things the hard way, and I want to help you avoid the same mistakes.
- Room Temperature is Key: Never skip the step of softening the cream cheese. Cold cream cheese leads to lumps that are impossible to fix without overmixing. Let it sit on the counter for at least 30 minutes.
- Don’t Overmix: Once you add the dry ingredients, mix just until combined. Overmixing can incorporate too much air, making the dip fluffy but less dense. You want a rich, creamy texture.
- Quality Ingredients Matter: Since there are so few ingredients, their quality shines through. Use real butter and good vanilla extract. Cheap ingredients will result in a flat-tasting dip.
- Chill Time: Don’t rush the chilling process. Letting the dip sit in the fridge allows the cake mix to absorb moisture, creating a thicker, more cohesive dip. It’s worth the wait.
- Adjust Consistency: If you plan to dip fruits, you might want a thinner consistency. Add milk or cream one tablespoon at a time until it reaches your preferred texture. If you’re dipping pound cake, keep it thick.
I once tried making this with whipped cream instead of cream cheese. It was a disaster—it was too airy and fell apart. Stick to the recipe for the best results. Also, be careful with the sprinkles. If you use large nonpareils, they might sink to the bottom. Jimmies tend to stay suspended better.
Variations & Adaptations
This recipe is a great base for experimentation. Here are a few variations you can try to customize the flavor.
- Red Velvet: Swap the yellow cake mix for red velvet cake mix. You can add a few drops of red food coloring if the mix isn’t vibrant enough. This adds a beautiful color and a slight cocoa flavor.
- Chocolate: Use chocolate cake mix for a richer, more decadent dip. This is perfect for chocolate lovers. You can also add chocolate chips for extra texture.
- Gluten-Free: Use a gluten-free yellow cake mix. Most major brands offer gluten-free options. Ensure your pudding mix is also gluten-free if needed.
- Dairy-Free: Use dairy-free cream cheese and butter. The texture might be slightly different, but it will still be delicious. Add a bit more vanilla to compensate for any flavor loss.
- Fresh Fruit Twist: Fold in some fresh strawberries or blueberries for a fruity variation. This adds a fresh contrast to the sweet dip.
I’ve also tried adding a layer of cream cheese frosting on top for a more cake-like experience. It’s a nice touch for special occasions. Feel free to adjust the sweetness based on your preference. These variations make the recipe even more versatile.
Can I use homemade cake mix?
Yes, you can use homemade yellow cake mix, but you may need to adjust the quantity. Homemade mixes can vary in density. Start with a little less and add more until you reach the desired consistency.
Is this dip keto-friendly?
Not in its original form. The cake mix and pudding mix contain sugar. You can make a keto version by using almond flour and a sugar-free sweetener, but the texture will be different.
Serving & Storage Suggestions
Serving this dip is easy and fun. Here are some ideas for presentation and storage.
- Serving Suggestions: Serve with graham crackers, pound cake cubes, angel food cake, or fresh fruit like strawberries and bananas. You can also serve it with cookies or pretzels for a sweet and salty contrast.
- Presentation: Transfer the dip to a clear glass bowl to show off the colorful sprinkles. Top with a few extra sprinkles for a festive look. You can also drizzle with white chocolate for a fancy touch.
- Storage: Store leftover dip in an airtight container in the refrigerator for up to 3 days. The flavors will continue to meld, so it may taste even better the next day.
- Reheating: This dip is best served cold. Do not reheat it, as the texture will change. If it thickens too much in the fridge, let it sit at room temperature for 10 minutes before serving.
- Freezing: This dip does not freeze well. The texture of the cream cheese can become grainy after thawing. It’s best enjoyed fresh.
I like to serve this dip at room temperature for parties, but I always keep it chilled until the last moment. This ensures it stays fresh and safe to eat. It’s a great make-ahead dessert that saves time on the day of the event.
Nutritional Information & Benefits
While this dip is a treat, it’s good to know what you’re eating. Here is an approximate nutritional breakdown per serving (assuming 8 servings).
- Calories: Approximately 250-300 calories per serving.
- Fat: High in fat due to cream cheese and butter. It provides a rich, satisfying mouthfeel.
- Carbohydrates: Contains sugar from the cake mix and pudding mix. It’s a sweet indulgence.
- Protein: Moderate protein content from the cream cheese.
This dip is not a health food, but it can be part of a balanced diet when enjoyed in moderation. It’s a great way to satisfy a sweet tooth without baking a whole cake. For those with dietary restrictions, note that it contains dairy and gluten. You can use gluten-free and dairy-free alternatives as mentioned in the variations section. Personally, I love this dip because it’s a nostalgic treat that brings back happy memories of birthday parties. It’s a small indulgence that makes a big impact.
Conclusion
This Creamy No-Bake Birthday Cake Batter Dip is a game-changer for anyone who loves dessert but hates the hassle. It’s quick, easy, and incredibly delicious. I hope you try this recipe and enjoy it as much as I do. It’s perfect for parties, gatherings, or just a quiet night in. Feel free to customize it with your favorite mix-ins and toppings. I’d love to hear how you make it your own. Please leave a comment below with your favorite variation or serving idea. Share this recipe with your friends and family who need a sweet treat. Thank you for reading, and happy dipping!
FAQs
Can I use a different flavor of cake mix?
Yes, you can use any flavor of cake mix you like. Red velvet, chocolate, or funfetti all work well. Just adjust the sprinkles to match the flavor.
Why is my dip too runny?
If your dip is too runny, it might be because the cream cheese was too warm or you added too much liquid. Chill it for a longer period to help it set. You can also add a bit more dry cake mix to thicken it.
Can I make this dip without a mixer?
It is difficult to get a smooth texture without a mixer. If you must use a whisk, make sure the cream cheese is very soft and whisk vigorously. A hand mixer is highly recommended.
How long does this dip last in the fridge?
This dip lasts for up to 3 days in the refrigerator. Make sure to store it in an airtight container to prevent it from drying out.
What can I dip in this besides cake?
You can dip graham crackers, pound cake, angel food cake, strawberries, bananas, cookies, and pretzels in this dip. It’s very versatile.
Pin This Recipe!
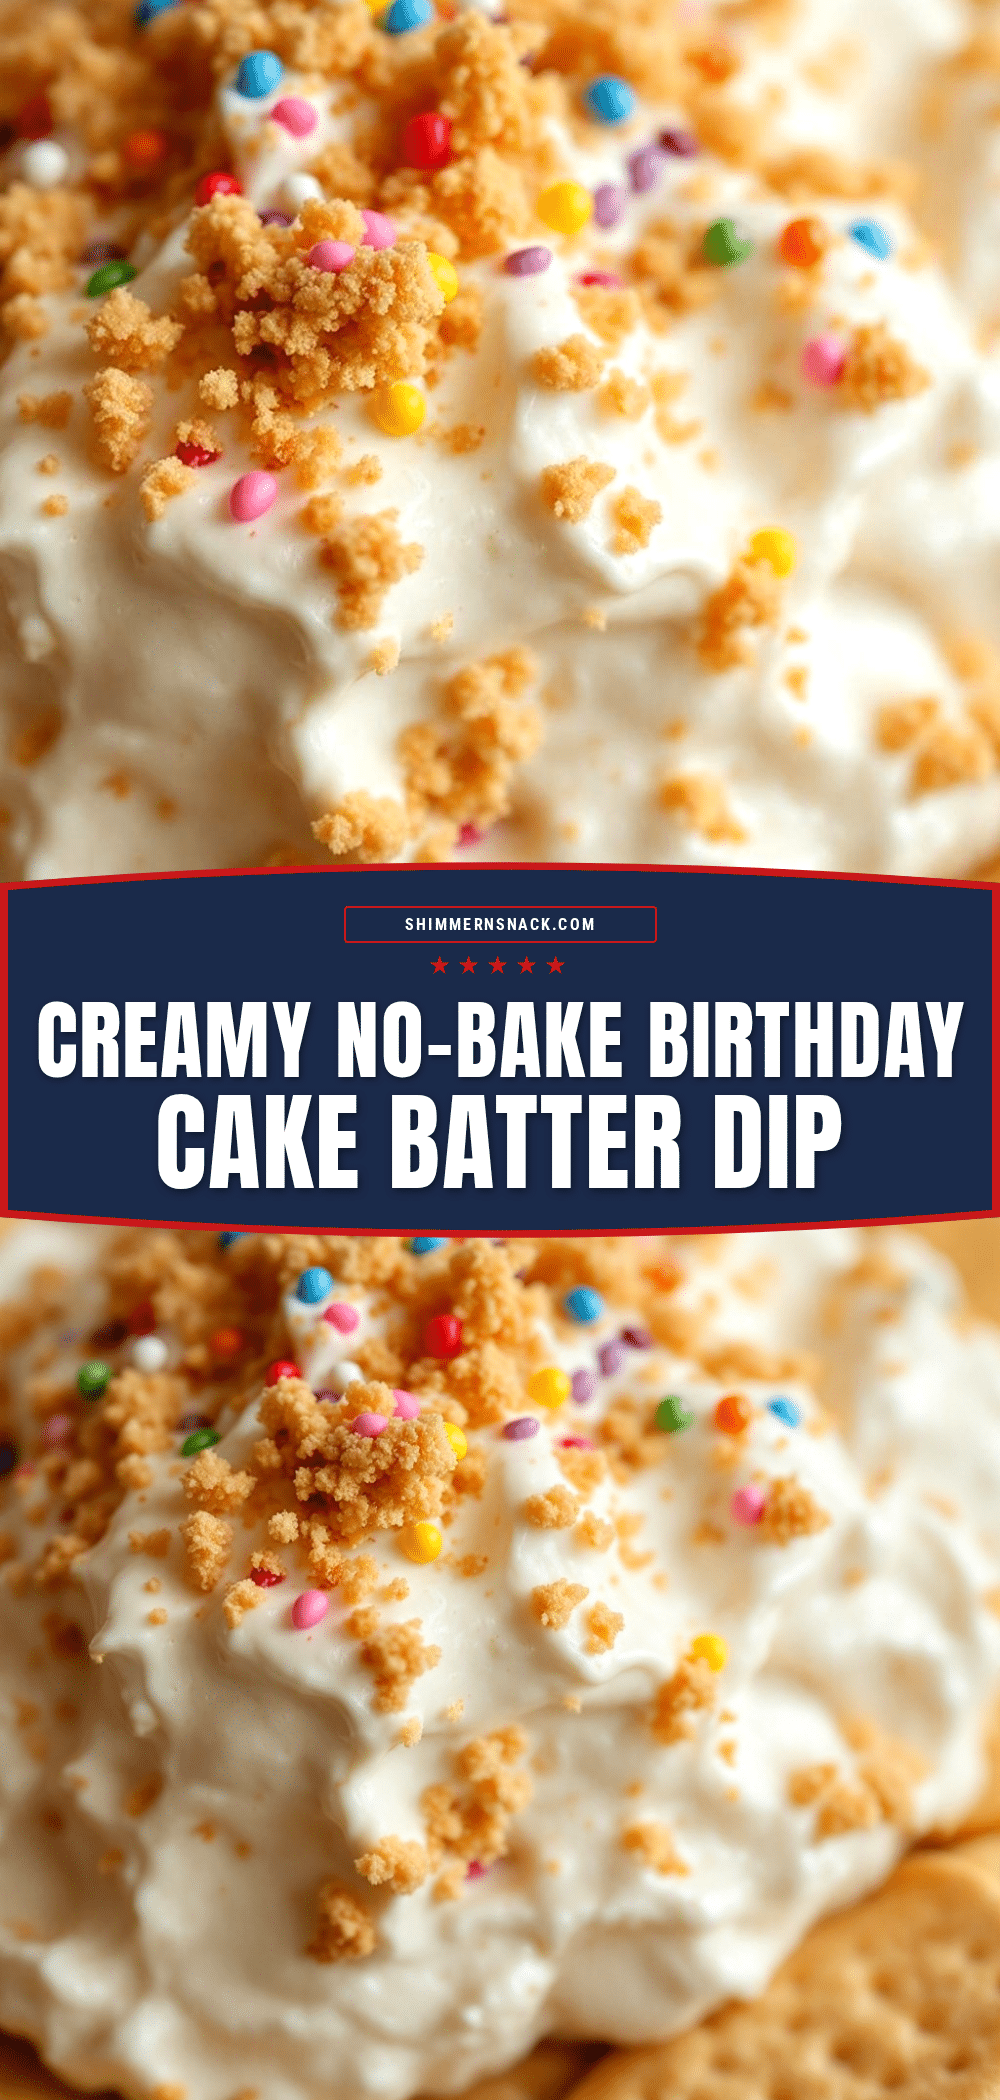
Creamy No-Bake Birthday Cake Batter Dip
A quick, no-bake dessert dip made with cream cheese, butter, and yellow cake mix. It offers the nostalgic taste of birthday cake batter with a creamy, tangy texture, ready in under 10 minutes.
- Prep Time: 10 minutes
- Cook Time: 0 minutes
- Total Time: 40 minutes
- Yield: 8 servings 1x
- Category: Dessert
- Cuisine: American
Ingredients
- 8 oz full-fat cream cheese, softened
- 1/2 cup unsalted butter, softened
- 1 cup dry yellow cake mix
- 1 teaspoon vanilla extract
- 1 small box (approx. 3.4 oz) dry vanilla pudding mix
- 1/4 cup funfetti sprinkles
- 2 tablespoons heavy cream (optional, for consistency)
Instructions
- Soften the cream cheese at room temperature for at least 30 minutes.
- In a large mixing bowl, beat the softened cream cheese and butter together with an electric mixer on medium speed until smooth and creamy (2-3 minutes). Scrape down the sides.
- Add the vanilla extract and mix for 30 seconds.
- Add the dry yellow cake mix and dry vanilla pudding mix. Mix on low speed initially to avoid dust, then increase to medium and beat for 2-3 minutes until thick and creamy.
- Gently fold in the funfetti sprinkles using a spatula.
- Cover the bowl and refrigerate for at least 30 minutes to allow the dip to set and flavors to meld.
- Transfer to a serving bowl, top with extra sprinkles if desired, and serve with graham crackers, pound cake, or fresh fruit.
Notes
Ensure cream cheese is fully softened to avoid lumps. Do not bake the cake mix; use it dry. The dip can be made up to 2 days in advance. If the dip is too thick after chilling, add heavy cream or milk one tablespoon at a time to thin it out. Do not freeze as the texture may become grainy.
Nutrition
- Serving Size: 1/8 of the batch
- Calories: 275
- Sugar: 14
- Sodium: 250
- Fat: 22
- Saturated Fat: 13
- Carbohydrates: 18
- Protein: 4
Keywords: no-bake dip, birthday cake batter, cream cheese dip, party dessert, quick dessert, funfetti dip, baby shower food


