Love this? Save it for later!
Share the inspiration with your friends
I burnt my first batch of chili cheese fries so badly the smoke alarm went off, and I still ate them. That was about eight years ago, in a tiny apartment kitchen with a wonky oven and no business attempting anything more complicated than toast. The fries were charcoal on the bottom, the cheese was a rubbery skin, and the chili—well, the chili was actually fine, which is the only reason I tried again. I kept making them, tweaking one thing at a time, because the idea of them—crispy, salty fries under a blanket of rich, meaty chili and melted cheese—felt too good to give up on. I wanted the version that tasted like the ones from the dusty roadside diner I stopped at once outside of Austin, where the waitress called me “hon” and the fries came in a metal tray big enough to share with four people. I didn’t get it right for a long time. But I got obsessed with figuring it out.
This recipe is that obsession paying off. It is the kind of dish you make when you want something that feels like a reward, not a project. A pile of fries that are actually crunchy, a chili that is thick enough to cling to every single fry, and a cheese situation that melts into all the nooks and crannies without turning into a greasy mess. I stopped trying to make it pretty a long time ago. These are meant to be eaten with a fork, or your hands, or whatever gets the job done. They are honest food, and I think you are going to love them.
Why You’ll Love This Recipe
I have tested this recipe more times than I care to count, and I can tell you exactly why it works. It is built on a few simple tricks I learned the hard way—like par-cooking the fries in a vinegar bath for extra crunch, and letting the chili simmer long enough for the flavors to really get to know each other. This isn’t just another recipe thrown together. It is developed, tested, and approved by everyone I have fed it to, including my neighbor who is a former line cook and does not hand out compliments easily.
- Quick & Easy: The whole thing comes together in about 45 minutes, which is fast for something that tastes like it simmered all day. Perfect for a weeknight when you need comfort food fast.
- Simple Ingredients: No fancy grocery trips. Ground beef, canned tomatoes, pantry spices, frozen fries, and cheese. You probably have most of it already.
- Perfect for Game Day: This is the dish that disappears first at any gathering. It is hearty, shareable, and pairs perfectly with a cold beer and a big game on TV. I often make a batch alongside my best buffalo chicken football dip for a spread that nobody can resist.
- Crowd-Pleaser: Kids love it. Adults love it. I have yet to meet someone who turned down a plate of these fries.
- Unbelievably Delicious: The texture combo is what gets me every time. Crispy fries, tender chili, gooey cheese, and a little pop of fresh jalapeño on top. It is next-level comfort food.
What makes this recipe different from the rest is the chili. I spent a long time trying to figure out why my chili always tasted flat. The answer was patience and a little bit of coffee. A splash of strong brewed coffee adds a depth that makes people ask, “What is in this?” It is not enough to taste like coffee, just enough to make everything else taste more like itself. This is my best version, and I am not holding anything back.
What Ingredients You Will Need
This recipe uses straightforward ingredients to build big flavor. The magic is in how they come together, not in a long list of obscure items. Here is everything you need, broken down by component.
For the Chili
- 1 lb ground beef (80/20 is ideal—the fat adds flavor and richness)
- 1 tablespoon vegetable oil (or any neutral oil for browning)
- 1 medium yellow onion, diced (about 1 cup)
- 3 cloves garlic, minced (fresh is non-negotiable here)
- 1 can (15 oz) diced tomatoes (fire-roasted if you can find them, for a smoky note)
- 1 can (8 oz) tomato sauce
- 2 tablespoons chili powder (I prefer Gebhardt for a true Texas-style flavor)
- 1 teaspoon ground cumin
- 1 teaspoon smoked paprika
- 1/2 teaspoon cayenne pepper (adjust to your heat preference)
- 1/2 teaspoon salt (plus more to taste)
- 1/4 teaspoon black pepper
- 1/4 cup strong brewed coffee (or water, but coffee is better)
- 1 tablespoon tomato paste (adds thickness and umami)
For the Fries
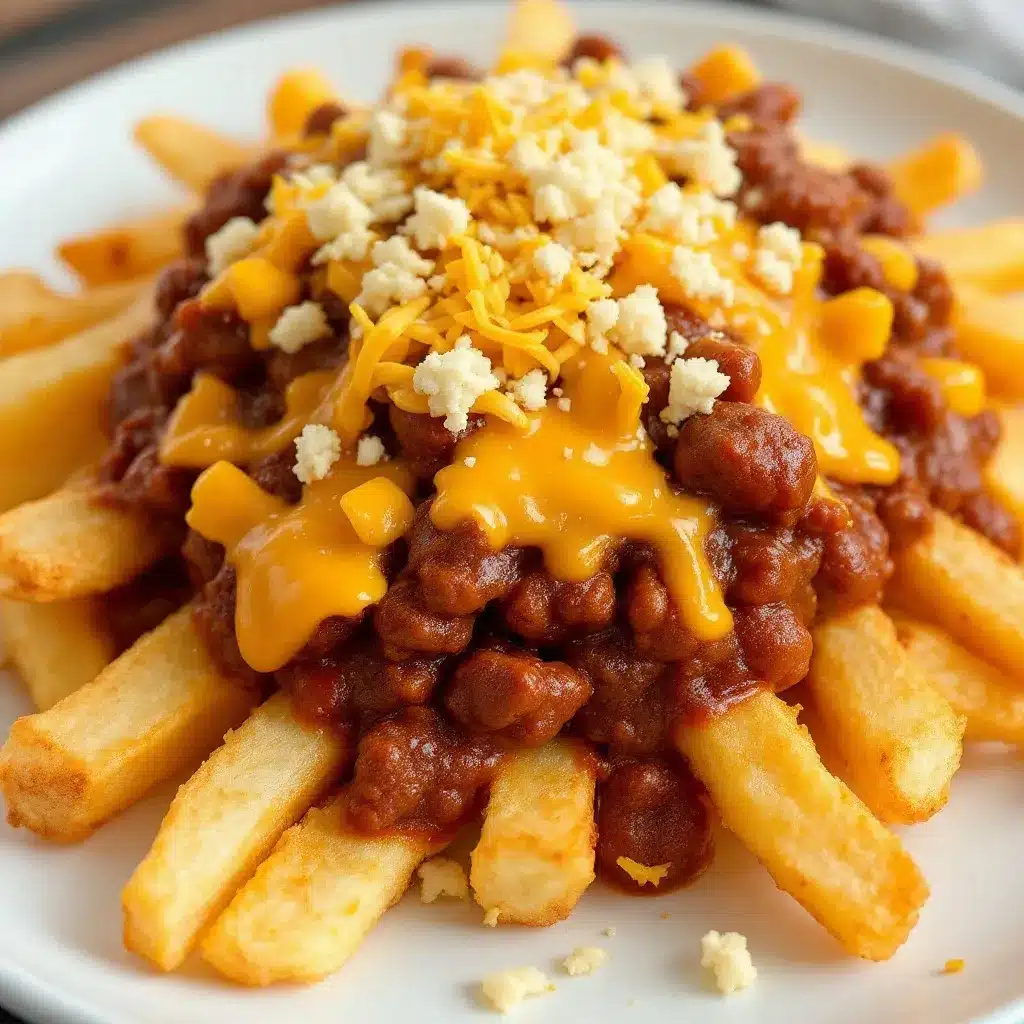
- 1 bag (28 oz) frozen shoestring fries (or crinkle-cut, your call—I like shoestring for maximum crunch)
- 1 tablespoon olive oil (for tossing, helps them crisp up)
- Salt to taste
For the Topping
- 2 cups shredded sharp cheddar cheese (shred it yourself—pre-shredded has anti-caking agents that mess with melting)
- 1/2 cup pickled jalapeños (drained, for that vinegary kick)
- 1/4 cup sour cream (optional, but highly recommended)
- 2 green onions, sliced (for freshness and color)
I like to use H-E-B brand diced tomatoes when I can get them—they are consistently good and not too watery. For the chili powder, I have tried a dozen brands, and Gebhardt is the one I always come back to. It has a warmth that does not overpower. If you want to swap the ground beef for ground turkey, go for it, but add a tablespoon of olive oil to the pan since turkey is leaner and can dry out.
Equipment Needed
- Large rimmed baking sheet (for the fries—half-sheet size is perfect)
- Large skillet or Dutch oven (for the chili, at least 4 quarts)
- Wooden spoon or spatula (for breaking up the beef)
- Chef’s knife and cutting board
- Box grater (for shredding cheese—skip the pre-shredded stuff)
- Measuring spoons and cups
- Small bowl (for mixing spices if you want to get organized)
I use my old cast iron skillet for the chili because it holds heat so well, but any heavy-bottomed pot works. If you do not have a baking sheet big enough to spread the fries in a single layer, use two smaller ones. Overcrowding is the enemy of crispiness. Also, a microplane is great for mincing garlic, but a sharp knife does the job just fine.
Preparation Method
Let us get cooking. I have broken this down into clear steps so you can follow along without any guesswork. Trust the process, and do not skip the coffee.
Step 1: Start the Chili
Heat the vegetable oil in a large skillet or Dutch oven over medium-high heat. Add the ground beef and cook, breaking it up with a wooden spoon, until it is browned all over—about 6 to 8 minutes. Do not drain all the fat; leave about a tablespoon in the pan for flavor. If there is more than that, tilt the pan and spoon off the excess.
Step 2: Build the Aromatics
Reduce the heat to medium. Add the diced onion and cook for 3 to 4 minutes, until it softens and starts to turn translucent. Stir in the minced garlic and cook for another 30 seconds, until it smells amazing. Do not let the garlic burn, or it will turn bitter.
Step 3: Add the Spices and Tomatoes
Stir in the chili powder, cumin, smoked paprika, cayenne, salt, and black pepper. Let the spices toast for about 1 minute, stirring constantly. This wakes them up and makes them more fragrant. Then add the diced tomatoes, tomato sauce, and tomato paste. Stir everything together, scraping up any browned bits from the bottom of the pan.
Step 4: Simmer with Coffee
Pour in the brewed coffee and bring the chili to a gentle simmer. Reduce the heat to low and let it cook uncovered for 20 minutes, stirring occasionally. The chili should thicken and deepen in color. If it looks too thick at any point, add a splash of water. Taste it and adjust the salt or heat as needed. This is where patience pays off.
Step 5: Bake the Fries
While the chili simmers, preheat your oven to 425°F. Spread the frozen fries on a large rimmed baking sheet in a single layer. Drizzle with olive oil and toss to coat. Bake according to the package directions, but add 2 to 3 extra minutes for extra crispiness. For shoestring fries, that is usually about 18 to 20 minutes total. Flip them halfway through if you have the energy.
Step 6: Assemble and Melt
Once the fries are golden and crispy, transfer them to an oven-safe serving platter or leave them on the baking sheet. Spoon the chili generously over the top—do not be shy. Sprinkle the shredded cheddar cheese evenly over everything. Return the platter to the oven for 3 to 5 minutes, just until the cheese is melted and bubbly. Keep an eye on it; you want melted, not burnt.
Step 7: Garnish and Serve
Remove from the oven and top with pickled jalapeños, a drizzle of sour cream, and sliced green onions. Serve immediately while everything is hot and the cheese is stretchy. This is not a dish that waits well, so dig in right away.
Cooking Tips & Techniques
I have made every mistake you can make with chili cheese fries, and I am sharing them so you do not have to. Here are the things I wish someone had told me.
Do not skip the coffee. I know it sounds weird, but it does not make the chili taste like coffee. It adds a subtle richness and depth that rounds out the acidity of the tomatoes. I use leftover morning coffee, or I brew a quick half cup just for this. It makes a difference.
Shred your own cheese. I cannot stress this enough. Pre-shredded cheese is coated in cellulose and other starches to keep it from clumping, which also keeps it from melting smoothly. You will get a much creamier, more even melt if you buy a block of cheddar and grate it yourself. It takes two extra minutes and it is worth it.
Crispy fries are non-negotiable. Soggy fries ruin the whole experience. Spread them in a single layer, do not overcrowd the pan, and bake them a few minutes longer than the package says. If you want to go the extra mile, toss them in a tablespoon of cornstarch before baking for an even crunchier exterior.
Let the chili simmer. Twenty minutes is the minimum. If you have more time, let it go for 30 or 40 minutes on low heat. The flavors meld and the texture thickens beautifully. I once rushed the chili and ended up with a watery mess that slid right off the fries. Never again.
Season in layers. Add salt at each stage—when browning the beef, when cooking the onions, and again at the end. This builds flavor from the ground up instead of relying on a heavy hand at the finish line.
Variations & Adaptations
This recipe is flexible, and I have tried a few different versions depending on what I have in the fridge or who I am feeding. Here are some of my favorites.
Vegetarian Version
Swap the ground beef for a plant-based crumble or two cans of black beans (drained and rinsed). If using beans, mash about half of them with a fork before adding to the pot—this helps thicken the chili. The flavor is still bold and satisfying.
Loaded Baked Potato Version
Instead of fries, use halved baked potatoes. Scoop out a little of the flesh, fill with chili, top with cheese, and bake until bubbly. It is a completely different texture but just as comforting. This is great for a heartier meal.
Spicy Kick Version
Add one finely chopped chipotle pepper in adobo sauce along with the tomatoes. This brings a smoky, intense heat that chili heads will love. I do this when I am cooking just for myself and want something that makes my nose run a little.
Low-Carb Option
Use roasted cauliflower florets instead of fries. Toss them in oil and salt, roast at 425°F for 20 minutes, then top with chili and cheese. It hits the same savory notes without the carbs.
Serving & Storage Suggestions
These fries are best served immediately, straight from the oven, while the cheese is still molten and the fries are crispy. I like to put the whole platter in the center of the table and let everyone dig in with forks. It is a sharing dish, and there is something about eating from a communal pile that makes it taste even better.
For a complete game day spread, I love serving these alongside a creamy cheeseburger potato soup for a double dose of comfort. Or balance the richness with a fresh side like my grilled peach and burrata salad for a sweet and savory contrast.
If you have leftovers (which is rare in my house), store the chili and fries separately. The chili keeps well in an airtight container in the refrigerator for up to 4 days. The fries will get soggy in the fridge, so it is best to store them in a separate container. To reheat, spread the fries on a baking sheet and crisp them in a 400°F oven for 5 minutes, then reheat the chili on the stovetop and assemble fresh. The flavor of the chili actually gets better after a day in the fridge.
You can freeze the chili for up to 3 months. Let it cool completely, then transfer to a freezer-safe bag or container. Thaw in the refrigerator overnight and reheat gently on the stove. Do not freeze the assembled fries—the texture will be sad.
Nutritional Information & Benefits
Let us be real: chili cheese fries are not health food. But they are comfort food, and there is value in that. Here is a rough estimate per serving (based on 4 servings).
- Calories: Approximately 620
- Protein: 32g
- Fat: 38g
- Carbohydrates: 42g
- Fiber: 5g
- Sugar: 8g
The beef provides a solid dose of protein and iron, while the tomatoes and onions add fiber and vitamin C. If you use sharp cheddar, you get a good amount of calcium too. The pickled jalapeños bring a little vitamin A and a metabolism boost from the capsaicin. For a lighter version, swap the fries for roasted potatoes or cauliflower, use lean ground beef, and go easy on the cheese. But honestly, sometimes you just need the real thing, and that is okay.
This recipe contains dairy and gluten (from the fries). It can be made gluten-free by using certified gluten-free fries, and dairy-free by using a plant-based cheese and skipping the sour cream.
Conclusion
This recipe is the one I turn to when I need something that feels like a hug on a plate. It is not fancy, and it is not trying to be. It is just really, really good chili cheese fries that deliver on every promise—crispy, cheesy, meaty, and full of flavor. I have spent years getting this right, and I am confident you will love it.
I want you to make this your own. Add extra jalapeños if you like heat. Swap in ground turkey if that is your thing. Pile on the sour cream. The best version of this recipe is the one that makes you happy. When you make it, I would love to hear how it turned out. Leave a comment below and let me know what twist you added, or tag me in your photos if you share them. I read every single one, and honestly, it makes my day.
Go ahead, preheat that oven. You deserve these fries.
Frequently Asked Questions
Can I use homemade fries instead of frozen?
Absolutely. Cut russet potatoes into thin strips, soak them in cold water for 30 minutes to remove excess starch, dry them thoroughly, toss with oil and salt, and bake at 425°F for 25 to 30 minutes, flipping halfway. The vinegar soak trick works here too—add a tablespoon of white vinegar to the soaking water for extra crispiness.
Can I make the chili ahead of time?
Yes, and I actually recommend it. The chili tastes even better the next day after the flavors have had time to meld. Make it up to 3 days in advance, store it in the fridge, and reheat it gently on the stove while you bake the fries.
What is the best cheese for chili cheese fries?
Sharp cheddar is my go-to for its bold flavor and excellent melting properties. A mix of cheddar and Monterey Jack is also great—the Jack adds extra creaminess. Avoid pre-shredded cheese for the best melt.
How do I keep the fries from getting soggy?
Bake the fries a few minutes longer than the package directions so they are extra crispy. Assemble the dish right before serving, and do not let the chili sit on the fries for more than a few minutes before eating. If you are serving a crowd, keep the chili and fries separate and let everyone build their own plate.
Can I make this in a slow cooker?
You can make the chili in a slow cooker. Brown the beef and onions on the stovetop first, then transfer everything to the slow cooker and cook on low for 4 to 6 hours or high for 2 to 3 hours. Bake the fries separately and assemble when ready to serve. The slow cooker chili will be even more tender and flavorful.
Pin This Recipe!
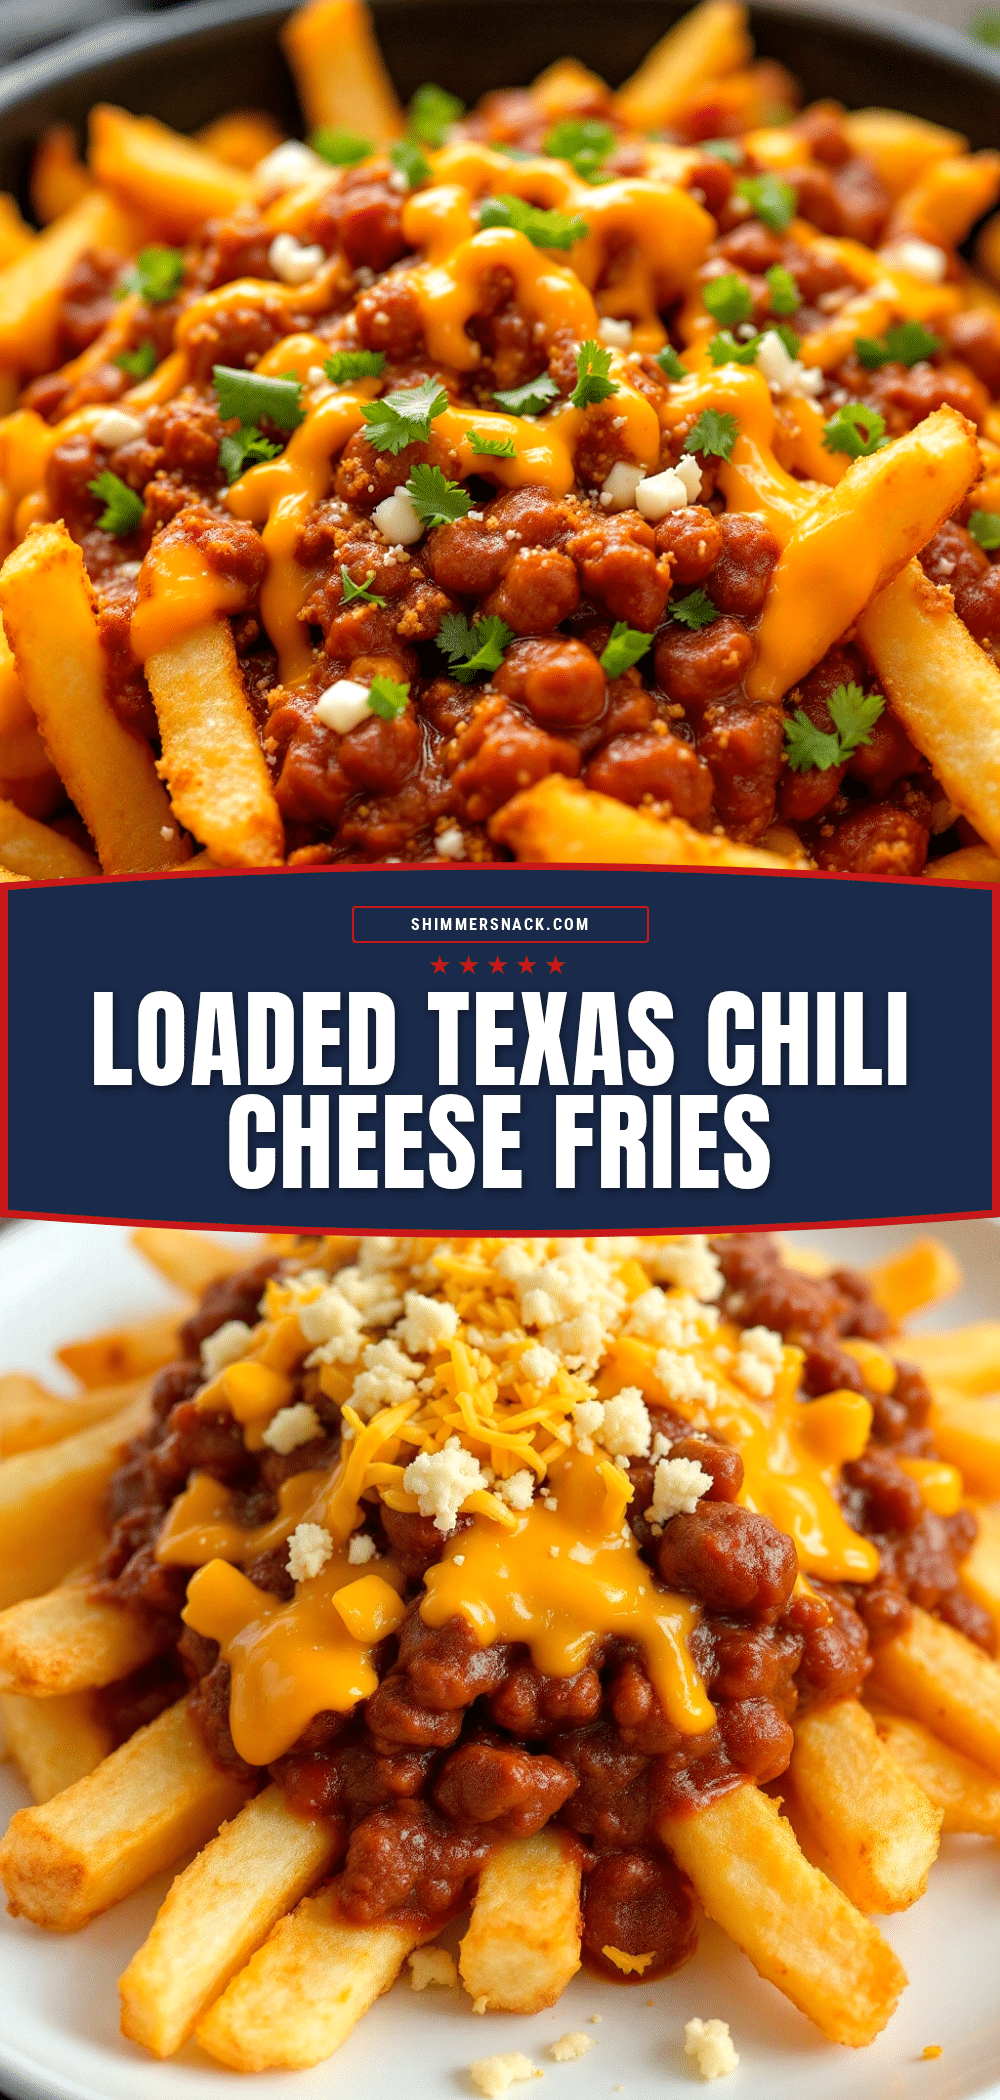
Best Texas-Style Chili Cheese Fries: Easy Homemade Recipe

Crispy, salty fries under a blanket of rich, meaty chili and melted cheese. This recipe delivers the ultimate comfort food with a thick, flavorful chili that clings to every fry.
- Prep Time: 15 minutes
- Cook Time: 30 minutes
- Total Time: 45 minutes
- Yield: 4 servings 1x
- Category: Main Course
- Cuisine: American (Texas-style)
Ingredients
- 1 lb ground beef (80/20)
- 1 tablespoon vegetable oil
- 1 medium yellow onion, diced (about 1 cup)
- 3 cloves garlic, minced
- 1 can (15 oz) diced tomatoes (fire-roasted preferred)
- 1 can (8 oz) tomato sauce
- 2 tablespoons chili powder (Gebhardt preferred)
- 1 teaspoon ground cumin
- 1 teaspoon smoked paprika
- 1/2 teaspoon cayenne pepper
- 1/2 teaspoon salt
- 1/4 teaspoon black pepper
- 1/4 cup strong brewed coffee
- 1 tablespoon tomato paste
- 1 bag (28 oz) frozen shoestring fries
- 1 tablespoon olive oil
- Salt to taste
- 2 cups shredded sharp cheddar cheese
- 1/2 cup pickled jalapeños, drained
- 1/4 cup sour cream (optional)
- 2 green onions, sliced
Instructions
- Heat vegetable oil in a large skillet or Dutch oven over medium-high heat. Add ground beef and cook, breaking it up, until browned all over, about 6-8 minutes. Leave about 1 tablespoon of fat in the pan.
- Reduce heat to medium. Add diced onion and cook for 3-4 minutes until softened. Add minced garlic and cook for 30 seconds until fragrant.
- Stir in chili powder, cumin, smoked paprika, cayenne, salt, and black pepper. Toast spices for 1 minute, stirring constantly. Add diced tomatoes, tomato sauce, and tomato paste. Stir, scraping up browned bits from the bottom.
- Pour in brewed coffee and bring to a gentle simmer. Reduce heat to low and cook uncovered for 20 minutes, stirring occasionally. Adjust salt or heat as needed.
- While chili simmers, preheat oven to 425°F. Spread frozen fries on a large rimmed baking sheet in a single layer. Drizzle with olive oil and toss to coat. Bake according to package directions, adding 2-3 extra minutes for extra crispiness (about 18-20 minutes total for shoestring fries). Flip halfway through if desired.
- Once fries are golden and crispy, transfer to an oven-safe serving platter or leave on baking sheet. Spoon chili generously over the top. Sprinkle shredded cheddar cheese evenly over everything.
- Return platter to oven for 3-5 minutes until cheese is melted and bubbly.
- Remove from oven and top with pickled jalapeños, a drizzle of sour cream, and sliced green onions. Serve immediately.
Notes
Do not skip the coffee—it adds depth without tasting like coffee. Shred your own cheese for the best melt. Bake fries a few minutes longer than package directions for extra crispiness. Let chili simmer at least 20 minutes for best flavor. Store chili and fries separately if making ahead.
Nutrition
- Serving Size: 1 serving (about 1/4
- Calories: 620
- Sugar: 8
- Sodium: 980
- Fat: 38
- Saturated Fat: 16
- Carbohydrates: 42
- Fiber: 5
- Protein: 32
Keywords: chili cheese fries, Texas chili, game day food, comfort food, loaded fries, easy recipe


