Love this? Save it for later!
Share the inspiration with your friends
You know that specific moment when you pull a tray out of the oven and the cheese has melted into these long, sticky, white strings? It looks like a web. It looks like a bandage. It looks like a little mummy trying to escape the heat.
I made this Crispy Black Bean Mummy Dip because I wanted that exact visual. Not just a bowl of beans. I wanted the dip to look like it was wrapped up tight. The tortilla strips are the mummy’s wrappings, and the cheese is the bandage that holds it all together. When you dip a chip in, you’re literally pulling the mummy apart. It’s messy. It’s fun. It’s perfect for a Tuesday night Halloween party.
Honestly, I’ve made black bean dip before. Lots of times. Usually, it’s just beans, cumin, and lime juice. It’s good. It’s healthy. But it doesn’t look like anything special. It’s just brown mush in a bowl. This version is different. It’s about the texture. The crunch of the fried tortilla strips against the creamy, cheesy bean mixture. It’s a game-changer for party food.
I remember making this for my neighbor’s trick-or-treat gathering last year. The kids didn’t care about the black beans. They cared about the mummy faces. They dipped their chips and laughed when the cheese stretched. That’s the magic. It’s not just food. It’s a prop you can eat. And that’s why I keep coming back to it.
Why You’ll Love This Recipe
This isn’t just another dip you serve with a sad bag of plain chips. This is a complete experience. I’ve tested this recipe about five times now, tweaking the bean ratio and the cheese blend, until I got it right. Here is why this specific version works so well for your next gathering:
- Quick & Easy: You can have this ready in under 30 minutes. The prep is minimal, and the cooking is mostly just melting. It’s perfect for busy weeknights or last-minute Halloween cravings when you realize you forgot to buy party snacks.
- Simple Ingredients: No fancy grocery trips needed. You likely already have black beans, cheese, and tortillas in your kitchen. This is pantry-friendly cooking at its best.
- Perfect for Halloween: Great for spooky-themed parties, movie nights, or just because it’s October. The mummy theme is cute without being too childish for adults.
- Crowd-Pleaser: Always gets rave reviews from kids and adults alike. Kids love the fun shape, and adults love the savory flavor profile.
- Unbelievably Delicious: The texture and flavor combo is next-level comfort food. The crunch of the tortilla strips mixed with the creamy dip is addictive.
What makes this recipe different from the rest? It’s the technique of using the tortilla strips as both a garnish and a tool. Most mummy dips just put a strip on top. This one uses them to create a “cage” effect that holds the cheese. It’s a creative twist on classic bean dip. It’s not just another version—it’s your best version.
This recipe isn’t just good—it is the kind that makes you close your eyes after the first bite. It’s comfort food reimagined—healthier, faster, but with the same soul-soothing satisfaction. Perfect for impressing guests without stress, or turning a simple meal into something memorable.
What Ingredients You Will Need
This recipe uses simple, wholesome ingredients to deliver bold flavor and satisfying texture without the fuss. The key is balancing the earthiness of the beans with the saltiness of the cheese and the crunch of the tortillas. Most of these are pantry staples, which makes it easy to whip up on a whim.
For the Mummy Base
- Black beans: Two 15-ounce cans, drained and rinsed well. (I prefer Goya for consistent texture, but any brand works. Make sure to rinse them thoroughly so the dip isn’t watery.)
- Cream cheese: One 8-ounce block, softened to room temperature. This is crucial for a smooth, creamy base. If it’s cold, you’ll get lumps.
- Shredded Monterey Jack cheese: One cup, divided. Monterey Jack melts beautifully and has a mild flavor that lets the beans shine. (Use pre-shredded if you’re lazy, but block cheese melts better.)
- Salsa: One cup, medium or hot depending on your spice tolerance. (I like Pace Medium for a balanced flavor.)
- Cumin: One teaspoon, ground. This is the earthy backbone of the dip.
- Chili powder: One teaspoon. Adds a little depth without too much heat.
- Garlic powder: Half a teaspoon. For that savory punch.
- Onion powder: Half a teaspoon. Sweetness and aroma.
- Salt and pepper: To taste. Always season at the end.
For the Mummy Wrappings
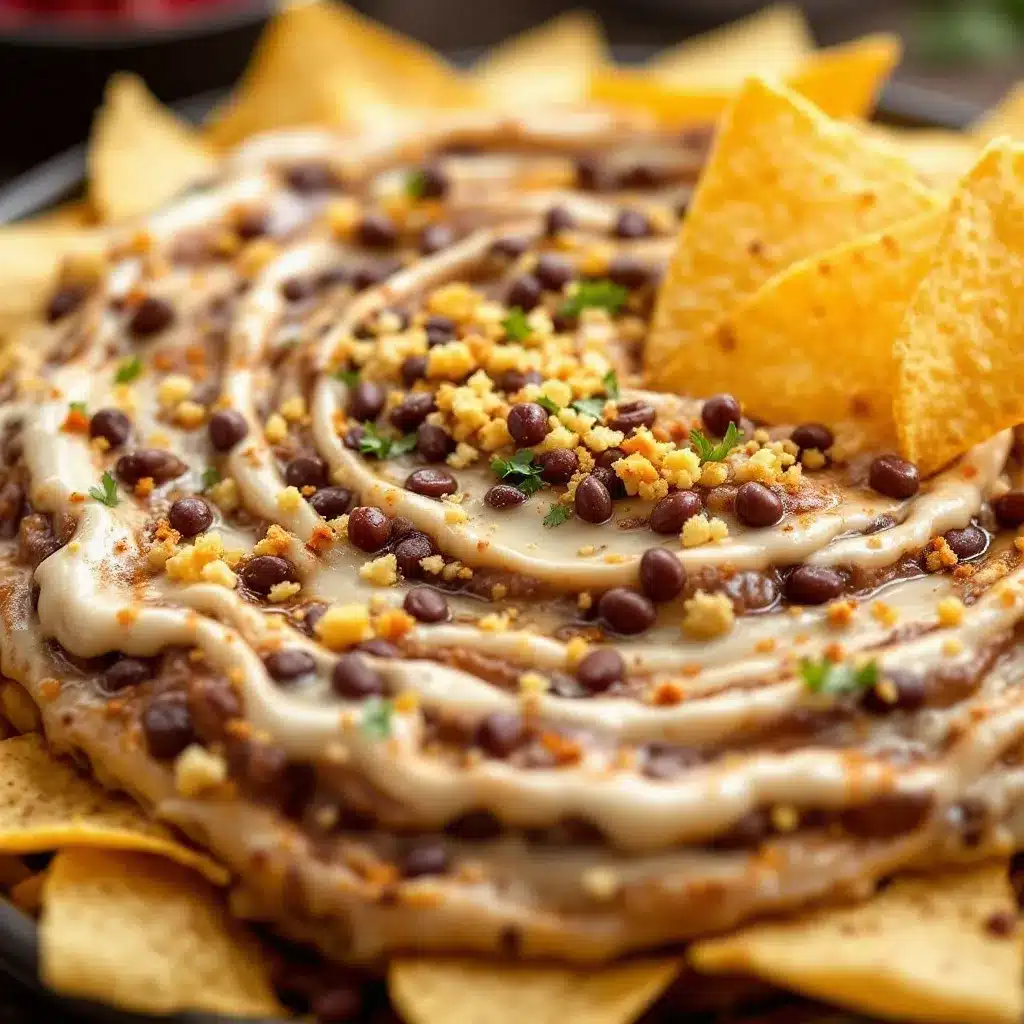
- Flour tortillas: Four to six large flour tortillas. Cut into thin strips, about half an inch wide. (I use Mission brand because they are pliable and don’t tear easily.)
- Vegetable oil: For frying or baking the strips. (I prefer baking for a healthier option, but frying gives a crunchier result.)
- Green olives: Sliced. For the eyes. (Use jarred green olives, not black, for that classic mummy look.)
- Shredded Mozzarella or extra Monterey Jack: To drizzle over the top for the “bandage” effect.
Substitution Note: If you need a gluten-free option, use corn tortillas instead of flour. They hold up well when baked and add a nice corn flavor to the dip.
Equipment Needed
You don’t need much fancy gear for this. Here is what you’ll need:
- 9×9 inch baking dish: Or a similar-sized oven-safe skillet. A square dish makes it easier to cut into squares for serving. A cast-iron skillet is great for serving directly at the table.
- Mixing bowl: Medium-sized, for combining the bean mixture.
- Blender or Food Processor: Optional, but recommended. If you want a smoother dip, blend half the beans. If you like chunky, just mash them with a potato masher.
- Pizza cutter: Perfect for slicing the tortillas into even strips.
- Baking sheet: For baking the tortilla strips if you aren’t frying them.
- Paper towels: To blot excess oil from the tortilla strips.
Pro Tip: If you don’t have a pizza cutter, a sharp knife works, but be careful. The tortillas can slide around. A pizza cutter is cleaner and faster.
Preparation Method
- Preheat the oven and prep the tortillas: Preheat your oven to 400°F (200°C). Cut the flour tortillas into thin strips. If you want them extra crispy, cut them thinner. Toss the strips with a little oil and salt on a baking sheet. Bake for 5-7 minutes until golden and crisp. Watch them closely—they burn fast. Let them cool completely. (This step takes about 10 minutes.)
- Prepare the bean base: In a mixing bowl, combine the drained black beans, softened cream cheese, salsa, cumin, chili powder, garlic powder, and onion powder. If you want a smoother dip, blend half the mixture and fold it back in. Mash the rest with a fork. Mix until everything is well combined. (5 minutes.)
- Assemble the dip: Spread the bean mixture evenly into your 9×9 baking dish. Sprinkle half of the shredded Monterey Jack cheese over the top. This helps bind the mummy strips later. (2 minutes.)
- Create the mummy strips: Take your baked tortilla strips. Lay them across the top of the dip in a crisscross pattern. Leave small gaps between the strips so you can see the beans and cheese underneath. This is where the mummy shape comes from. Don’t cover the whole thing—leave some space for the “face.” (5 minutes.)
- Add the bandages: Drizzle or crumble the remaining shredded cheese over the tortilla strips. You want the cheese to melt into the gaps, creating that “bandage” look. It doesn’t have to be perfect. Messy looks more like a mummy. (2 minutes.)
- Bake: Place the dish in the preheated oven. Bake for 15-20 minutes, or until the cheese is bubbly and golden brown. The tortilla strips should be softening slightly but still have some crunch. (20 minutes.)
- Add the eyes: Remove from the oven. Immediately place the sliced green olives on the top layer of strips to form the eyes. The heat will help them stick. Let it cool for 5 minutes before serving. (5 minutes.)
Troubleshooting: If the cheese isn’t melting evenly, cover the dish with foil for the first 10 minutes, then remove it to brown the top. This prevents the tortilla strips from burning before the cheese melts.
Cooking Tips & Techniques
Getting the texture right is the hardest part. Here are some tips to avoid common mistakes:
- Don’t skip rinsing the beans: Canned beans are covered in starch. If you don’t rinse them well, your dip will be gummy. Rinse until the water runs clear.
- Softened cream cheese: This is non-negotiable. Cold cream cheese will create lumps that are impossible to mix out. Leave it on the counter for an hour before starting.
- Tortilla crispness: If you bake the tortilla strips, they stay crisp longer. If you fry them, they get soggy faster. For a party, baked is better for make-ahead prep.
- Cheese choice: Avoid pre-shredded cheese if you can help it. It has anti-caking agents that prevent smooth melting. Buy a block and shred it yourself. It melts better and tastes fresher.
- Timing: This dip is best served warm. If you make it ahead, reheat it in the oven at 350°F for 10-15 minutes. Don’t microwave it, or the tortilla strips will turn into sad, chewy noodles.
I once tried to make this with corn tortillas and they broke into tiny pieces. Stick to flour tortillas for the strips. They are more forgiving and create that nice “bandage” look.
Variations & Adaptations
This recipe is very flexible. Here are some ways to customize it:
- Spicy Version: Add diced jalapeños to the bean mixture or use hot salsa. This pairs well with the cool cream cheese.
- Vegetarian Boost: Add chopped spinach or kale to the bean mixture for extra greens. It won’t change the flavor much, but it adds nutrition.
- Protein Pack: Add cooked, crumbled chorizo or bacon bits to the bean mixture. This makes it heartier and more savory.
- Gluten-Free: Use corn tortillas for the strips. They are naturally gluten-free and hold up well when baked.
- Dairy-Free: Use dairy-free cream cheese and shredded cheese. It won’t melt exactly the same, but it will still taste good.
I tried adding chopped cilantro to the bean mixture once. It was good, but the fresh herb flavor got lost in the oven. Add fresh cilantro as a garnish after baking instead.
Serving & Storage Suggestions
Serve this dip warm with sturdy tortilla chips. Sturdy chips are key because the dip is thick and cheesy. Weak chips will break. Pita chips or thick-cut potato chips also work well.
Pair it with a cold drink. I like it with a crisp lager or a light beer. For non-alcoholic options, a limeade or iced tea cuts through the richness of the cheese.
Storage: Leftovers can be stored in an airtight container in the refrigerator for up to 3 days. The tortilla strips will soften, so it’s best to make them fresh if possible.
Reheating: Reheat in the oven at 350°F for 10-15 minutes. Do not microwave. The microwave will make the tortilla strips chewy and unpleasant.
The flavors meld together over time, so it actually tastes better the next day. Just make sure to reheat it properly.
Nutritional Information & Benefits
This dip is a good source of protein and fiber thanks to the black beans. Black beans are also rich in antioxidants and iron. The cheese provides calcium, but it is also high in saturated fat, so enjoy in moderation.
Allergens: This recipe contains dairy (cheese, cream cheese) and gluten (flour tortillas). Use corn tortillas and dairy-free alternatives to make it gluten-free and dairy-free.
It’s a healthier alternative to heavy cheese dips because the beans add bulk and fiber without adding too many calories. It’s a guilt-free way to enjoy party snacks.
Conclusion
This Crispy Black Bean Mummy Dip is a fun, easy, and delicious way to celebrate Halloween. It’s visually striking, packed with flavor, and perfect for sharing. Whether you’re hosting a party or just want a spooky snack for yourself, this recipe is a winner.
Feel free to customize it with your favorite spices or toppings. The beauty of this recipe is its flexibility. Make it your own.
Give it a try and let me know how it turns out. I’d love to see your mummy creations in the comments below. Share your photos on social media and tag me. Happy Halloween!
Frequently Asked Questions
Can I make this dip ahead of time?
Yes, you can assemble the bean mixture and cheese up to 24 hours in advance. Store it in the refrigerator. Bake it when you’re ready to serve. Make the tortilla strips fresh for the best texture.
Can I use canned black beans directly?
You can, but you must drain and rinse them thoroughly. Excess liquid will make the dip watery. Rinsing removes the starch and ensures a creamy consistency.
What cheese is best for melting?
Monterey Jack and Mozzarella are the best choices for melting. They create that stretchy, gooey texture that looks like bandages. Avoid hard cheeses like Parmesan for the main layer.
How do I keep the tortilla strips crispy?
Bake them separately and add them just before serving if possible. If you bake them into the dip, they will soften. For a compromise, bake the dip with the strips, but add fresh strips on top right before serving.
Can I freeze this dip?
Freezing is not recommended. The dairy in the cream cheese and cheese can separate when thawed, changing the texture. It’s best enjoyed fresh or refrigerated for a few days.
Pin This Recipe!
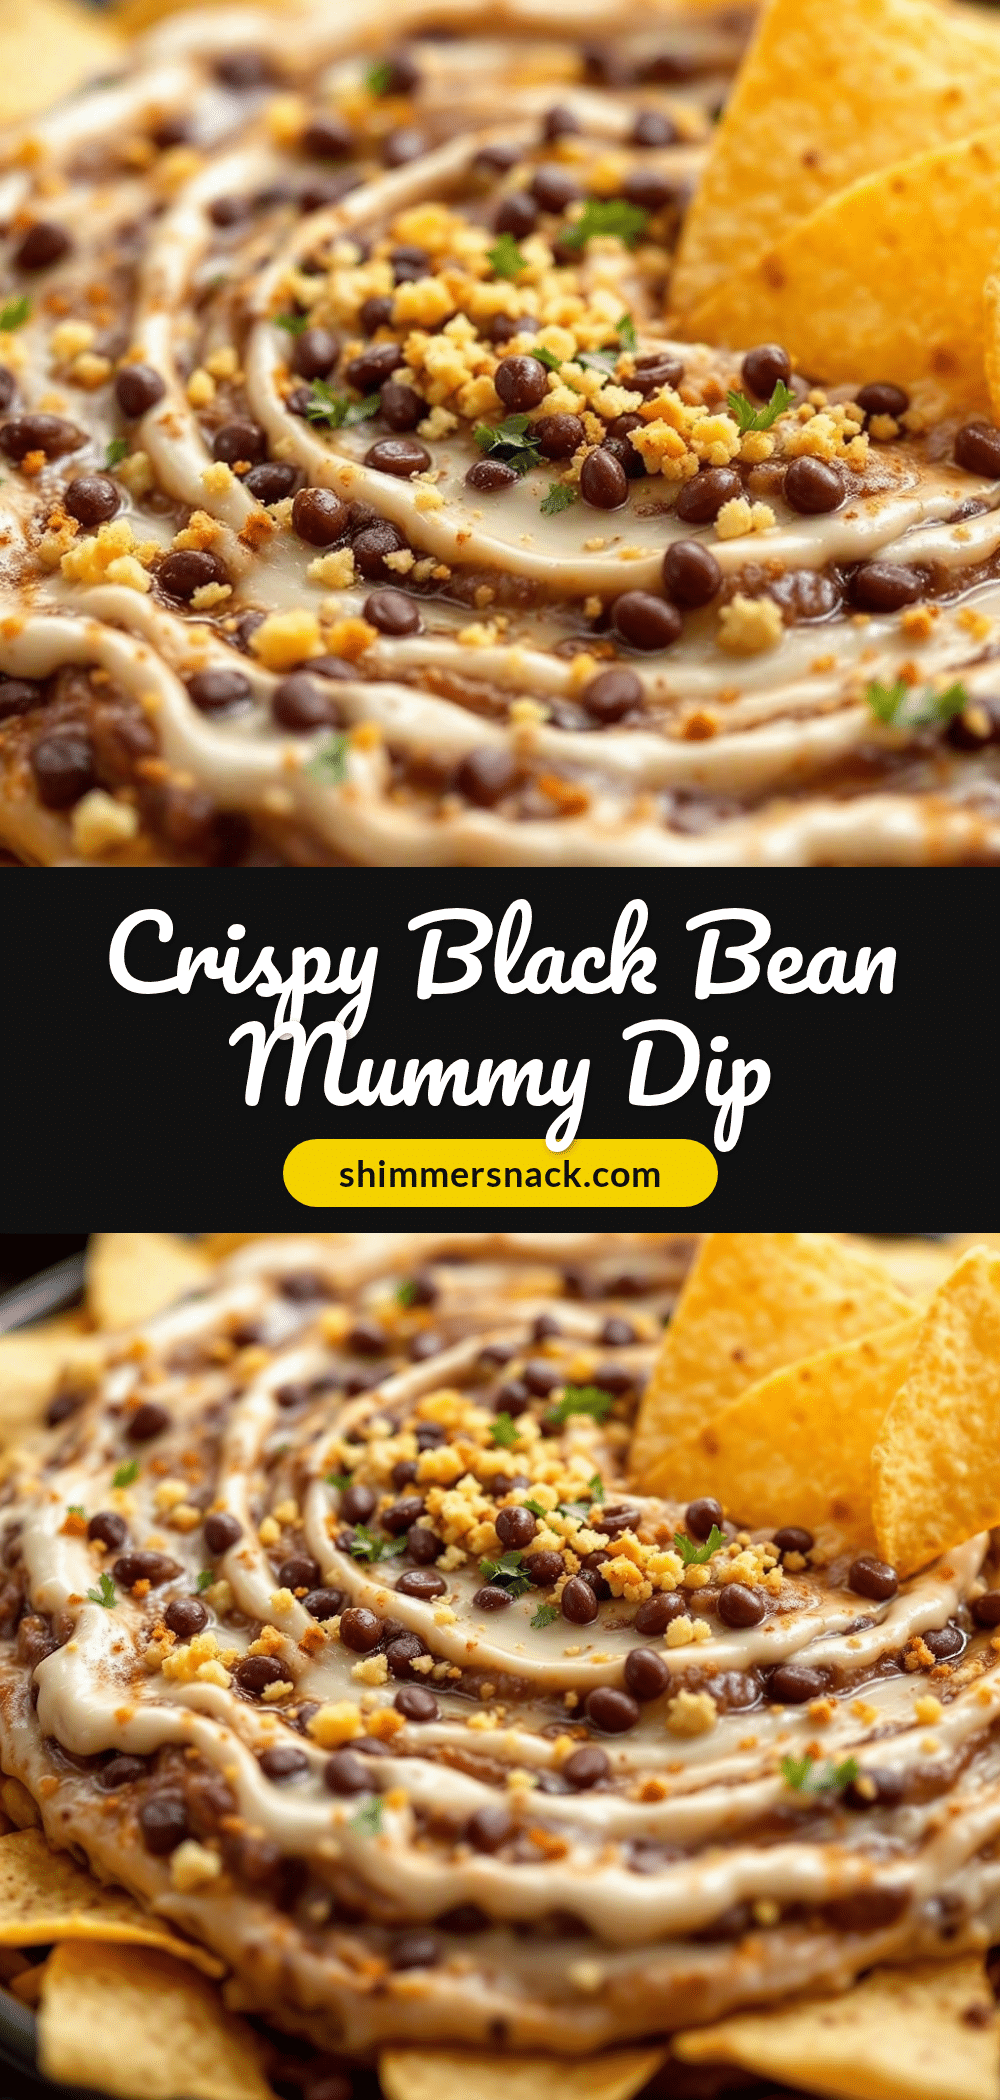
Crispy Black Bean Mummy Dip: 3-Step Halloween Party Snack
A fun and spooky Halloween dip featuring a creamy black bean and cheese base topped with crispy tortilla strips that look like mummy wrappings. It’s a quick, crowd-pleasing party snack that combines savory flavors with a playful visual presentation.
- Prep Time: 15 minutes
- Cook Time: 30 minutes
- Total Time: 45 minutes
- Yield: 8 servings 1x
- Category: Appetizer
- Cuisine: Mexican
Ingredients
- 2 (15-ounce) cans black beans, drained and rinsed
- 1 (8-ounce) block cream cheese, softened to room temperature
- 1 cup shredded Monterey Jack cheese, divided
- 1 cup medium or hot salsa
- 1 teaspoon ground cumin
- 1 teaspoon chili powder
- 1/2 teaspoon garlic powder
- 1/2 teaspoon onion powder
- Salt and pepper to taste
- 4–6 large flour tortillas, cut into thin strips
- Vegetable oil (for baking or frying tortilla strips)
- Green olives, sliced (for eyes)
- Shredded Mozzarella or extra Monterey Jack (for drizzling)
Instructions
- Preheat oven to 400°F (200°C). Cut flour tortillas into thin strips, toss with a little oil and salt, and bake on a baking sheet for 5-7 minutes until golden and crisp. Let cool completely.
- In a mixing bowl, combine drained black beans, softened cream cheese, salsa, cumin, chili powder, garlic powder, and onion powder. Mash or blend until well combined.
- Spread the bean mixture evenly into a 9×9 inch baking dish. Sprinkle half of the shredded Monterey Jack cheese over the top.
- Lay the baked tortilla strips across the top of the dip in a crisscross pattern, leaving small gaps to see the beans and cheese underneath.
- Drizzle or crumble the remaining shredded cheese over the tortilla strips to create a ‘bandage’ effect.
- Bake in the preheated oven for 15-20 minutes, or until the cheese is bubbly and golden brown.
- Remove from oven and immediately place sliced green olives on the top layer to form eyes. Let cool for 5 minutes before serving.
Notes
Ensure beans are rinsed thoroughly to prevent a gummy texture. Cream cheese must be softened to avoid lumps. For a gluten-free option, use corn tortillas. Avoid microwaving leftovers as it makes tortilla strips chewy; reheat in the oven at 350°F instead.
Nutrition
- Serving Size: Serve warm with stur
- Calories: 350
- Sugar: 4
- Sodium: 650
- Fat: 18
- Saturated Fat: 9
- Carbohydrates: 32
- Fiber: 6
- Protein: 14
Keywords: Halloween recipe, black bean dip, mummy dip, party snack, easy appetizer, cheesy dip, tortilla strips, crowd pleaser


