Love this? Save it for later!
Share the inspiration with your friends
Introduction
This was supposed to be a simple green bean side dish for a casual dinner party. I grabbed the wrong jar of vinegar — what I thought was mild apple cider turned out to be a sharp white distilled — the kitchen timer was off by half an hour, and I was already juggling a phone call from a neighbor asking for a last-minute favor. Honestly, the whole thing felt like a culinary disaster in the making. What came out was nothing like the plan — and better.
Instead of soft, stewed beans, I got these unexpectedly crunchy, garlicky, tangy beans that practically hummed with flavor. At first, I was skeptical (I mean, who expects refrigerator pickles to be ready in just 48 hours?), but I couldn’t stop snacking on them. The crisp snap, the garlicky punch, and that unmistakable dill aroma made me realize this was something special. Maybe you’ve been there — when a cooking mishap turns your kitchen into a little laboratory of happy accidents.
Since that day, these crispy garlic dilly beans refrigerator pickles have become a go-to. I keep a batch in the fridge mostly for myself, but they always vanish quickly when guests arrive. Let me tell you, this recipe stuck with me because it’s quick, fuss-free, and delivers that perfect balance of tangy, savory, and fresh crunch. You don’t need a canning setup or days of waiting — just fresh green beans, garlic, dill, and a little patience for 48 hours. If you’re like me and sometimes the kitchen chaos leads to tastier outcomes, this one’s for you.
Why You’ll Love This Recipe
This crispy garlic dilly beans refrigerator pickles recipe isn’t just another pickle—it’s a quick, reliable way to get crunchy, flavorful pickles that feel homemade and fresh.
- Quick & Easy: Ready to enjoy in just 48 hours, perfect when you want homemade pickles without the long wait or fuss.
- Simple Ingredients: Uses everyday pantry staples and fresh green beans you can find anywhere.
- Perfect for Snacking or Sides: Great addition to summer barbecues, potlucks, or a crunchy snack straight from the jar.
- Crowd-Pleaser: Kids and adults love the garlicky, dill-forward flavor and satisfying crunch.
- Unbelievably Delicious: The sharp tang from vinegar pairs perfectly with fresh garlic and dill, making each bite pop.
This recipe is different because it skips the heat of traditional canning and relies on the fridge and time to develop flavor. The beans stay irresistibly crispy thanks to the cold pickling method, which I’ve perfected through trial and error (trust me, overcooked beans are no fun). The balance of garlic and dill isn’t overpowering but just right — a little herbaceous, a little punchy. Honestly, it reminds me of the kind of pickles you find at a local farmers’ market, but made in your own kitchen in record time.
You’re going to love how easy it is to whip up a batch and how addictive they are once they’re ready. Whether you’re a pickle fan or just want a fresh, crunchy snack that’s a bit different, this recipe has you covered.
What Ingredients You Will Need
This recipe uses simple, wholesome ingredients to deliver bold flavor and satisfying texture without the fuss. Most of these are pantry staples or fresh produce you can find year-round.
- Fresh green beans (about 1 pound / 450 grams) – look for firm, bright green beans with no blemishes; snap off the stem ends for best results.
- Garlic cloves (4-5 large, peeled) – fresh garlic is key here for that sharp, aromatic kick.
- Dill sprigs (4-5 sprigs fresh dill) – fresh dill adds that classic pickle flavor; if unavailable, dill seeds can be used, but the fresh herb is unbeatable.
- White vinegar (1 cup / 240 ml) – I recommend Heinz Distilled White Vinegar for its clean acidity and consistent results.
- Water (1 cup / 240 ml) – plain filtered water works best to keep the flavor pure.
- Pickling salt (1 tablespoon / 18 grams) – use kosher salt or pickling salt without additives to avoid cloudiness.
- Black peppercorns (1 teaspoon) – whole peppercorns add subtle spice without overpowering.
- Red pepper flakes (optional, 1/4 teaspoon) – for a little heat, but totally optional if you prefer mild pickles.
Substitution tips: If you want a lower-sodium version, reduce salt but expect slightly less crispness. For a gluten-free option, all ingredients here are naturally gluten-free. You can swap white vinegar for apple cider vinegar if you like a fruitier tang, but it will slightly change the flavor profile.
Equipment Needed
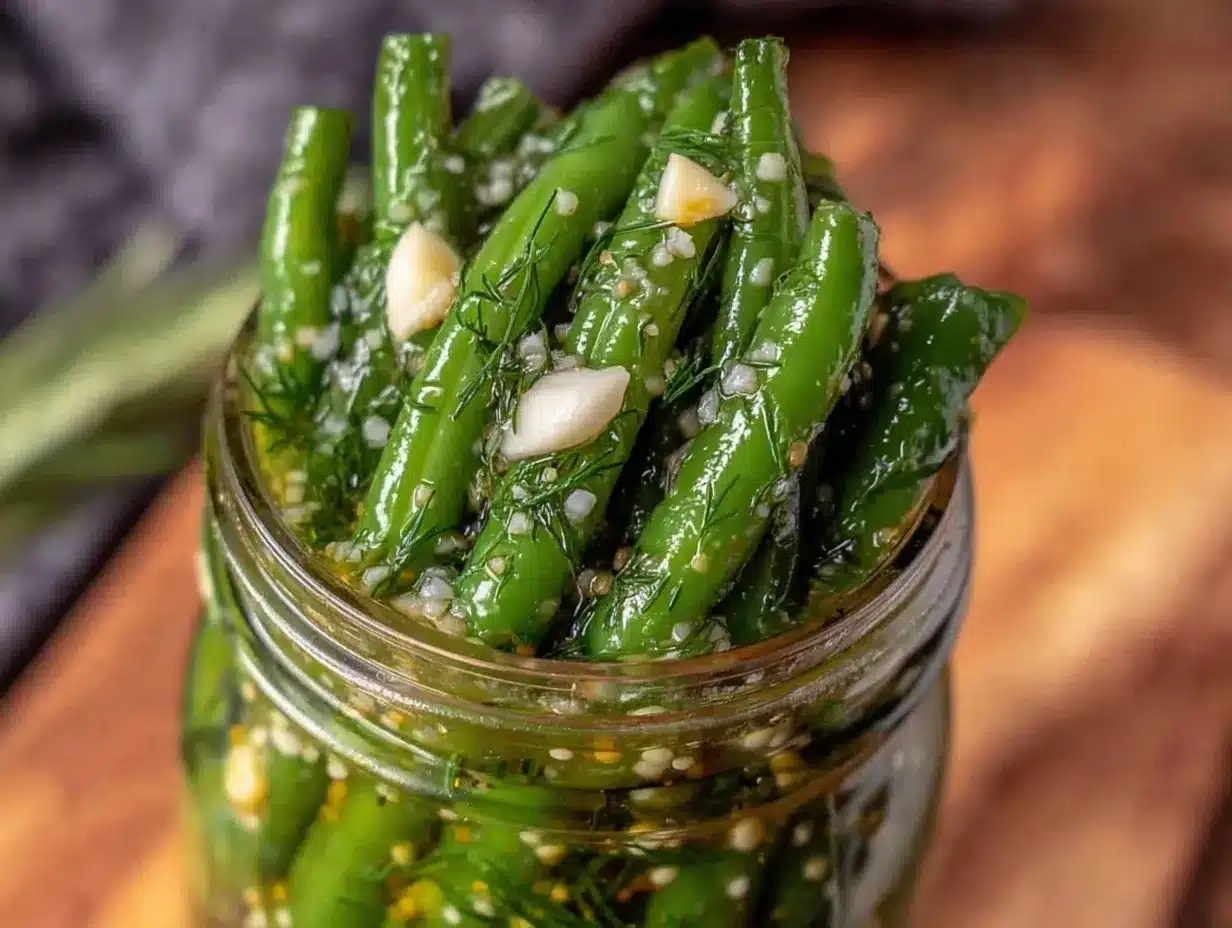
- Quart-sized glass jar with lid – wide-mouth jars work best for packing beans and adding brine easily; I’ve used Ball Mason jars with great success.
- Measuring cups and spoons – for precise vinegar, water, and salt measurements.
- Small saucepan – to heat the brine and dissolve salt.
- Tongs or chopsticks – handy for packing green beans tightly into the jar without bruising them.
- Clean kitchen towel – for wiping off any spills or condensation on jars.
If you don’t have a mason jar, any clean, food-safe jar with a tight-fitting lid will do. Just avoid plastic containers as vinegar can react with plastic over time. I personally like to keep a dedicated set of glass jars just for pickling to avoid any flavor carryover.
Preparation Method
- Wash and trim green beans: Rinse about 1 pound (450 grams) of fresh green beans under cold water. Snap off the stem ends and discard any blemished or limp beans. Dry them gently with a clean towel. (Approx. 10 minutes)
- Prepare the brine: In a small saucepan, combine 1 cup (240 ml) white vinegar, 1 cup (240 ml) water, and 1 tablespoon (18 grams) pickling salt. Heat over medium heat, stirring until the salt dissolves completely. Remove from heat and let it cool slightly. (Approx. 5 minutes)
- Pack the jar: Place 4-5 peeled garlic cloves, 4-5 fresh dill sprigs, 1 teaspoon black peppercorns, and optional 1/4 teaspoon red pepper flakes into the bottom of a clean quart-sized glass jar. Then, pack the trimmed green beans vertically into the jar as tightly as possible without crushing. Leave about 1/2 inch (1.25 cm) of headspace at the top. (Approx. 10 minutes)
- Pour the brine: Carefully pour the warm brine over the beans until they’re completely submerged. Use a clean utensil to press the beans down gently if needed. Wipe the jar rim clean before sealing. (Approx. 5 minutes)
- Seal and refrigerate: Screw on the lid tightly and place the jar in the refrigerator. Let the beans pickle for at least 48 hours before tasting. The flavor develops over time, and the beans will remain crispy. (Wait 48 hours)
- Check and enjoy: After 48 hours, open the jar and try a bean. They should be crisp, garlicky, and tangy. If you want stronger flavor, let them sit up to 5 days, but don’t expect them to get much more tender. (Approx. 2 minutes)
Note: If your beans seem soft or mushy after 48 hours, it may be due to overripe beans or too warm a refrigerator setting. Always use fresh, firm beans and keep your fridge at 38-40°F (3-4°C).
Pro tip: I sometimes add a couple of grape leaves to the jar to help maintain crispness—an old trick I learned from a local pickle maker in Vermont.
Cooking Tips & Techniques
Here are some tips I’ve learned to get perfect crispy garlic dilly beans every time:
- Pick the right beans: Freshness is everything. Look for snap beans that break cleanly and are bright green. Avoid beans that feel rubbery or have brown spots.
- Don’t blanch: Unlike traditional canning, these beans are raw-packed. Blanching softens them and defeats the purpose of keeping that signature crunch.
- Salt choice matters: Use pickling or kosher salt without iodine or anti-caking agents. Table salt can cloud your brine and alter flavor.
- Pack tight but gentle: You want to fit as many beans as possible, but don’t crush them. Use tongs or chopsticks to nudge them in.
- Vinegar temperature: Pour warm, not boiling, brine to avoid cooking the beans. Warm brine dissolves salt better and helps flavor penetration.
- Patience pays off: The 48-hour wait is key for flavor. Don’t rush it! The beans will be crisp and flavorful, not mushy.
- Keep refrigerated: These pickles aren’t shelf-stable. Always store them in the fridge and consume within 2-3 weeks for best quality.
Personally, I once tried heating the brine to boiling and pouring it scalding hot over the beans—big mistake. The beans turned limp and sad. Learned my lesson there!
Variations & Adaptations
Feel free to tweak this recipe to fit your taste or dietary needs:
- Spicy Dilly Beans: Add extra red pepper flakes or a sliced jalapeño to the jar before pickling for a fiery kick.
- Garlic-Free Version: Substitute with sliced shallots or omit garlic for a milder, sweeter flavor.
- Herb Twists: Swap dill for fresh thyme, tarragon, or basil to change the aromatic profile.
- Low-Sodium: Cut salt by half, but keep in mind this may slightly affect crunch and preservation time.
- Quick Sweet Pickles: Add 1 tablespoon sugar to the brine for a subtle sweet-sour balance.
I once tried using lemon zest and thyme instead of dill, and it gave the beans a bright, Mediterranean vibe that was a hit at a summer picnic.
Serving & Storage Suggestions
These crispy garlic dilly beans are best served chilled straight from the fridge. They make a fantastic crunchy side to grilled meats, sandwiches, or a cheese board. I often pair them with a cold beer or a crisp white wine — the acidity cuts through rich flavors beautifully.
Store the pickles in the refrigerator with the lid tightly sealed. They’ll keep well for up to 3 weeks, though they tend to disappear faster in my house! For longer storage, you can transfer small portions to airtight containers for easy snacking.
When reheating is needed (though I recommend eating cold), avoid microwaving. Instead, let them come to room temperature for about 15 minutes to soften the chill without losing the crunch.
The flavors actually deepen the longer they sit, so if you can resist, wait an extra day or two for a more pronounced garlic and dill punch.
Nutritional Information & Benefits
Per serving (about 4 beans):
| Calories | 10 kcal |
|---|---|
| Carbohydrates | 2 g |
| Fiber | 1 g |
| Protein | 1 g |
| Fat | 0 g |
| Sodium | 200 mg |
These beans are low in calories and fat, making for a guilt-free snack or side. The garlic provides antioxidants and immune-boosting compounds, while dill offers vitamins A and C and supports digestion. Since these are naturally gluten-free and vegan, they fit many dietary needs.
From my wellness perspective, having a crunchy, low-calorie snack handy like these pickles helps curb cravings for less healthy options without sacrificing flavor. They’re a simple way to add veggies and probiotics to your diet when made with live cultures or fermented versions.
Conclusion
This crispy garlic dilly beans refrigerator pickles recipe is proof you don’t need fancy equipment or long waits to enjoy homemade pickles that truly satisfy. It’s quick, approachable, and reliably delicious every time I make it. I love how I can pop open a jar after just 48 hours and enjoy that perfect garlicky crunch.
Feel free to make it your own by adjusting heat, herbs, or sweetness to suit your taste. Honestly, it’s one of those recipes where you can’t go wrong, and it rewards a little patience with a big payoff.
If you try this recipe, I’d love to hear how you customize it or what you pair it with — drop a comment below or share your tasty twists! Keep those beans crisp and those spirits high.
FAQs
How long do these refrigerator pickles last?
Stored in the fridge, they last about 2-3 weeks. For best crunch and flavor, enjoy them within that time.
Can I use frozen green beans for this recipe?
It’s best to use fresh green beans. Frozen beans tend to be too soft and won’t stay crisp in the pickling process.
Do I need to sterilize the jars before pickling?
Since these are refrigerator pickles and not canned, thorough cleaning is enough. Sterilizing is not necessary but you can do it if you prefer extra safety.
Can I add other vegetables to the jar?
Yes! Thin slices of carrots, peppers, or cauliflower florets can add variety but adjust packing to keep everything submerged in brine.
Is it possible to make these pickles shelf-stable?
No, this recipe is designed for refrigerator storage only and doesn’t use heat canning. For shelf-stable pickles, you’d need to follow a water bath canning process.
Pin This Recipe!
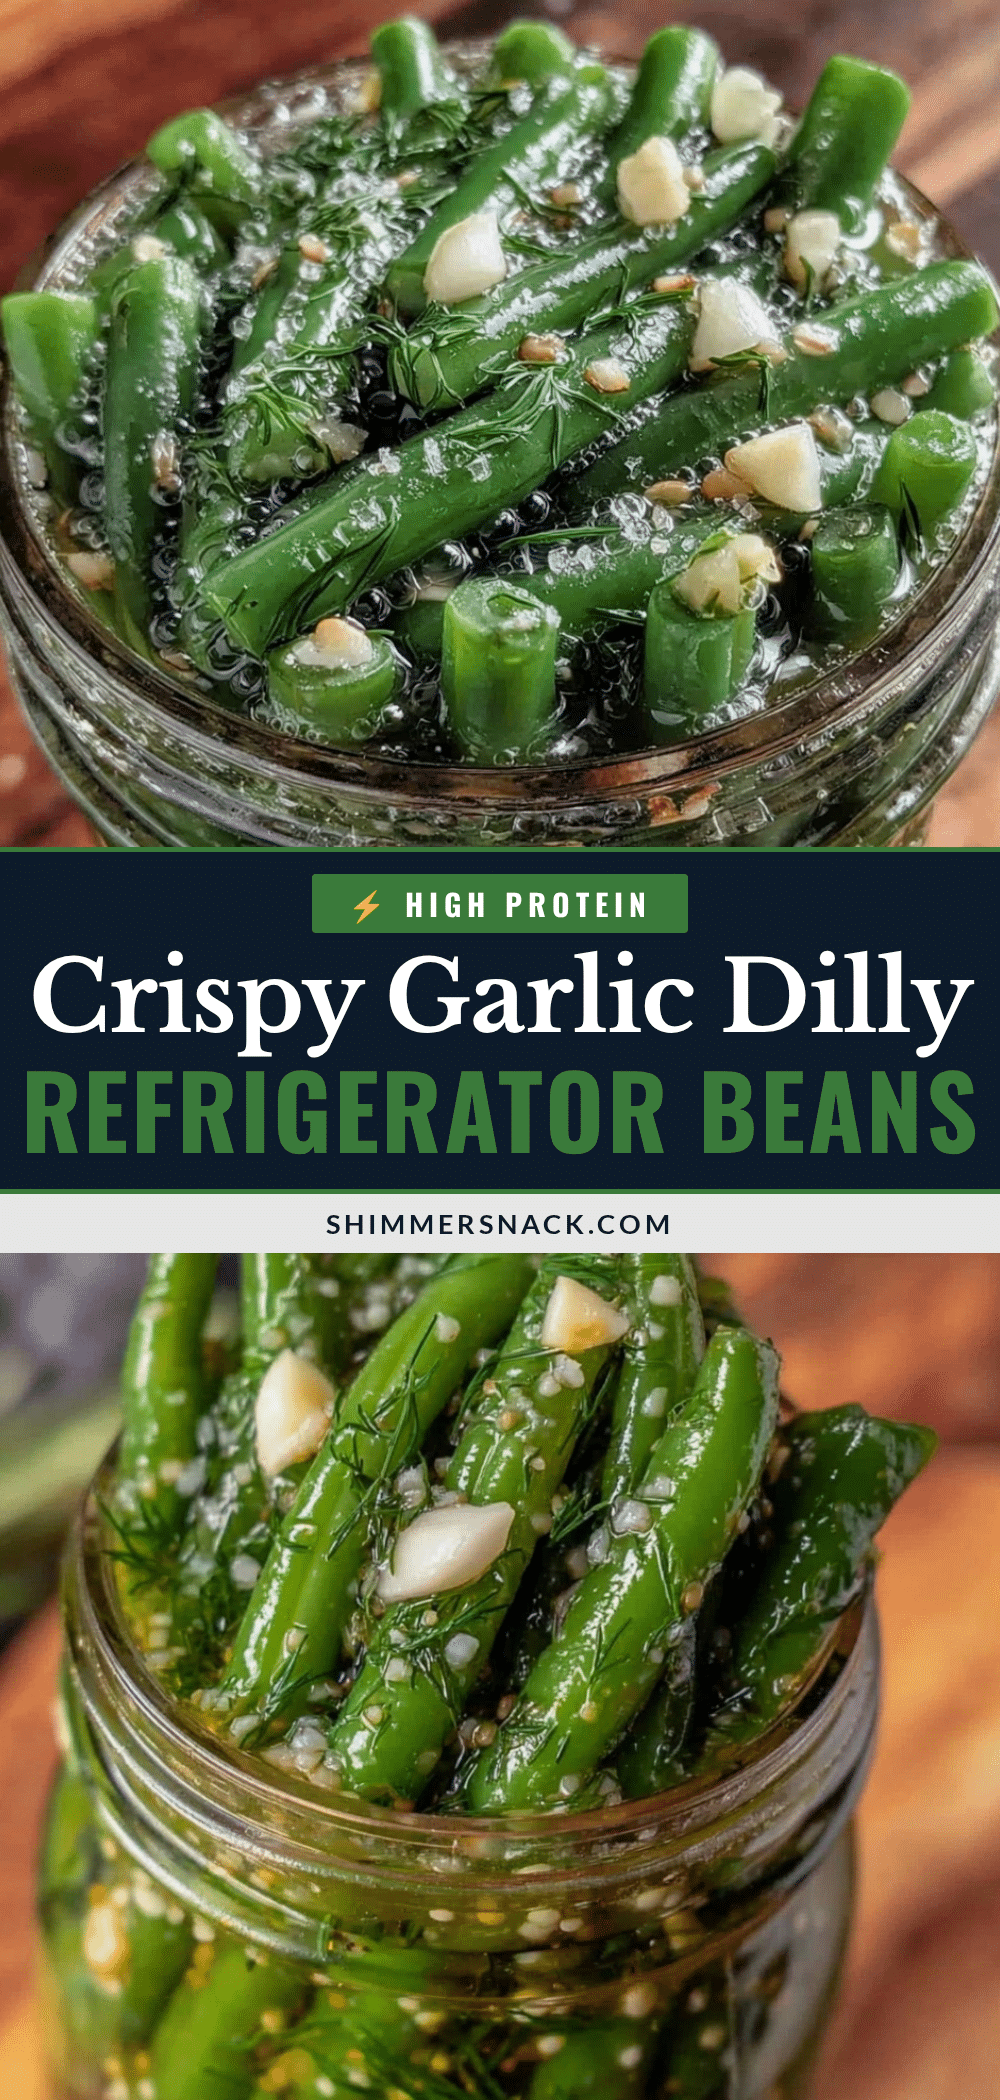
Crispy Garlic Dilly Beans Recipe Easy Refrigerator Pickles Ready in 48 Hours
A quick and easy refrigerator pickle recipe for crunchy, garlicky, and tangy green beans ready in just 48 hours without traditional canning.
- Prep Time: 25 minutes
- Cook Time: 5 minutes
- Total Time: 48 hours 30 minutes
- Yield: About 1 quart jar (approximately 4 servings) 1x
- Category: Side Dish
- Cuisine: American
Ingredients
- 1 pound (450 grams) fresh green beans, trimmed
- 4–5 large garlic cloves, peeled
- 4–5 sprigs fresh dill
- 1 cup (240 ml) white vinegar
- 1 cup (240 ml) water
- 1 tablespoon (18 grams) pickling salt
- 1 teaspoon black peppercorns
- 1/4 teaspoon red pepper flakes (optional)
Instructions
- Wash and trim green beans: Rinse about 1 pound (450 grams) of fresh green beans under cold water. Snap off the stem ends and discard any blemished or limp beans. Dry them gently with a clean towel. (Approx. 10 minutes)
- Prepare the brine: In a small saucepan, combine 1 cup (240 ml) white vinegar, 1 cup (240 ml) water, and 1 tablespoon (18 grams) pickling salt. Heat over medium heat, stirring until the salt dissolves completely. Remove from heat and let it cool slightly. (Approx. 5 minutes)
- Pack the jar: Place 4-5 peeled garlic cloves, 4-5 fresh dill sprigs, 1 teaspoon black peppercorns, and optional 1/4 teaspoon red pepper flakes into the bottom of a clean quart-sized glass jar. Then, pack the trimmed green beans vertically into the jar as tightly as possible without crushing. Leave about 1/2 inch (1.25 cm) of headspace at the top. (Approx. 10 minutes)
- Pour the brine: Carefully pour the warm brine over the beans until they’re completely submerged. Use a clean utensil to press the beans down gently if needed. Wipe the jar rim clean before sealing. (Approx. 5 minutes)
- Seal and refrigerate: Screw on the lid tightly and place the jar in the refrigerator. Let the beans pickle for at least 48 hours before tasting. The flavor develops over time, and the beans will remain crispy. (Wait 48 hours)
- Check and enjoy: After 48 hours, open the jar and try a bean. They should be crisp, garlicky, and tangy. If you want stronger flavor, let them sit up to 5 days, but don’t expect them to get much more tender. (Approx. 2 minutes)
Notes
Use fresh, firm green beans for best crispness. Do not blanch the beans. Use pickling or kosher salt without additives to avoid cloudiness. Pour warm (not boiling) brine to preserve crunch. Keep refrigerated and consume within 2-3 weeks. Adding grape leaves can help maintain crispness. Variations include adding jalapeño for spice or substituting herbs.
Nutrition
- Serving Size: About 4 beans
- Calories: 10
- Sodium: 200
- Carbohydrates: 2
- Fiber: 1
- Protein: 1
Keywords: garlic dilly beans, refrigerator pickles, quick pickles, green beans, crunchy pickles, easy pickling, no canning, refrigerator pickles recipe


