Love this? Save it for later!
Share the inspiration with your friends
“I wasn’t supposed to be baking that night,” I remember thinking as I rummaged through the kitchen in the dim light of my tiny apartment. It was a Tuesday, of all days, and I had just gotten home from a long shift, craving something chocolatey but lacking the patience for anything complicated. Then, out of nowhere, my phone buzzed with a text from my friend Jamie, asking if I could whip up something impressive for an impromptu dinner party the next evening. Honestly, I was panicking—no fancy ingredients, no time, and definitely no idea.
That’s when I stumbled upon a scribbled recipe tucked inside an old cookbook I’d picked up at a thrift store weeks before. The title caught me off guard: Death by Chocolate Lava Cakes with Molten Center. The name alone promised drama, and I was all in. The next few hours turned into a bit of a kitchen chaos—flour on the counter, a cracked ramekin, and a near meltdown when I realized I forgot to preheat the oven. But, let me tell you, when those molten centers oozed out after baking, it was worth every messy moment.
Maybe you’ve been there: craving something rich and indulgent but needing it quick and fuss-free. This recipe stuck with me because it’s that rare kind of dessert that feels like a celebration and a comforting hug all at once. Whether you’re making it for a special someone or just treating yourself, this Death by Chocolate Lava Cakes recipe is honestly one of those wins you want to keep in your back pocket.
Why You’ll Love This Recipe
After testing this recipe countless times (and yes, eating way too many chocolate cakes myself), I can say with confidence it hits all the right notes. Here’s why this recipe stands out and why it might just become your go-to dessert:
- Quick & Easy: Ready in under 30 minutes, perfect when you need a decadent dessert without the stress.
- Simple Ingredients: Uses pantry staples like high-quality cocoa powder and dark chocolate—no obscure items needed.
- Perfect for Impressing: Whether it’s a date night or a potluck, these lava cakes always get gasps of delight.
- Crowd-Pleaser: Kids, adults, chocoholics—everyone asks for seconds.
- Unbelievably Delicious: The rich, gooey molten center paired with a tender cake exterior is pure magic.
This isn’t just any lava cake recipe. The secret lies in balancing the baking time just right, giving you that perfect molten center every single time. Plus, I like to use a blend of bittersweet chocolate and cocoa powder for a deep, layered flavor that’s far from your basic chocolate dessert. You’ll want to close your eyes after the first bite, trust me.
What Ingredients You Will Need
This recipe uses straightforward ingredients that combine to create an indulgent texture and rich chocolate flavor. You probably have most of these in your kitchen already, which makes it even better for a last-minute dessert craving.
- Unsalted butter (6 tablespoons / 85 grams, plus extra for greasing) – adds richness and helps the cake stay moist
- Bittersweet or semi-sweet chocolate (4 ounces / 115 grams, chopped) – I prefer Ghirardelli for its smooth melt and intense flavor
- Cocoa powder (2 tablespoons, unsweetened) – use Dutch-processed for a smooth, less acidic taste
- Granulated sugar (½ cup / 100 grams) – balances the bitterness of the chocolate
- All-purpose flour (¼ cup / 30 grams) – sifted for a light texture
- Large eggs (2 whole, plus 2 egg yolks) – room temperature to ensure proper mixing and rise
- Vanilla extract (1 teaspoon) – enhances the chocolate flavor
- Salt (a pinch) – brings out all the flavors
Optional additions:
- A pinch of espresso powder (optional) – boosts chocolate depth without tasting like coffee
- Powdered sugar for dusting (optional)
If you’re looking for gluten-free options, swapping all-purpose flour with almond flour works well but expect a slightly denser texture. For dairy-free, use coconut oil instead of butter and dairy-free dark chocolate—just keep an eye on baking time as it may vary slightly.
Equipment Needed
To make these decadent Death by Chocolate Lava Cakes, you’ll need a few basic tools that most home kitchens already have. Here’s the rundown:
- Ramekins or small ovenproof bowls (4 to 6 ounces / 120-180 ml capacity) – these hold the cakes and create that lovely molten center. If you don’t have ramekins, small metal or silicone muffin cups work too.
- Mixing bowls – one for wet ingredients, one for dry.
- Whisk or electric mixer – to blend eggs and sugar until light and fluffy.
- Saucepan or microwave-safe bowl – for gently melting butter and chocolate.
- Measuring cups and spoons – accuracy matters here, especially for flour and cocoa powder.
- Sifter or fine mesh sieve – helps keep the flour and cocoa clump-free, which means a smoother cake texture.
I’ve tried making these lava cakes in silicone muffin pans when I was out of ramekins, and while it worked, the edges weren’t quite as crisp and the presentation wasn’t as neat. So if you can invest in a set of ramekins, it’s worth it! Also, a reliable oven thermometer is handy if your oven runs hot or cold, which can ruin the molten center if not monitored.
Preparation Method
- Preheat your oven to 425°F (220°C). Grease 4 ramekins generously with butter, then dust with cocoa powder to prevent sticking. Place them on a baking sheet for easy transfer and cleanup.
- Melt the butter and chocolate: In a small saucepan over low heat, gently melt the butter and chopped bittersweet chocolate together. Stir frequently to avoid burning. Alternatively, microwave in 30-second bursts, stirring in between until smooth. Set aside to cool slightly.
- Whisk eggs and sugar: In a medium mixing bowl, whisk together 2 whole eggs, 2 egg yolks, and granulated sugar until the mixture is pale and slightly thickened, about 3-4 minutes by hand or 2 minutes with an electric mixer.
- Combine chocolate mixture and vanilla: Slowly pour the melted chocolate and butter into the egg mixture while whisking continuously. Add the vanilla extract and a pinch of salt.
- Sift in dry ingredients: Sift the cocoa powder and flour over the wet ingredients. Gently fold everything together with a spatula until just combined. Be careful not to overmix; you want a smooth batter with no lumps but still light.
- Divide batter: Pour the batter evenly into the prepared ramekins—about ¾ full. Give each a gentle tap on the counter to release any air bubbles.
- Bake: Place the baking sheet with ramekins in the preheated oven. Bake for 12-14 minutes. The edges should be set and firm while the centers remain soft and jiggly. Baking time is key here—too long and you lose the molten center; too short and the cake won’t hold its shape.
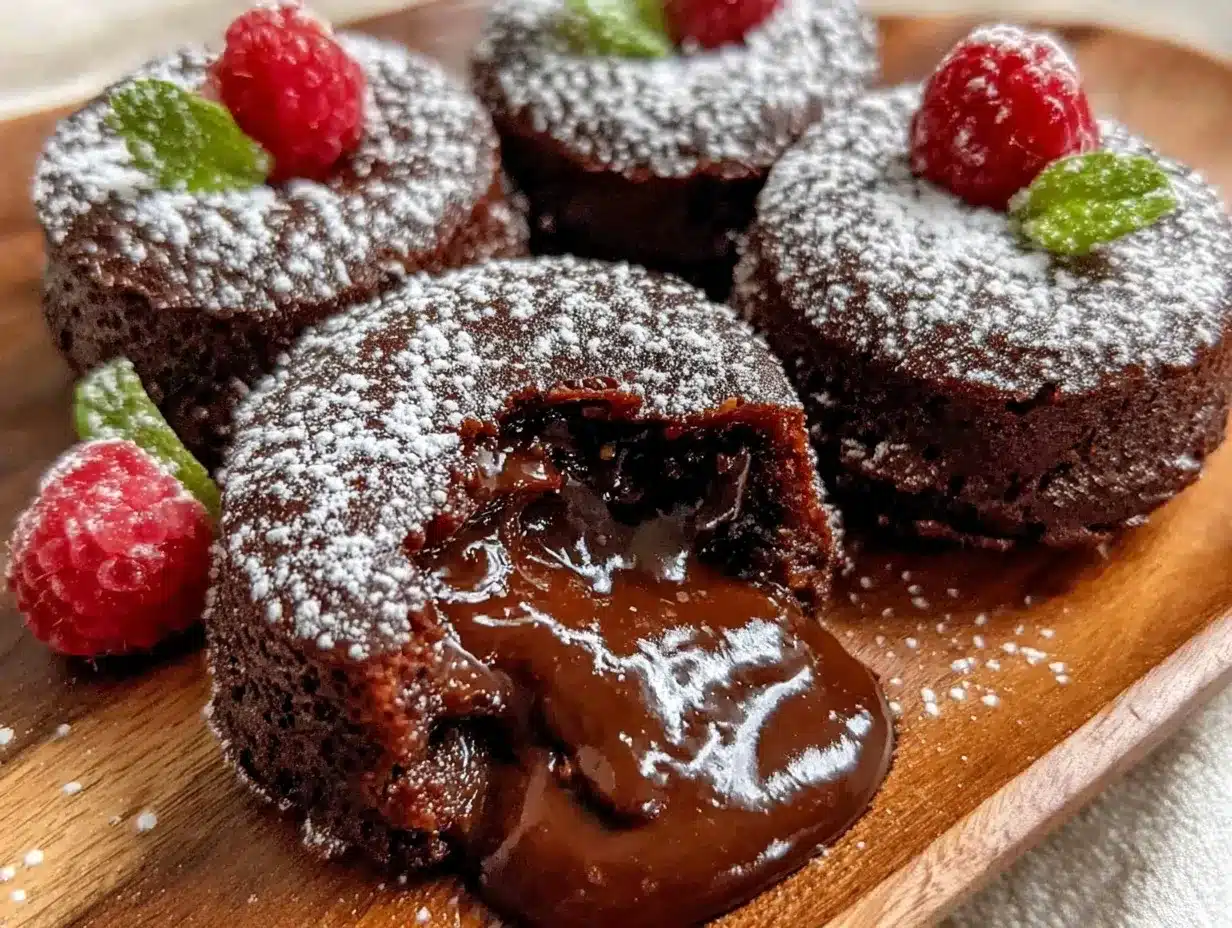
- Rest and serve: Remove from oven and let the cakes cool for 1-2 minutes. Run a small knife around the edges to loosen, then invert each ramekin onto a dessert plate. The molten center should flow out as you lift the cake.
Pro tip: If you find the batter too thick, adding a teaspoon of milk or cream can help loosen it up a bit without compromising texture. Also, if you want to prep ahead, you can fill the ramekins, cover them tightly, and refrigerate for up to 24 hours before baking.
Cooking Tips & Techniques
Getting that perfect molten center can feel tricky, but here are some tips to keep you on track:
- Don’t overbake: The biggest enemy of lava cakes is overcooking. Watch the edges for firmness and the center for a slight jiggle. If your oven runs hot, check a minute or two early.
- Use room temperature eggs: They mix better with the butter-chocolate mixture, helping the batter to rise properly and create that tender crumb.
- Grease and dust well: Cocoa powder on the ramekins prevents the cake from sticking and keeps the sides looking neat when unmolded.
- Let the batter rest briefly: After mixing, a 5-minute rest allows the flour to hydrate, improving texture.
- Multi-task wisely: While the cakes bake, clean up your prep area so you can serve immediately once they’re done—the molten center is best enjoyed warm.
One time, I left the cakes in the oven too long because I got distracted by a phone call (story of my life), and the molten center solidified. Not the end of the world, but definitely less exciting! So, I keep my timer close now and even double-check the oven temperature. Patience pays off.
Variations & Adaptations
There’s room to play around with this recipe depending on your mood or dietary needs. Here are a few ideas I’ve tried or thought about:
- Nutty Surprise: Add a teaspoon of finely chopped toasted hazelnuts or pecans to the batter for a subtle crunch that pairs beautifully with chocolate.
- Spiced Chocolate: Mix in a pinch of cinnamon or chili powder for a warm, spicy kick that changes the dessert’s character entirely.
- Fruit Filling: Drop a fresh raspberry or a spoonful of cherry preserves into the center of the batter before baking. The tartness contrasts so well with the rich chocolate.
- Vegan Version: Swap butter for coconut oil, eggs for flax eggs (1 tbsp ground flaxseed + 3 tbsp water per egg), and use dairy-free chocolate. Baking time might need adjustment, so keep an eye on them.
- Microwave Shortcut: For a quick fix, try cooking the batter in a microwave-safe mug for 45-60 seconds, but honestly, the oven method yields a better texture.
My personal favorite is the fruit-filled version—there’s just something about that burst of freshness in the middle that makes it feel extra special.
Serving & Storage Suggestions
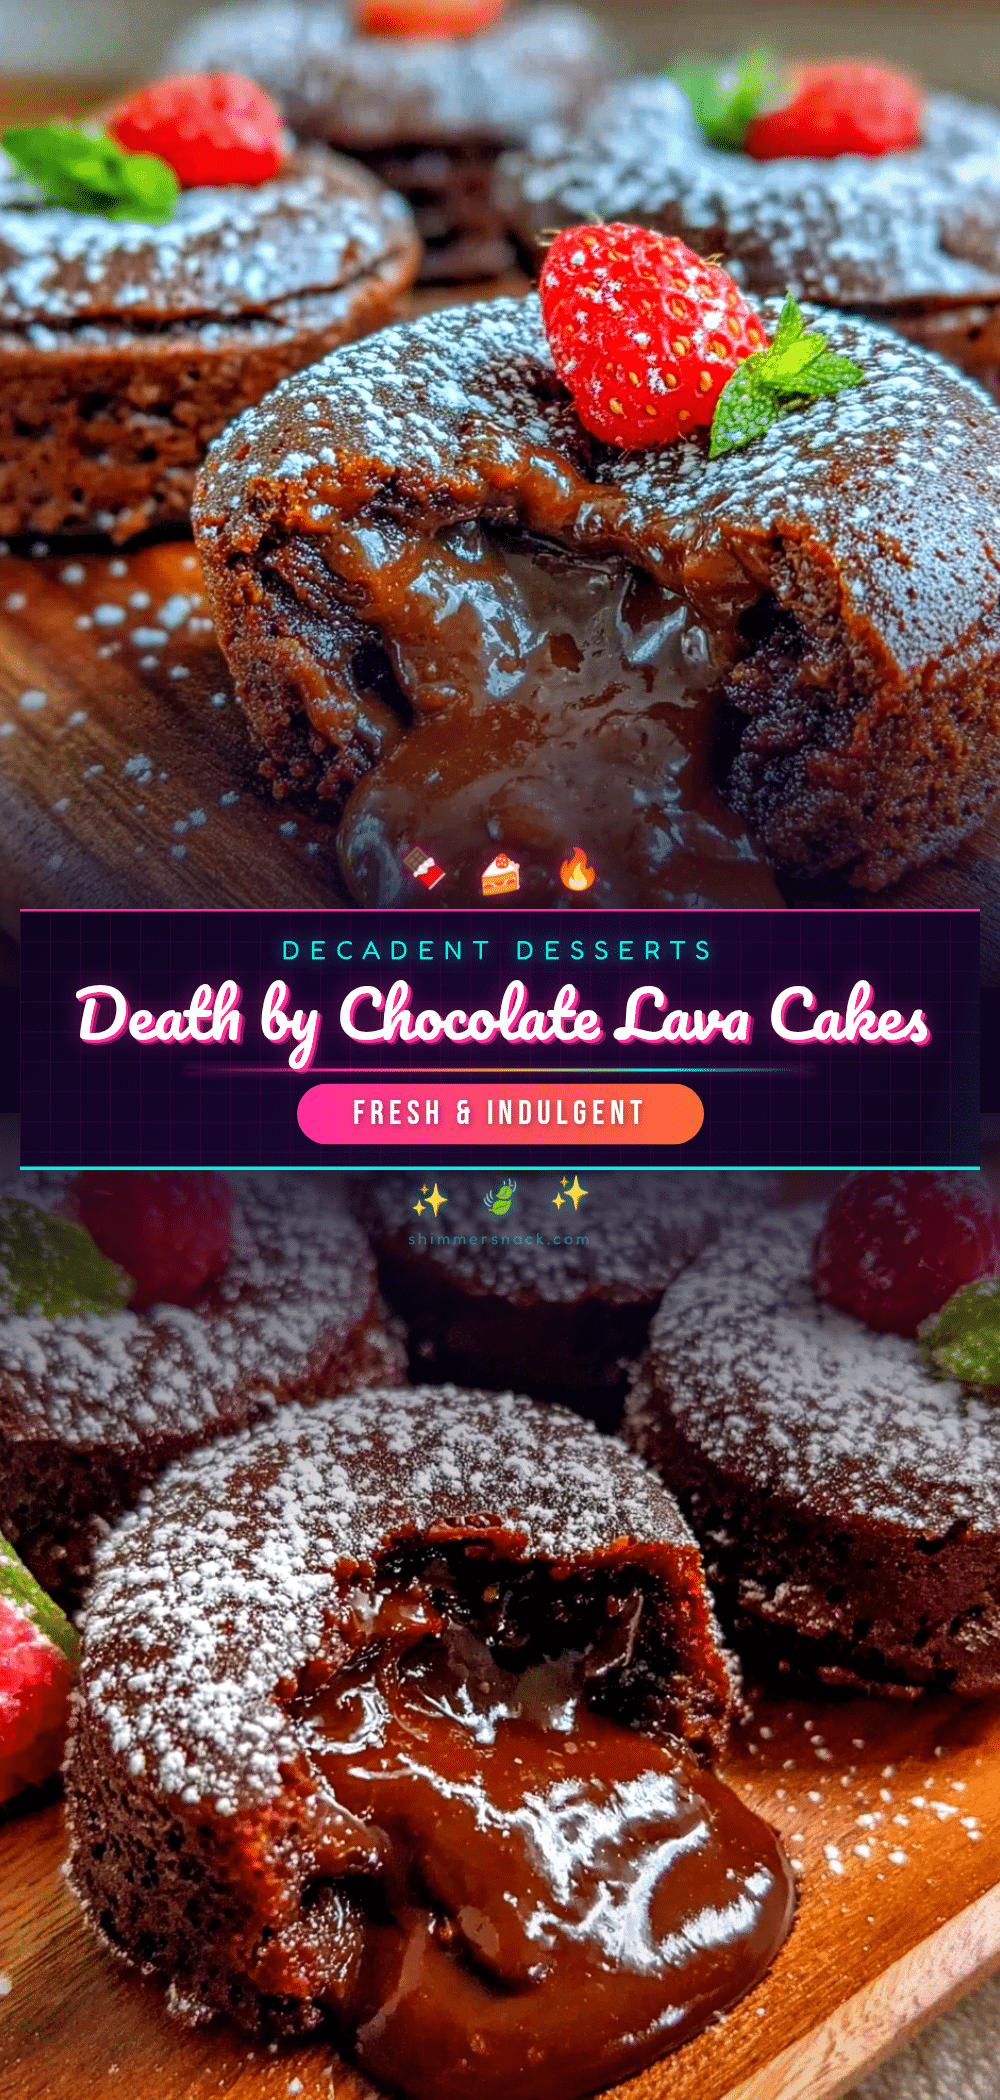
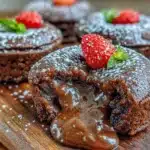
These lava cakes are best served warm, right out of the oven, when the molten center is at its gooey peak. Dust with powdered sugar or serve with a scoop of vanilla ice cream or a dollop of whipped cream to balance the richness.
If you want to get fancy, a drizzle of raspberry coulis or a sprinkle of sea salt adds an extra layer of flavor that really impresses.
Leftovers? Well, they don’t last long in my house, but you can store baked lava cakes in an airtight container in the refrigerator for up to 2 days. Reheat gently in a microwave for 15-20 seconds or in a low-temperature oven to bring back that molten texture.
Unbaked batter-filled ramekins can be wrapped tightly and refrigerated for up to 24 hours before baking. Just add a minute or two to the baking time if baking straight from cold.
Flavors actually deepen a bit if you let the cakes sit for a few minutes after baking, but don’t wait too long or the center will firm up.
Nutritional Information & Benefits
Each serving of these decadent Death by Chocolate Lava Cakes packs roughly 350-400 calories depending on portion size and recipe adjustments. They’re rich in antioxidants thanks to the dark chocolate and cocoa powder, which have been linked to heart health benefits.
While this dessert is certainly indulgent, using quality dark chocolate with higher cocoa content cuts down on sugar and adds complex flavor notes. The eggs provide protein and essential nutrients, making it a more balanced treat than you might expect.
For gluten-sensitive eaters, the almond flour substitution keeps it accessible, and with dairy-free options, vegans can enjoy this too. Just be mindful of allergens like eggs and nuts when sharing.
I always tell my readers that treats like this are part of a balanced approach to eating—savor the moment, and don’t stress the rest.
Conclusion
So, why give this Death by Chocolate Lava Cakes recipe a try? Because it’s one of those rare desserts that looks fancy but is surprisingly simple to make, with ingredients you likely have on hand. It’s a dessert that can transform an ordinary evening into something memorable and indulgent without hours of fuss.
I love this recipe because it’s forgiving, reliable, and endlessly comforting. Plus, the way the molten center flows out is just pure joy every single time. Don’t be afraid to personalize it—whether with a little spice, nuts, or fruit—and make it your own.
If you make these cakes, I’d love to hear how they turn out or what variations you try. Comments, photos, and stories are always welcome—let’s share the chocolate love!
Now, go ahead and treat yourself—you deserve it.
Frequently Asked Questions
How do I know when the lava cakes are done baking?
Look for firm edges and a center that still jiggles slightly when you gently shake the ramekin. Usually, 12-14 minutes at 425°F (220°C) is perfect, but ovens vary, so keep an eye close.
Can I prepare the batter ahead of time?
Yes! You can fill the ramekins and cover them tightly with plastic wrap, refrigerating for up to 24 hours before baking. Just add a minute or two to the baking time if baking from cold.
What if I don’t have ramekins? Will muffin tins work?
Small muffin tins can work in a pinch, but the cakes might not have the same crisp edges or neat shape. Ramekins are best for that classic presentation and molten center.
Can I make this recipe vegan or gluten-free?
Absolutely. Use flax eggs instead of regular eggs, coconut oil instead of butter, and dairy-free chocolate for a vegan version. For gluten-free, swap all-purpose flour with almond flour or a gluten-free blend.
Why did my lava cake not have a molten center?
Most likely, the cakes were baked too long or at too high a temperature. Try reducing the baking time by a minute or two and watch for that slight jiggle in the center before pulling them out.
Pin This Recipe!
Death by Chocolate Lava Cakes Recipe Easy Molten Center Dessert
A quick and easy decadent chocolate dessert featuring a rich, gooey molten center and tender cake exterior, perfect for impressing guests or treating yourself.
- Prep Time: 10 minutes
- Cook Time: 14 minutes
- Total Time: 24 minutes
- Yield: 4 servings 1x
- Category: Dessert
- Cuisine: American
Ingredients
- 6 tablespoons unsalted butter (85 grams), plus extra for greasing
- 4 ounces bittersweet or semi-sweet chocolate, chopped
- 2 tablespoons unsweetened cocoa powder (Dutch-processed preferred)
- ½ cup granulated sugar (100 grams)
- ¼ cup all-purpose flour (30 grams), sifted
- 2 large eggs, room temperature
- 2 egg yolks, room temperature
- 1 teaspoon vanilla extract
- Pinch of salt
- Optional: pinch of espresso powder
- Optional: powdered sugar for dusting
Instructions
- Preheat your oven to 425°F (220°C). Grease 4 ramekins generously with butter, then dust with cocoa powder to prevent sticking. Place them on a baking sheet.
- Melt the butter and chopped bittersweet chocolate together in a small saucepan over low heat, stirring frequently. Alternatively, melt in the microwave in 30-second bursts, stirring between each until smooth. Set aside to cool slightly.
- In a medium mixing bowl, whisk together 2 whole eggs, 2 egg yolks, and granulated sugar until pale and slightly thickened (3-4 minutes by hand or 2 minutes with an electric mixer).
- Slowly pour the melted chocolate and butter mixture into the egg mixture while whisking continuously. Add vanilla extract and a pinch of salt.
- Sift cocoa powder and flour over the wet ingredients. Gently fold with a spatula until just combined, avoiding overmixing.
- Divide the batter evenly into the prepared ramekins, filling about ¾ full. Tap each ramekin gently on the counter to release air bubbles.
- Bake for 12-14 minutes until edges are set and firm but centers remain soft and jiggly.
- Remove from oven and let cool for 1-2 minutes. Run a knife around edges to loosen, then invert each ramekin onto a dessert plate to release the molten cake.
Notes
Do not overbake to maintain the molten center; watch for firm edges and a slightly jiggly center. Use room temperature eggs for better mixing and rise. Grease and dust ramekins well with cocoa powder to prevent sticking. Batter can be prepared ahead and refrigerated up to 24 hours; add 1-2 minutes to baking time if baking from cold. Adding a teaspoon of milk or cream can loosen thick batter without compromising texture.
Nutrition
- Serving Size: 1 lava cake
- Calories: 375
- Sugar: 28
- Sodium: 90
- Fat: 24
- Saturated Fat: 14
- Carbohydrates: 38
- Fiber: 4
- Protein: 6
Keywords: chocolate lava cake, molten chocolate cake, easy chocolate dessert, quick dessert, molten center cake, chocolate cake recipe


