Love this? Save it for later!
Share the inspiration with your friends
It is just past seven in the evening, and the house is finally quiet, except for the hum of the refrigerator and the distant sound of the television still running in the other room. The kitchen is cold, and the only thing I want is to make something small, sweet, and slightly messy with my hands. This is the time of year when the air turns crisp, and the excitement of Thanksgiving feels both overwhelming and comforting all at once. You know how it is—there is always that one last-minute craving that hits right when you think you are done with all the prep work. I remember standing here last November, flour dusting my apron, watching my niece trace her fingers into the dough with pure delight. It wasn’t about perfection, and it never is. These cookies are for those quiet moments before the chaos begins, when you just need a little bit of joy in the form of sugar and butter. I honestly think the best part isn’t even eating them, but watching the kids (and let’s be honest, the adults too) leave their little handprints behind in the dough. It feels like a ritual, a tiny anchor in the middle of a busy season. There is something deeply satisfying about creating a tradition that doesn’t require a fancy recipe or expensive ingredients. Just simple sugar cookies, shaped like turkeys, with faces made of chocolate chips. It’s not a performance, and it doesn’t need to be. It’s just a moment to pause, to breathe, and to make something that tastes like home.
Why You’ll Love This Recipe
There is a reason these hand-print turkey cookies have become a staple in my kitchen during the holidays, and it isn’t just because they look cute on a platter. Honestly, they are the perfect balance of easy and impressive, which is a rare combination in the baking world. I have spent years testing different sugar cookie recipes, trying to find one that holds its shape but stays soft enough to press your hand into without crumbling. This version is the result of many failed batches and a few happy accidents. It is the kind of recipe that makes you close your eyes after the first bite because the flavor is just so comforting and familiar. It’s not trying to be anything fancy; it’s just good, honest baking.
- Quick & Easy: These come together in under 30 minutes, which is perfect for busy weeknights or last-minute holiday prep when you don’t want to spend hours in the kitchen.
- Simple Ingredients: No fancy grocery trips needed. You likely already have everything in your pantry, from butter to brown sugar, making this a stress-free baking session.
- Perfect for Family Bonding: Great for involving kids in the holiday festivities, turning baking into a fun, interactive activity rather than a chore.
- Crowd-Pleaser: Always gets rave reviews from kids and adults alike, especially when they get to take a “handprint” home as a keepsake.
- Unbelievably Delicious: The texture is soft and chewy, with a buttery richness that pairs perfectly with the sweet chocolate chip details.
What makes this recipe different from the rest is the specific ratio of wet to dry ingredients. I found that adding a bit of extra brown sugar helps keep the cookies soft for days, which is crucial when you are trying to keep them fresh for a party. Whether you are making these for a classroom share or a quiet night in, this isn’t just another version—it’s your best version. It’s comfort food reimagined for little hands, but with the same soul-soothing satisfaction of a classic sugar cookie. It’s perfect for impressing guests without stress, or turning a simple meal into something memorable.
What Ingredients You Will Need
This recipe uses simple, wholesome ingredients to deliver bold flavor and satisfying texture without the fuss. The beauty of sugar cookies lies in their simplicity, so I always recommend using high-quality butter and fresh vanilla extract, as these two ingredients carry the most weight in the final flavor profile. You don’t need any exotic spices or hard-to-find flours for this one. Everything you need is likely already sitting in your kitchen cabinets or fridge. If you are feeling seasonal, you can swap out the chocolate chips for mini M&Ms or even white chocolate chips with orange sprinkles, but the classic look never fails to charm.
- Unsalted butter, softened: Use a brand like Kerrygold or Plugra for the best flavor and texture. It should be soft enough to leave an indent when pressed but not melted.
- Granulated sugar: For sweetness and structure. I use standard white sugar, but you can substitute half with brown sugar for a chewier texture.
- Light brown sugar, packed: This adds moisture and a hint of caramel flavor, helping the cookies stay soft.
- Large egg, room temperature: This acts as the binder. If your eggs are cold, they can cause the butter to seize up, so let them sit out for 30 minutes.
- Vanilla extract: Use real vanilla, not imitation. It makes a huge difference in the aroma and taste.
- All-purpose flour: The base of the cookie. Do not use cake flour, as it won’t provide enough structure for the hand-print design.
- Baking powder: A little lift to ensure the cookies aren’t too dense.
- Salt: Essential to balance the sweetness and bring out the flavor of the butter.
- Semi-sweet chocolate chips: For the turkey’s beak and wattle. Mini chips work best for detail work.
- Optional: Edible glitter or sprinkles: For a festive touch on the turkey feathers.
If you need to make substitutions, you can use a dairy-free butter alternative, though the texture might be slightly less rich. For a gluten-free option, a 1:1 gluten-free flour blend works well, but be sure to chill the dough longer to prevent spreading. Always measure your flour correctly by spooning it into the cup and leveling it off, rather than scooping directly, to avoid dry cookies.
Equipment Needed
You don’t need a lot of fancy gear to make these cookies, but having the right tools makes the process much smoother. A large mixing bowl is essential, and I prefer a glass or stainless steel bowl so I can see everything clearly. A hand mixer or a stand mixer with a paddle attachment will save you a lot of arm muscle, especially when creaming the butter and sugar together. If you don’t have a mixer, a strong wooden spoon and a bit of elbow grease will work fine. You will also need two baking sheets lined with parchment paper or silicone baking mats. I highly recommend silicone mats because they provide even heat distribution, which prevents the bottoms from burning. A small paring knife is helpful for trimming any excess dough around the turkey shape, and a piping bag with a small round tip (or a ziplock bag with the corner snipped off) is perfect for adding the chocolate chip details. Keep it simple and budget-friendly; you really don’t need anything else.
Preparation Method
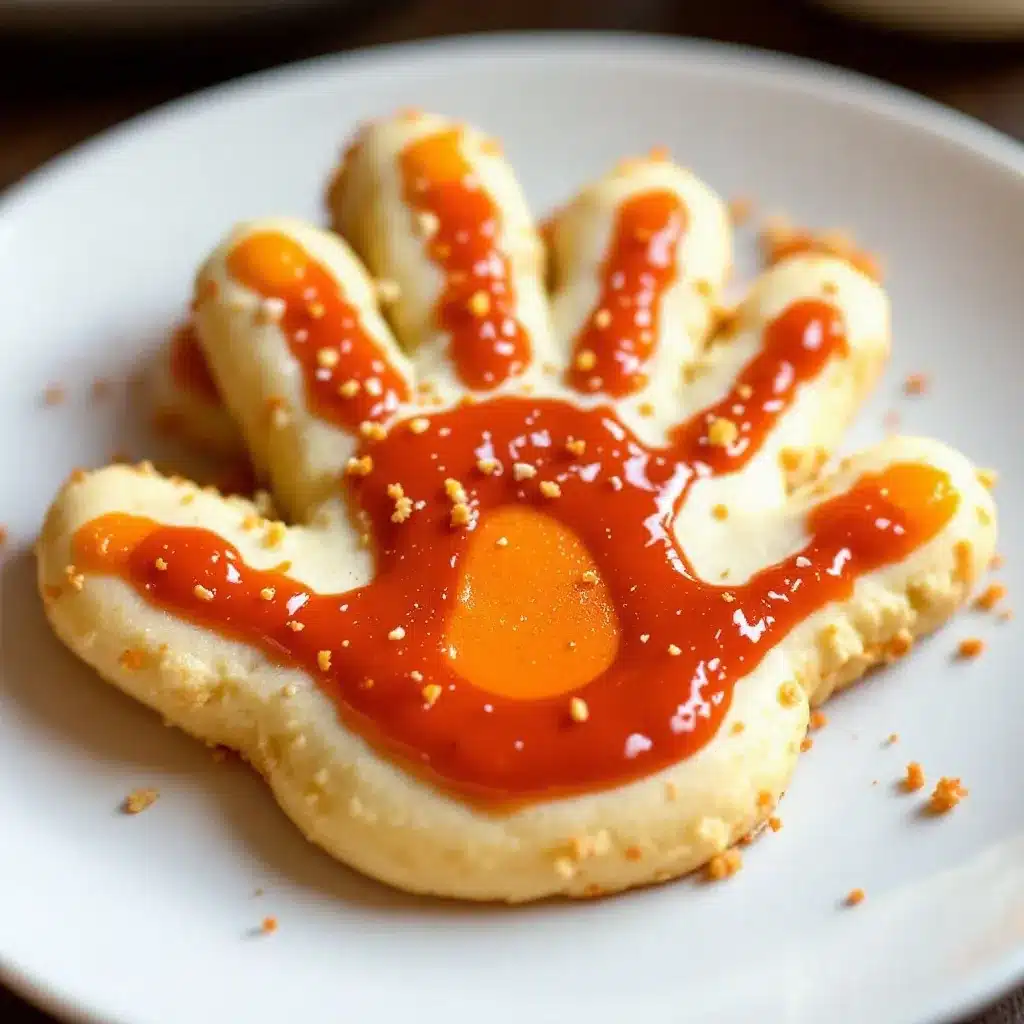
- Cream the butter and sugars: In a large bowl, beat the softened butter, granulated sugar, and brown sugar together until light and fluffy. This should take about 2-3 minutes. If you are using a hand mixer, make sure to scrape down the sides of the bowl halfway through. The mixture should look pale and airy. This step is crucial for incorporating air, which helps the cookies rise slightly.
- Add wet ingredients: Crack the room-temperature egg into the bowl and add the vanilla extract. Mix on low speed just until combined. Do not overmix here, or the cookies can become tough. The batter might look slightly curdled, which is normal.
- Combine dry ingredients: In a separate medium bowl, whisk together the all-purpose flour, baking powder, and salt. This ensures that the leavening agent is evenly distributed throughout the flour.
- Mix dry into wet: Gradually add the dry ingredients to the wet mixture, mixing on low speed. Stop as soon as the flour disappears. Overmixing at this stage develops gluten, which leads to chewy, tough cookies instead of soft ones. The dough should come together in a soft ball.
- Chill the dough: Cover the bowl with plastic wrap and refrigerate the dough for at least 30 minutes. This step is non-negotiable if you want clean hand prints. Cold dough holds its shape better in the oven. While the dough chills, preheat your oven to 350°F (175°C).
- Shape the turkeys: Take a portion of dough (about 2 tablespoons) and roll it into a ball. Place it on a parchment-lined baking sheet. Gently press your hand or a child’s hand into the center of the dough ball, fingers spread out to create the feather shape. Use your thumb to create the turkey’s body and head. Trim any ragged edges with a knife if needed. The dough should be about 1/2 inch thick.
- Add details: Use the tip of a knife or your finger to create small indentations for the eyes. Place two small pieces of chocolate chip for the eyes and a larger one for the beak. Add a small piece of chocolate for the wattle. If using sprinkles, press them gently into the “feather” area.
- Bake: Bake for 10-12 minutes, or until the edges are just starting to turn golden brown. The centers should still look slightly soft and underdone. They will firm up as they cool.
- Cool: Let the cookies cool on the baking sheet for 5 minutes before transferring them to a wire rack. This allows them to set without breaking.
How do I ensure the hand print stays clear?
The key is chilling the dough. Warm dough spreads too quickly in the oven, blurring the details. If your kitchen is very warm, consider chilling the shaped cookies on the baking sheet for 10 minutes before putting them in the oven. Also, press firmly but gently; too much pressure can cause the dough to crack around the edges.
Can I freeze the cookie dough?
Yes, you can. Shape the cookies as directed, place them on a baking sheet, and freeze until solid. Then transfer them to a freezer bag. You can bake them straight from frozen, adding 1-2 minutes to the baking time.
Cooking Tips & Techniques
One common mistake people make is using butter that is too soft or even melted. If the butter is oily, the cookies will spread too much, and the hand print will disappear. The butter should be cool to the touch but soft enough to leave an indent. Another tip is to not overbake. Sugar cookies continue to cook on the hot baking sheet after you take them out of the oven. If they look fully set when you pull them out, they will be too crisp. You want them to look slightly underdone in the center. I also recommend using parchment paper instead of a greased pan. Grease can cause the bottoms to brown too quickly, while parchment ensures even baking. If you are making these with kids, let them handle the shaping, but you handle the chocolate chip details to avoid a mess. It’s a great way to keep the design neat while still letting the little ones have fun. Also, keep an eye on the oven temperature. Every oven runs differently, so you might need to adjust the time by a minute or two. If the edges are browning too fast, lower the temperature by 25 degrees.
Variations & Adaptations
While the classic turkey shape is timeless, you can easily adapt this recipe to suit different tastes or dietary needs. For a festive twist, try using red and green sprinkles instead of chocolate chips for a Christmas theme. If you want to make them gluten-free, simply swap the all-purpose flour for a high-quality 1:1 gluten-free blend. Keep in mind that gluten-free dough can be more fragile, so chill it for a longer period, maybe an hour. For a dairy-free version, use a plant-based butter stick and ensure your chocolate chips are dairy-free as well. You can also experiment with the chocolate details. White chocolate chips mixed with orange sprinkles look like a cute little turkey face, or you can use mini M&Ms for a pop of color. Another variation is to add a hint of cinnamon or nutmeg to the dough for a spiced sugar cookie flavor, which pairs beautifully with the Thanksgiving theme. I once tried adding orange zest to the dough, and it was a hit—it added a bright, fresh note that cut through the sweetness. Don’t be afraid to tweak the recipe to fit your family’s preferences.
Serving & Storage Suggestions
These cookies are best served at room temperature, where the buttery flavor is most pronounced. They pair wonderfully with a cold glass of milk or a warm cup of coffee or tea. For a holiday party, arrange them on a tiered stand with some autumn leaves or small pumpkins for decoration. They also make great gifts when packaged in clear cellophane bags tied with a ribbon. For storage, keep the cookies in an airtight container at room temperature for up to 5 days. If you want to keep them extra soft, place a slice of bread in the container with the cookies; the cookies will absorb the moisture from the bread. They can also be frozen for up to 3 months. To freeze, place them in a single layer in a freezer-safe container, separating layers with parchment paper. Thaw them at room temperature before serving. The flavors actually meld together after a day, making them even better on the second day.
Nutritional Information & Benefits
While these are definitely a treat, they are made with simple ingredients that are easy to understand. Each cookie contains approximately 120 calories, with a balance of carbohydrates from the flour and sugar, and fat from the butter. They are not particularly high in protein or fiber, so they are best enjoyed in moderation as a dessert or snack. For those with dietary restrictions, the recipe can be adapted to be gluten-free or dairy-free, though the nutritional profile may shift slightly. The use of real vanilla and quality butter adds a sense of indulgence without relying on artificial flavors. It’s a recipe that feels wholesome because it is, even if it is sweet. Enjoy them as a mindful treat during the busy holiday season.
Conclusion
Making these easy hand-print turkey sugar cookies is more than just baking; it’s about creating memories and slowing down for a moment. I love this recipe because it is forgiving, fun, and delicious. It doesn’t require a lot of skill, just a little patience and a willingness to get messy. I encourage you to try it and customize it to your liking. Add your own touches, let the kids take the lead, and enjoy the process. If you make these, I’d love to hear how they turned out. Leave a comment below with your favorite variation or a photo of your turkey creations. Share this recipe with friends and family who need a little holiday cheer. Happy baking, and may your holidays be sweet and full of joy.
FAQs
Can I use self-rising flour instead of all-purpose flour?
No, self-rising flour contains baking powder and salt, which can throw off the balance of the recipe. It is best to use all-purpose flour for the correct texture and rise.
Why did my cookies spread too much in the oven?
This usually happens if the butter was too soft or if the dough wasn’t chilled enough. Make sure your butter is cool to the touch and chill the dough for at least 30 minutes before shaping.
How do I store the cookies to keep them soft?
Store them in an airtight container at room temperature. Adding a slice of bread to the container helps retain moisture and keeps the cookies soft for longer.
Can I make these cookies ahead of time?
Yes, you can make the dough ahead and refrigerate it for up to 3 days. You can also bake the cookies and freeze them for up to 3 months.
What if I don’t have chocolate chips for the details?
You can use small pieces of candy, sprinkles, or even a drop of food coloring to create the turkey’s face. The design is flexible, so use what you have on hand.
Pin This Recipe!
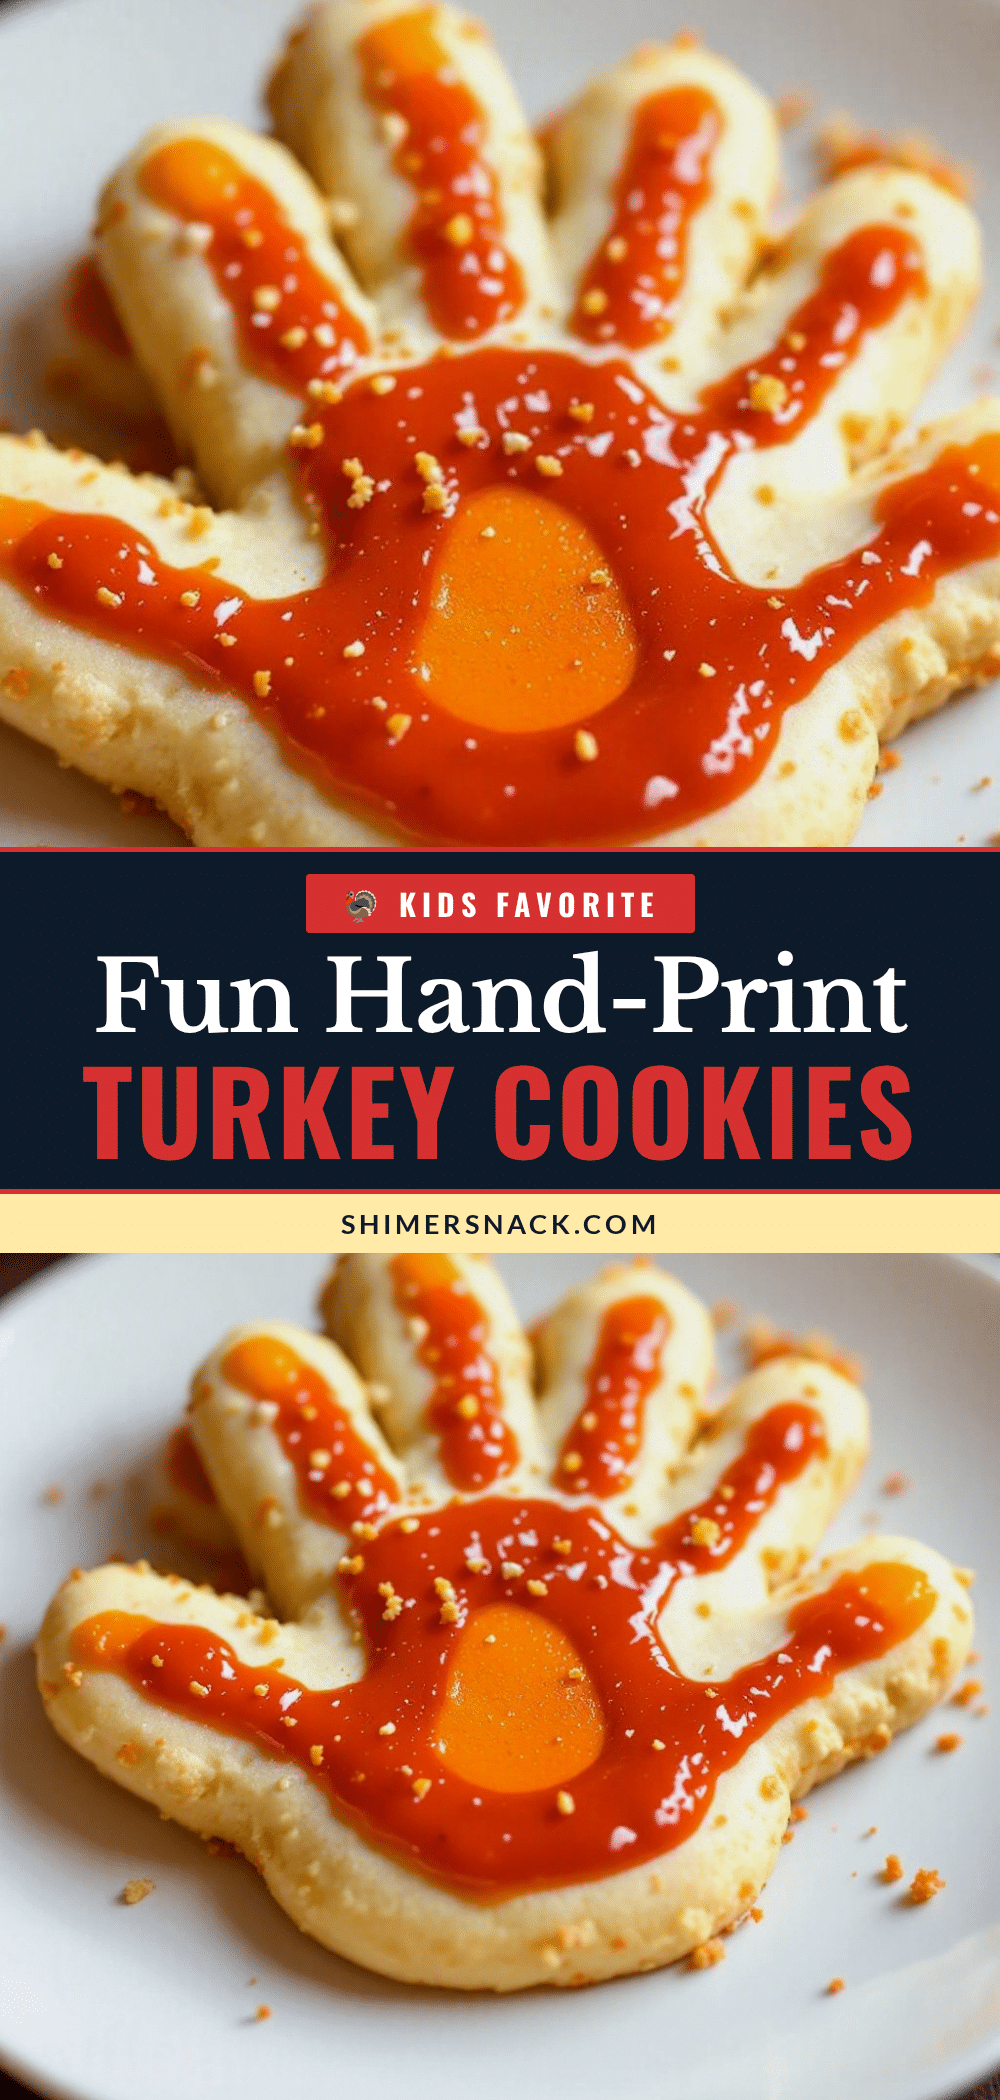
Easy Hand-Print Turkey Sugar Cookies: Perfect Thanksgiving Treat

These soft and chewy sugar cookies are shaped like turkeys with handprints for feathers, making them a fun, interactive, and delicious Thanksgiving treat for kids and adults alike.
- Prep Time: 30 minutes
- Cook Time: 12 minutes
- Total Time: 45 minutes
- Yield: Approximately 24 cookies 1x
- Category: Dessert
- Cuisine: American
Ingredients
- 1 cup unsalted butter, softened
- 1 cup granulated sugar
- 1/2 cup light brown sugar, packed
- 1 large egg, room temperature
- 1 teaspoon vanilla extract
- 2 1/2 cups all-purpose flour
- 1 teaspoon baking powder
- 1/2 teaspoon salt
- 1/2 cup semi-sweet chocolate chips (mini chips work best for details)
- Optional: Edible glitter or sprinkles for festive touch
Instructions
- In a large bowl, beat the softened butter, granulated sugar, and brown sugar together until light and fluffy (about 2-3 minutes).
- Add the room-temperature egg and vanilla extract, mixing on low speed just until combined.
- In a separate medium bowl, whisk together the all-purpose flour, baking powder, and salt.
- Gradually add the dry ingredients to the wet mixture, mixing on low speed until just combined. Do not overmix.
- Cover the dough with plastic wrap and refrigerate for at least 30 minutes.
- Preheat oven to 350°F (175°C) and line baking sheets with parchment paper or silicone mats.
- Roll dough into 2-tablespoon balls and place on baking sheets. Press a hand or child’s hand into the center to create the feather shape, using the thumb for the body/head.
- Trim ragged edges if needed. Use a knife to make indentations for eyes, then add chocolate chips for eyes, beak, and wattle.
- Bake for 10-12 minutes until edges are golden but centers look slightly soft.
- Let cookies cool on the baking sheet for 5 minutes before transferring to a wire rack.
Notes
Ensure butter is softened but not melted to prevent spreading. Chill dough thoroughly to maintain handprint shape. Cookies continue to cook on the hot pan after removal, so slightly underdone centers are desired. Store with a slice of bread to keep soft.
Nutrition
- Serving Size: 1 cookie
- Calories: 120
- Sugar: 10
- Sodium: 45
- Fat: 6
- Saturated Fat: 4
- Carbohydrates: 16
- Fiber: 0.5
- Protein: 1.5
Keywords: Thanksgiving cookies, sugar cookies, handprint cookies, turkey cookies, easy baking, holiday treats, family baking


