Love this? Save it for later!
Share the inspiration with your friends
Introduction
“I never thought I’d be that person—baking cupcakes at midnight with a kitchen full of colorful frosting and sprinkles—just to match school colors,” I confessed to my friend as we laughed over a half-messy counter. It was the Friday before my niece’s graduation party, and honestly, I was juggling a million last-minute details. The invitation to bring a dessert felt simple enough until I realized the cupcakes had to be not just tasty, but also proudly decked out in her school’s colors. You know that feeling when you want something to be perfect but also need it to be easy and fuss-free? That was me, scribbling down notes and testing frosting shades that somehow became a fun challenge rather than a stress trigger.
Maybe you’ve been there too—trying to pull together a celebration that feels special but without turning your kitchen into a disaster zone. This recipe for easy make-ahead graduation cupcakes with school colors was born out of that very chaos. I mean, who has time for last-minute baking when there’s a party to prep and guests arriving soon? These cupcakes not only saved the day but became the centerpiece everyone talked about, thanks to their vibrant, school-spirited look and surprisingly simple steps. Plus, I discovered some neat tricks for prepping in advance that let me actually enjoy the party instead of hiding in the kitchen.
So, if you’re looking for a no-fuss way to celebrate a big milestone with a sweet touch of school pride, let me walk you through how these cupcakes became my go-to graduation treat. Trust me, once you try this, you’ll want to make them a tradition for every cap-and-gown occasion.
Why You’ll Love This Recipe
Honestly, these easy make-ahead graduation cupcakes with school colors have become a staple for every celebration in my circle, and here’s why I’m confident you’ll love them too:
- Quick & Easy: You can whip up the batter and bake the cupcakes in about 30 minutes, then handle the frosting and decorating on your own schedule.
- Simple Ingredients: No need to hunt for anything exotic. You probably have everything in your pantry right now, from all-purpose flour to basic food coloring.
- Perfect for Graduation Parties: Whether it’s a casual backyard bash or a more formal indoor event, these cupcakes fit right in with their festive, school-color flair.
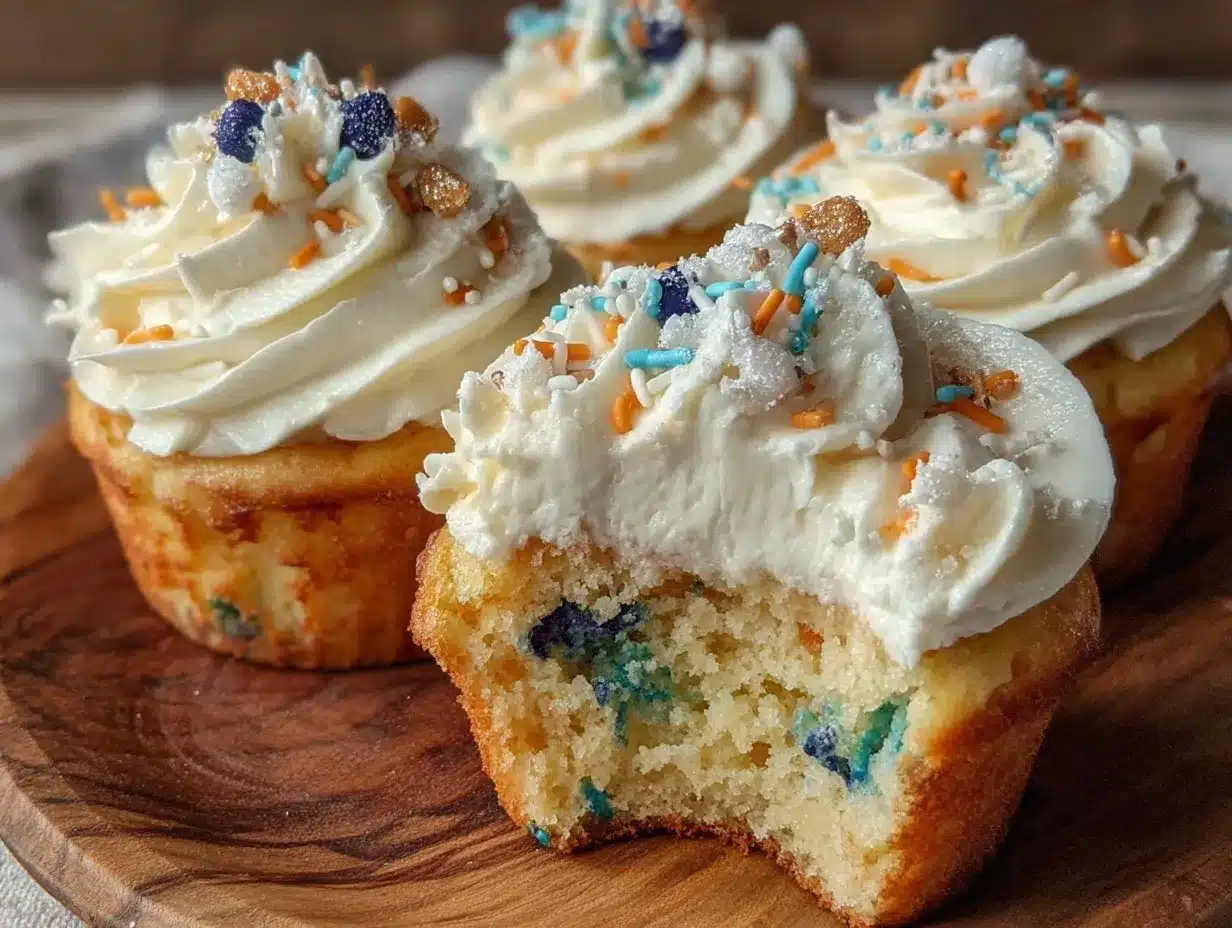
- Crowd-Pleaser: Kids, adults, the shy introverts—they all dig into these. The flavor is classic vanilla with a moist crumb and creamy frosting that’s not too sweet.
- Unbelievably Delicious: The texture is light but rich, with just the right balance of sweetness and butteriness, giving you that comforting, nostalgic feel every bite.
What sets this recipe apart is the make-ahead magic combined with the true-to-school colors. I’ve experimented with different food colorings to find ones that stay vibrant without turning your frosting into a mess. Plus, the frosting technique is straightforward, even if you’re not a piping pro. It’s not just about looking good—this recipe is about making your life easier while still delivering that wow factor.
And let me tell you, after the first bite, you’ll close your eyes and get that warm, celebratory feeling. It’s the kind of dessert that makes the occasion memorable without causing you to pull an all-nighter. So go ahead, get ready to impress with these cupcakes that really say “Congratulations” in every colorful swirl.
What Ingredients You Will Need
This recipe uses simple, wholesome ingredients to deliver bold flavor and a satisfying texture without the fuss. You can grab all these from your pantry or local grocery store, and swapping out a few items to suit your preferences is easy too.
- For the Cupcakes Batter:
- 1 ½ cups (190g) all-purpose flour, sifted
- 1 ½ teaspoons baking powder
- ¼ teaspoon salt
- ½ cup (115g) unsalted butter, softened (I recommend Plugrá for best texture)
- 1 cup (200g) granulated sugar
- 2 large eggs, room temperature
- 2 teaspoons pure vanilla extract
- ½ cup (120ml) whole milk, room temperature (swap with almond milk for dairy-free)
- For the Buttercream Frosting:
- 1 cup (230g) unsalted butter, softened
- 4 cups (480g) powdered sugar, sifted
- 2 teaspoons vanilla extract
- 2-4 tablespoons heavy cream or milk (adjust for desired consistency)
- Gel food coloring in your school’s colors (I personally like AmeriColor gels because they keep the color vibrant without altering flavor)
- For Decoration:
- Edible sprinkles or glitter matching the school colors (optional)
- Graduation-themed cupcake toppers or flags (optional)
Pro tip: When selecting your food coloring, go for gel-based rather than liquid—they give you bolder hues without thinning the frosting. If you want to switch things up seasonally, fresh berries make a fun topping for late spring graduations, or try edible gold dust for an extra touch of glam.
Equipment Needed
- Standard 12-cup muffin tin (non-stick preferred)
- Paper cupcake liners (white or color-coordinated with your school colors)
- Mixing bowls (one large for batter, one medium for frosting)
- Electric hand mixer or stand mixer (makes frosting smooth and fluffy; I use a KitchenAid Artisan that’s been a kitchen workhorse for years)
- Measuring cups and spoons (accuracy is key for consistent cupcakes!)
- Rubber spatula (great for scraping down the bowl and folding batter)
- Offset spatula or butter knife for spreading frosting
- Optional: Piping bags and tips if you want fancy frosting designs
If you don’t have a stand mixer, no worries—an electric hand mixer works just fine. For budget-friendly options, simple silicone spatulas and reusable piping bags can be found online or at kitchen stores without breaking the bank. Oh, and one lesson learned: always line your muffin tin with liners, or you’ll have cupcake rescue missions on your hands when they stick!
Preparation Method
- Preheat your oven to 350°F (175°C). Line your muffin tin with cupcake liners to prevent sticking. This step usually takes about 5 minutes.
- Mix the dry ingredients: In a medium bowl, whisk together the sifted all-purpose flour, baking powder, and salt. Set aside. This helps ensure even distribution of leavening agents and salt for perfect rise and flavor.
- Cream the butter and sugar: Using your mixer, beat the softened butter and granulated sugar on medium-high speed until light and fluffy—about 3-4 minutes. You’ll notice the mixture turn pale and airy, which means air is getting in to lighten the cupcakes.
- Add eggs and vanilla: Beat in the eggs one at a time, mixing well after each addition. Then stir in the vanilla extract. If your batter looks a little curdled here, don’t panic; it’s normal.
- Combine wet and dry ingredients: Alternate adding the flour mixture and milk to the butter mixture, starting and ending with the flour. Mix on low speed just until combined—overmixing can make cupcakes dense, so keep it gentle.
- Fill cupcake liners: Spoon batter into liners, filling each about two-thirds full. I find using a cookie scoop helps keep sizes consistent and cuts down on mess.
- Bake for 18-22 minutes: The cupcakes are done when a toothpick inserted in the center comes out clean or with a few moist crumbs. My oven runs hot, so I checked at 18 minutes to avoid overbaking.
- Cool completely: Let cupcakes cool in the pan for 5 minutes, then transfer to a wire rack. Cooling fully before frosting is key—otherwise, your frosting might melt right off!
- Prepare the buttercream: Beat the softened butter on medium speed until creamy, about 2 minutes. Gradually add powdered sugar, one cup at a time, mixing on low until combined. Add vanilla and 2 tablespoons of cream, increasing speed to medium-high for 3 minutes for a fluffy finish. Adjust cream for your preferred consistency.
- Color the frosting: Divide the frosting into separate bowls for each school color. Add gel food coloring a little at a time, stirring well until you reach the desired shade. Remember, a little goes a long way here.
- Make ahead or frost immediately: You can refrigerate the cupcakes and frosting separately for up to 2 days. Bring frosting to room temperature and re-whip before applying. For best results, frost the cupcakes a few hours before serving.
- Decorate: Use a piping bag or simple knife to swirl frosting atop cupcakes in your school colors. Add sprinkles or toppers for that final festive touch.
Quick tip: If you notice your frosting is too soft after refrigeration, pop it in the fridge for 10-15 minutes to firm up before piping. Also, when mixing colors, wear gloves or use a spoon to avoid stained fingers!
Cooking Tips & Techniques
When making these graduation cupcakes, a few tricks can really make a difference:
- Room Temperature Ingredients: Using eggs and milk at room temperature helps the batter blend more smoothly, which means lighter cupcakes.
- Don’t Overmix: Once you add the flour, mix just enough to combine. Overworking the batter develops gluten, making cupcakes tough instead of tender.
- Coloring the Frosting: Gel colors are your best bet for vibrant hues that don’t water down the frosting. Start with small amounts, and add more gradually to avoid unexpected shades.
- Make Ahead Magic: You can bake cupcakes a day or two in advance and freeze them unfrosted. Thaw completely before frosting for fresh taste.
- Frosting Consistency: If your frosting feels too stiff, add a splash of milk; too soft, add more powdered sugar. This helps when you want smooth piping or easy spreading.
- Multitasking: While cupcakes bake, prepare your frosting. It saves time and keeps you from feeling overwhelmed.
One time, I accidentally added too much color to a batch and ended up with a bright neon blue frosting that my niece found hilarious—proof that even mishaps can add fun to the process! Just keep a paper towel handy and embrace the mess.
Variations & Adaptations
Want to switch things up? Here are some fun ways to adapt this recipe for different diets, flavors, or occasions:
- Gluten-Free Option: Substitute the all-purpose flour with a 1:1 gluten-free baking blend. Cupcakes might be a bit more delicate but still delicious.
- Dairy-Free Version: Use coconut oil or dairy-free butter instead of regular butter, and swap milk with almond or oat milk. The frosting can be made with dairy-free margarine or vegan butter alternatives.
- Chocolate Twist: Replace ¼ cup of flour with unsweetened cocoa powder for a chocolate cupcake base. Keep the frosting vanilla or try a cream cheese frosting.
- Seasonal Flair: Add a teaspoon of lemon zest or orange zest to the batter for a fresh, spring vibe. Perfect for May or June graduations.
- Personal Favorite: I once added a swirl of homemade raspberry jam into the center of each cupcake before baking. It was a surprise burst of flavor that paired amazingly with the vanilla frosting.
Serving & Storage Suggestions
These cupcakes are best served at room temperature to bring out the full flavor and creamy frosting texture. For presentation, arrange them on a platter with some matching ribbon or fresh flowers in school colors to make the display pop.
They pair wonderfully with light beverages like iced tea or sparkling lemonade, balancing the sweetness with refreshing notes. For a cozy indoor party, a warm cup of coffee or hot chocolate complements the cupcakes nicely.
To store, keep the cupcakes in an airtight container in the refrigerator for up to 3 days. If you want to keep them longer, freeze unfrosted cupcakes in a freezer-safe bag for up to 3 months. When ready to serve, thaw overnight in the fridge and frost just before your event.
Reheat refrigerated cupcakes by letting them sit at room temperature for 30 minutes or warming briefly in the microwave (about 10 seconds) if you prefer a softer texture. The flavors mellow and meld beautifully after a day, so sometimes making them a day ahead actually improves the taste.
Nutritional Information & Benefits
Each cupcake contains approximately 250-300 calories, depending on frosting thickness, with around 4 grams of protein and 15 grams of fat. The recipe uses real butter and whole milk, contributing to a rich texture and satisfying flavor.
While these treats are definitely an indulgence, using quality ingredients like real vanilla and fresh butter adds wholesome flavor without artificial aftertastes. For those watching gluten or dairy, the variations make it easier to accommodate dietary needs.
Personally, I like to think these cupcakes bring more than calories—they bring joy and celebration, which is just as important for well-being. After all, marking milestones with something sweet is part of what makes life delicious.
Conclusion
So there you have it—easy make-ahead graduation cupcakes that hit all the right notes: vibrant school colors, delicious classic flavor, and stress-free prep. Whether you’re a seasoned baker or trying your hand at decorating for the first time, this recipe offers a foolproof way to impress without overwhelm.
Feel free to tweak the colors, add your own decorations, or experiment with the variations to make these cupcakes truly your own. I keep coming back to this recipe because it combines simplicity with celebration in a way that actually lets me enjoy the party, not just prepare for it.
If you give this a try, I’d love to hear how your cupcakes turned out or what fun twists you added. Drop a comment below or share your photos—let’s celebrate these milestones together! Remember, every graduation deserves a sweet send-off, and these cupcakes are just the ticket.
Happy baking and congrats to all the grads out there!
FAQs
Can I make these cupcakes a day in advance?
Absolutely! You can bake them a day or two ahead and store them in an airtight container. Frost them on the day of the party for the best look and taste.
What’s the best way to get vibrant school colors in frosting?
Use gel-based food coloring and add it gradually to your frosting. Gel colors provide bold hues without watering down the texture.
Can I freeze these cupcakes?
Yes, freeze unfrosted cupcakes in a freezer-safe bag for up to 3 months. Thaw overnight in the fridge, then frost before serving.
How do I prevent cupcakes from sticking to the pan?
Use quality cupcake liners and fill them properly. Also, let cupcakes cool before removing them from the pan to avoid breaking.
What if I don’t have piping bags or tips for decorating?
No worries! You can spread the frosting with an offset spatula or butter knife. For a quick swirl effect, use a spoon to dollop and spread in circles.
Pin This Recipe!
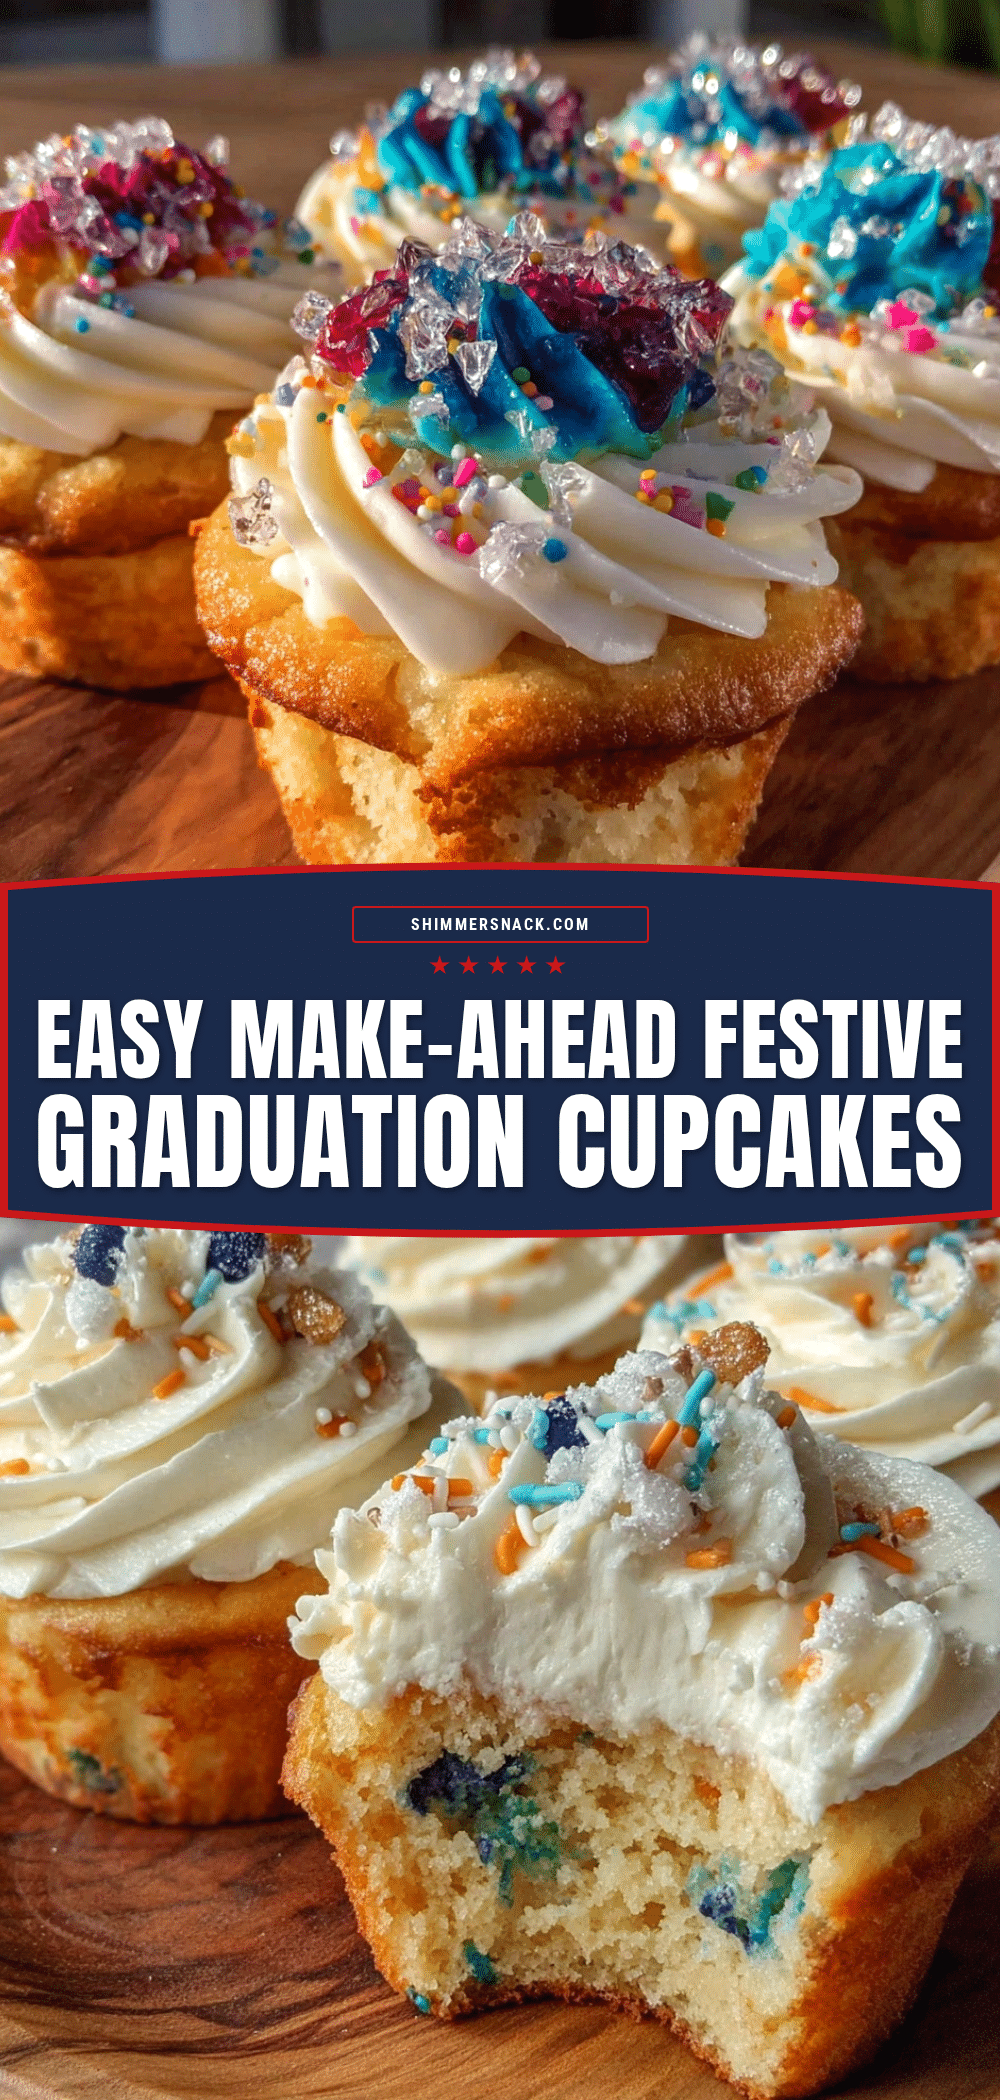
Easy Make-Ahead Graduation Cupcakes
These easy make-ahead graduation cupcakes feature classic vanilla flavor with moist crumb and creamy buttercream frosting in vibrant school colors. Perfect for celebrations, they are quick to bake and can be prepared in advance.
- Prep Time: 15 minutes
- Cook Time: 20 minutes
- Total Time: 35 minutes
- Yield: 12 servings 1x
- Category: Dessert
- Cuisine: American
Ingredients
- 1 ½ cups (190g) all-purpose flour, sifted
- 1 ½ teaspoons baking powder
- ¼ teaspoon salt
- ½ cup (115g) unsalted butter, softened
- 1 cup (200g) granulated sugar
- 2 large eggs, room temperature
- 2 teaspoons pure vanilla extract
- ½ cup (120ml) whole milk, room temperature
- 1 cup (230g) unsalted butter, softened (for frosting)
- 4 cups (480g) powdered sugar, sifted
- 2 teaspoons vanilla extract (for frosting)
- 2–4 tablespoons heavy cream or milk (for frosting)
- Gel food coloring in your school’s colors
- Edible sprinkles or glitter matching the school colors (optional)
- Graduation-themed cupcake toppers or flags (optional)
Instructions
- Preheat your oven to 350°F (175°C). Line your muffin tin with cupcake liners.
- In a medium bowl, whisk together sifted all-purpose flour, baking powder, and salt.
- Using a mixer, beat softened butter and granulated sugar on medium-high speed until light and fluffy, about 3-4 minutes.
- Beat in eggs one at a time, mixing well after each addition, then stir in vanilla extract.
- Alternate adding the flour mixture and milk to the butter mixture, starting and ending with the flour. Mix on low speed just until combined.
- Spoon batter into liners, filling each about two-thirds full.
- Bake for 18-22 minutes or until a toothpick inserted in the center comes out clean or with a few moist crumbs.
- Let cupcakes cool in the pan for 5 minutes, then transfer to a wire rack to cool completely.
- For the frosting, beat softened butter on medium speed until creamy, about 2 minutes.
- Gradually add powdered sugar, one cup at a time, mixing on low until combined.
- Add vanilla and 2 tablespoons of cream, increase speed to medium-high and beat for 3 minutes until fluffy. Adjust cream for desired consistency.
- Divide frosting into separate bowls for each school color and add gel food coloring gradually until desired shade is reached.
- Cupcakes and frosting can be refrigerated separately for up to 2 days. Bring frosting to room temperature and re-whip before applying.
- Frost cupcakes using a piping bag or offset spatula. Decorate with sprinkles or toppers as desired.
Notes
Use gel-based food coloring for vibrant frosting without thinning. Cupcakes can be baked 1-2 days ahead and frozen unfrosted for up to 3 months. Bring frosting to room temperature and re-whip before frosting. Avoid overmixing batter to keep cupcakes tender. Room temperature ingredients help batter blend smoothly.
Nutrition
- Serving Size: 1 cupcake
- Calories: 275
- Sugar: 25
- Sodium: 150
- Fat: 15
- Saturated Fat: 9
- Carbohydrates: 35
- Fiber: 0.5
- Protein: 4
Keywords: graduation cupcakes, make-ahead cupcakes, school colors cupcakes, vanilla cupcakes, buttercream frosting, party dessert