Love this? Save it for later!
Share the inspiration with your friends
Introduction
“I swear, the best recipes come at the most unexpected moments,” my friend Lisa said one Saturday afternoon as we stood in her tiny kitchen surrounded by half-empty shopping bags and a mountain of ingredients. We had just volunteered to bring dessert to a surprise birthday potluck, and time was not exactly on our side. The clock was ticking, and honestly, I was stressing about what dessert could be both delicious and quick. Lisa, ever the calm one, pulled out a battered notebook from her cabinet and said, “Here, try these Easy Make-Ahead Potluck Dessert Bars. They’re a lifesaver.”
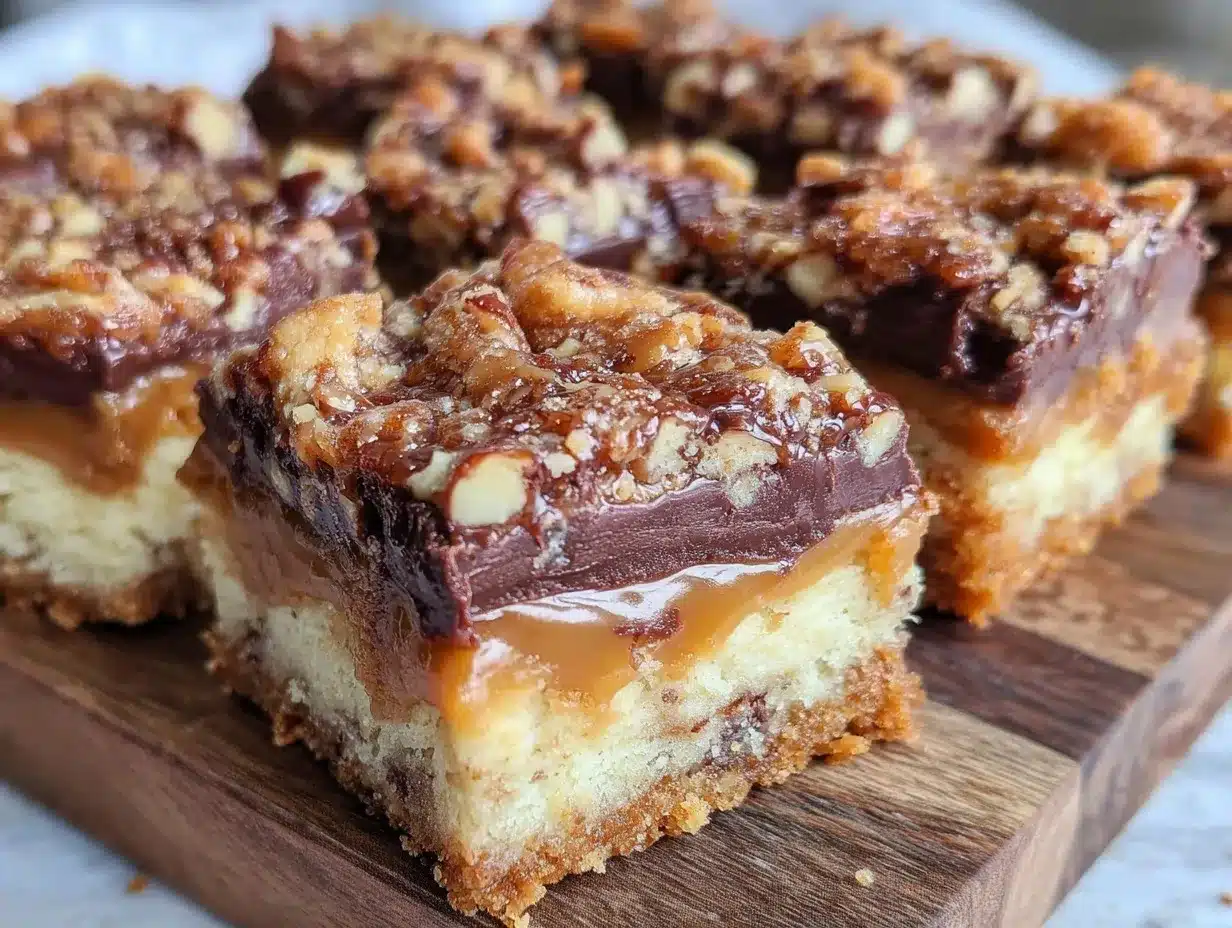
Now, I wasn’t expecting much. You know that feeling when you’re sure something quick means something boring? But as soon as these bars came out of the oven, that skepticism melted away. The golden crust, the gooey center, and the perfect balance of sweetness had me hooked. What made it even better? We made them the night before, wrapped them tight, and woke up to a kitchen smelling like a bakery. Honestly, if you’ve ever been caught off guard by a last-minute potluck invite, you’ll get why this recipe stuck with me.
Maybe you’ve been there—rummaging through your pantry, hoping for a miracle dessert that doesn’t involve a trip to the store or hours of work. These dessert bars fit that bill perfectly. They’re the kind of treat that’s fuss-free but still earns you those “wow” compliments. I’m telling you, this recipe has saved more than one weekend get-together, and it just might become your go-to too.
Why You’ll Love This Recipe
After testing and tweaking this recipe multiple times, I can say with confidence that these Easy Make-Ahead Potluck Dessert Bars are a winner for so many reasons:
- Quick & Easy: They come together in under 30 minutes, making them perfect for last-minute plans or busy weeknights.
- Simple Ingredients: No fancy or hard-to-find items here—just pantry staples you probably already have on hand.
- Perfect for Any Occasion: Whether it’s a casual potluck, a holiday gathering, or just a cozy weekend treat, these bars fit right in.
- Crowd-Pleaser: They vanish fast! Kids, adults, picky eaters—everyone asks for seconds (and sometimes thirds).
- Unbelievably Delicious: The texture is just right—crispy edges with a chewy, gooey center that hits all the right notes.
This isn’t just another dessert bar recipe. What sets it apart is the make-ahead magic. You can prep everything a day or two in advance, which means less stress on the day of the event. Plus, the flavors actually get better after resting, so it’s a win-win.
Honestly, there’s something comforting about pulling these out of the fridge and knowing you’re ready, no matter what the day throws at you. If you want a dessert that’s as reliable as it is tasty, this is it.
What Ingredients You Will Need
This recipe uses simple, wholesome ingredients to deliver bold flavor and satisfying texture without the fuss. Most of these are pantry staples, which makes it super easy to whip up anytime.
- For the Base:
- 1 cup (125g) all-purpose flour (I recommend King Arthur for consistent results)
- ½ cup (115g) unsalted butter, melted (adds richness and a buttery crunch)
- ⅓ cup (65g) granulated sugar
- ¼ teaspoon salt (balances sweetness)
- For the Filling:
- 2 large eggs, room temperature (for binding and richness)
- ¾ cup (150g) brown sugar, packed (for a deep, caramel flavor)
- 1 teaspoon vanilla extract (pure is best for flavor)
- 1 cup (175g) chocolate chips or chunks (semi-sweet or milk chocolate works great)
- ½ cup (50g) chopped nuts, optional (walnuts or pecans for crunch)
- Optional Toppings:
- Powdered sugar for dusting
- Sea salt flakes (for a subtle salty contrast)
If you want to experiment, feel free to swap out the chocolate chips with white chocolate or dried fruit. For gluten-free options, almond flour works well but changes the texture slightly. I’ve also made these with coconut oil instead of butter when I ran out—just remember it’ll add a mild coconut flavor.
Equipment Needed
Making these dessert bars doesn’t require any fancy gadgets, which is part of what I love about the recipe.
- 8×8-inch baking pan: This is the ideal size for even baking. If you don’t have one, a 9×9-inch pan can work, but the bars will be slightly thinner.
- Mixing bowls: One large bowl for the base and another for the filling.
- Whisk and spatula: For combining ingredients smoothly. A rubber spatula helps scrape every bit of batter out.
- Measuring cups and spoons: Accuracy matters here to keep the texture just right.
- Optional: Parchment paper: Line your pan with this for easy removal and cleanup—trust me, it’s worth it.
I’ve used a glass baking dish before, but I prefer metal pans because they bake the edges a little crisper. Also, if you don’t have a whisk, a fork works fine for beating eggs. No need to buy extra gear unless you want to!
Preparation Method
- Preheat your oven to 350°F (175°C). Line the 8×8-inch baking pan with parchment paper or grease it lightly to prevent sticking. This step takes about 10 minutes.
- Prepare the base: In a large bowl, combine 1 cup (125g) flour, ⅓ cup (65g) granulated sugar, and ¼ teaspoon salt. Pour in ½ cup (115g) melted unsalted butter and stir with a spatula until crumbly but starting to come together. It should look like coarse sand. Press this mixture evenly into the bottom of your prepared pan—don’t skip the pressing, or your bars might fall apart later.
- Bake the base for 12 minutes. You want it to be set but not browned. It’ll firm up more as it cools. A good tip: the edges will start looking golden, and you’ll smell that buttery aroma—perfect cues!
- While the base is baking, prepare the filling: In a separate bowl, whisk 2 large eggs and ¾ cup (150g) packed brown sugar until smooth and slightly frothy. Stir in 1 teaspoon vanilla extract.
- Add chocolate chips (1 cup/175g) and chopped nuts (½ cup/50g) if using to the filling mixture, folding gently to combine without deflating the eggs.
- Remove the base from the oven and pour the filling evenly over it. Spread gently with a spatula if needed. The batter will be thick but spreadable.
- Bake for an additional 20-25 minutes. You want the filling to be set around the edges but still slightly gooey in the center—like that perfect fudgy texture. A toothpick inserted near the center should come out with a few moist crumbs, not wet batter.
- Cool completely in the pan on a wire rack. This is crucial. If you cut them while warm, they’ll crumble. Once cooled, refrigerate for at least an hour to firm up—this is where the make-ahead magic happens.
- Cut into bars and optionally dust with powdered sugar or sprinkle with sea salt flakes before serving. Store leftovers in an airtight container in the fridge for up to 5 days.
Pro tip: If you forget to line your pan with parchment (been there!), let the bars cool completely, then run a knife around the edges before flipping onto a cutting board. It helps them release without breaking.
Cooking Tips & Techniques
When making these dessert bars, a few little tricks make all the difference:
- Don’t overbake the base. It should be just set and slightly pale, not browned. This keeps the bars chewy instead of dry.
- Use room temperature eggs. They mix better with the sugar and create a smoother filling.
- Chilling the bars before cutting is key. It helps them hold their shape and makes slicing cleaner.
- For a shinier, richer filling, try browning the butter before mixing it in the base. It adds a nutty flavor that’s subtle but amazing.
- If you want to speed things up, you can prepare the bars the night before and pop them in the fridge overnight. Just bring them to room temperature for about 15 minutes before serving.
- Watch your oven temperature. Ovens vary, so check a few minutes early to avoid overbaking.
- When mixing the filling, fold in the chocolate and nuts gently to keep some air in the mixture, which results in a lighter texture.
I once made the mistake of skipping the chilling step—let’s say it turned into a crumbly mess on the cutting board. Lesson learned! Also, multitasking by preheating your oven while measuring ingredients saves time. Trust me, every minute counts when hosting.
Variations & Adaptations
These dessert bars are incredibly adaptable to suit different tastes and dietary needs:
- Gluten-Free: Substitute the all-purpose flour with a 1:1 gluten-free blend. I’ve found Bob’s Red Mill works well here, though the texture is a bit softer.
- Vegan: Use flax eggs (1 tablespoon ground flaxseed + 3 tablespoons water per egg) and swap butter for coconut oil. Replace chocolate chips with dairy-free versions.
- Flavor Twists: Add ½ teaspoon cinnamon or espresso powder to the base for extra warmth and depth. You can also swap chocolate chips with dried cherries or cranberries for a fruity touch.
- Nut-Free: Simply omit the nuts or replace with seeds like pumpkin or sunflower if you want crunch without allergens.
- Seasonal: In the summer, I like adding fresh raspberries on top before the final bake—gives a tart contrast that’s irresistible.
One time, I swapped the brown sugar for coconut sugar and added shredded coconut to the filling—total game changer! Feel free to make these bars your own.
Serving & Storage Suggestions
These dessert bars are best served at room temperature or slightly chilled. The day after baking, they develop a richer flavor and firmer texture, so I recommend making them ahead when you can.
- Presentation: Cut into neat squares and arrange on a platter. Dust with powdered sugar or sprinkle sea salt flakes for contrast.
- Pairings: Serve alongside fresh berries, a scoop of vanilla ice cream, or a dollop of whipped cream for a simple indulgence.
- Storage: Keep bars in an airtight container in the refrigerator for up to 5 days. For longer storage, freeze individually wrapped bars in a freezer-safe bag for up to 3 months.
- Reheating: Warm bars in the microwave for 15-20 seconds to soften or enjoy straight from the fridge for a firmer bite.
These bars hold up well, so they’re perfect for taking to potlucks or packing in lunchboxes without worry. Plus, the flavors meld beautifully over time, making leftovers even more tempting.
Nutritional Information & Benefits
Each dessert bar (based on 16 servings) roughly contains:
- Calories: 180-210 kcal
- Fat: 9-11g (mostly from butter and nuts)
- Carbohydrates: 22-25g
- Protein: 2-3g
Key ingredients like nuts provide healthy fats and some protein, while the eggs add nutrient density. Using dark chocolate chips can increase antioxidants. While this is definitely a treat, it also includes wholesome ingredients without artificial additives.
If you’re mindful of allergens or specific diets, the variations section offers ways to tailor the bars without losing flavor. I find that satisfying a sweet tooth with homemade treats like this feels so much better than store-bought alternatives.
Conclusion
So there you have it—Easy Make-Ahead Potluck Dessert Bars that are as reliable as they are scrumptious. This recipe has a special place in my kitchen because it’s saved me from many a last-minute dessert scramble and consistently impresses without the stress.
Feel free to customize it to your heart’s content and make it your own. Whether you’re headed to a friend’s gathering or just craving a no-fuss sweet treat, these bars are ready to deliver.
Let me know how your batch turns out or if you tried a fun twist! I love hearing your stories and tips. Here’s to many more potlucks and easy desserts in your future—happy baking!
FAQs
Can I make these dessert bars gluten-free?
Absolutely! Substitute the all-purpose flour with a 1:1 gluten-free flour blend. Just note that the texture might be a bit softer but still delicious.
How far in advance can I make these bars?
You can prepare these bars up to 2 days ahead and store them in the fridge. They actually taste better after resting and firming up.
Can I freeze the dessert bars?
Yes, wrap individual bars tightly and freeze them in an airtight container or freezer bag for up to 3 months. Thaw in the fridge before serving.
What if I don’t have an 8×8-inch pan?
A 9×9-inch pan works fine, but the bars will be a bit thinner. Adjust the baking time by a few minutes and keep an eye on them.
Can I use different mix-ins instead of chocolate chips?
Definitely! Dried fruit, white chocolate, or nuts are great substitutions. Just keep the quantity about the same to maintain texture balance.
Pin This Recipe!
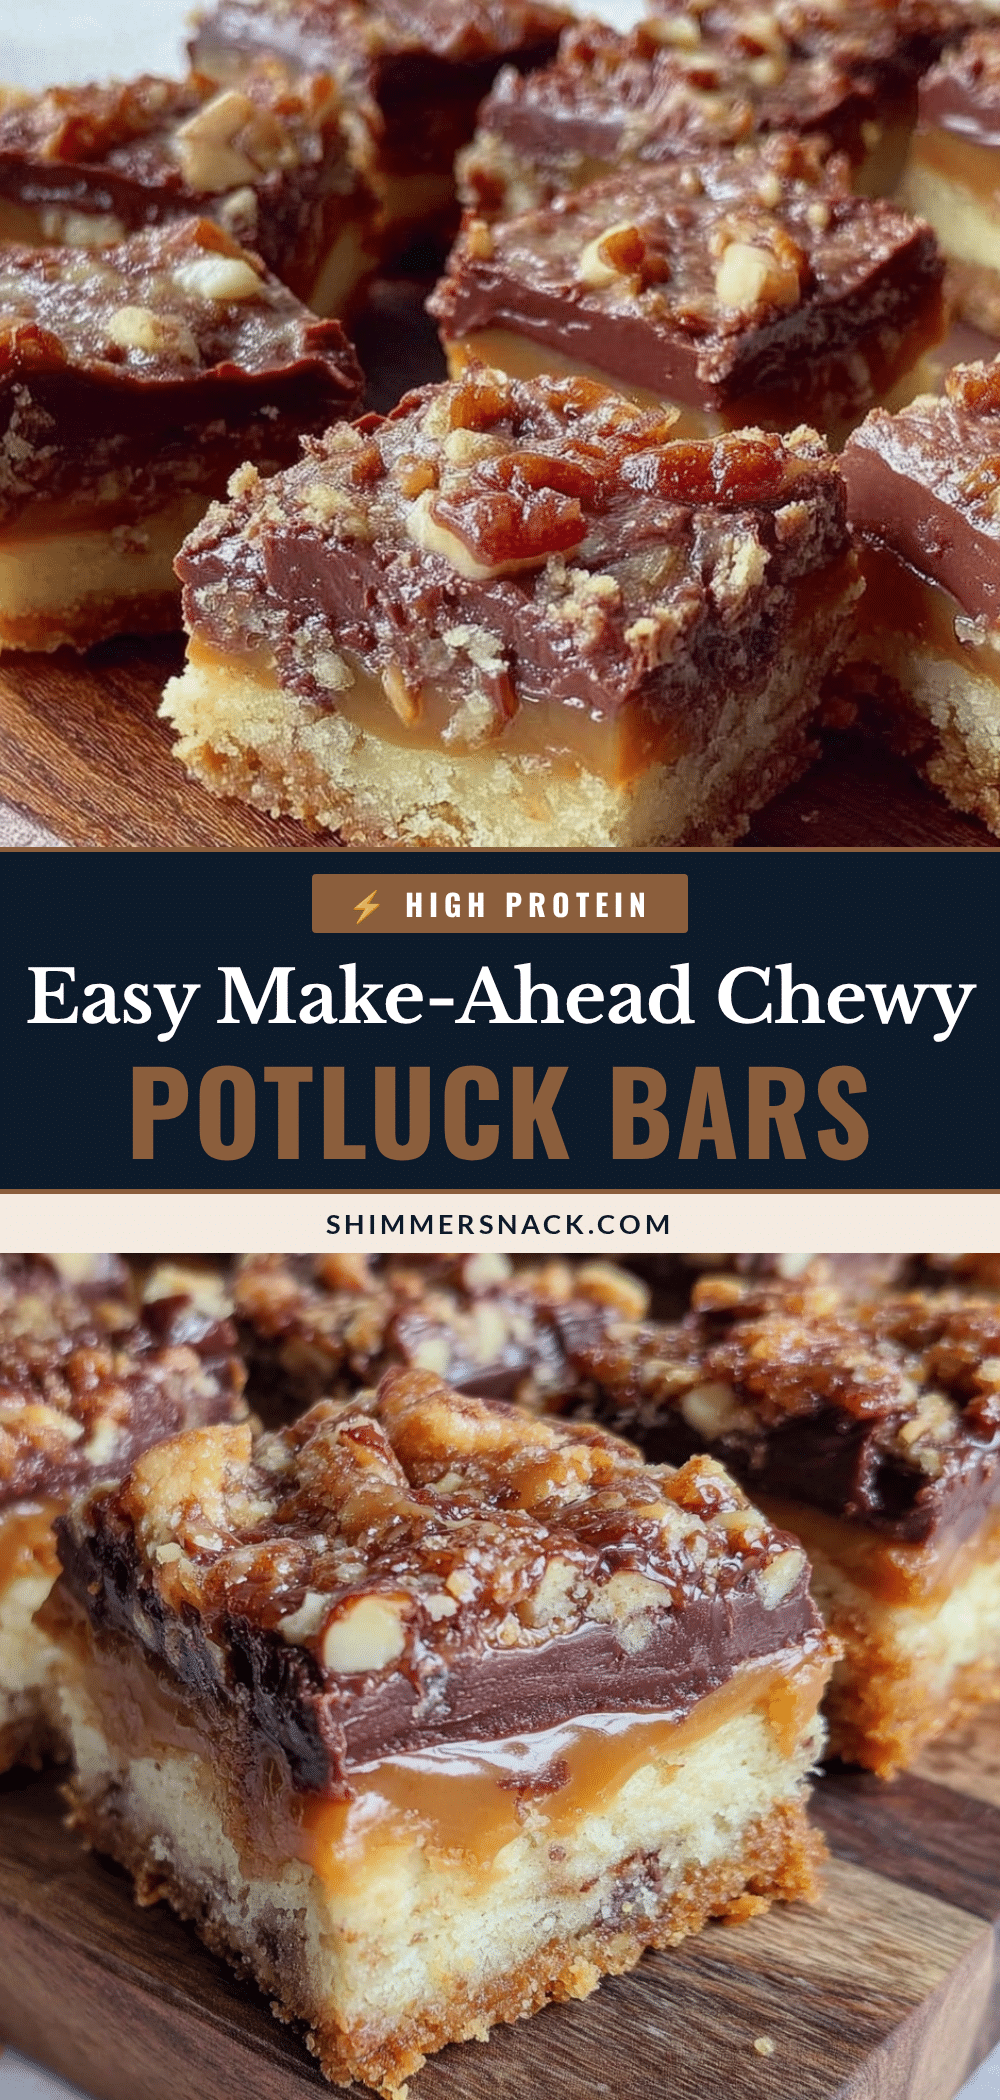
Easy Make-Ahead Potluck Dessert Bars

These dessert bars are quick, easy, and perfect for any occasion. They feature a buttery crust with a gooey chocolate and nut filling, and can be made ahead for stress-free entertaining.
- Prep Time: 15 minutes
- Cook Time: 35 minutes
- Total Time: 50 minutes
- Yield: 16 servings 1x
- Category: Dessert
- Cuisine: American
Ingredients
- 1 cup (125g) all-purpose flour
- ½ cup (115g) unsalted butter, melted
- ⅓ cup (65g) granulated sugar
- ¼ teaspoon salt
- 2 large eggs, room temperature
- ¾ cup (150g) brown sugar, packed
- 1 teaspoon vanilla extract
- 1 cup (175g) chocolate chips or chunks (semi-sweet or milk chocolate)
- ½ cup (50g) chopped nuts (walnuts or pecans), optional
- Powdered sugar for dusting (optional)
- Sea salt flakes for sprinkling (optional)
Instructions
- Preheat your oven to 350°F (175°C). Line an 8×8-inch baking pan with parchment paper or grease it lightly.
- In a large bowl, combine flour, granulated sugar, and salt. Pour in melted butter and stir until crumbly but starting to come together. Press mixture evenly into the bottom of the prepared pan.
- Bake the base for 12 minutes until set but not browned.
- While the base bakes, whisk eggs and brown sugar in a separate bowl until smooth and slightly frothy. Stir in vanilla extract.
- Fold in chocolate chips and chopped nuts if using, gently to combine.
- Remove the base from the oven and pour the filling evenly over it. Spread gently with a spatula.
- Bake for an additional 20-25 minutes until the filling is set around the edges but slightly gooey in the center.
- Cool completely in the pan on a wire rack. Refrigerate for at least an hour to firm up.
- Cut into bars and optionally dust with powdered sugar or sprinkle with sea salt flakes before serving.
- Store leftovers in an airtight container in the fridge for up to 5 days.
Notes
Do not overbake the base to keep bars chewy. Use room temperature eggs for smoother filling. Chill bars before cutting to prevent crumbling. Browning the butter before mixing adds a nutty flavor. Bars can be made a day or two ahead and refrigerated. For easier removal, line pan with parchment paper.
Nutrition
- Serving Size: 1 bar (1/16th of rec
- Calories: 195
- Sugar: 16
- Sodium: 90
- Fat: 10
- Saturated Fat: 6
- Carbohydrates: 24
- Fiber: 1
- Protein: 3
Keywords: dessert bars, potluck dessert, make-ahead dessert, easy dessert, chocolate bars, nut bars, quick dessert