Love this? Save it for later!
Share the inspiration with your friends
“So you’re telling me you just roll it into a ball and eat it?” My brother was standing in my kitchen, peering over my shoulder at the bowl of dark, sticky oats and peanut butter. He had that skeptical look he gets when he thinks I’m about to serve him something that tastes like cardboard. I didn’t even look up. I just handed him one.
He ate it. Then he ate another. Then he asked for the recipe before I could even wipe the counter. That was three years ago, and these quick no-bake chocolate peanut butter energy bites have been a staple in my fridge ever since. Not because they’re trendy or because I’m trying to be some kind of health guru, but because they actually solve a real problem: the 3 p.m. slump when you need something that tastes like dessert but won’t leave you feeling like you need a nap.
Honestly, I stumbled into this recipe by accident. I had a half-empty jar of peanut butter, some sad-looking oats, and a craving for something sweet. I didn’t want to turn on the oven (it was August and my apartment had no AC), and I definitely didn’t want to run to the store. So I just started mixing things together, hoping for the best. And you know what? It worked. Better than I expected. These little bites are the kind of thing that make you feel like you’ve hacked the system — dessert without the drama, energy without the crash.
Every time I make a batch, I remember that moment with my brother. Food has a way of doing that, doesn’t it? Sticking to the memory of a person or a place. This recipe feels like a conversation in the kitchen — no fuss, no pressure, just something good to share.
Why You’ll Love This Recipe
I’ve made these energy bites more times than I can count, and I’ve tweaked them just enough to call them my own. They’re not just another recipe you’ll pin and forget. Here’s why they actually earn a permanent spot in your rotation:
- Quick & Easy: We’re talking 10 minutes, start to finish. No oven, no stove, no complicated steps. If you can stir and roll, you can make these.
- Simple Ingredients: You probably have everything in your pantry right now. Oats, peanut butter, chocolate chips, honey — that’s it. No weird superfood powders or trips to a specialty store.
- Perfect for Busy Days: Whether you need a pre-workout snack, a lunchbox addition, or something to grab on your way out the door, these bites deliver. They’re also fantastic for meal prep — I often make a double batch alongside my easy make-ahead protein breakfast muffins for a full week of grab-and-go options.
- Crowd-Pleaser: I’ve brought these to picnics, potlucks, and even served them at a kids’ birthday party. They disappear. Every single time. Adults think they’re a treat, kids just think they’re cookies.
- Unbelievably Delicious: This is the part that matters most. They taste like a cross between a no-bake cookie and a Reese’s cup — fudgy, slightly chewy, with that salty-sweet thing that makes you reach for another one before you’ve finished the first.
What sets this recipe apart is the texture. I spent a good while figuring out the right ratio of wet to dry ingredients so the bites hold together without being sticky or crumbly. It’s a Goldilocks situation, and I’ve nailed it. Plus, there’s a little trick with the honey that keeps them from tasting like plain oats and peanut butter — it adds a subtle floral sweetness that ties everything together.
These bites are the kind of snack that makes you feel like you’re treating yourself, even when you’re being sensible. And honestly? That’s the best kind of recipe to have in your back pocket.
What Ingredients You Will Need
This recipe uses simple, wholesome ingredients that work together to create a snack that’s both satisfying and energizing. No lengthy shopping list required — just pantry staples that pull their weight.
- Rolled oats (old-fashioned oats): 1 cup (90g). These provide the hearty base and chew. I prefer rolled oats over quick oats here because they hold their texture better. If you only have quick oats, they’ll work but the bites will be a bit softer.
- Creamy peanut butter: ½ cup (130g). Natural peanut butter works best — the kind where the oil separates and you stir it back in. Avoid the super-processed stuff with added sugar and hydrogenated oils; it makes the bites greasy. I’m partial to Justin’s or Smucker’s Natural for the perfect consistency.
- Honey: ⅓ cup (110g). This is your binder and sweetener. Raw honey adds a lovely floral note, but any liquid honey works. For a vegan option, use maple syrup — just note the mixture will be slightly thinner.
- Mini chocolate chips: ¼ cup (45g). Semi-sweet is my go-to because it balances the peanut butter without being overly sugary. Dark chocolate chips work beautifully too. I like Enjoy Life for a dairy-free option.
- Ground flaxseed: 2 tablespoons (14g). This is my secret ingredient. It adds a subtle nuttiness and helps bind everything together while giving you a little omega-3 boost. You can skip it if you don’t have it, but the texture won’t be quite as sturdy.
- Vanilla extract: 1 teaspoon. Pure vanilla makes a difference here — it rounds out the flavors and makes the bites taste more like a treat than a health snack.
- Pinch of salt: Just a tiny pinch (about ⅛ teaspoon). Peanut butter is already salty, but a little extra salt heightens the sweetness and makes the chocolate pop.
For ingredient sourcing, look for oats that are certified gluten-free if that’s a concern. And when it comes to peanut butter, I’ve learned the hard way that the kind you have to stir is the kind you want. The no-stir stuff has added oils that make the mixture too loose, and you’ll end up with a sticky mess instead of firm bites.
If you’re feeling adventurous, you can swap the chocolate chips for chopped dark chocolate or even white chocolate chips for a different vibe. And if you’re out of flaxseed, chia seeds work as a substitute — just grind them lightly first so they don’t add too much crunch.
Equipment Needed
You don’t need a fancy kitchen to make these. In fact, the simpler, the better.
- Large mixing bowl: Any medium-to-large bowl will do. I use a glass one because it’s easy to see when everything is evenly mixed.
- Measuring cups and spoons: For accuracy. I’ve eyeballed this recipe before and ended up with bites that crumbled apart. Trust me, measure.
- Rubber spatula or wooden spoon: For mixing. A spatula is easier for scraping down the sides and getting every last bit.
- Baking sheet or plate: To hold the rolled bites while they chill. Line it with parchment paper if you want easy cleanup.
- Parchment paper (optional): Not strictly necessary, but it makes transferring the bites to a storage container much less messy.
- Small cookie scoop (optional): If you want perfectly uniform bites, a 1-inch scoop is your best friend. Otherwise, just use your hands — it’s more fun anyway.
I’ve made these with nothing but a bowl and a spoon, and they turned out great. The only thing I’d recommend investing in is a good-quality spatula that can handle stiff mixtures. The first time I made these, I used a flimsy plastic spoon that bent under the pressure — not my finest moment.
Preparation Method
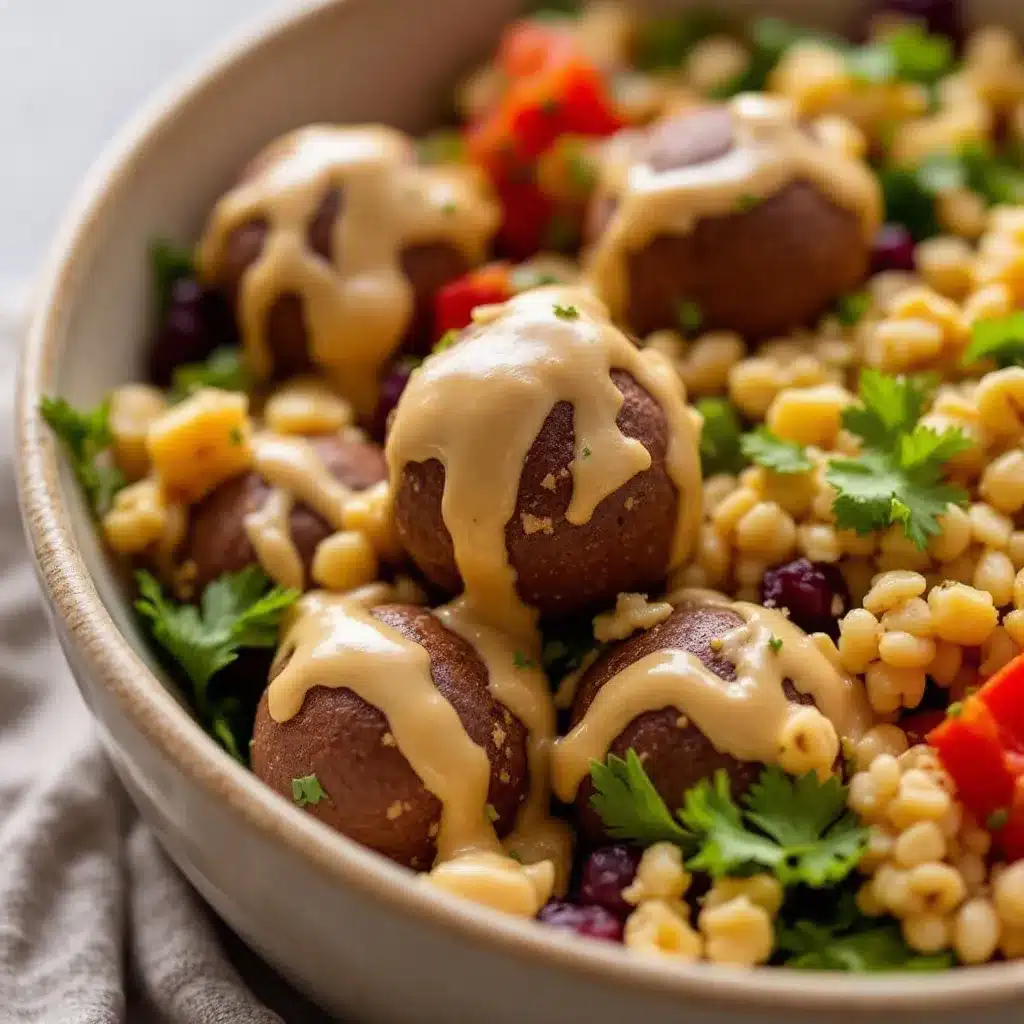
This is where the magic happens. Follow these steps, and you’ll have a batch of energy bites ready in under 10 minutes.
- Combine the dry ingredients. In your large mixing bowl, add 1 cup rolled oats, 2 tablespoons ground flaxseed, and a pinch of salt. Give them a quick stir with your spatula to distribute everything evenly. This step ensures the flaxseed doesn’t clump up later.
- Add the wet ingredients. Spoon in ½ cup peanut butter, ⅓ cup honey, and 1 teaspoon vanilla extract. Don’t dump the honey on top of the peanut butter — spread it around a bit so it mixes more easily.
- Mix until combined. Stir everything together with your spatula or spoon. At first, it’ll look like a dry, crumbly mess. Keep going. I promise it comes together. Use a folding motion, scraping the bottom and sides of the bowl. After about 30 seconds of vigorous stirring, you’ll see the mixture start to clump. It should look like a thick, cohesive dough that holds together when pressed.
- Fold in the chocolate chips. Add ¼ cup mini chocolate chips and stir gently until they’re evenly distributed. Don’t overmix here — you want little pockets of chocolate throughout, not a uniform brown color.
- Chill the mixture (optional but recommended). If your kitchen is warm or your peanut butter was on the runny side, pop the bowl in the fridge for 10-15 minutes. This makes the mixture easier to handle and helps the bites hold their shape. I usually skip this step in winter but always do it in summer.
- Roll into balls. Scoop out about 1 tablespoon of the mixture (a heaping tablespoon is perfect) and roll it between your palms to form a smooth ball. You should get about 16-18 bites, depending on size. Place each one on your lined baking sheet or plate.
- Press lightly (optional). If you want them to look like little hockey pucks instead of balls, gently flatten each one with your fingers. I do this sometimes for variety, but round bites are easier to pack.
- Chill to set. Refrigerate the bites for at least 30 minutes. This firms them up and lets the flavors meld. If you’re in a rush, 15 minutes in the freezer works too.
Pro tip: If the mixture feels too dry and won’t stick together, add a teaspoon of honey or a splash of milk (dairy or plant-based). If it’s too sticky, add a tablespoon of oats. The texture should feel like soft play dough — pliable but not wet.
I once made the mistake of using chunky peanut butter because I thought it would add texture. It didn’t. The chunks made the bites fall apart, and I ended up with a bowl of crumbles. Stick with creamy for this one.
Cooking Tips & Techniques
After making these energy bites more times than I can count, I’ve picked up a few tricks that make the process smoother and the results better.
Use room-temperature peanut butter. If your peanut butter has been sitting in the fridge, it’ll be stiff and hard to mix. Let it sit out for 15-20 minutes before you start, or microwave it for 10 seconds. Cold peanut butter makes the mixture clumpy and uneven.
Wet your hands slightly. Before rolling the bites, dampen your palms with a little water. This prevents the mixture from sticking to your hands and gives you smoother, cleaner balls. I learned this trick after a particularly sticky session where I ended up with more mixture on my fingers than in the bowl.
Don’t skip the chill time. I know, you want to eat them right away. But the 30-minute chill is non-negotiable if you want them to hold their shape. Without it, they’ll be soft and squishy — more like a loose granola than a firm bite. The fridge firms up the coconut oil in the peanut butter and sets the honey, giving you that perfect texture.
Toast the oats for extra flavor. This is optional but game-changing. Spread the oats on a baking sheet and toast them at 350°F for 5-7 minutes until they’re golden and smell nutty. Let them cool completely before mixing. The toasty flavor adds a depth that makes these bites taste almost like a baked good.
Make them in bulk. This recipe doubles and triples beautifully. I often make a triple batch on Sunday and keep them in the fridge for the week. They’re perfect for packing in lunches alongside easy turkey and cheese pinwheels for a complete, no-fuss meal prep.
Watch out for sticky fingers. If the mixture starts sticking to your hands while rolling, just wash and dry your hands, then dampen them again. It’s a small thing, but it makes the process so much less frustrating.
Variations & Adaptations
One of the best things about this recipe is how easy it is to customize. Here are some variations I’ve tried and loved:
1. Vegan Version. Swap the honey for maple syrup or agave nectar. Maple syrup adds a slightly thinner consistency, so you might need an extra tablespoon of oats to firm things up. The flavor is a little less floral but still delicious.
2. Nut-Free Option. Use sunflower seed butter or tahini instead of peanut butter. Sunflower seed butter works beautifully — just note that it can turn green when combined with baking soda (which isn’t in this recipe, so you’re safe). Tahini gives a more savory, earthy flavor that pairs surprisingly well with chocolate.
3. Add-In Variations. The possibilities are endless. Try adding 2 tablespoons of shredded coconut for texture, 1 tablespoon of chia seeds for extra fiber, or a handful of chopped dried cherries for a tart pop. I once added a teaspoon of espresso powder, and it gave the bites a subtle mocha flavor that was incredible.
4. Protein-Packed Version. Add 1 scoop (about 30g) of chocolate or vanilla protein powder. Reduce the oats by 2 tablespoons to compensate for the extra dry ingredient. This version is perfect for post-workout recovery.
5. Seasonal Twist. In the fall, swap the chocolate chips for white chocolate chips and add ½ teaspoon of pumpkin pie spice. In the summer, use dried blueberries and white chocolate for a berry-inspired treat.
My personal favorite variation is the one I call “The Breakfast Bite” — I add 2 tablespoons of hemp seeds and a tablespoon of cocoa powder for a double-chocolate, protein-packed version that I eat with my morning coffee. It’s dangerously good.
Serving & Storage Suggestions
These energy bites are best served cold or at room temperature. I personally love them straight from the fridge — the texture is firmer, and the chocolate chips have a satisfying snap. If you prefer a softer bite, let them sit out for 5-10 minutes before eating.
They pair beautifully with a cup of coffee or a glass of cold milk. For a more substantial snack, serve them alongside fresh fruit or a handful of almonds. I’ve also crumbled them over yogurt for a quick parfait — it’s like having granola without the effort.
Storage: Place the bites in an airtight container, layered between sheets of parchment paper if you’re stacking them. They’ll keep in the refrigerator for up to 2 weeks. In the freezer, they last for up to 3 months — just thaw them in the fridge overnight or at room temperature for 15 minutes.
I’ve noticed that the flavors actually get better after a day or two in the fridge. The honey and peanut butter meld together, and the oats soften slightly, creating a more cohesive bite. So don’t be discouraged if they taste a little plain right after making them — give them time.
For lunchboxes, I pack them in a small container with an ice pack to keep them firm. They’re also perfect for road trips and hikes since they don’t melt or get squished easily. If you’re looking for other portable snack ideas, these bites pair wonderfully with healthy after-school snack boards with fresh fruits for a balanced, kid-friendly spread.
Nutritional Information & Benefits
Here’s the approximate nutritional breakdown for one energy bite (based on 16 bites per batch):
| Nutrient | Amount per Bite |
|---|---|
| Calories | 145 |
| Total Fat | 8g |
| Saturated Fat | 2g |
| Carbohydrates | 16g |
| Fiber | 2g |
| Sugar | 9g |
| Protein | 5g |
These bites are a solid source of plant-based protein and healthy fats from the peanut butter and oats. The flaxseed adds omega-3 fatty acids, which are great for heart health and reducing inflammation. The oats provide slow-release energy, making these bites a smart choice for sustained fuel rather than a quick sugar spike.
If you’re watching your sugar intake, you can reduce the honey to ¼ cup — the bites will be less sweet but still hold together. For a lower-carb option, swap the oats for unsweetened shredded coconut and almond flour, though the texture will be different.
Potential allergens include peanuts, gluten (if using non-certified gluten-free oats), and dairy (if using regular chocolate chips). Always check labels if you’re serving these to someone with allergies.
Frequently Asked Questions
Can I use quick oats instead of rolled oats?
Yes, but the texture will be softer and less chewy. Quick oats absorb moisture more readily, so the bites may be slightly denser. I prefer rolled oats for the best structure, but quick oats work in a pinch.
Why are my energy bites falling apart?
This usually happens when the mixture is too dry. Add a teaspoon of honey or milk at a time until the mixture holds together when pressed. Also, make sure to chill them for at least 30 minutes before eating — this helps everything set.
Can I make these without peanut butter?
Absolutely. Substitute with any nut or seed butter — almond butter, cashew butter, or sunflower seed butter all work well. Just note that different butters have different consistencies, so you may need to adjust the oats slightly.
How long do these keep at room temperature?
They’re best stored in the fridge, but they can sit at room temperature for up to 4-6 hours without issue. If you’re taking them on a picnic or to work, pack them in a cool bag or keep them out of direct sunlight.
Can I double this recipe?
Yes! It doubles and triples perfectly. Just make sure you have a large enough bowl to mix everything thoroughly. I often make a triple batch and freeze half for later.
Conclusion
These quick no-bake chocolate peanut butter energy bites are proof that you don’t need a complicated recipe or a long list of ingredients to make something genuinely satisfying. They’re the kind of snack that fits into real life — busy mornings, afternoon slumps, last-minute lunchbox fillers, or just a moment when you need something sweet without the guilt.
I love that this recipe is forgiving. You can tweak it, swap things out, make it your own. That’s the beauty of a simple formula done right. Whether you’re making them for your kids, your coworkers, or just yourself (no judgment), these bites deliver every single time.
Now I want to hear from you. Have you tried making these? Did you add your own twist? Drop a comment below and let me know how they turned out. And if you’re looking for more easy snack ideas, don’t forget to check out the creamy strawberry cheesecake overnight oats or the easy crustless mini quiche muffins for more grab-and-go goodness.
Happy rolling, friends. You’ve got this.
Pin This Recipe!
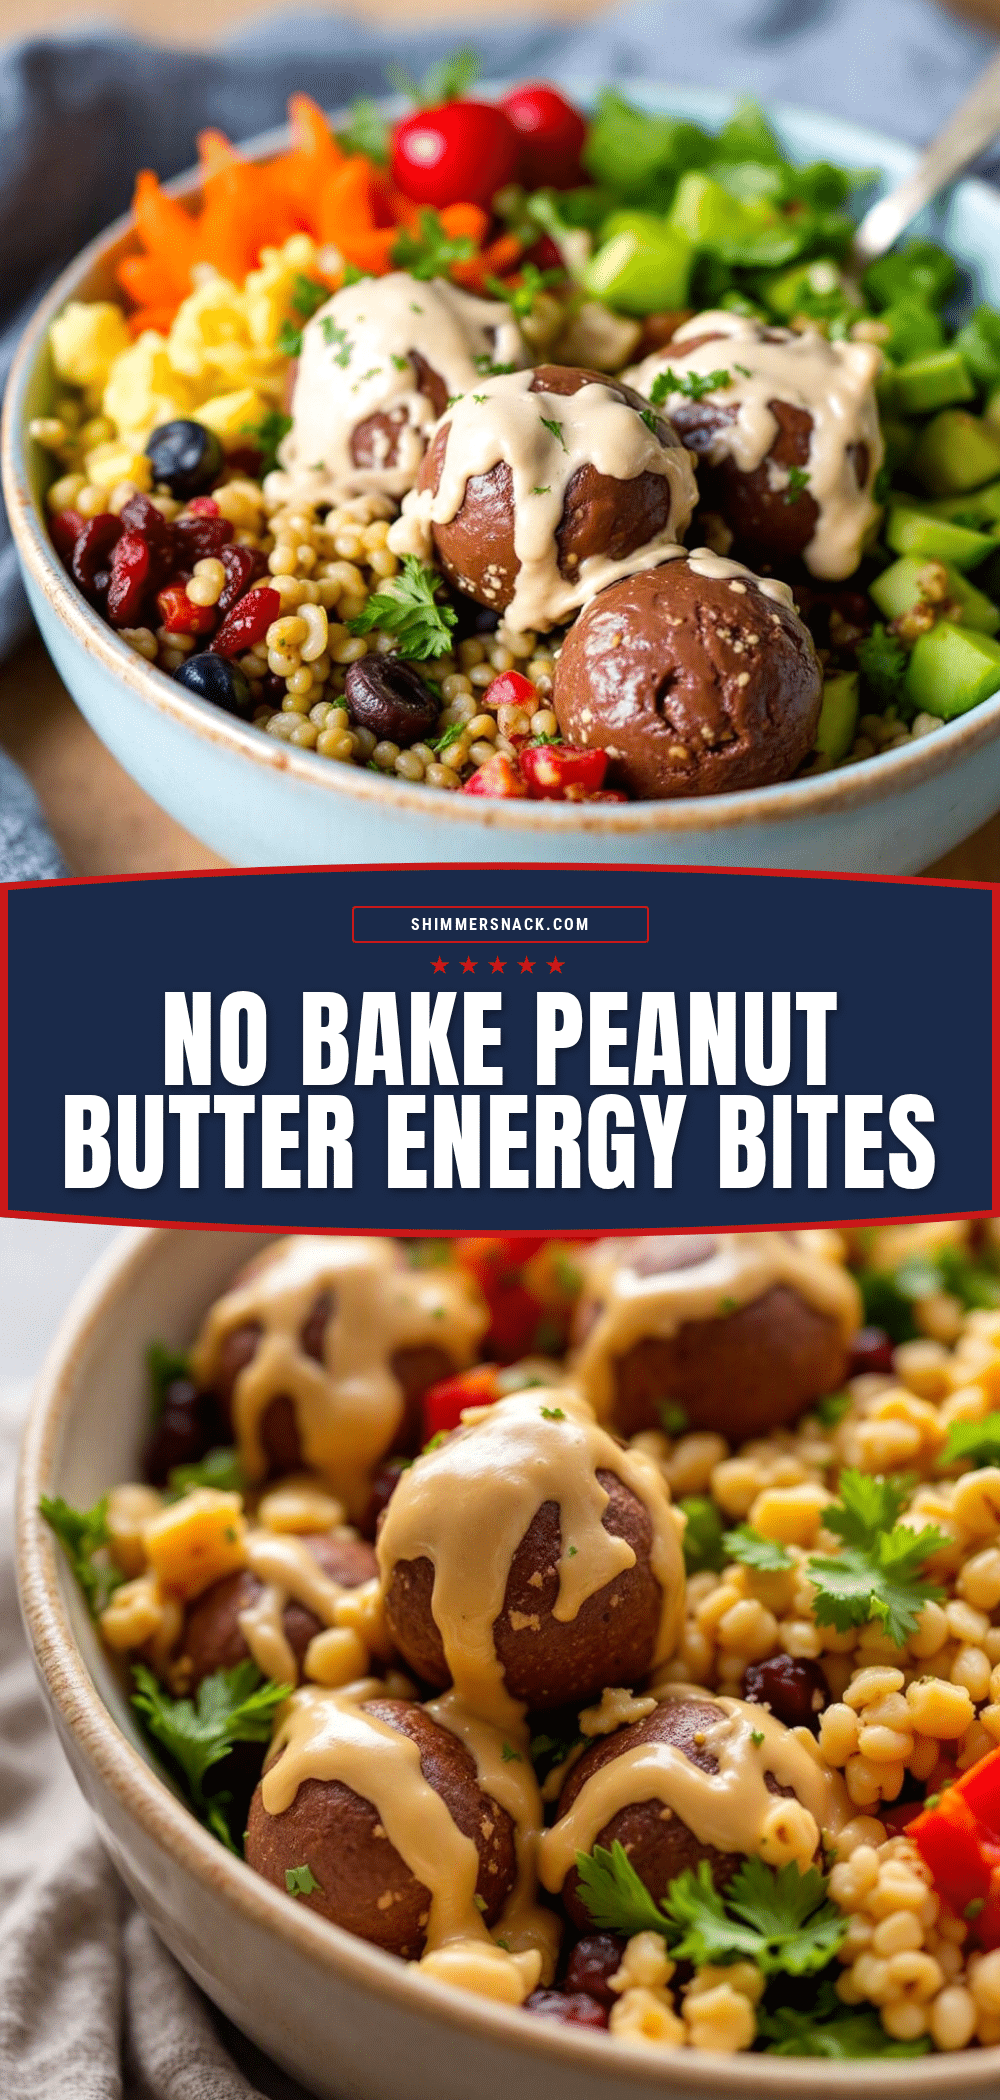
Easy No-Bake Chocolate Peanut Butter Energy Bites

These quick no-bake chocolate peanut butter energy bites are the perfect solution for the 3 p.m. slump. Made with simple pantry staples like oats, peanut butter, honey, and chocolate chips, they come together in just 10 minutes and taste like a cross between a no-bake cookie and a Reese’s cup.
- Prep Time: 10 minutes
- Cook Time: 0 minutes
- Total Time: 40 minutes (includes 30 minutes chilling)
- Yield: 16-18 bites 1x
- Category: Snack
- Cuisine: American
Ingredients
- 1 cup (90g) rolled oats (old-fashioned oats)
- ½ cup (130g) creamy peanut butter (natural, stirred)
- ⅓ cup (110g) honey
- ¼ cup (45g) mini chocolate chips (semi-sweet)
- 2 tablespoons (14g) ground flaxseed
- 1 teaspoon vanilla extract
- ⅛ teaspoon salt (a pinch)
Instructions
- Combine the dry ingredients: In a large mixing bowl, add 1 cup rolled oats, 2 tablespoons ground flaxseed, and a pinch of salt. Stir to distribute evenly.
- Add the wet ingredients: Spoon in ½ cup peanut butter, ⅓ cup honey, and 1 teaspoon vanilla extract. Spread the honey around a bit for easier mixing.
- Mix until combined: Stir with a spatula or spoon using a folding motion, scraping the bottom and sides. After about 30 seconds, the mixture should form a thick, cohesive dough that holds together when pressed.
- Fold in the chocolate chips: Add ¼ cup mini chocolate chips and stir gently until evenly distributed. Do not overmix.
- Chill the mixture (optional but recommended): If your kitchen is warm or the peanut butter is runny, refrigerate the bowl for 10-15 minutes to make the mixture easier to handle.
- Roll into balls: Scoop about 1 tablespoon of the mixture and roll between your palms to form a smooth ball. You should get about 16-18 bites. Place on a lined baking sheet or plate.
- Press lightly (optional): Gently flatten each ball with your fingers if desired.
- Chill to set: Refrigerate the bites for at least 30 minutes to firm up and let the flavors meld. For a quicker option, freeze for 15 minutes.
Notes
If the mixture feels too dry, add a teaspoon of honey or a splash of milk. If too sticky, add a tablespoon of oats. For best texture, use room-temperature peanut butter and wet your hands slightly before rolling. The bites can be stored in the refrigerator for up to 2 weeks or frozen for up to 3 months. Flavors improve after a day or two in the fridge.
Nutrition
- Serving Size: 1 energy bite
- Calories: 145
- Sugar: 9
- Fat: 8
- Saturated Fat: 2
- Carbohydrates: 16
- Fiber: 2
- Protein: 5
Keywords: no-bake energy bites, chocolate peanut butter energy bites, healthy snack, no-bake snack, easy energy bites, gluten-free snack, kid-friendly snack


