Love this? Save it for later!
Share the inspiration with your friends
I did not trust overripe bananas in banana bread. Honestly, I thought they sounded like a mistake until that rainy Tuesday in November. My kitchen smelled like fermentation, and I was staring at three blackened fruit that looked less like food and more like compost. I wanted a loaf that was sweet, not funky. I wanted a crumb that was tender, not dense as a brick.
Most recipes promise moisture but deliver dryness. I had burned through three attempts that year. The last one was so hard I used it to prop up a wobbly table leg. I almost threw the whole batch out. Then I saw a note on a community board about using just one bowl and mashing the bananas until they were liquid. It sounded lazy. It sounded risky.
So, I tried it. I threw everything into a single mixing bowl. No separate bowls for wet and dry. No whisking eggs separately. Just mash, mix, pour, and bake. The batter looked thin and scary. I was convinced it would collapse in the oven. But the smell changed everything. It wasn’t banana mush. It was caramelized sugar and warm spice.
When I pulled it out, the crust was golden and the center jiggled just right. I waited an hour, ignoring the heat radiating from the pan. The first slice was steaming and soft. It fell apart in the best way. I closed my eyes and realized I had been wrong about the black bananas. They weren’t rotting; they were concentrating flavor. The one-bowl method wasn’t lazy; it was efficient. I never went back to complicated mixes. This loaf stuck with me because it proved that less effort often means more flavor.
Why You’ll Love This One-Bowl Moist Banana Bread with Walnuts
Let’s face it, we all have that one recipe we return to when life gets messy. This easy one-bowl moist banana bread with walnuts is exactly that kind of anchor. It’s not just a quick fix; it’s a testament to simplicity done right. I’ve tested dozens of variations over the years, from sourdough discard versions to heavy butter-based loaves, but this specific ratio hits a sweet spot that feels almost magical.
Here is why this recipe earns its spot on your weekly rotation:
* **Quick & Easy**: It comes together in under 15 minutes of prep time. You literally just mash and mix. It is perfect for busy weeknights or those last-minute cravings when you need comfort but don’t have hours to spend in the kitchen.
* **Simple Ingredients**: No fancy grocery trips needed. You likely already have everything in your kitchen. Flour, sugar, bananas, eggs, and butter. That’s it. If you have a bag of walnuts, even better.
* **Perfect for Breakfast or Snack**: Great for grabbing a piece on your way out the door or pairing with your morning coffee. It keeps the family fueled without requiring a sit-down meal.
* **Crowd-Pleaser**: Always gets rave reviews from kids and adults alike. The walnuts add a necessary crunch that breaks up the softness, making it interesting for picky eaters who usually just want plain toast.
* **Unbelievably Delicious**: The texture and flavor combo is next-level comfort food. The bananas provide natural sweetness, reducing the need for excessive refined sugar, while the walnuts offer a savory depth that balances the loaf.
What makes this recipe different from the rest is the emphasis on the banana mash. Most recipes tell you to chop the bananas. This one demands you crush them until they are almost puree. This releases more pectin and moisture into the batter, ensuring that every bite is humid and tender. It’s not just another version—it’s my best version. It’s the kind that makes you close your eyes after the first bite because the flavor is just so pure. It’s comfort food reimagined—faster, but with the same soul-soothing satisfaction.
What Ingredients You Will Need
This recipe uses simple, wholesome ingredients to deliver bold flavor and satisfying texture without the fuss. The beauty of one-bowl banana bread lies in its accessibility. You don’t need a specialty store or a pantry full of obscure flours. However, the quality of your core ingredients does matter. Since there are so few components, each one carries significant weight in the final taste.
Here is what you need to gather before you start:
* **Ripe Bananas (3 large)**: These are the star. Look for bananas that are heavily spotted or completely black on the peel. The darker they are, the sweeter and more intense the banana flavor. If they are yellow, the bread will be bland. (adds richness and natural sweetness)
* **All-Purpose Flour (1 ½ cups)**: The standard workhorse. Do not use self-rising flour unless you adjust the baking soda and salt, which can get messy. I recommend Gold Medal for consistent texture. (provides structure)
* **Granulated Sugar (¾ cup)**: This balances the tartness of the bananas. You can reduce it to ½ cup if you prefer less sweetness, but the crust won’t caramelize as beautifully. (sweetness and browning)
* **Brown Sugar (¼ cup)**: This adds moisture and a hint of molasses depth. It helps keep the crumb soft for days. (moisture retention)
* **Unsalted Butter (½ cup, melted)**: Using melted butter integrates easily into the wet mix. Let it cool slightly before adding so it doesn’t cook the eggs. (fat for tenderness)
* **Large Eggs (2)**: Room temperature eggs emulsify better. They act as the binder that holds the bread together. (binding agent)
* **Vanilla Extract (1 teaspoon)**: Pure vanilla is worth the extra few dollars. It rounds out the flavors and makes the banana taste more “banana.” (flavor enhancer)
* **Baking Soda (1 teaspoon)**: This is the leavening agent. It reacts with the acidic bananas to create air bubbles. Make sure it’s fresh for maximum rise. (leavening)
* **Salt (½ teaspoon)**: Essential for balancing the sugar. It makes the sweet flavors pop. (flavor balance)
* **Walnuts (1 cup, chopped)**: Toasting them lightly beforehand enhances their nutty flavor. I prefer halves or rough chunks over fine pieces. (crunch and texture)
* **Cinnamon (½ teaspoon)**: Optional, but highly recommended. It adds warmth and complexity. (spice note)
If you are out of walnuts, pecans work well, or you can skip nuts entirely for a smoother loaf. For a gluten-free option, you can swap the flour for a 1:1 gluten-free baking blend, though the texture may be slightly denser.
Equipment Needed
You really only need a few basic tools to pull this off. That’s the beauty of the one-bowl method.
* **9×5 Inch Loaf Pan**: This is the standard size. If you don’t have one, a standard cake pan works, but the baking time will change. Grease it well with butter or non-stick spray.
* **Large Mixing Bowl**: Any bowl that can hold at least 4 cups of volume will do. It needs to be big enough to mash the bananas comfortably.
* **Fork or Potato Masher**: A fork works if you have small bananas, but a masher is faster for three large ones. You want them completely smooth.
* **Wooden Spoon or Silicone Spatula**: For mixing. A spatula helps scrape the sides of the bowl so you don’t leave dry pockets of flour.
* **Cooling Rack**: Essential. Putting hot bread on a plate traps steam and makes the bottom soggy. Let it breathe.
* **Parchment Paper**: Highly recommended. Line the bottom and sides of the pan. It makes cleanup instant and helps the bread slide out easily.
I once tried using a mini loaf pan for portion control, but the center didn’t cook through before the edges burned. Stick to the standard 9×5 for best results.
Preparation Method
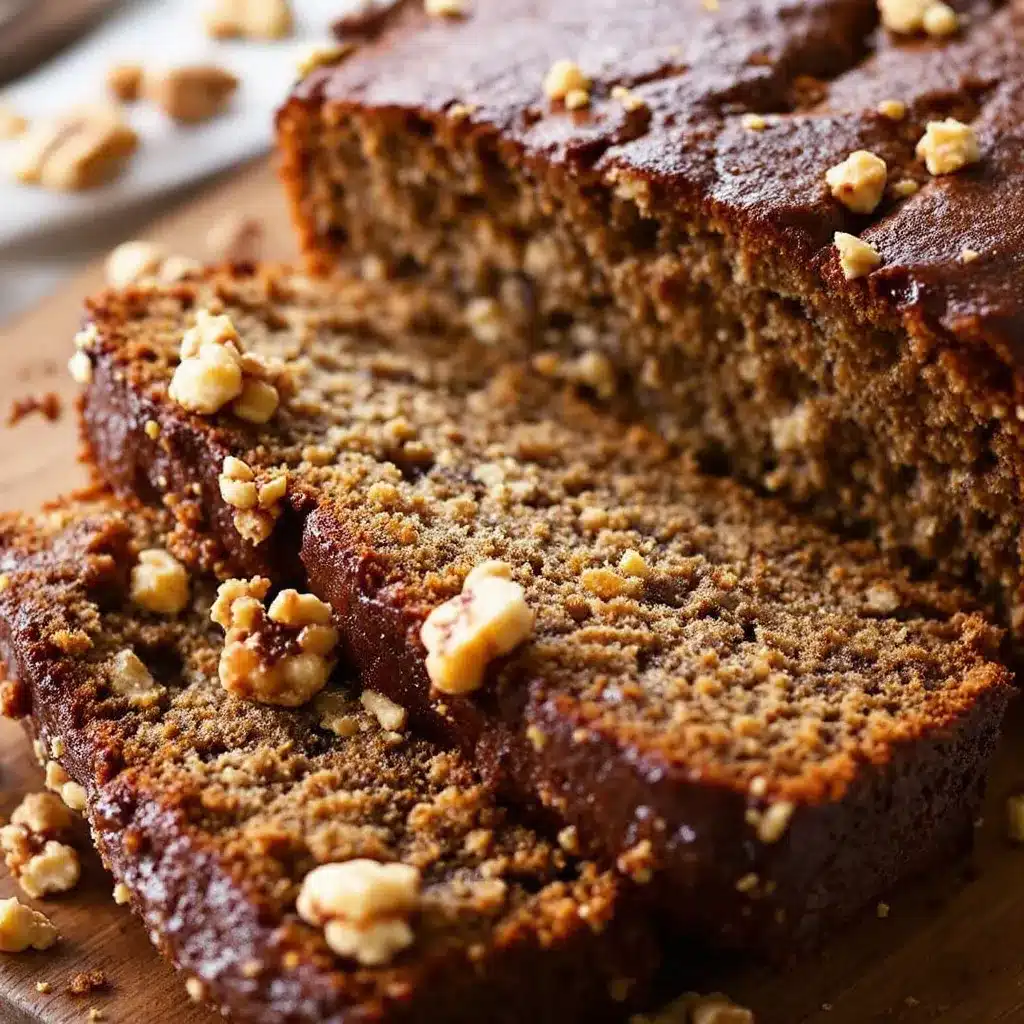
Let’s get into the nitty-gritty. This process is straightforward, but attention to detail ensures success.
1. **Preheat the Oven**: Set your oven to 350°F (175°C). This needs to be hot enough to set the crust but gentle enough to cook the center. Grease your 9×5 loaf pan and line it with parchment paper. (Time: 5 minutes)
2. **Mash the Bananas**: Peel the three ripe bananas and place them in your large mixing bowl. Use your fork or masher to crush them until they are almost liquid. I mean, really mash them. Small chunks are fine, but big lumps lead to uneven baking. (Time: 3 minutes)
3. **Add Wet Ingredients**: Pour in the melted butter, sugar, brown sugar, eggs, and vanilla extract. Whisk this mixture vigorously with a fork or whisk until it is smooth and combined. The sugar doesn’t need to fully dissolve yet; the mixing will happen later. (Time: 2 minutes)
4. **Mix Dry Ingredients**: Add the flour, baking soda, salt, and cinnamon directly into the wet mixture. Do not sift unless your flour is lumpy. Just dump it in. (Time: 1 minute)
5. **Combine Gently**: Stir with your wooden spoon or spatula until the flour is *just* incorporated. Stop as soon as you see no more white streaks. Overmixing develops gluten, which makes banana bread tough. We want tender, not chewy. (Time: 2 minutes)
6. **Fold in Walnuts**: Gently fold in the chopped walnuts. Save a small handful to sprinkle on top for presentation. (Time: 1 minute)
7. **Pour into Pan**: Scrape the batter into your prepared loaf pan. Use the spatula to smooth the top. It should look wet and glossy. (Time: 1 minute)
8. **Bake**: Place the pan in the center of the oven. Bake for 55-65 minutes. Do not open the oven door before the 45-minute mark, or the bread might collapse. (Time: 60 minutes)
9. **Test for Doneness**: Insert a toothpick into the center. It should come out clean or with a few moist crumbs. If it’s wet batter, bake for 5 more minutes. If the top is browning too fast, tent it with foil. (Time: Variable)
10. **Cool**: Let the bread cool in the pan for 10 minutes. Then, lift it out using the parchment paper and place it on a cooling rack. Let it cool completely before slicing, or it will be gummy. (Time: 30-60 minutes)
Cooking Tips & Techniques
I’ve made enough mistakes in this kitchen to fill a cookbook. Here is what I learned so you don’t have to.
The biggest mistake people make is using underripe bananas. Green bananas have no flavor and very little sugar. If your bananas are yellow, bake them in the oven at 300°F for 15 minutes until they turn black. It’s a hack that saves the recipe.
Another common error is overmixing the batter. Once you add the flour, stop stirring when it’s mostly combined. The residual mixing from folding in the nuts is enough. If you stir until it’s perfectly smooth, your bread will be dense and rubbery.
Timing is everything. Every oven is different. My oven runs hot, so I check at 50 minutes. Yours might need the full 65. Trust the toothpick test, not the clock. If the toothpick comes out clean, it’s done.
Multitasking is key here. While the bread bakes, you can prep your coffee or organize the kitchen. But don’t leave the house. Banana bread smells amazing, and you want to catch it the moment it’s ready.
Finally, patience during the cooling phase. I know, it smells incredible. But slicing it hot releases all the moisture. Wait at least 20 minutes. The structure sets during this time, giving you clean slices instead of a mushy mess.
Variations & Adaptations
While the classic walnut version is my go-to, this recipe is a canvas for creativity.
* **Chocolate Chip Twist**: Fold in 1 cup of semi-sweet chocolate chips instead of walnuts. It turns into a dessert-heavy treat that kids love.
* **Gluten-Free Option**: Swap the all-purpose flour for a high-quality 1:1 gluten-free blend. Add a teaspoon of xanthan gum if your blend doesn’t include it. The texture will be slightly more crumbly but still moist.
* **Vegan Version**: Substitute the butter with coconut oil and the eggs with two flax eggs (2 tablespoons ground flaxseed mixed with 5 tablespoons water, rested for 5 minutes). The bread will be denser but still delicious.
* **Spiced Up**: Add a teaspoon of nutmeg or cardamom alongside the cinnamon for a more complex spice profile.
* **My Personal Favorite**: I sometimes add a swirl of cream cheese in the middle before baking. It creates a marbled effect and adds a tangy contrast to the sweet bread.
These adaptations allow you to tailor the loaf to dietary needs or flavor preferences without losing the core moisture of the recipe.
Serving & Storage Suggestions
This banana bread is best served at room temperature, where the flavors are most balanced. Pair it with a hot cup of coffee or tea. It also pairs surprisingly well with a sharp cheddar cheese if you want a savory-sweet combo.
For storage, wrap the cooled loaf tightly in plastic wrap or aluminum foil. It keeps at room temperature for up to 3 days. For longer storage, refrigerate it for up to a week. The cold will firm up the texture, so let it sit out for 20 minutes before eating.
You can also freeze slices. Wrap individual slices in plastic wrap and place them in a freezer bag. They last for up to 3 months. Thaw them at room temperature or microwave for 30 seconds for a fresh-baked feel.
The flavors actually improve after a day or two as the bananas continue to infuse the crumb. It’s rare for this bread to last more than two days in my house, but if it does, it gets better.
Nutritional Information & Benefits
While this is a treat, it does have some redeeming qualities. Bananas are a great source of potassium and vitamin B6. They provide natural energy without the crash of refined sugar.
Walnuts add healthy omega-3 fatty acids and protein. They help slow down the absorption of sugar, making this a slightly more balanced option than a standard cake.
One slice (1/10 of the loaf) contains approximately 180 calories, 2g of protein, 24g of carbohydrates, and 9g of fat. It is not a diet food, but it is a wholesome indulgence. For those with gluten sensitivities, the gluten-free adaptation makes it accessible to more people.
I appreciate that this recipe uses fruit as the primary sweetener base, which feels more nutritious than a sugar-heavy quick bread. It’s a comfort food that doesn’t leave you feeling completely drained afterward.
Conclusion
This easy one-bowl moist banana bread with walnuts is more than just a recipe; it’s a reminder that simple ingredients can create something extraordinary. It requires minimal effort but delivers maximum comfort. I hope you try it and find that it becomes a staple in your home, just as it did in mine.
Feel free to customize it with your favorite nuts or add-ins. Share your results in the comments below—I love seeing how you adapt your favorite recipes. If you make this, tag me or share a photo. Let’s keep the conversation going.
Thank you for reading. Happy baking, and remember: trust the black bananas.
Frequently Asked Questions
Can I use frozen bananas for this recipe?
Yes, frozen bananas work perfectly. Just thaw them completely and drain any excess liquid before mashing. Frozen bananas are often sweeter and easier to mash since the cell structure breaks down during freezing.
Why is my banana bread dense?
Dense banana bread is usually caused by overmixing the batter or using underripe bananas. Make sure to mash the bananas until they are liquid and stop mixing as soon as the flour is incorporated. Also, check your baking soda freshness.
How do I know when the banana bread is done?
Insert a toothpick into the center of the loaf. If it comes out clean or with a few moist crumbs, it is done. If wet batter sticks to the toothpick, bake for another 5-10 minutes. The top should also be golden brown and spring back when lightly pressed.
Can I substitute walnuts with other nuts?
Absolutely. Pecans, hazelnuts, or macadamia nuts all work well. You can also omit the nuts entirely if you prefer a smoother texture. Toasting the nuts before adding them enhances their flavor.
How long does banana bread last?
Stored in an airtight container at room temperature, banana bread stays fresh for 2-3 days. In the refrigerator, it lasts up to a week. For longer storage, freeze individual slices for up to 3 months.
Pin This Recipe!
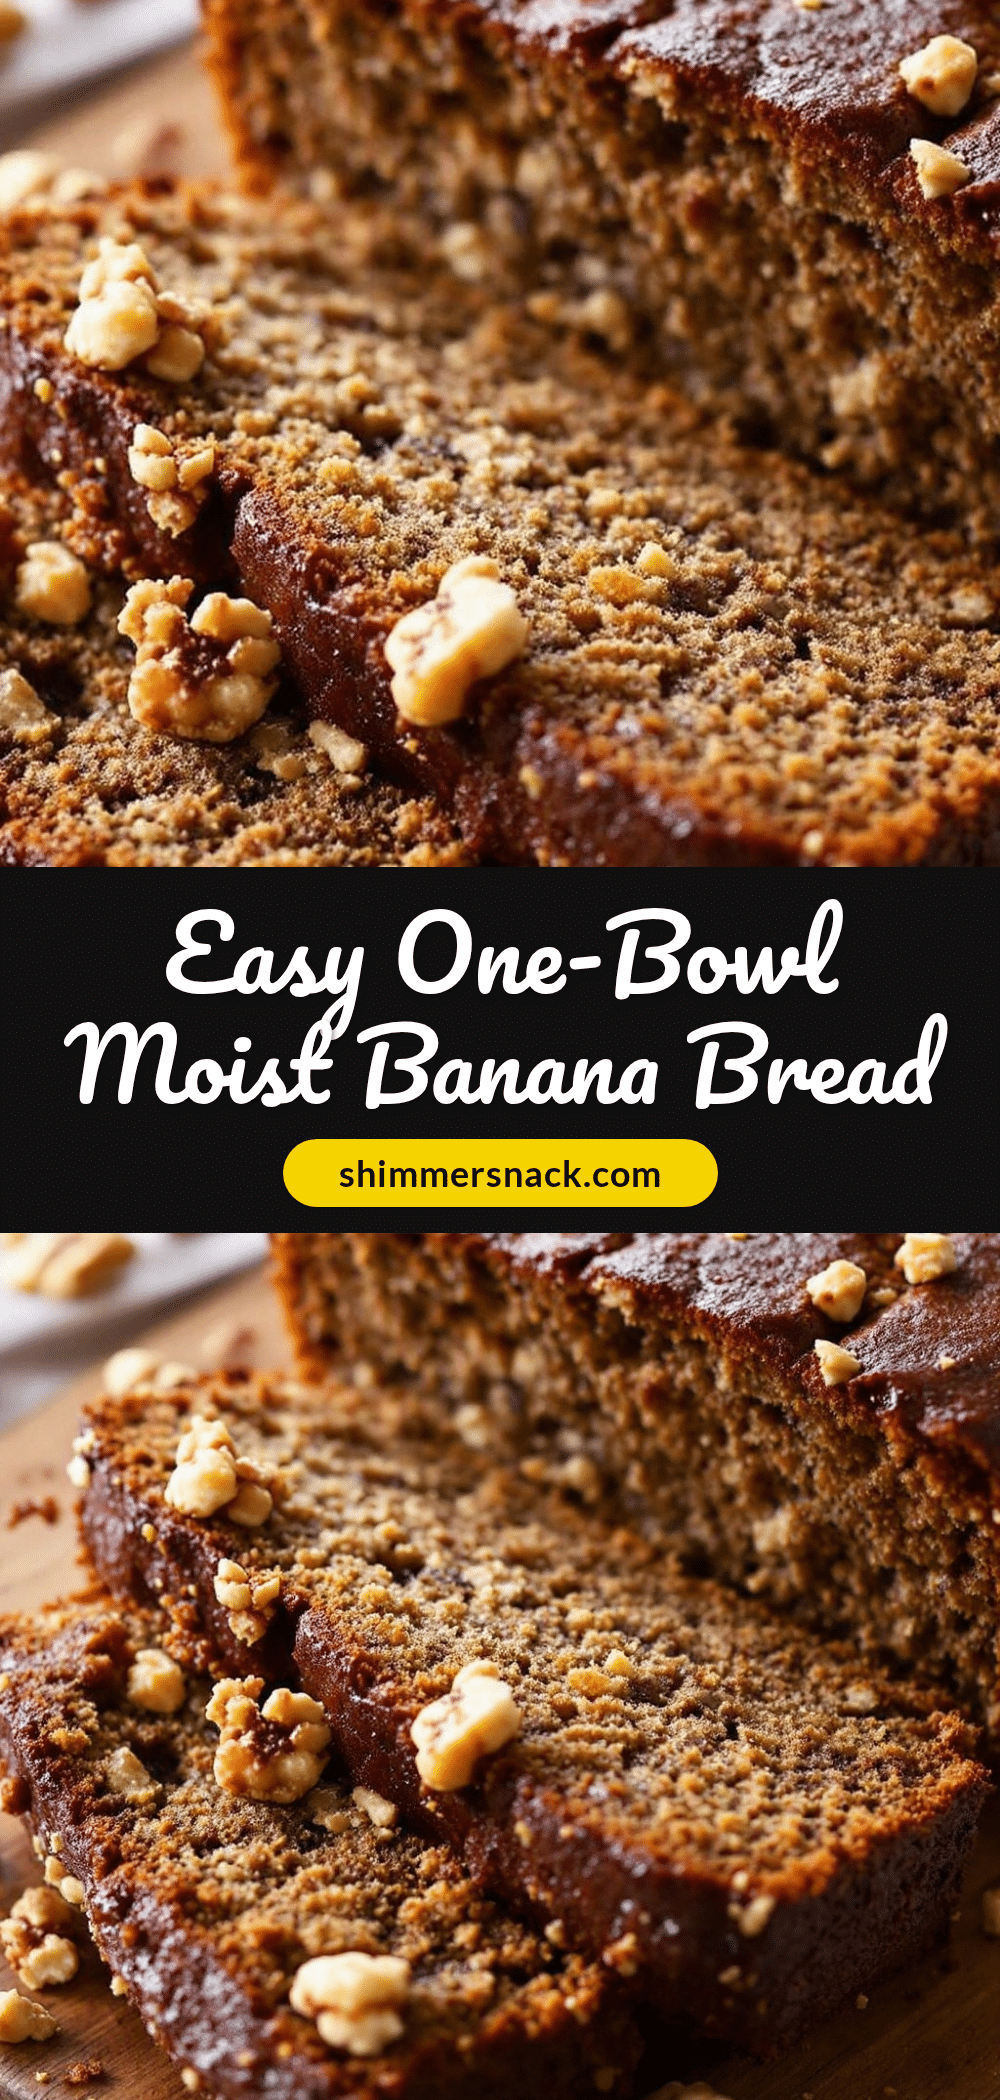
Easy One-Bowl Moist Banana Bread with Walnuts
A simple, moist banana bread made in a single bowl using ripe bananas, walnuts, and basic pantry ingredients for a tender, flavorful loaf.
- Prep Time: 15 minutes
- Cook Time: 60 minutes
- Total Time: 75 minutes
- Yield: 10 servings 1x
- Category: Dessert
- Cuisine: American
Ingredients
- 3 large ripe bananas (heavily spotted or black)
- 1 ½ cups all-purpose flour
- ¾ cup granulated sugar
- ¼ cup brown sugar
- ½ cup unsalted butter, melted
- 2 large eggs, room temperature
- 1 teaspoon vanilla extract
- 1 teaspoon baking soda
- ½ teaspoon salt
- 1 cup walnuts, chopped
- ½ teaspoon cinnamon (optional)
Instructions
- Preheat oven to 350°F (175°C). Grease a 9×5 inch loaf pan and line with parchment paper.
- Peel bananas and mash them in a large mixing bowl until almost liquid.
- Add melted butter, granulated sugar, brown sugar, eggs, and vanilla extract. Whisk vigorously until smooth.
- Add flour, baking soda, salt, and cinnamon directly to the wet mixture.
- Stir gently with a wooden spoon or spatula until just incorporated; do not overmix.
- Fold in chopped walnuts, reserving a small handful for topping.
- Pour batter into prepared pan and smooth the top.
- Bake for 55-65 minutes. Do not open the oven before 45 minutes.
- Test for doneness with a toothpick; it should come out clean or with moist crumbs.
- Cool in the pan for 10 minutes, then transfer to a cooling rack to cool completely before slicing.
Notes
Use very ripe, black bananas for maximum sweetness and moisture. Do not overmix the batter once flour is added to avoid a dense texture. If bananas are underripe, bake them at 300°F for 15 minutes until black. Cool completely before slicing to prevent gumminess.
Nutrition
- Serving Size: 1 slice (1/10 of loa
- Calories: 180
- Sugar: 16
- Sodium: 150
- Fat: 9
- Saturated Fat: 3
- Carbohydrates: 24
- Fiber: 1
- Protein: 2
Keywords: banana bread, one bowl recipe, moist banana bread, walnut banana bread, easy baking, quick bread, breakfast, snack


