Love this? Save it for later!
Share the inspiration with your friends
Introduction
“I wasn’t planning on making jam that morning,” I admitted as I stood in my cluttered kitchen, the radio humming softly in the background. It was a Wednesday—rainy, slow, the kind of day that usually has me glued to a book rather than fiddling with pots and pans. But then, my neighbor Mrs. Lopez popped over with a small paper bag of perfectly ripe strawberries she’d picked from her backyard patch. They were too beautiful to ignore, and honestly, I didn’t want them to go to waste.
So, there I was, fumbling through my cupboard, pulling out the few jars I had left from last summer’s canning spree, and trying to remember the last time I made homemade jam. I’d never done a small batch before, always feeling like the traditional recipes demanded a mountain of fruit and jars. But Mrs. Lopez’s strawberries whispered a different challenge—could I make a little, just enough to savor fresh flavors without the fuss? Turns out, yes, yes I could.
Maybe you’ve been there too—staring at a handful of ripe berries, wishing for a simple way to capture their sweetness without committing to a giant batch. This easy small batch strawberry jam recipe for homemade canning fits perfectly into those moments. I’ll share the little tricks I learned, the slight mess I made (hello, sticky countertop), and why this recipe became my go-to whenever the strawberry season shows up at my door.
Why You’ll Love This Recipe
Over time, this easy small batch strawberry jam recipe has become a staple in my kitchen, and here’s why it might just win over your taste buds too:
- Quick & Easy: Comes together in under 45 minutes, perfect for those spontaneous strawberry hauls or last-minute gift jars.
- Simple Ingredients: No need for fancy pectin powders or hard-to-find additives—you likely have everything already.
- Perfect for Homemade Canning: Small batches mean less waste and easier jar management, ideal for beginners or anyone with limited storage.
- Crowd-Pleaser: My friends always ask for extras at brunch, and honestly, it’s no surprise given how fresh and vibrant the flavor is.
- Unbelievably Delicious: The natural strawberry sweetness shines through, balanced with a hint of lemon zest and just the right touch of sweetness.
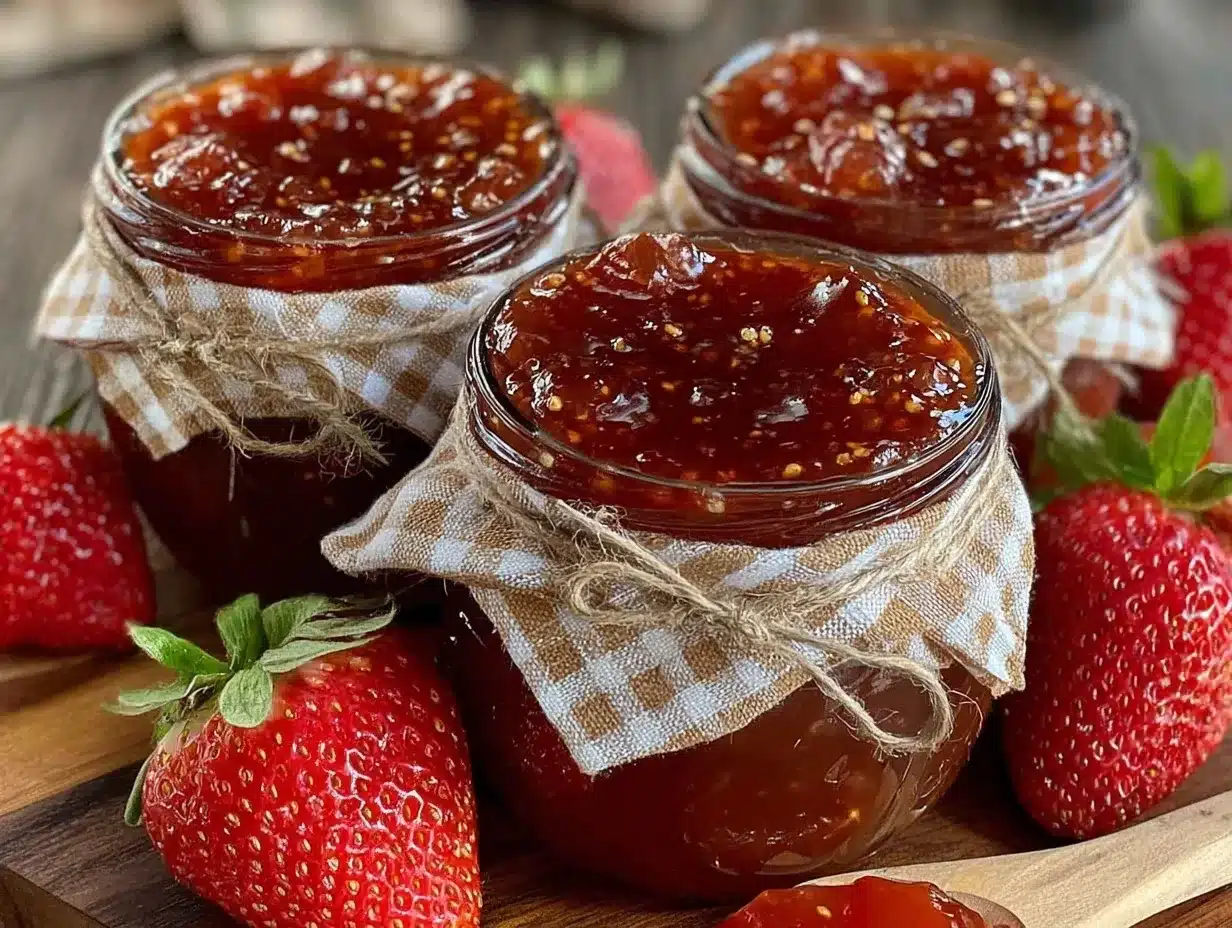
What makes this small batch strawberry jam recipe stand out? It’s the approach—less is more here. Instead of wrestling with giant pots and endless jars, you get to enjoy fresh homemade jam without the overwhelm. Plus, the texture is just right: not too runny, not too thick, with little chunks of strawberry that remind you of summer afternoons. Honestly, it feels like the kind of jam that makes you close your eyes after the first bite and smile.
What Ingredients You Will Need
This recipe uses simple, wholesome ingredients to deliver bold flavor and satisfying texture without the fuss. Here’s what you’ll need for a small batch:
- Fresh Strawberries – 2 cups (about 10 ounces / 280 grams), hulled and halved if large (use ripe, fragrant berries for best flavor)
- Granulated Sugar – 1 cup (200 grams), adjust slightly if you prefer it less sweet
- Fresh Lemon Juice – 2 tablespoons (about half a lemon), adds brightness and natural pectin
- Lemon Zest – 1 teaspoon, optional but adds a lovely fresh note
- Water – 2 tablespoons, to help dissolve the sugar and start the cooking process
Ingredient Notes: I usually grab strawberries from my local farmer’s market, but if you find a great organic brand at the store, that works too. For sugar, I recommend a reliable brand like Domino or C&H for consistent sweetness. If you want a slightly less traditional version, swapping out half the sugar for honey can add a subtle depth, but keep in mind it changes the texture slightly.
Equipment Needed
- Small to medium saucepan (around 2-quart / 2-liter capacity) – something with a heavy bottom to prevent burning.
- Wooden spoon or silicone spatula – for stirring without scratching your pot.
- Heatproof jars with lids (4 to 6-ounce / 120 to 180 ml size works well for small batches).
- Jar funnel (optional but helps avoid sticky rims).
- Small ladle – for scooping jam into jars.
- Candy or jam thermometer (optional) – handy if you want to nail the exact setting temperature.
- Jar lifter or tongs – useful for safely handling hot jars during canning.
If you don’t have a jam thermometer, no worries! I usually rely on the visual cues and the “wrinkle test” on a chilled plate to know when my jam is set. For those just starting out, a basic funnel and ladle can make transferring jam super tidy and easy. I found a small saucepan with a thick base at a thrift store once, and it’s become my jam-making MVP.
Preparation Method
- Prepare Your Workspace (10 minutes): Start by washing your jars and lids in hot soapy water. Rinse well and keep them warm in a low oven (around 200°F / 95°C) or simmer them in boiling water to sterilize. This step helps prevent spoilage and keeps your jam fresh longer.
- Prep the Strawberries (5 minutes): Rinse the strawberries under cold water, hull them by removing the green caps, and cut large berries in half or quarters. Smaller berries can stay whole for a chunkier jam texture.
- Combine Ingredients (5 minutes): In your saucepan, add the strawberries, granulated sugar, lemon juice, lemon zest (if using), and water. Stir gently to combine and let the mixture sit for about 10 minutes. This maceration step helps the strawberries release their natural juices, creating a syrupy base.
- Cook the Jam (20-25 minutes): Place the saucepan over medium heat and bring the mixture to a gentle boil. Stir frequently to prevent sticking. As it cooks, the mixture will thicken and bubble steadily.
- Test for Doneness (5 minutes): To check if your jam is ready, place a small spoonful on a chilled plate and let it sit for a minute. Push it with your finger—if it wrinkles and doesn’t run, it’s done. If not, cook for a few more minutes and test again.
- Jar the Jam (5 minutes): Carefully ladle the hot jam into your warm sterilized jars, leaving about 1/4 inch (0.5 cm) headspace. Wipe rims with a clean damp cloth and seal tightly with lids.
- Process for Canning (Optional, 10 minutes): If you want to preserve the jam longer, place jars in a boiling water bath for 10 minutes. Remove and let cool completely. You’ll hear the satisfying pop of sealed lids as they cool.
Pro tip: I once forgot to stir the jam for a few minutes—resulting in a slightly burnt bottom layer. Don’t be me! Keep stirring gently, especially as it thickens. Also, don’t rush the testing; the plate method is a trusty friend in small batch jam making.
Cooking Tips & Techniques
Making small batch strawberry jam isn’t rocket science, but a few tricks can save you from sticky situations (literally). Here’s what I’ve learned:
- Don’t Skip the Maceration: Letting the berries sit with sugar and lemon juice before cooking helps release natural pectin and juice, which means less cooking time and better flavor.
- Keep the Heat Moderate: A too-high flame can burn the bottom before the jam thickens. Medium heat with frequent stirring is your best friend.
- Use the Wrinkle Test: Instead of relying solely on timing, test the jam’s set on a cold plate. It’s a simple, foolproof way to avoid over or undercooking.
- Adjust Sweetness to Taste: Depending on how sweet your strawberries are, you might want slightly less sugar. Taste test early on and adjust before cooking.
- Multitasking Tip: While your jam simmers, use the time to sterilize jars or clean your workspace—keeps the process smooth.
One time, I tried rushing the process and skipped the lemon juice. The jam never quite set right and ended up too runny. Lesson learned: acid is key for proper gel formation and flavor balance.
Variations & Adaptations
This easy small batch strawberry jam recipe is a great canvas for creativity. Here are some ways you can adapt it:
- Dietary Variation: Swap granulated sugar for coconut sugar or a sugar substitute if you want a lower glycemic index version. The texture might vary slightly but still delicious.
- Seasonal Twist: Add fresh basil or mint during the maceration step for a herbal note that’s delightful in summer.
- Flavor Boost: Stir in a splash of balsamic vinegar or a pinch of ground ginger to add depth and complexity.
- Cooking Method: For a no-cook jam, try crushing the berries with sugar and lemon juice, then refrigerate overnight. It yields a fresher, more spreadable jam.
- Personal Favorite: Once, I added a handful of blackberries to the mix for a bit of tartness and color variation—totally worth trying!
Serving & Storage Suggestions
This small batch strawberry jam is best enjoyed fresh but stores beautifully too. Serve it slightly chilled or at room temperature on toast, dolloped on yogurt, or swirled into oatmeal. It pairs wonderfully with a simple ricotta spread or alongside your favorite butter biscuits.
To store, keep sealed jars in the refrigerator for up to three weeks. If canned in a water bath, your jam can last up to a year stored in a cool, dark place. Once opened, consume within a month for best flavor.
For reheating, gently warm the jam in a small saucepan or microwave for a few seconds to loosen it up if it’s too firm. The flavors often deepen after a day or two, letting the strawberries and lemon meld beautifully.
Nutritional Information & Benefits
Here’s a rough estimate per 2-tablespoon (40g) serving of this homemade strawberry jam:
- Calories: ~60
- Carbohydrates: 15g (mostly from natural sugars)
- Fiber: 1g
- Vitamin C: 10% of Daily Value (thanks to strawberries and lemon juice)
- Fat & Protein: Negligible amounts
Strawberries are rich in antioxidants and vitamin C, which support immune health. Making jam at home lets you control the sugar content, avoiding preservatives and additives found in many store-bought options. It’s a small but tasty way to enjoy fruit benefits all year round.
Conclusion
There’s something genuinely satisfying about making your own small batch strawberry jam. It’s quick, manageable, and delivers that fresh, homemade flavor that’s hard to beat. Whether you’re a seasoned canner or just looking to try your hand at preserving, this recipe fits like a glove.
Feel free to tweak the sugar level, add your favorite herbs, or even mix in other berries—it’s your jam after all! I keep coming back to this recipe because it reminds me that sometimes, the simplest things—like a jar of homemade jam—can bring unexpected joy to everyday moments.
Give it a try, share your results, and maybe even pass the recipe along to a friend who appreciates small-batch goodness as much as you do. Happy jam making!
FAQs about Easy Small Batch Strawberry Jam
How long does homemade small batch strawberry jam last?
If properly canned in sterilized jars and stored in a cool, dark place, it can last up to a year unopened. Once opened, keep it refrigerated and consume within 3-4 weeks.
Can I use frozen strawberries for this jam?
Yes! Frozen strawberries work well, especially when fresh berries are out of season. Just thaw and drain excess liquid before proceeding with the recipe.
Do I need to use pectin for this recipe?
Nope. The natural pectin in strawberries combined with lemon juice helps the jam set. For a firmer jam, you can add commercial pectin, but it’s not necessary for this small batch.
What if my jam doesn’t thicken properly?
Try cooking it a bit longer while stirring frequently. Also, check the acidity of your lemon juice—too little acid can prevent proper setting.
Can I make this jam without canning it?
Absolutely! You can store the jam in sterilized jars in the refrigerator and use it within a few weeks. This is perfect for small batches you plan to enjoy quickly.
Speaking of homemade preserves, you might enjoy the comforting flavors of homemade peach preserves or the bright, zesty touch of classic lemon curd—both fantastic companions to your pantry.
Pin This Recipe!
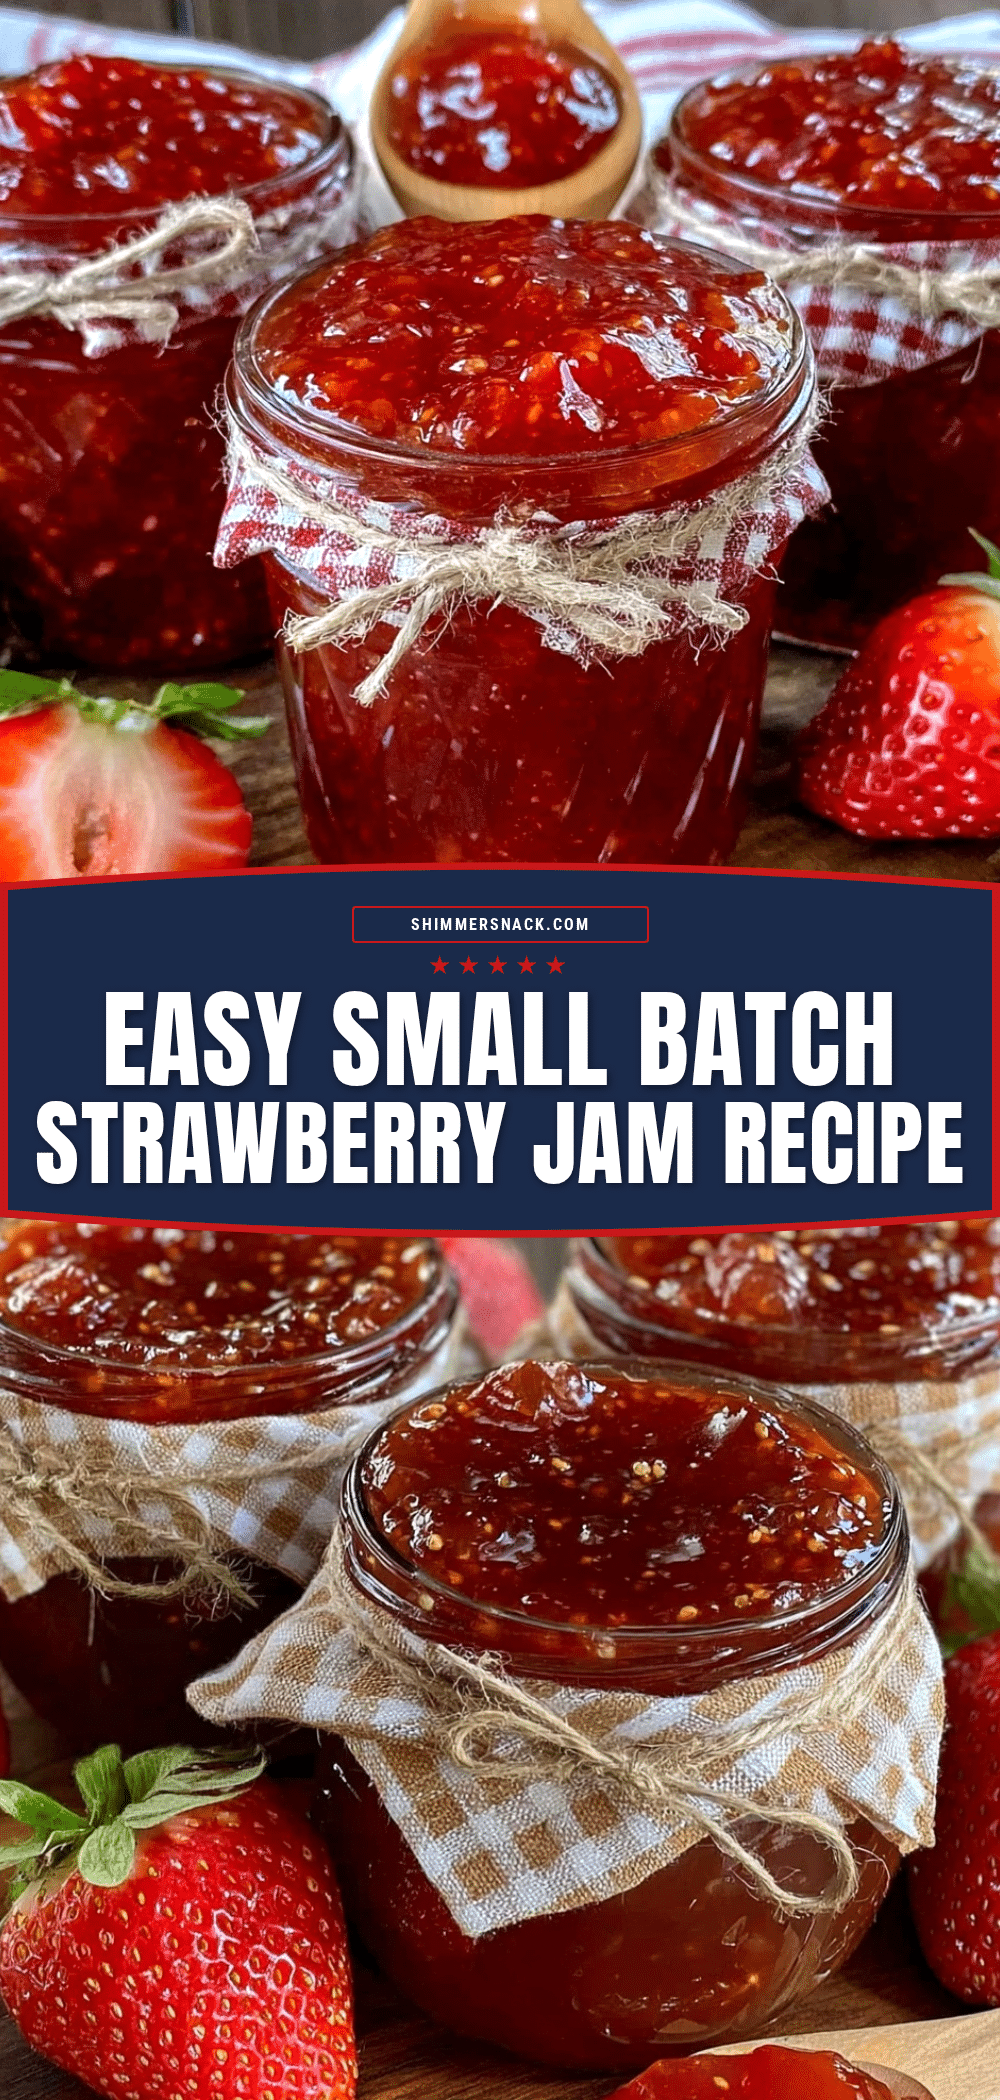
Easy Small Batch Strawberry Jam Recipe for Perfect Homemade Canning
A quick and simple small batch strawberry jam recipe perfect for homemade canning, using fresh strawberries, sugar, and lemon juice to create a delicious, fresh-tasting jam without the need for commercial pectin.
- Prep Time: 20 minutes
- Cook Time: 25 minutes
- Total Time: 45 minutes
- Yield: Approximately 2 half-pint jars (about 1 cup total) 1x
- Category: Preserves
- Cuisine: American
Ingredients
- 2 cups fresh strawberries (about 10 ounces / 280 grams), hulled and halved if large
- 1 cup granulated sugar (200 grams), adjust to taste
- 2 tablespoons fresh lemon juice (about half a lemon)
- 1 teaspoon lemon zest (optional)
- 2 tablespoons water
Instructions
- Prepare your workspace by washing jars and lids in hot soapy water. Rinse well and keep warm in a low oven (around 200°F / 95°C) or simmer in boiling water to sterilize.
- Rinse strawberries under cold water, hull by removing green caps, and cut large berries in half or quarters. Smaller berries can stay whole.
- In a saucepan, combine strawberries, sugar, lemon juice, lemon zest (if using), and water. Stir gently and let sit for about 10 minutes to macerate.
- Place saucepan over medium heat and bring mixture to a gentle boil, stirring frequently to prevent sticking. Cook for 20-25 minutes until thickened and bubbling steadily.
- Test jam doneness by placing a spoonful on a chilled plate. Let sit for a minute, then push with a finger. If it wrinkles and doesn’t run, jam is ready; if not, cook a few more minutes and test again.
- Ladle hot jam into warm sterilized jars, leaving about 1/4 inch (0.5 cm) headspace. Wipe rims with a clean damp cloth and seal tightly with lids.
- Optional: Process jars in a boiling water bath for 10 minutes to preserve longer. Remove and let cool completely.
Notes
Keep stirring gently during cooking to prevent burning. Use the wrinkle test on a chilled plate to check jam set. Macerate strawberries with sugar and lemon juice before cooking for better flavor and texture. Adjust sugar to taste depending on strawberry sweetness. Lemon juice is key for proper gel formation. For longer storage, process jars in a boiling water bath for 10 minutes. Jam can be stored refrigerated for up to 3 weeks if not canned, or up to a year if properly canned and sealed.
Nutrition
- Serving Size: 2 tablespoons (40 gr
- Calories: 60
- Sugar: 14
- Carbohydrates: 15
- Fiber: 1
Keywords: strawberry jam, small batch jam, homemade jam, canning, easy jam recipe, fresh strawberry preserves


