Love this? Save it for later!
Share the inspiration with your friends
“I never thought zucchini could steal the show,” I confessed to my neighbor last summer as we stood in my cluttered kitchen, jars lined up like soldiers awaiting battle. It was August, and the garden was bursting with zucchini—so much that I was seriously wondering if I’d ever see the bottom of my vegetable drawer again. You know that feeling when you’re staring down a mountain of produce and you have no idea what to do with it all? Yeah, that was me.
One afternoon, while chatting with Marcy from three houses down (who’s surprisingly a canning wizard), she casually mentioned her “easy tangy zucchini relish” that “works every single time.” Honestly, I was skeptical—relish always sounded complicated, like something only your grandma could pull off without a hitch. But Marcy’s recipe promised just five simple steps and no scary jargon. So, with a cracked mixing bowl and a distracted cat weaving between my legs, I gave it a shot.
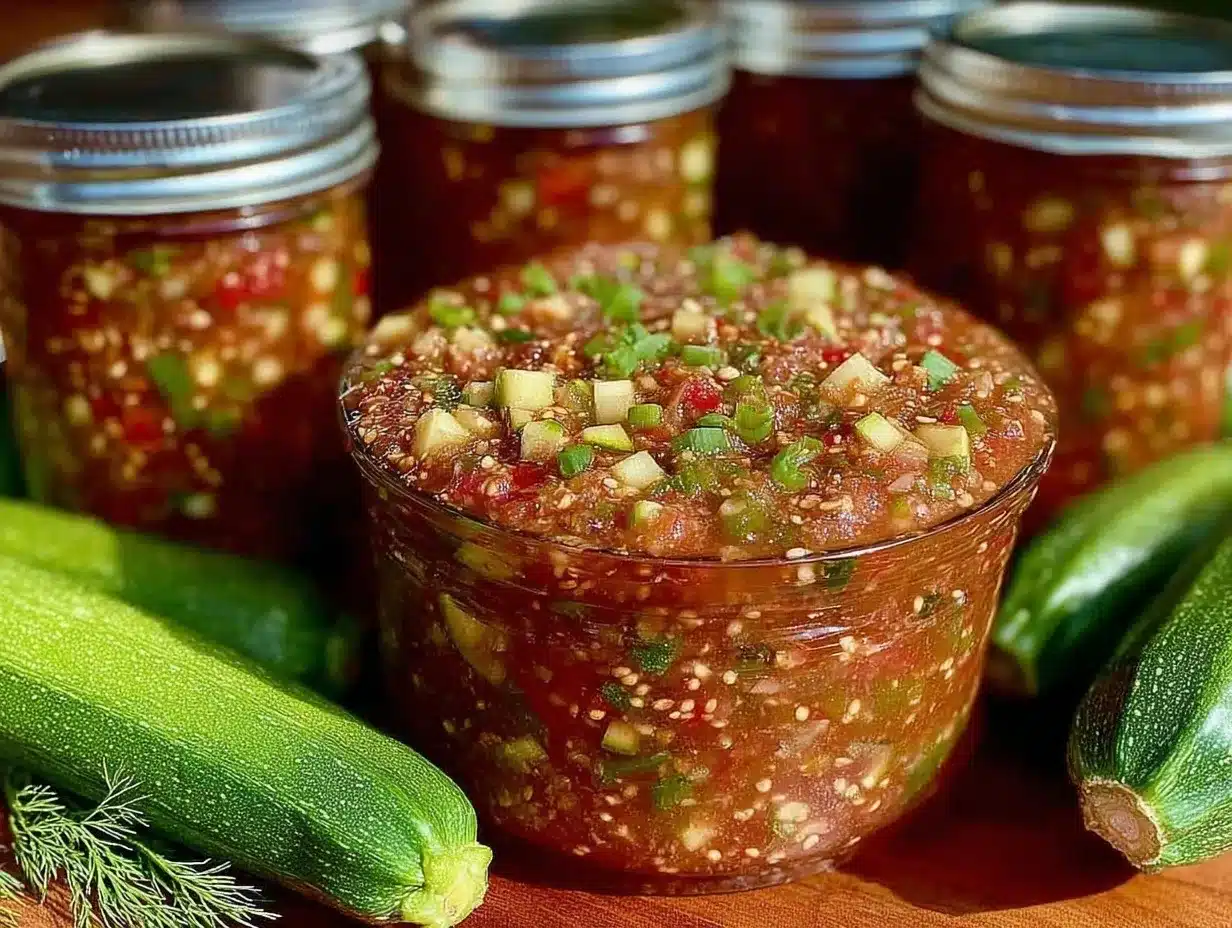
The result? A tangy, crunchy, vibrant relish that saved my summer harvest and quickly became a staple at every cookout and sandwich night. Maybe you’ve been there—wishing for something fresh, flavorful, and a little zingy to brighten up those garden veggies. This easy tangy zucchini relish canning recipe isn’t just about preserving zucchini; it’s about capturing that extra harvest magic with a no-fuss, delicious twist. Let me tell you, once you make this, you’ll be dreaming of next season’s zucchini already.
Why You’ll Love This Recipe
This easy tangy zucchini relish recipe is a real winner in my cookbook—and here’s why I keep coming back to it, year after year:
- Quick & Easy: You can get this relish from fresh zucchini to sealed jars in under 2 hours, perfect for those busy harvest days when you want to preserve without fuss.
- Simple Ingredients: No exotic spices or hard-to-find stuff here—just pantry staples and fresh garden goodness. I always use McCormick mustard seeds for that perfect pop of flavor.
- Perfect for Canning: The recipe is tested for safe water bath canning, so your jars stay sealed, your relish stays fresh, and you get to enjoy that tangy crunch all year long.
- Crowd-Pleaser: From family barbecues to casual potlucks, this relish disappears fast. The blend of sweet, sour, and spicy notes hits all the right spots.
- Unbelievably Delicious: The texture is crisp yet juicy, and the tanginess wakes up your taste buds in the best way. Honestly, it’s one of those recipes that makes you close your eyes after the first bite and smile.
What makes this recipe stand out is the perfect balance of vinegar and sugar combined with just the right amount of mustard seeds and celery seed, giving it a classic but fresh zing. Plus, the five-step process is foolproof—even if you’re new to canning, you’ll feel like a pro. It’s comfort food in a jar that keeps you coming back, no matter how many jars you make.
What Ingredients You Will Need
This easy tangy zucchini relish recipe uses simple, wholesome ingredients that give you bold flavor without the fuss. Most of these are pantry staples or fresh garden finds, and you can swap a few things depending on your taste or dietary needs.
- Zucchini: 6 cups finely chopped (about 6 medium zucchinis). Choose firm, fresh zucchini for the best crunch.
- Onion: 2 cups finely chopped yellow onion. Adds sweetness and depth.
- Green Bell Pepper: 1 cup finely chopped. For a mild peppery bite.
- Red Bell Pepper: 1 cup finely chopped. Adds color and a touch of sweetness.
- Salt: 2 tablespoons pickling or kosher salt. Essential for drawing moisture and flavor balance.
- White Vinegar: 2 cups (5% acidity). This is key for that tang and for safe preservation.
- Granulated Sugar: 2 cups. Balances the vinegar’s acidity with sweetness.
- Mustard Seeds: 1 tablespoon. I recommend McCormick brand for consistent flavor.
- Celery Seeds: 1 teaspoon. Adds that classic relish aroma.
- Ground Turmeric: 1 teaspoon. Gives a beautiful golden color and subtle earthiness.
Substitution tips: For a gluten-free version, all these ingredients are naturally gluten-free—just double-check your mustard seeds for processing. Swap out sugar for coconut sugar if you want a slightly richer, less refined option. If you prefer a milder tang, use apple cider vinegar instead of white vinegar, but keep the acidity level the same for preservation safety.
Equipment Needed
- Large Mixing Bowl: For combining all the chopped veggies.
- Sharp Knife or Food Processor: For finely chopping zucchini, peppers, and onions. I use a food processor to save time, but a sharp knife works just fine.
- Large Saucepan: To cook the relish mixture before canning.
- Water Bath Canner or Large Stockpot: For processing jars safely. A water bath canner is ideal but a deep stockpot with a rack works well too.
- Glass Canning Jars with Lids and Bands: Standard pint jars are perfect for this recipe.
- Jar Lifter and Funnel: Makes filling and removing jars much easier and safer.
- Clean Kitchen Towels: For wiping rims and handling hot jars.
Personally, I started with just a large stockpot and slowly added a proper water bath canner to my collection—both work fine. A food processor saved me from countless hours chopping, but if you like the rustic hand-chopped texture, go old-school with a knife. Remember to keep your equipment super clean and sterilized to avoid any spoilage.
Preparation Method
- Prep the Vegetables (15-20 minutes): Rinse zucchinis, peppers, and onions thoroughly. Finely chop all veggies using a food processor or a sharp knife. You want uniform small pieces for even cooking and texture.
- Salt the Veggies (30 minutes): Place the chopped zucchini, onions, and peppers into a large mixing bowl. Sprinkle 2 tablespoons of pickling salt over the top and stir well. Cover and let it sit for 30 minutes. This step draws out excess water and firms up the veggies.
- Drain and Rinse (5 minutes): After 30 minutes, pour the salted veggies into a colander and rinse under cold water to remove excess salt. Give them a good squeeze to drain well. This prevents the relish from becoming too salty.
- Cook the Relish (20 minutes): In a large saucepan, combine the drained veggies, 2 cups white vinegar, 2 cups sugar, 1 tablespoon mustard seeds, 1 teaspoon celery seeds, and 1 teaspoon turmeric. Bring the mixture to a boil, then reduce heat and simmer for 15-20 minutes, stirring occasionally. The relish will thicken slightly and become fragrant.
- Can the Relish (30 minutes): While cooking, prepare your jars by sterilizing them in boiling water. Using a jar funnel, ladle the hot relish into the jars, leaving about 1/2 inch headspace. Wipe rims clean, place lids and rings on, and process in a boiling water bath for 10 minutes. Carefully remove jars and let cool undisturbed for 12-24 hours. You’ll hear that satisfying “pop” as jars seal.
Pro tip: If your relish looks too watery after cooking, just simmer a few extra minutes to thicken. The smell should be bright and tangy with a hint of mustard spice. And don’t forget to keep a towel handy—hot jars can get slippery!
Cooking Tips & Techniques
Making the perfect easy tangy zucchini relish is all about timing and balance. Here are some tips I’ve learned the hard way:
- Don’t skip the salting step: It might seem like extra work, but salting and rinsing veggies keeps your relish crisp and prevents it from becoming mushy over time.
- Use the right vinegar: White vinegar with 5% acidity is best for safe canning and that classic tangy flavor. Avoid flavored or malt vinegars as they can affect preservation.
- Chop uniformly: Whether by hand or food processor, consistent size ensures even cooking and a pleasant texture in the final jar.
- Watch your simmer: Too high heat can turn the relish mushy, too low and it won’t thicken properly. Medium-low heat is your friend here.
- Seal jars properly: Always sterilize jars and check lids for dents or rust. After processing, listen for the “pop” that means a good seal. If any jars don’t seal, refrigerate and use those first.
Honestly, I once forgot to rinse the salted veggies and ended up with a very salty batch—lesson learned! Also, multitasking helps; prep veggies while water heats for canning. It makes the whole process less daunting.
Variations & Adaptations
Feel free to tweak this easy tangy zucchini relish recipe to suit your preferences or what’s in your pantry:
- Spicy Kick: Add 1-2 finely chopped jalapeños or a pinch of red pepper flakes for a fiery twist.
- Sweet & Smoky: Swap out white sugar for brown sugar and add 1 teaspoon smoked paprika for a deeper flavor.
- Low-Sodium Version: Reduce salt by half and increase vinegar slightly to maintain preservation without sacrificing tanginess.
- Alternative Vegetables: Try substituting some zucchini with grated carrots or diced green tomatoes for seasonal variation.
- Vegan-Friendly: This recipe is naturally vegan, but double-check vinegar and mustard seed sources if you follow strict diets.
Last season, I tried adding fresh dill at the end of cooking and it made a surprisingly fresh and herbaceous version that my family loved. The beauty of this relish is how easy it is to personalize.
Serving & Storage Suggestions
This easy tangy zucchini relish is incredibly versatile. Serve it chilled or at room temperature alongside grilled meats, sandwiches, burgers, or even mixed into potato salad for a tangy lift. I like to spoon it over cream cheese and crackers for a quick snack—always a hit when guests drop by unexpectedly.
Store your sealed jars in a cool, dark place for up to one year. Once opened, refrigerate and use within 3 weeks for best flavor and crunch. When reheating, gently warm in a saucepan if you want to serve it warm, but many prefer it cold to keep that crisp texture.
Over time, the flavors meld and become even more harmonious, so if you can wait a week before opening, you’ll be rewarded with a deeper, richer taste.
Nutritional Information & Benefits
This relish is a low-calorie, flavorful way to enjoy your garden bounty. A 2-tablespoon serving typically contains about 15 calories, 3 grams of carbs, and negligible fat.
Key benefits come from the zucchini and peppers, which provide vitamin C, antioxidants, and fiber. The vinegar acts as a natural preservative and may support digestion. Because it’s made with simple ingredients and canned safely, it fits well into gluten-free, vegan, and low-fat diets.
Personally, I appreciate how this relish adds brightness and texture to meals without adding processed ingredients or excess calories—perfect for mindful eating.
Conclusion
So, if you’re staring down a zucchini overload or just want an easy, tangy way to preserve your garden’s best, this easy tangy zucchini relish canning recipe is a no-brainer. It’s simple enough for beginners, packed with flavor, and makes your harvest last well beyond the summer months.
Make it your own by adjusting spices or sweetness, and don’t be afraid to experiment a little—that’s how I found some of my favorite twists. Honestly, I love how this relish brings a bit of crunch and zing to my meals, and I hope it will do the same for you.
Give it a try, and please share your versions or questions in the comments—I’m always excited to hear how you make this recipe your own. Happy canning and even happier eating!
FAQs
Can I use frozen zucchini for this relish?
Fresh zucchini is best for texture, but if you must use frozen, thaw and drain it thoroughly before using to avoid excess water in the relish.
How long does the canned relish last?
Properly canned and sealed jars can last up to one year stored in a cool, dark place.
Is this recipe safe for water bath canning beginners?
Yes! The recipe is tested for water bath canning and includes straightforward steps ideal for beginners.
Can I reduce the sugar in this recipe?
You can reduce sugar slightly, but keep in mind it balances the vinegar and helps preservation, so don’t cut it by more than 1/3 without adjusting vinegar accordingly.
What can I serve with zucchini relish?
It pairs wonderfully with burgers, hot dogs, sandwiches, grilled chicken, or as a topping for cream cheese and crackers.
Pin This Recipe!
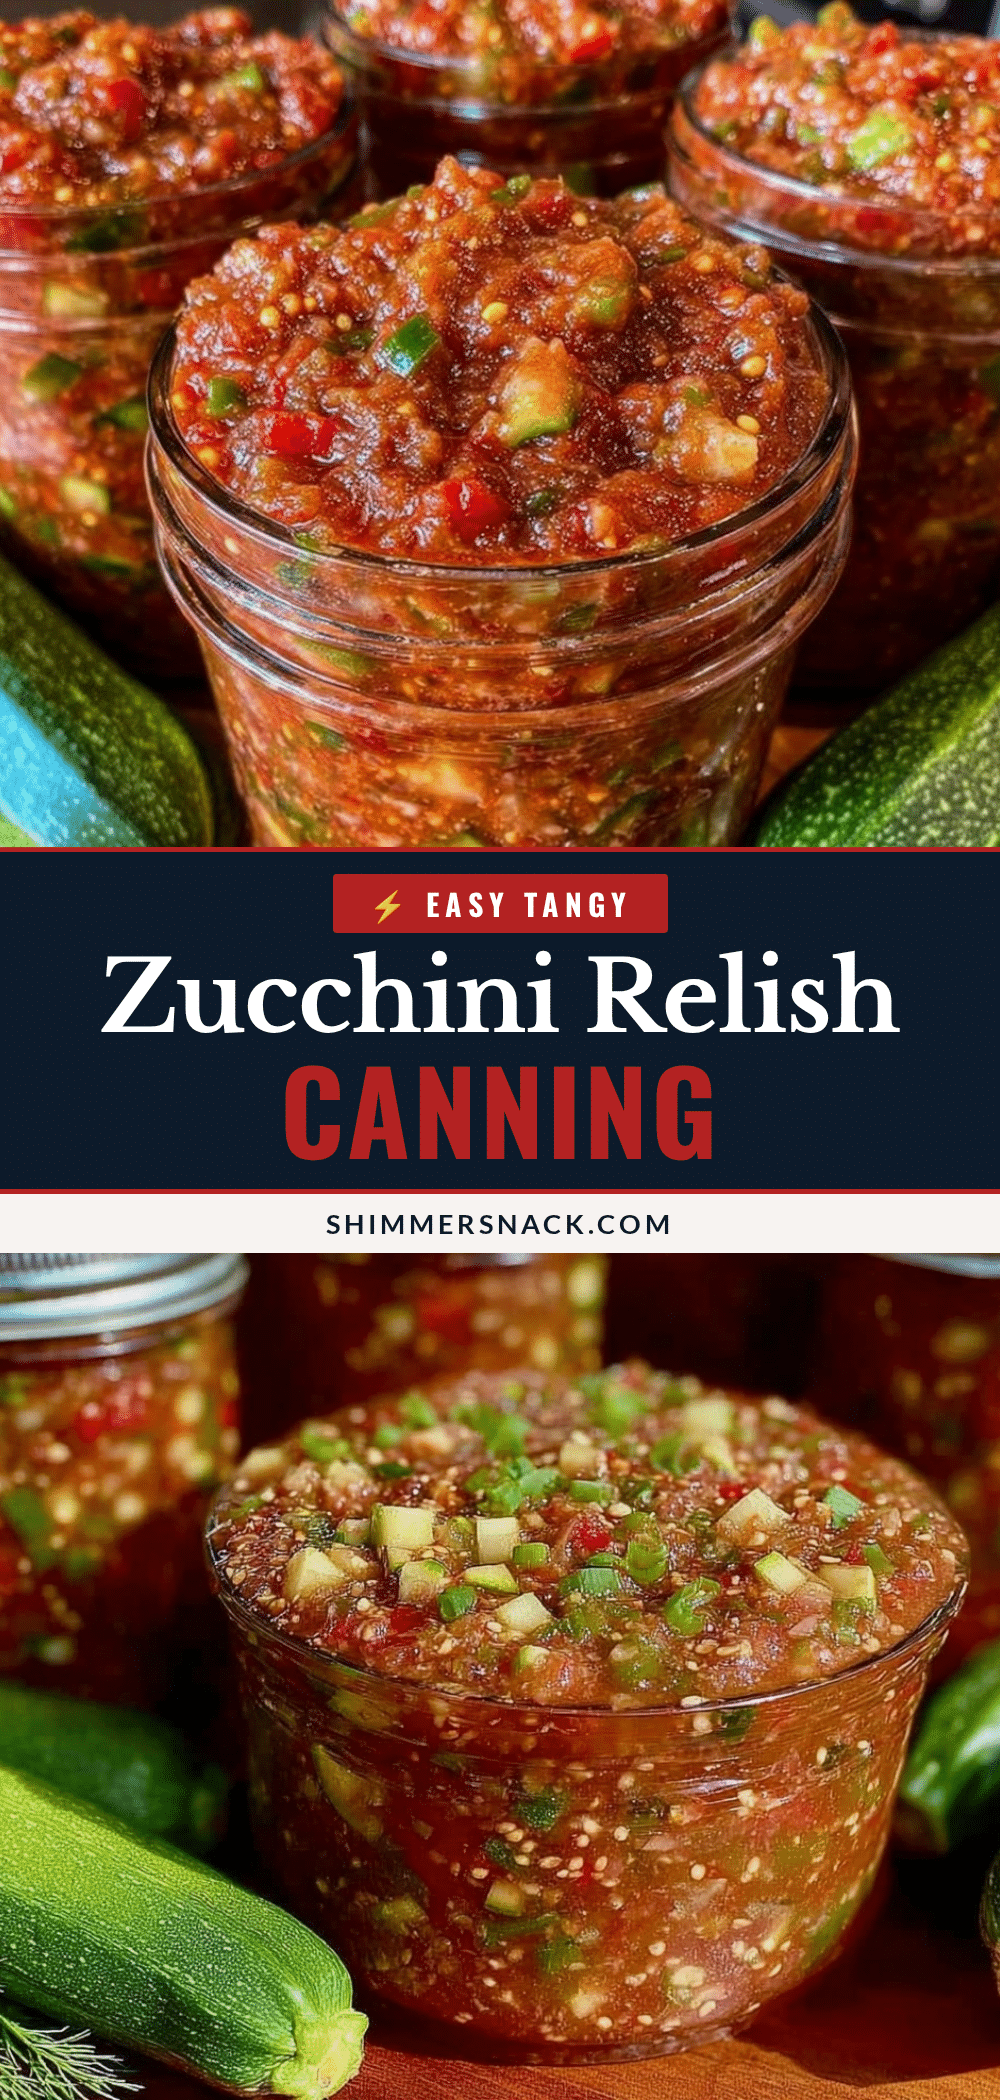
Easy Tangy Zucchini Relish

A tangy, crunchy, and vibrant zucchini relish perfect for canning and preserving your summer harvest. This easy recipe uses simple ingredients and a foolproof five-step process to create a delicious relish that brightens up sandwiches, burgers, and more.
- Prep Time: 20 minutes
- Cook Time: 50 minutes
- Total Time: 1 hour 10 minutes
- Yield: About 6 pints 1x
- Category: Condiment
- Cuisine: American
Ingredients
- 6 cups finely chopped zucchini (about 6 medium zucchinis)
- 2 cups finely chopped yellow onion
- 1 cup finely chopped green bell pepper
- 1 cup finely chopped red bell pepper
- 2 tablespoons pickling or kosher salt
- 2 cups white vinegar (5% acidity)
- 2 cups granulated sugar
- 1 tablespoon mustard seeds (McCormick recommended)
- 1 teaspoon celery seeds
- 1 teaspoon ground turmeric
Instructions
- Rinse zucchinis, peppers, and onions thoroughly. Finely chop all veggies using a food processor or a sharp knife for uniform small pieces.
- Place the chopped zucchini, onions, and peppers into a large mixing bowl. Sprinkle 2 tablespoons of pickling salt over the top and stir well. Cover and let it sit for 30 minutes to draw out excess water and firm up the veggies.
- Pour the salted veggies into a colander and rinse under cold water to remove excess salt. Squeeze well to drain.
- In a large saucepan, combine the drained veggies, 2 cups white vinegar, 2 cups sugar, 1 tablespoon mustard seeds, 1 teaspoon celery seeds, and 1 teaspoon turmeric. Bring to a boil, then reduce heat and simmer for 15-20 minutes, stirring occasionally until the relish thickens slightly and becomes fragrant.
- Sterilize jars in boiling water. Using a jar funnel, ladle the hot relish into jars leaving 1/2 inch headspace. Wipe rims clean, place lids and rings on, and process in a boiling water bath for 10 minutes. Remove jars carefully and let cool undisturbed for 12-24 hours until sealed.
Notes
Do not skip the salting and rinsing step to keep the relish crisp. Use white vinegar with 5% acidity for safe canning. Simmer on medium-low heat to avoid mushy texture. Ensure jars and lids are sterilized and check for proper seals after processing. If relish is watery after cooking, simmer a few extra minutes to thicken.
Nutrition
- Serving Size: 2 tablespoons
- Calories: 15
- Sugar: 2.5
- Sodium: 300
- Carbohydrates: 3
- Fiber: 0.5
- Protein: 0.3
Keywords: zucchini relish, canning recipe, tangy relish, summer harvest, easy relish, homemade relish, pickled relish, garden vegetables