Love this? Save it for later!
Share the inspiration with your friends
I did not trust royal icing on a cookie that was supposed to be “easy.” Honestly, I thought piping tiny autumn leaves sounded like a mistake until I actually tasted the result. Let’s face it, the idea of making sugar cookies from scratch was already a stretch for my busy schedule. Adding a delicate icing that requires patience? That felt like asking for disaster. I have spent years dodging elaborate baking projects because my kitchen skills usually max out at “burnt but edible.”
My sister had been bragging about her intricate Thanksgiving spreads for years. She’d send photos of cookies that looked like miniature stained-glass windows. I’d roll my eyes and tell her I’d stick to store-bought snickerdoodles. But then the year arrived, and the grocery store cookies just didn’t cut it. They tasted like cardboard and regret. I needed something that felt homemade, warm, and genuinely festive without spending three days in the kitchen.
I decided to try this recipe one Tuesday night. I mixed the dough, chilled it, and rolled it out. The smell of vanilla and butter filled the apartment, which was already a win. Then came the icing. I was terrified it would crack or dry too fast. But I followed the steps, piped some simple leaves, and waited.
When I finally bit into one, the crisp edge gave way to a soft, chewy center. The icing wasn’t hard like rock candy; it was smooth and sweet, perfectly balancing the rich dough. I realized I had been wrong about the effort. It wasn’t about perfection. It was about the joy of making something beautiful for the people you love. That single cookie changed my mind. Now, these are the first thing I pull out when November hits.
Why You’ll Love This Recipe
This isn’t just another sugar cookie recipe you’ll find buried in a Pinterest feed. It is the result of trial, error, and a lot of wasted flour. I have tested dozens of versions to get the texture just right. This one strikes the perfect balance between a crisp edge and a soft center. You know that feeling when you take a bite and it just melts in your mouth? That is what we are aiming for here.
Here is why these cookies earn a spot in your holiday rotation:
- Quick & Easy: Yes, really. From start to finish, you are looking at about 45 minutes of active time. The rest is chilling. This makes them perfect for busy weeknights or last-minute cravings before the big feast.
- Simple Ingredients: You likely already have everything in your pantry. Flour, sugar, butter, eggs, and vanilla. No fancy grocery trips needed. It is wholesome, honest baking.
- Perfect for Thanksgiving: Whether you are hosting a large dinner or bringing a plate to a potluck, these cookies fit right in. They pair beautifully with warm cider or coffee.
- Crowd-Pleaser: Kids love the fun leaf shapes. Adults love the classic sugar cookie taste. It is a win-win situation that always gets rave reviews.
- Unbelievably Delicious: The texture is next-level comfort food. It is not dry or crumbly. It is tender and rich.
What makes this recipe different is the royal icing technique. Many recipes use a stiff icing that cracks when you bite down. This version uses a specific consistency that dries smooth but stays slightly tender. It is the kind of detail that makes you look like a professional baker, even if you are just a home cook in sweatpants.
This recipe isn’t just good—it is the kind that makes you close your eyes after the first bite. It is comfort food reimagined with a touch of elegance. Perfect for impressing guests without stress, or turning a simple meal into something memorable. Plus, compared to my soft pumpkin snickerdoodle cookies, these offer a different texture profile that feels lighter and more festive.
What Ingredients You Will Need
This recipe uses simple, wholesome ingredients to deliver bold flavor and satisfying texture without the fuss. The key to a great sugar cookie is quality butter and proper measurement. You do not need fancy imports, but you do need fresh ingredients. Here is what you will need to make this magic happen.
For the Cookie Dough
- All-Purpose Flour: 2 1/2 cups (315g). I recommend Baker’s Corner or Gold Medal for a consistent texture. Sift it if it is lumpy.
- Unsalted Butter: 1 cup (226g), softened to room temperature. This is crucial for creaming properly. Cold butter will ruin the texture.
- Granulated Sugar: 1 cup (200g). This provides the crisp edges.
- Powdered Sugar: 1/2 cup (60g). This adds tenderness and helps the cookies spread less.
- Egg: 1 large egg, room temperature. It binds the dough together.
- Vanilla Extract: 2 teaspoons. Use pure vanilla, not imitation. It makes a huge difference in flavor.
- Baking Powder: 1 teaspoon. This helps the cookies rise slightly.
- Salt: 1/2 teaspoon. Balances the sweetness.
For the Royal Icing
- Powdered Sugar: 3 cups (360g), sifted. Sifting is non-negotiable here to avoid lumps in your icing.
- Egg Whites: 2 large egg whites, room temperature. For safety, use pasteurized egg whites or meringue powder.
- Lemon Juice: 1 tablespoon. Adds brightness and helps stabilize the icing.
- Food Coloring: Gel colors work best. You will need shades of orange, red, yellow, and green for the leaves.
Substitutions & Tips
You can use meringue powder instead of raw egg whites for a safer, more stable icing. If you are dairy-free, swap the butter for a high-quality vegan butter stick. Look for firm, small-curd cottage cheese if you want to try a high-protein variation, though it changes the texture. For the icing, almond flour can be used for a gluten-free option, but adjust liquid carefully.
Equipment Needed
You do not need a fancy kitchen to make these cookies. A few basic tools will get you through the process smoothly.
- Mixing Bowls: One large bowl for the dough and one medium bowl for the icing. Glass or stainless steel work best.
- Electric Mixer: A hand mixer or stand mixer is highly recommended. Creaming butter and sugar by hand is exhausting and often uneven.
- Rolling Pin: A standard wooden rolling pin is fine. If you have a marble one, even better, as it stays cool.
- Cookie Cutters: Leaf-shaped cutters are essential. I love the detailed oak leaf shape. Have a few sizes on hand.
- Piping Bags: Small disposable piping bags with tip #2 or #3 work well. You can also use a ziplock bag with the corner snipped off.
- Baking Sheets: Two large sheets. I recommend lining them with parchment paper for easy cleanup and even baking.
- Wire Rack: Essential for cooling the cookies completely before icing. Warm cookies will melt the icing.
If you do not have a stand mixer, a sturdy whisk and strong arms will do. For the icing, a small spoon works if you are careful. Budget-friendly option: use plastic wrap to cover dough if you lack lids.
Preparation Method
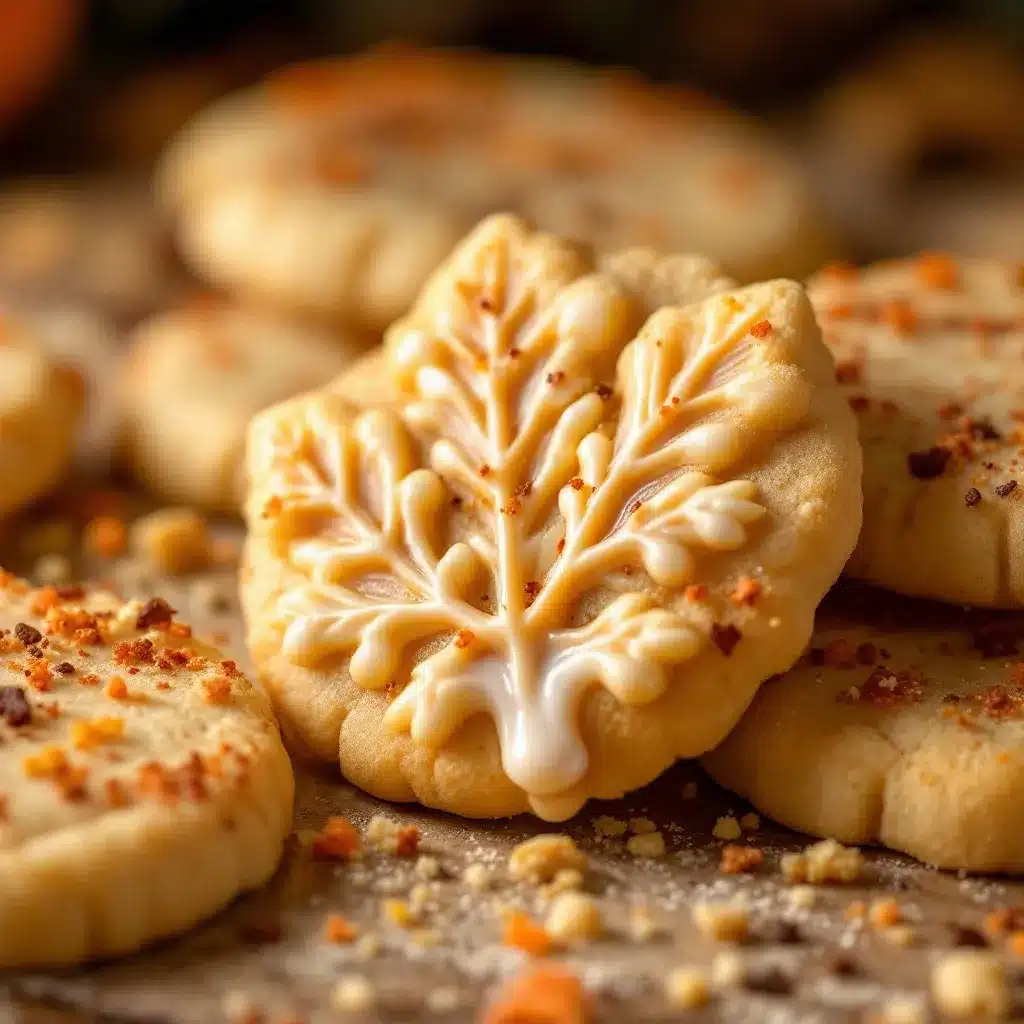
Follow these steps carefully to get the best results. Patience is key, especially with the chilling time.
- Cream the Butter and Sugars (5 minutes): In a large bowl, beat the softened butter, granulated sugar, and powdered sugar together on medium-high speed. You want this to be light and fluffy. Scrape down the sides of the bowl with a spatula to ensure everything is incorporated. This step adds air, which helps the cookies rise.
- Add Wet Ingredients (1 minute): Add the egg and vanilla extract. Beat on low speed just until combined. Do not overmix here. The mixture should look smooth and creamy.
- Combine Dry Ingredients (2 minutes): In a separate bowl, whisk together the flour, baking powder, and salt. Gradually add the dry ingredients to the wet mixture on low speed. Mix until just combined. The dough should be soft but not sticky. If it is too sticky, add a tablespoon of flour. If it is too dry, add a teaspoon of milk.
- Chill the Dough (30 minutes): Divide the dough in half. Flatten each half into a disk shape. Wrap tightly in plastic wrap. Refrigerate for at least 30 minutes. This step is critical. Cold dough is easier to roll and prevents spreading.
- Preheat Oven (5 minutes): Preheat your oven to 350°F (175°C). Line two baking sheets with parchment paper.
- Roll and Cut (15 minutes): Take one disk of dough out of the fridge. On a lightly floured surface, roll it out to about 1/4 inch thickness. Use your leaf-shaped cookie cutter to cut out shapes. Place them on the baking sheets, leaving an inch of space between each cookie. Re-roll the scraps and cut again.
- Bake (10-12 minutes): Bake for 10 to 12 minutes. The edges should be lightly golden. The centers should still look slightly soft. Do not overbake, or they will be hard. Remove from the oven and let them cool on the pan for 5 minutes.
- Cool Completely (30 minutes): Transfer the cookies to a wire rack. Let them cool completely to room temperature. This is important. If the cookies are warm, the icing will melt and slide off.
- Make the Royal Icing (10 minutes): In a clean, grease-free bowl, beat the egg whites on medium speed until foamy. Gradually add the sifted powdered sugar. Beat on high for 5-7 minutes until stiff peaks form. Stir in the lemon juice. Divide the icing into small bowls for coloring.
- Color and Pipe (20 minutes): Add gel food coloring to the icing. Mix until you get your desired fall shades. Transfer each color to a piping bag. Pipe the leaves onto the cooled cookies. You can do solid fills or outline and flood techniques. Let the icing dry for at least 2 hours.
Cooking Tips & Techniques
Getting the icing right is the hardest part. Here is how to avoid common mistakes.
- Consistency Check: The icing should be thick but pourable. If you lift the spoon, the ribbon should disappear into the surface in about 10 seconds. If it stays on top, add more sugar. If it runs too thin, add a drop of water.
- Prevent Cracking: Make sure your cookies are 100% cool before icing. Any residual heat will cause cracks. Also, do not pipe icing on cookies that are too porous. A slightly denser cookie holds icing better.
- Color Mixing: Gel colors are more potent than liquid. Add color gradually. It is easier to add more than to fix a color that is too dark. For autumn leaves, mix orange with a touch of red for deep tones, and yellow with a bit of orange for bright tones.
- Piping Technique: Hold the piping bag at a 45-degree angle. Apply steady pressure. Lift quickly at the end of each stroke to create a tail effect on the leaf. If you make a mistake, just scrape it off with a knife and try again. The dough is forgiving.
- Drying Time: Let the icing dry in a cool, dry place. Humidity is the enemy of royal icing. If it is humid in your kitchen, add a bit more powdered sugar to stiffen the icing. Drying time can range from 2 to 24 hours depending on thickness.
I once tried to speed up the drying process with a hair dryer. Big mistake. The icing got sticky and melted. Just let time do its work. It is worth the wait.
Variations & Adaptations
While the classic leaf design is beautiful, there are many ways to adapt this recipe to suit your needs or taste preferences.
- Gluten-Free Option: Swap the all-purpose flour for a 1:1 gluten-free flour blend. Ensure your baking powder is certified gluten-free. The texture may be slightly more tender, which is nice.
- Vegan Version: Use vegan butter and meringue powder for the icing. You can also use aquafaba (chickpea water) as a substitute for egg whites in the icing. The flavor will be very similar.
- Flavor Twists: Add 1 teaspoon of pumpkin pie spice to the dough for an autumnal kick. Or, add a tablespoon of orange zest to the butter mixture for a citrusy note. I also love adding a pinch of cinnamon to the dough.
- Different Shapes: If you do not have leaf cutters, use star, heart, or simple circle cutters. You can still decorate them with swirled icing in fall colors.
- Mini Cookies: Roll the dough thinner and use a mini cutter for bite-sized treats. These are perfect for party platters and go faster.
I once made these with a drop of almond extract in the dough. It tasted like a fancy bakery cookie. It was a pleasant surprise.
Serving & Storage Suggestions
These cookies are best served at room temperature. They make a beautiful addition to any Thanksgiving dessert table.
- Serving Ideas: Arrange them on a tiered stand. They pair wonderfully with warm apple cider, coffee, or tea. You can also serve them alongside my cozy pumpkin black bean chili for a complete fall meal experience.
- Storage: Store the cookies in an airtight container at room temperature for up to 5 days. Place parchment paper between layers to prevent sticking. They can also be frozen before icing for up to 3 months.
- Icing Storage: If you have leftover icing, cover it with plastic wrap pressed directly onto the surface. It will keep for a few days in the fridge. Bring it to room temperature and re-whip before using.
- Reheating: You do not need to reheat these cookies. In fact, reheating can melt the icing. Enjoy them cold or at room temperature for the best texture.
- Flavor Development: The flavors meld together after a day. The cookies become slightly softer and more flavorful. Letting them sit overnight is recommended for the best taste.
I often make these a day ahead. It takes the stress off the day of the party. The cookies taste even better the next day.
Nutritional Information & Benefits
While these are a treat, they are made with real ingredients. Here is a rough estimate per cookie (assuming 24 cookies):
- Calories: ~120
- Carbohydrates: 18g
- Sugar: 12g
- Fat: 5g
- Protein: 1g
The butter provides fat-soluble vitamins A and D. The eggs add protein and choline. While not a health food, they are made with simple, recognizable ingredients. If you are watching sugar intake, you can reduce the sugar in the dough by 1/4 cup without major texture changes. The icing can be made with a sugar substitute, though it may affect the drying time. These cookies are gluten-free if you use GF flour. They are nut-free, making them safe for most school or office parties.
I enjoy these as a mindful treat. One or two is plenty. They are meant to be savored, not devoured.
Conclusion
These Easy Thanksgiving Sugar Cookies with Royal Icing Leaves are a game-changer for holiday baking. They are simple enough for beginners but impressive enough for experts. I hope you try this recipe and enjoy the process as much as I do.
Feel free to customize the colors and shapes to match your table setting. Add a personal touch with a handwritten note on the back of each cookie. I love making these because they bring back memories of family gatherings. They are a labor of love, but a manageable one.
Please share your results with me! Tag me on social media or leave a comment below. I love seeing your creations. If you make this recipe, let me know how it turned out. Did you add any special spices? Did your kids help decorate?
Happy baking, and happy Thanksgiving!
FAQs
Can I use liquid food coloring instead of gel?
Liquid food coloring can thin out the icing and make it runny. Gel colors are more concentrated and do not alter the consistency. If you must use liquid, add it very slowly and add extra powdered sugar if needed.
How do I fix cracked royal icing?
Cracks often happen if the icing is too thick or the cookie moves while drying. To fix it, mix a tiny bit of water with the icing to thin it slightly and pipe over the cracks. Let it dry again.
Can I make the dough ahead of time?
Yes! You can refrigerate the dough for up to 3 days or freeze it for up to 3 months. Let it thaw in the fridge overnight before rolling and baking.
Why did my cookies spread too much?
This usually happens if the butter was too warm or the oven was not preheated correctly. Make sure your butter is softened, not melted. Chill the dough again if it feels soft before rolling.
Can I freeze the finished cookies?
Yes. Place the fully dried cookies in an airtight container with parchment paper between layers. Freeze for up to 3 months. Thaw at room temperature before serving.
Pin This Recipe!
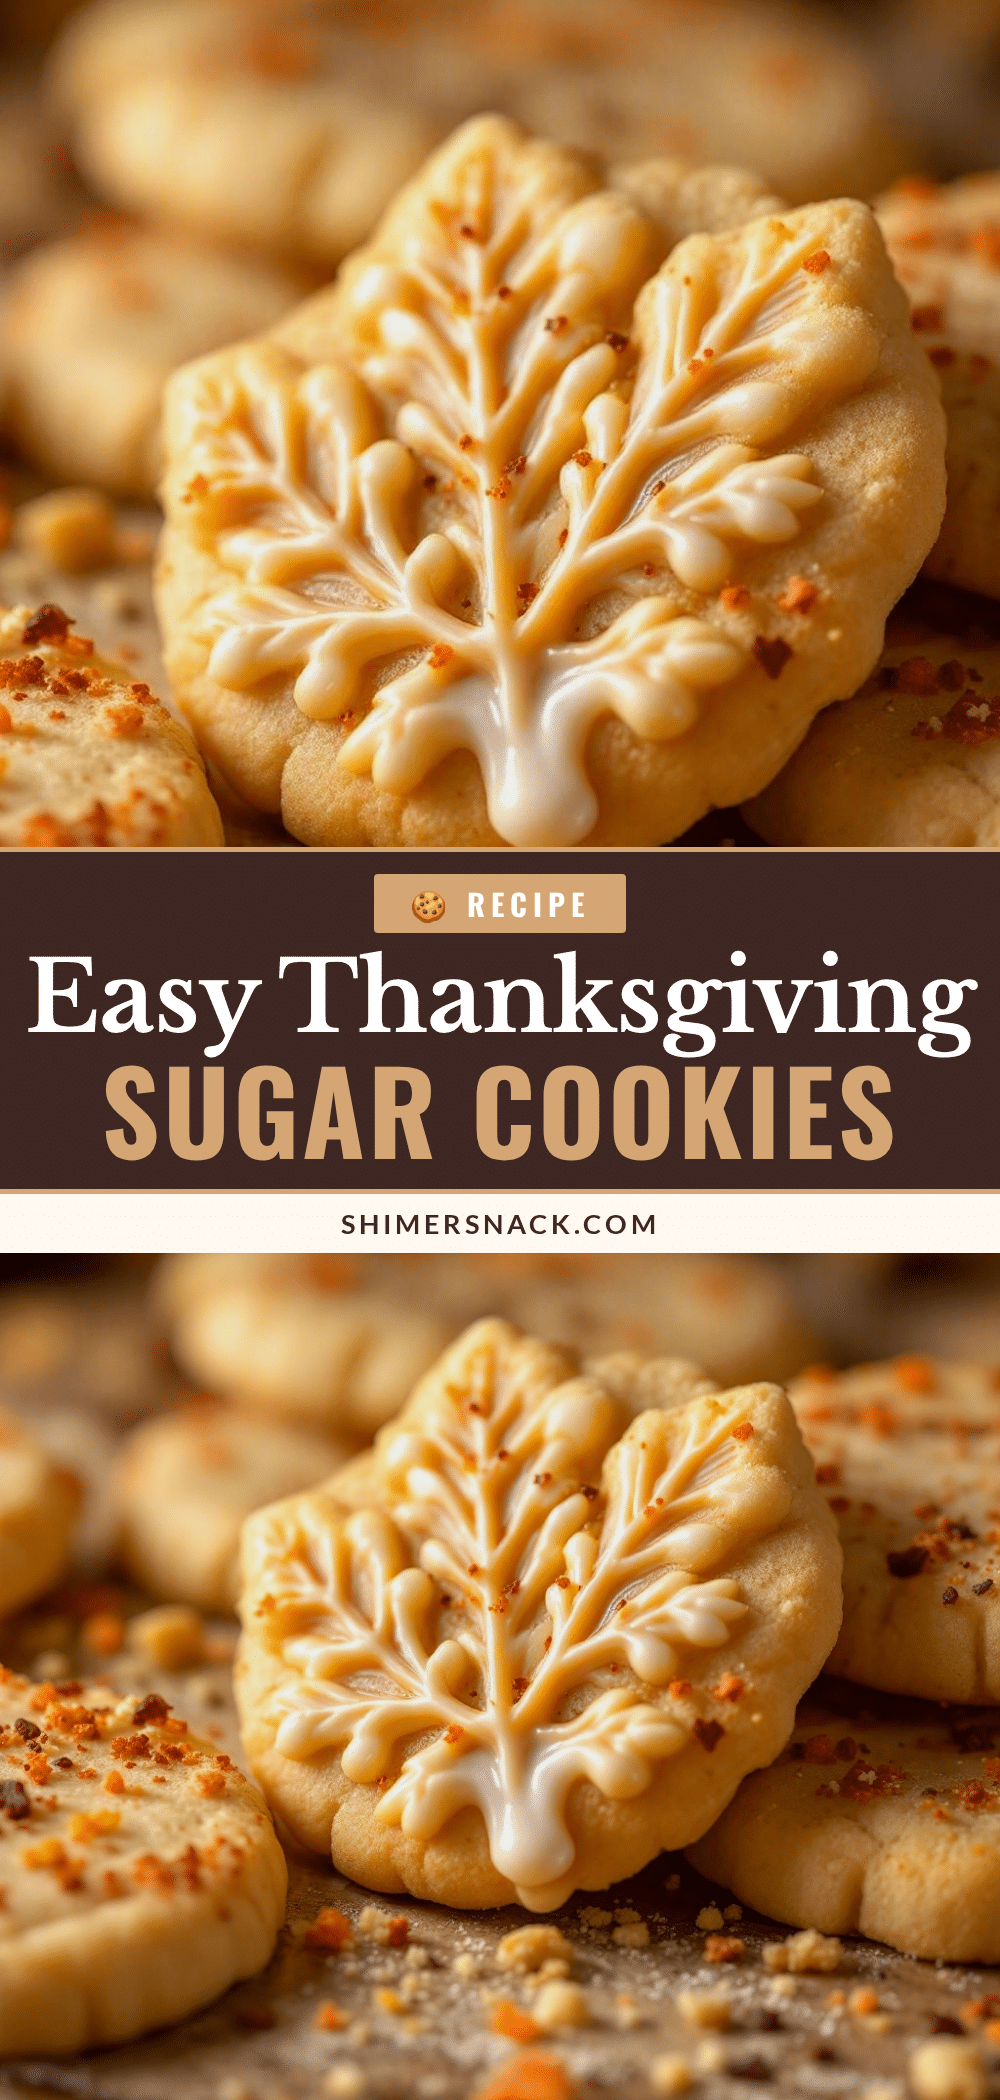
Easy Thanksgiving Sugar Cookies with Royal Icing Leaves
These soft, chewy sugar cookies feature a crisp edge and are decorated with smooth, tender royal icing autumn leaves. A festive, crowd-pleasing holiday treat that is easier to make than it looks.
- Prep Time: 45 minutes
- Cook Time: 10-12 minutes
- Total Time: 2 hours 45 minutes
- Yield: 24 cookies 1x
- Category: Dessert
- Cuisine: American
Ingredients
- 2 1/2 cups All-Purpose Flour (315g)
- 1 cup Unsalted Butter (226g), softened
- 1 cup Granulated Sugar (200g)
- 1/2 cup Powdered Sugar (60g)
- 1 large Egg, room temperature
- 2 teaspoons Vanilla Extract
- 1 teaspoon Baking Powder
- 1/2 teaspoon Salt
- 3 cups Powdered Sugar (360g), sifted (for icing)
- 2 large Egg Whites (200g), room temperature (for icing)
- 1 tablespoon Lemon Juice (for icing)
- Gel food coloring (orange, red, yellow, green) (for icing)
Instructions
- In a large bowl, beat softened butter, granulated sugar, and powdered sugar on medium-high speed for 5 minutes until light and fluffy. Scrape down sides.
- Add egg and vanilla extract. Beat on low speed just until combined.
- In a separate bowl, whisk together flour, baking powder, and salt. Gradually add dry ingredients to wet mixture on low speed until just combined.
- Divide dough in half, flatten into disks, wrap in plastic, and refrigerate for at least 30 minutes.
- Preheat oven to 350°F (175°C) and line two baking sheets with parchment paper.
- Roll dough on a floured surface to 1/4 inch thickness. Cut into leaf shapes and place on baking sheets, leaving space between cookies.
- Bake for 10-12 minutes until edges are lightly golden. Cool on pan for 5 minutes, then transfer to a wire rack to cool completely.
- For icing, beat egg whites until foamy. Gradually add sifted powdered sugar and beat on high for 5-7 minutes until stiff peaks form. Stir in lemon juice.
- Divide icing into small bowls and mix in gel food coloring.
- Pipe leaves onto completely cooled cookies using a piping bag with tip #2 or #3. Let dry for at least 2 hours.
Notes
Ensure cookies are completely cool before icing to prevent melting. Use gel food coloring for best results as it doesn’t thin the icing. Dough can be refrigerated for up to 3 days or frozen for 3 months. Cookies taste better after sitting overnight.
Nutrition
- Serving Size: 1 cookie
- Calories: 120
- Sugar: 12
- Sodium: 50
- Fat: 5
- Saturated Fat: 3
- Carbohydrates: 18
- Protein: 1
Keywords: Thanksgiving cookies, sugar cookies, royal icing, autumn baking, holiday desserts, easy cookies, fall treats


