Love this? Save it for later!
Share the inspiration with your friends
Introduction
“You know that feeling when you’re craving something fresh and fun but also want to keep it simple and natural? That’s exactly where these fresh red white and blue popsicles come in.” It all started one hot Saturday afternoon when I was rummaging through the farmer’s market at the corner of 5th and Main. I spotted these stunningly vibrant berries and thought, “Why not make something that looks as good as it tastes?” I wasn’t aiming for anything complicated—just something cool and refreshing with layers that speak for themselves.
Honestly, the idea for these natural layered popsicles wasn’t planned. I was juggling a cracked bowl, a wobbly popsicle mold, and a curious toddler who kept asking for a taste before they were even frozen. Somehow, amidst the chaos, I managed to create these fresh, colorful treats that felt like summer in every bite. Maybe you’ve been there—trying to keep it healthy but still want a little celebration on the side.
These popsicles stuck with me because they’re as much about the experience—the mixing, the layering, the waiting—as they are about the final taste. They’re perfect for those days when you want something light, a little patriotic, and totally natural. Plus, they’re the kind of popsicle that makes you slow down, enjoy the colors, and maybe even share a smile or two.
Why You’ll Love This Recipe
- Quick & Easy: Comes together in under 20 minutes, perfect for those last-minute summer cravings or spontaneous backyard get-togethers.
- Simple Ingredients: No artificial colors or weird additives—just fresh fruit and natural sweeteners you probably already have in your kitchen.
- Perfect for Summer Parties: Adds a festive touch to barbecues, 4th of July celebrations, or any sunny afternoon hangout.
- Crowd-Pleaser: Kids adore the vibrant layers, and adults appreciate the fresh, light flavors that aren’t overly sweet.
- Unbelievably Delicious: The combination of tart berries, creamy coconut yogurt, and juicy watermelon creates a refreshing texture and flavor that’s hard to beat.
This isn’t just another popsicle recipe—it’s the one I keep coming back to when I want something that looks impressive but doesn’t require a culinary degree. The secret? Layering each natural ingredient carefully so every bite is a surprise. Plus, I love that you can swap ingredients based on what’s fresh and in season, making it a flexible recipe that’s always fresh and exciting.
What Ingredients You Will Need
This recipe uses simple, wholesome ingredients to deliver bold flavor and satisfying texture without the fuss. Most are pantry staples or easy to find at your local market, and they work together to create those beautiful natural layers.
- For the Red Layer:
- 1 cup fresh strawberries, hulled and chopped (or frozen berries, thawed)
- 2 tablespoons honey or maple syrup (adjust to taste)
- 1 tablespoon fresh lemon juice (for brightness)
- For the White Layer:
- 1 cup full-fat coconut yogurt (for creaminess and tang)
- 1 teaspoon vanilla extract (optional, adds warmth)
- 1 tablespoon honey or agave syrup (to lightly sweeten)
- For the Blue Layer:
- 1 cup fresh blueberries (or frozen, thawed)
- 2 tablespoons honey or maple syrup
- 1 tablespoon fresh lemon juice
- Extras:
- Watermelon chunks or juice (optional, for a juicy fresh pop)
- Popsicle sticks and molds
Pro tip: I often use Stonyfield Organic Coconut Yogurt because I find it has the perfect texture and tang without being too sweet. For the berries, if you get lucky with local farmers’ market finds, your popsicles will taste even fresher and more vibrant. In summer, I sometimes swap in fresh raspberries or blackberries to mix things up.
Equipment Needed
- Popsicle molds – if you don’t have molds, small paper cups with wooden sticks work just fine
- Blender or food processor for pureeing the berries
- Mixing bowls for preparing each layer
- Measuring spoons and cups for precision
- A small spatula or spoon for layering
If you don’t have a blender, you can mash the berries with a fork or potato masher, though the texture will be chunkier (which can be nice!). For popsicle molds, I like silicone ones because they make unmolding easier, but plastic molds work perfectly well too. Keeping the molds on a baking sheet while freezing helps avoid spills and makes transport a breeze.
Preparation Method
- Prepare the Red Layer (15 minutes prep, 2 hours freeze): In a blender, combine the strawberries, honey, and lemon juice. Blend until smooth but still a little textured. Pour about 1/3 cup of the mixture into each popsicle mold, filling the bottom layer. Place molds in the freezer for at least 2 hours until firm.
- Mix the White Layer (5 minutes): While the red layer is freezing, stir together the coconut yogurt, vanilla extract, and honey in a bowl. Adjust sweetness to your liking. Once the red layer is frozen solid, carefully spoon or pipe the white layer on top, filling about 1/3 of each mold. Return molds to freezer for another 1.5 to 2 hours.
- Prepare the Blue Layer (15 minutes prep): Blend the blueberries with honey and lemon juice until smooth. For an extra fresh touch, add a splash of watermelon juice if you like. Once the white layer is firm, add the blue layer to each mold, filling to the top. Insert popsicle sticks now if your molds require it. Freeze for at least 4 hours, or overnight, to fully set.
- Unmold and Serve: To unmold, run warm water briefly over the outside of the molds to loosen the popsicles. Gently pull on the sticks and enjoy immediately or store in a freezer bag for later.
Heads up: If your layers mix a bit when pouring, don’t fret. The slightly marbled effect can be pretty! For smoother layers, let each freeze solid before adding the next. A tiny tip I learned the hard way—don’t rush the freezing or you’ll end up with a popsicle that’s too soft to hold its shape.
Cooking Tips & Techniques
Layering popsicles can feel a little tricky at first, but a few tricks make it easier than you think. First, patience is your friend—freezing each layer solid before adding the next keeps the colors crisp and the layers neat. I’ve tried rushing this with warm mixtures, and it always ends up blending into a purple mess.
When pureeing berries, don’t overdo it if you want some texture. A little chunkiness adds character and a fresh bite. Also, adjusting sweetness by tasting each layer before freezing helps balance flavors; sometimes berries are naturally sweet, other times they need a touch more honey.
One mistake I made early on was not inserting the popsicle sticks soon enough. If you wait until after the final freeze, the sticks won’t stay centered. Insert them right after the last layer goes in while it’s still soft enough to hold them in place.
For consistent popsicles, use molds of equal size and try to pour equal amounts of each layer into every mold. Multi-tasking tip: prep your layers in advance and freeze them in separate containers, then assemble in molds when ready to layer. This saves time and mess.
Variations & Adaptations
- Dietary Options: Swap coconut yogurt for Greek yogurt or dairy-free almond yogurt depending on your preference or allergies.
- Seasonal Twists: Use fresh peaches or mangoes instead of strawberries for a summery twist. Blueberries can be swapped with blackberries or purple grapes for a different blue shade.
- Flavor Boosts: Add a pinch of fresh mint or basil in the berry layers for an herbal note. For adults, a splash of lemonade or a hint of ginger can add zing.
- Cooking Method: If you don’t have popsicle molds, freeze the layers in a shallow pan and cut into squares for a fun, rustic presentation.
- Personal Variation: Once, I layered in a thin swirl of chia seed jam between the white and blue layers for extra texture and a surprise pop of flavor—totally worth trying!
Serving & Storage Suggestions
Serve these popsicles straight from the freezer for the best texture and freshness. They’re a perfect pairing with light snacks like fresh fruit salad or a crisp green salad for a summer picnic. For beverages, a cold sparkling water with a splash of lime or an iced herbal tea complements the natural fruit flavors nicely.
Store popsicles in an airtight freezer bag or container to prevent freezer burn and keep them tasting fresh. They hold up well for up to two weeks, but honestly, they rarely last that long around here! When reheating or softening, avoid the microwave; instead, let them sit for a few minutes at room temperature or run warm water on the mold’s outside to loosen.
Flavors deepen a bit if left overnight in the freezer, so making them a day ahead is a great strategy when entertaining. Just remember to give them a quick stir or shake before layering if you’re prepping the purees in advance.
Nutritional Information & Benefits
These fresh red white and blue popsicles are naturally low in calories, with approximately 70-90 calories per serving depending on portion size. They’re packed with antioxidants from the fresh berries, which are great for your immune system and skin health. The coconut yogurt provides healthy fats and probiotics, supporting digestion and adding creaminess without dairy.
This recipe is naturally gluten-free, dairy-free (if using coconut yogurt), and vegan-friendly. It’s a wholesome treat that feels indulgent but is actually nourishing—perfect for those who want to treat themselves without guilt. Plus, the fresh fruit layers add fiber and vitamins, making these popsicles a smarter choice than most store-bought options.
Conclusion
Fresh red white and blue popsicles with natural layers are a simple, joyful way to celebrate summer, holidays, or just a sunny afternoon at home. I love how the colors brighten the day and how the flavors deliver that fresh-from-the-garden taste. You can totally make this recipe your own by swapping ingredients or adding your favorite flavors.
Give it a try, and let me know if you end up making your own twist on these layered treats. I’m always excited to hear how readers put their own spin on recipes like this. So grab your favorite berries, your trusty popsicle molds, and get layering—this one’s a keeper for sure!
FAQs
Can I use frozen berries instead of fresh?
Yes! Frozen berries work well—just thaw them before blending. Sometimes frozen berries release more liquid, so adjust the sweetness and thickness as needed.
How long do these popsicles last in the freezer?
They’re best enjoyed within two weeks for optimal freshness and flavor. After that, they might develop freezer burn but are still safe to eat.
Can I make these popsicles without coconut yogurt?
Absolutely. Greek yogurt or any dairy-free yogurt substitute works fine. Just pick a creamy option for the best texture.
What if I don’t have popsicle molds?
Use small paper cups or silicone muffin liners and insert sticks or spoons. You can also freeze in a shallow pan and cut into squares once frozen.
How can I prevent the layers from mixing?
Freeze each layer until solid before adding the next, and pour gently to avoid disturbing the layer below. Patience is key!
By the way, if you enjoy these popsicles, you might like my crispy garlic chicken recipe for an easy weeknight dinner or the homemade lemonade that pairs perfectly with summer treats like these. Enjoy your fresh and colorful adventure!
Pin This Recipe!
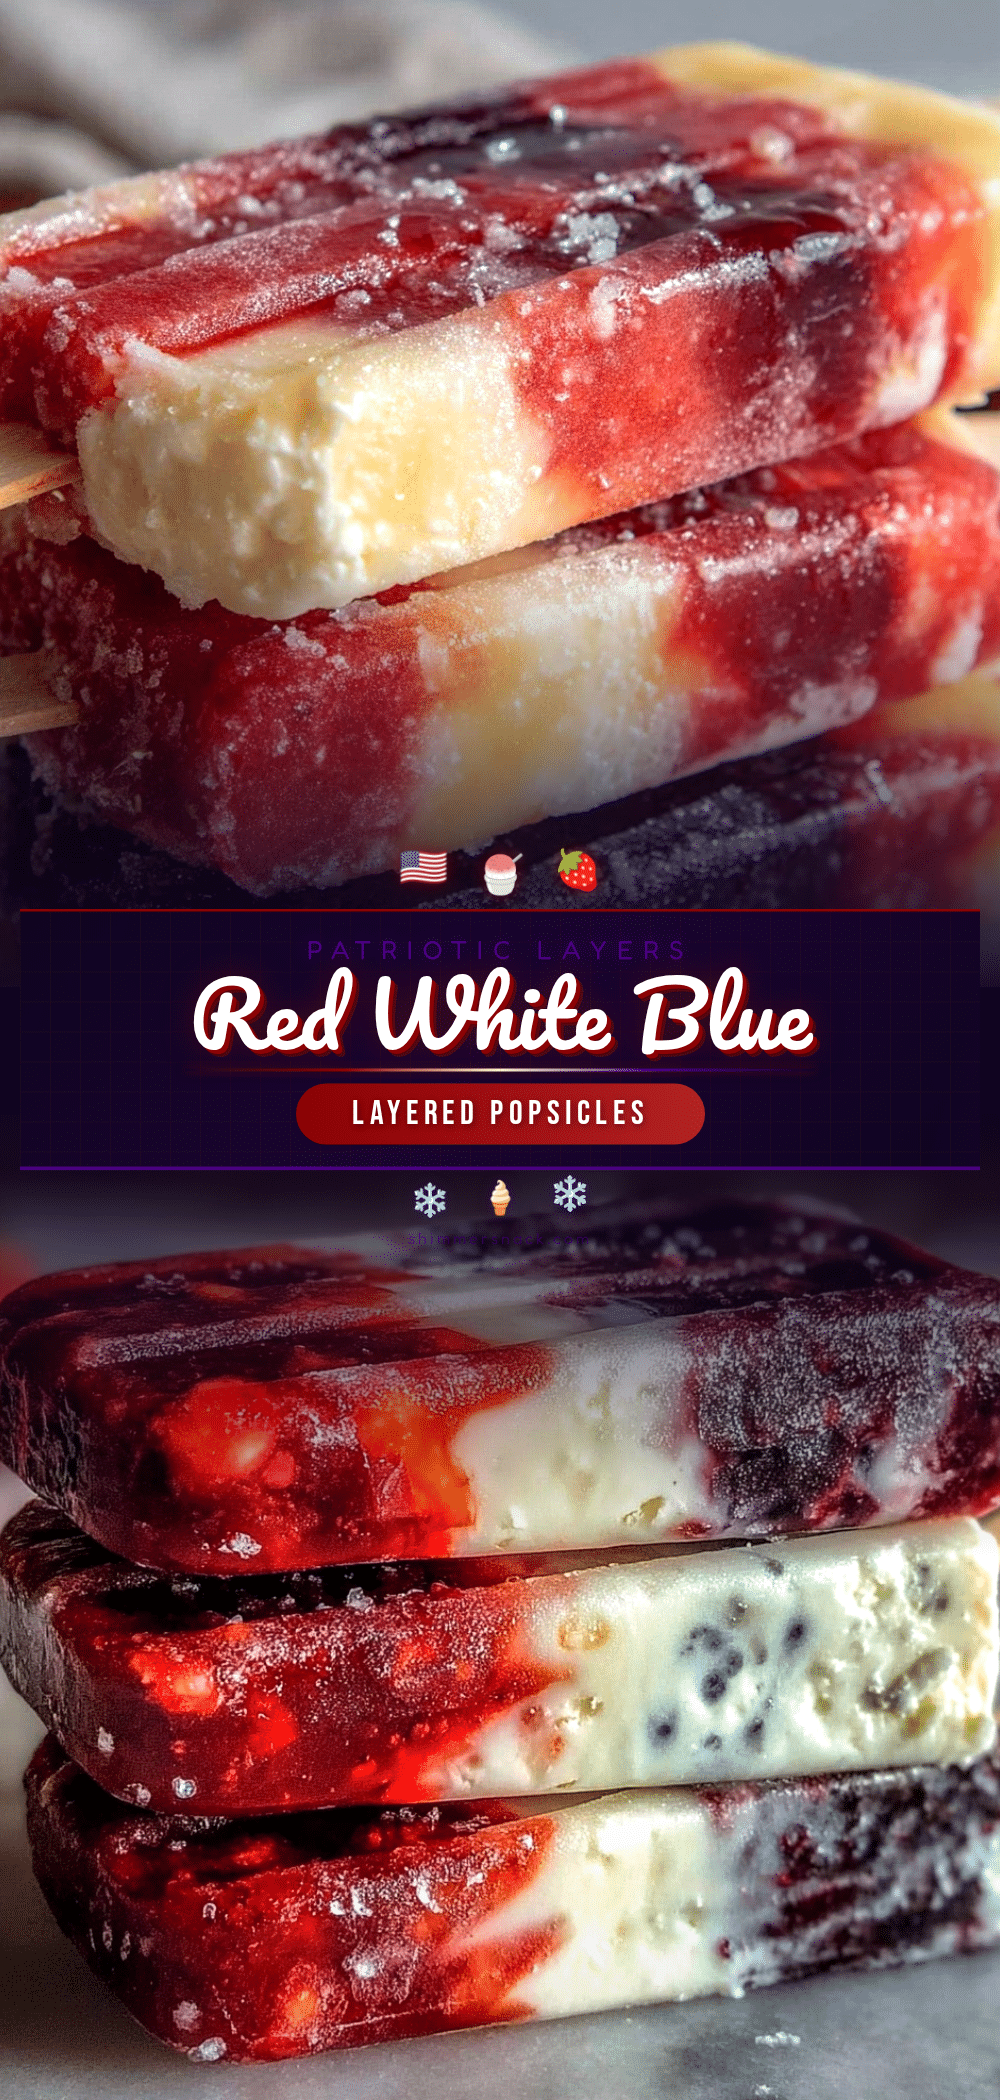
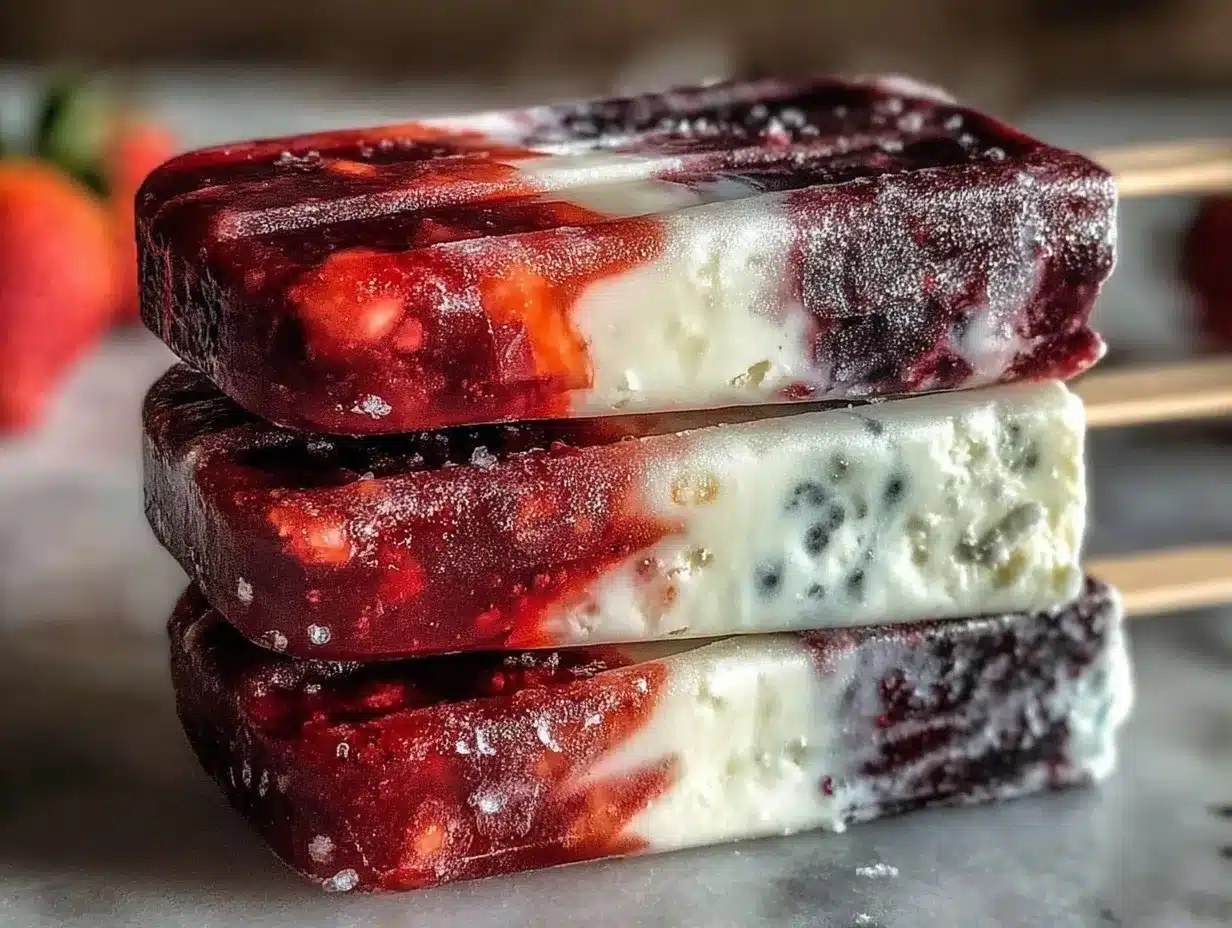
Fresh Red White and Blue Popsicles
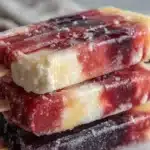
These fresh red white and blue popsicles are natural, layered treats perfect for summer. Made with fresh berries, creamy coconut yogurt, and natural sweeteners, they offer a refreshing and colorful way to celebrate any sunny day.
- Prep Time: 20 minutes
- Cook Time: 8 hours
- Total Time: 8 hours 20 minutes
- Yield: 6 popsicles 1x
- Category: Dessert
- Cuisine: American
Ingredients
- 1 cup fresh strawberries, hulled and chopped (or frozen berries, thawed)
- 2 tablespoons honey or maple syrup (adjust to taste)
- 1 tablespoon fresh lemon juice
- 1 cup full-fat coconut yogurt
- 1 teaspoon vanilla extract (optional)
- 1 tablespoon honey or agave syrup
- 1 cup fresh blueberries (or frozen, thawed)
- 2 tablespoons honey or maple syrup
- 1 tablespoon fresh lemon juice
- Watermelon chunks or juice (optional)
- Popsicle sticks and molds
Instructions
- Prepare the Red Layer: In a blender, combine the strawberries, honey, and lemon juice. Blend until smooth but still a little textured. Pour about 1/3 cup of the mixture into each popsicle mold, filling the bottom layer. Place molds in the freezer for at least 2 hours until firm.
- Mix the White Layer: While the red layer is freezing, stir together the coconut yogurt, vanilla extract, and honey in a bowl. Adjust sweetness to your liking. Once the red layer is frozen solid, carefully spoon or pipe the white layer on top, filling about 1/3 of each mold. Return molds to freezer for another 1.5 to 2 hours.
- Prepare the Blue Layer: Blend the blueberries with honey and lemon juice until smooth. For an extra fresh touch, add a splash of watermelon juice if you like. Once the white layer is firm, add the blue layer to each mold, filling to the top. Insert popsicle sticks now if your molds require it. Freeze for at least 4 hours, or overnight, to fully set.
- Unmold and Serve: To unmold, run warm water briefly over the outside of the molds to loosen the popsicles. Gently pull on the sticks and enjoy immediately or store in a freezer bag for later.
Notes
Freeze each layer solid before adding the next to keep layers neat and colors crisp. Insert popsicle sticks after adding the final layer while still soft to keep them centered. If you don’t have a blender, mash berries with a fork for chunkier texture. Store popsicles in airtight freezer bags for up to two weeks. Avoid microwaving to soften; instead, run warm water on molds.
Nutrition
- Serving Size: 1 popsicle
- Calories: 80
- Sugar: 12
- Sodium: 10
- Fat: 3
- Saturated Fat: 2.5
- Carbohydrates: 15
- Fiber: 2
- Protein: 1
Keywords: popsicles, layered popsicles, summer treats, natural popsicles, red white and blue, berry popsicles, coconut yogurt, healthy dessert, gluten-free, vegan


