Love this? Save it for later!
Share the inspiration with your friends
Barely three apples into slicing when my toddler yanked the dishtowel off the counter and sent a bag of oats skittering across the floor like tiny golden hailstones. The kitchen smelled faintly of burnt sugar from a caramel attempt I’d already abandoned twice. I had exactly forty-five minutes before my sister-in-law arrived with her new baby, and I’d promised something warm and homemade. Not fancy. Just warm. Just real. That’s when I stopped trying to be a pastry chef and started making this cozy salted caramel apple crisp with oat crumble instead.
The thing about apple crisp is it forgives you. It doesn’t care if your caramel seizes up or your crumble looks more like rubble. It just bakes up brown and bubbly and fills your whole house with that particular fall smell — cinnamon and butter and something almost like patience. I used the apples I had (a mix of Honeycrisp and some sad Gala that were past their prime), threw together a quick stovetop caramel that absolutely did not look like the photos on Pinterest, and piled on an oat topping so thick it barely fit in the dish.
And you know what happened? That crisp disappeared faster than the conversation about sleepless nights. My sister-in-law ate two servings. The baby slept through the whole thing. I stood in the kitchen afterward scraping the last bits of caramel from the pan with my finger, and I thought — this is the one. This is the recipe I want to make again and again. Not because it’s perfect, but because it worked when nothing else did.
Why You’ll Love This Recipe
Let me be honest with you — I’ve tested this cozy salted caramel apple crisp with oat crumble about seven times now. Seven times of tweaking the caramel temperature, adjusting the oat-to-butter ratio, and figuring out exactly how much salt makes that sweet-salty thing sing without overwhelming everything else. And I can tell you with total confidence: this is the version worth making.
- Quick & Easy : From start to oven in about 25 minutes. No pie crust rolling, no lattice tops, no stress.
- Simple Ingredients : You probably have most of this already. Apples, oats, butter, sugar, cinnamon. The caramel uses things you already own.
- Perfect for Fall Gatherings : Bring this to a Friendsgiving, a casual dinner, or just a Tuesday that needs warming up.
- Crowd-Pleaser : Kids love the oat crumble. Adults love the salted caramel. Everyone loves that you made something from scratch.
- Unbelievably Comforting : The combination of soft, jammy apples, buttery oat topping, and that ribbon of salted caramel running through it? It’s the kind of dessert that makes people close their eyes mid-bite.
What makes this different from every other apple crisp out there is the caramel. Most recipes just dump caramel sauce on top and call it a day. Here, I layer it into the apples themselves, so every spoonful gets that deep, buttery sweetness. And the salt? I use flaky sea salt right at the end, so you get little pops of saltiness against the sweet crumble. It’s a small thing, but it changes everything.
This is the dessert you make when you want to impress without the pressure. It looks beautiful, tastes like you spent hours, and honestly? It’s almost impossible to mess up.
What Ingredients You Will Need
This recipe uses straightforward ingredients, but each one plays an important role. The apples give structure and sweetness, the caramel adds richness, and the oat crumble brings that essential crunch. Here’s everything you’ll need:
For the Salted Caramel Sauce
- 1 cup granulated sugar — regular white sugar works best here. Don’t use brown sugar; it changes the flavor and texture.
- 6 tablespoons unsalted butter, cut into small cubes — use good butter. I prefer Kerrygold or Plugrà for the richness.
- 1/2 cup heavy cream, room temperature — cold cream will seize the caramel, so let it sit out for 10 minutes first.
- 1 teaspoon flaky sea salt, plus more for finishing — Maldon is my go-to, but any flaky salt works.
- 1 teaspoon vanilla extract — pure vanilla, not imitation. Trust me on this.
For the Apple Filling
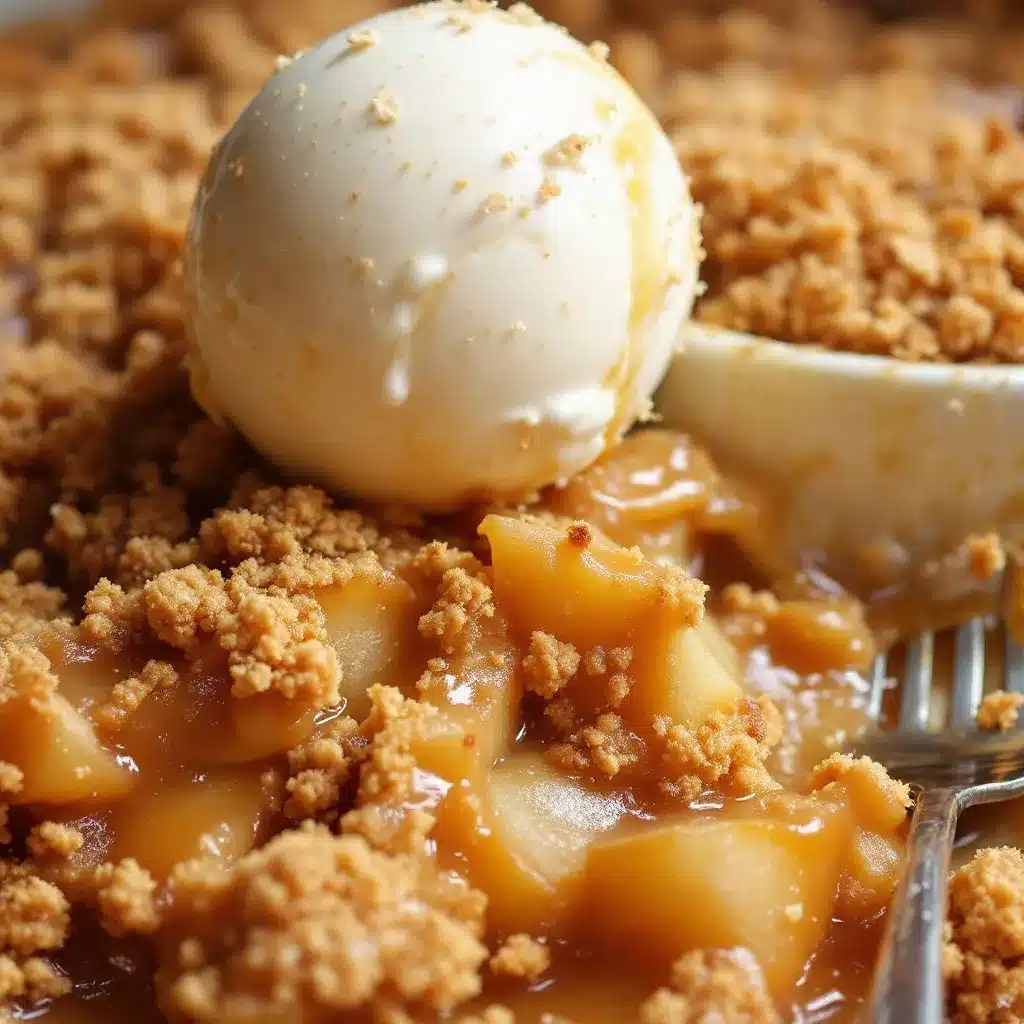
- 6 medium apples, peeled, cored, and sliced into 1/4-inch wedges — I love Honeycrisp or a mix of Granny Smith and Fuji. The tart-sweet combo is magic.
- 2 tablespoons all-purpose flour — helps thicken the juices so the crisp isn’t watery.
- 2 tablespoons granulated sugar — just a little extra sweetness.
- 1 teaspoon ground cinnamon — I use Saigon cinnamon for its warmth, but any works.
- 1/4 teaspoon ground nutmeg — freshly grated if you have it.
- Pinch of salt — balances the sweetness.
For the Oat Crumble Topping
- 1 cup old-fashioned rolled oats — not quick oats. They get mushy. Old-fashioned oats hold their shape and give that perfect chew.
- 3/4 cup all-purpose flour
- 1/2 cup packed light brown sugar
- 1/4 cup granulated sugar
- 1/2 teaspoon ground cinnamon
- 1/4 teaspoon salt
- 1/2 cup unsalted butter, melted — let it cool slightly so it doesn’t cook the oats.
For the apples, look for ones that are firm and fragrant. If they feel soft or mealy in the store, they’ll turn to mush in the oven. And for the oats, I really recommend sticking with old-fashioned. I tried quick oats once in a pinch, and the topping came out more like a paste than a crumble. Not ideal.
If you need substitutions, here are a few that work well:
- Gluten-free option : Use a 1:1 gluten-free flour blend in the filling and topping. The texture will be slightly more delicate but still delicious.
- Dairy-free option : Use vegan butter in both the caramel and the crumble. For the cream, full-fat canned coconut milk works surprisingly well in the caramel.
- Lower sugar : Reduce the sugar in the filling to 1 tablespoon and cut the brown sugar in the topping to 1/3 cup.
Equipment Needed
- 9×13-inch baking dish — glass or ceramic works best. Metal can sometimes react with the caramel.
- Medium saucepan — for the caramel. Light-colored metal is ideal so you can see the color change.
- Large mixing bowl — for the apples.
- Medium mixing bowl — for the crumble topping.
- Sharp knife and cutting board — for slicing apples evenly.
- Wooden spoon or silicone spatula — for stirring the caramel. Metal can scratch your pan.
- Pastry brush or paper towel — for buttering the dish.
- Cooling rack — so the crisp doesn’t get soggy on the bottom while it rests.
If you don’t have a 9×13 dish, you can use a 10-inch cast iron skillet. It actually gives you a prettier presentation and the edges get extra crispy. Just make sure to adjust the baking time by about 5 minutes since cast iron holds heat differently. I’ve also made this in individual ramekins for a dinner party — just reduce the baking time to 20-25 minutes and watch them closely.
One tip: if your saucepan is on the thinner side, keep the heat lower when making caramel. Thin pans can scorch the sugar before it’s fully melted, and nobody wants burnt caramel. Ask me how I know.
Preparation Method
- Preheat your oven to 350°F (175°C). Butter your 9×13 baking dish generously. Don’t skimp here — the caramel will stick otherwise.
- Make the salted caramel sauce first. Place the granulated sugar in a medium saucepan over medium heat. Stir it gently with a wooden spoon as it starts to melt. It will clump at first — that’s normal. Keep stirring until it becomes a smooth, deep amber liquid. This takes about 6-8 minutes. Watch it carefully; sugar goes from perfect to burnt in seconds.
- Add the butter. Once the sugar is fully melted and amber-colored, add the cubed butter. The mixture will bubble up violently — don’t panic. Stir continuously until the butter is fully melted and combined. The caramel will look glossy and smooth.
- Slowly pour in the heavy cream. Keep stirring the whole time. The caramel will steam and bubble again. Once all the cream is incorporated, let it simmer for 1 minute without stirring. Remove from heat and stir in the salt and vanilla. Set aside to cool slightly while you prep the apples.
- Prepare the apples. Peel, core, and slice your apples into even 1/4-inch wedges. Try to keep them similar in size so they cook evenly. Place them in a large bowl and toss with the flour, sugar, cinnamon, nutmeg, and pinch of salt. Let them sit for 5 minutes — this draws out some moisture and helps the thickener work.
- Make the oat crumble topping. In a medium bowl, whisk together the oats, flour, both sugars, cinnamon, and salt. Pour the melted butter over the dry ingredients and stir with a fork until clumps form. You want some big chunks and some smaller pieces — that’s what gives you texture.
- Layer the crisp. Spread the apple mixture evenly in the buttered baking dish. Drizzle about half the caramel sauce over the apples — don’t pour it all on at once or it’ll pool at the bottom. Use a spatula to gently fold the caramel into the apples a bit. Then sprinkle the oat crumble topping evenly over everything. Don’t press it down; leave it loose so it gets crispy.
- Bake for 40-45 minutes. The crisp is done when the topping is golden brown and the juices are bubbling up around the edges. If the topping is browning too quickly (after about 30 minutes), tent loosely with foil for the remaining time.
- Cool for at least 15 minutes. This is the hardest part — I know you want to dig in immediately. But letting it rest allows the juices to thicken and the caramel to set slightly. Otherwise, you’ll end up with soup.
- Drizzle with remaining caramel and sprinkle with flaky salt. Warm the leftover caramel slightly if it’s too thick. Then finish with a generous pinch of flaky sea salt right before serving.
A few things I’ve learned the hard way: don’t rush the caramel. Low and slow is your friend. Also, if your apples are very juicy (like McIntosh or Empire), add an extra tablespoon of flour to the filling to compensate. And if you’re doubling the recipe, use two separate dishes instead of one big one — the middle never sets properly in a crowded pan.
Cooking Tips & Techniques
Making caramel used to terrify me. I’d stand there staring at the sugar, convinced I was about to ruin it. And honestly? I did ruin it plenty of times. I’ve had caramel that crystallized into a gritty mess (tip: don’t let any water or steam get into the pan while the sugar is melting). I’ve had caramel that burned so badly I had to soak the pan overnight. But here’s what I finally figured out: trust your eyes, not your timer. The color should be the color of an old penny — not light, not dark, but that warm amber that looks almost golden in the light.
For the oat crumble, the biggest mistake people make is using cold butter. Melted butter gives you those gorgeous clumps that stay crunchy even after baking. Cold butter makes a more sandy, mealy topping that’s fine for pie crust but not for crisp. Also, don’t overmix the topping. Stop as soon as it comes together in clumps.
If you’re making this ahead, here’s a pro trick: assemble the entire crisp (without baking), cover it, and refrigerate for up to 24 hours. When you’re ready to bake, add about 10 minutes to the baking time since everything starts cold. The topping actually gets even crispier this way because the butter has time to really soak into the oats.
One more thing — let the crisp rest after baking. I know it’s tempting, but a hot crisp is a runny crisp. Those 15 minutes of cooling allow the pectin in the apples to set and the caramel to thicken. You’ll get beautiful, clean slices instead of a messy puddle.
Variations & Adaptations
This cozy salted caramel apple crisp with oat crumble is wonderfully adaptable. Here are some variations I’ve tried and loved:
- Gluten-Free Version : Swap the all-purpose flour with a good 1:1 gluten-free blend. I like Bob’s Red Mill or King Arthur. The topping will be slightly more crumbly but still delicious. Serve it warm with vanilla ice cream to balance the texture.
- Vegan Version : Use vegan butter in both the caramel and crumble. Replace the heavy cream with full-fat coconut cream. The caramel will have a slight coconut undertone, but it pairs beautifully with the apples and cinnamon.
- Pear-Apple Crisp : Replace half the apples with firm, ripe pears (Bosc or Anjou work great). Pears are softer, so reduce the baking time by 5 minutes. The combination is absolutely lovely for late fall.
- Spiced Apple Crisp : Add 1/2 teaspoon of cardamom and 1/4 teaspoon of cloves to the apple filling. It gives the dessert a chai-like warmth that’s perfect for cold evenings.
- Individual Ramekins : Divide the filling and topping among 6-8 ramekins. Bake for 20-25 minutes. These are great for dinner parties — everyone gets their own little dish of warm, bubbly goodness.
I once made a version with a brown butter oat crumble, and honestly, it might be even better than the original. Just brown the butter before mixing it into the dry ingredients. It adds a nutty, toasty depth that’s incredible with the salted caramel. If you try that variation, let me know how it turns out!
Serving & Storage Suggestions
This crisp is best served warm, about 15 minutes after it comes out of the oven. That’s when the apples are tender but still hold their shape, the caramel is gooey but not runny, and the oat topping is perfectly crunchy. A scoop of vanilla bean ice cream is the classic pairing — the cold creaminess against the warm, spiced apples is pure magic. But I also love it with a dollop of lightly sweetened whipped cream or even a drizzle of heavy cream if you want something simpler.
For a full fall spread, serve this alongside a warm mug of mulled cider or a cozy cup of coffee. It also pairs beautifully with the pumpkin spice latte cupcakes from this site if you’re hosting a dessert table. The flavors complement each other without competing.
Storage: Cover the cooled crisp tightly with foil or plastic wrap and store in the refrigerator for up to 4 days. The topping will soften over time, but the flavors actually deepen and get more complex. To reheat, place individual portions in a 350°F oven for 10-15 minutes or until warmed through. The microwave works in a pinch, but the topping won’t be as crispy.
Freezing: You can freeze the unbaked crisp for up to 3 months. Assemble it in a freezer-safe dish, wrap tightly in plastic wrap and foil, and freeze. To bake, thaw overnight in the refrigerator, then bake as directed, adding 10-15 minutes to the baking time. I’ve also frozen baked crisp — just let it cool completely, wrap it well, and reheat in the oven. It’s not quite as good as fresh, but it’s still pretty fantastic for a last-minute dessert.
One thing I love about this crisp is how the flavors evolve. The first day, it’s all about the bright apple and caramel notes. By the second day, the cinnamon and oat flavors have melded together beautifully, and the whole thing tastes more like a cozy hug. If you can resist eating it all in one sitting, you’ll be rewarded.
Nutritional Information & Benefits
Here’s the thing about this cozy salted caramel apple crisp with oat crumble — it’s a dessert, and it should be enjoyed as one. But it does have some redeeming qualities. Apples are packed with fiber and vitamin C, and oats are a great source of whole grains and soluble fiber. The cinnamon has anti-inflammatory properties, and yes, even the butter and cream add a little fat-soluble vitamin love.
Estimated nutritional values per serving (1/8 of recipe):
- Calories: 420
- Fat: 22g
- Saturated Fat: 14g
- Carbohydrates: 56g
- Fiber: 5g
- Sugar: 38g
- Protein: 4g
- Sodium: 310mg
Dietary considerations: This recipe contains dairy and gluten. See the variations section for gluten-free and vegan adaptations. It’s also naturally nut-free (unless you add walnuts or pecans to the topping, which I sometimes do).
If you’re looking for a lighter version, you can cut the sugar in the filling by half and use a lighter hand with the caramel. But honestly? Sometimes dessert is just dessert, and that’s okay. This is the kind of treat that nourishes your soul as much as your body. I’d rather have a smaller portion of the real thing than a giant bowl of something that tries to be healthy and fails.
Conclusion
This cozy salted caramel apple crisp with oat crumble has become my fall signature. It’s the dessert I bring to potlucks, the one I make when I need to feel grounded, and the one that always, always gets asked for the recipe. There’s something about that combination — the tender apples, the buttery oat topping, the ribbons of salted caramel — that feels like home.
I hope you make this for yourself, for your family, for a gathering of friends. I hope you eat it warm with ice cream melting into the cracks. I hope you save the last spoonful for the next morning, cold from the fridge, because somehow it’s even better that way. And I hope you make it your own — add extra cinnamon, swap in pears, double the caramel. That’s the beauty of a good crisp. It’s forgiving. It’s patient. It’s exactly what you need it to be.
If you try this recipe, I’d love to hear about it. Leave a comment below, tag me in your photos, or tell me about your own apple crisp adventures. And if you’re looking for more cozy fall desserts, don’t miss the pumpkin cream cheese swirl muffins or the wholesome pumpkin protein muffins on this site. They’re perfect for this time of year.
Happy baking, friends. And remember — the best desserts are the ones made with a little bit of chaos and a whole lot of love.
Frequently Asked Questions
Can I use pre-made caramel sauce instead of making my own?
You can, but it won’t be quite the same. Homemade caramel has a deeper, more complex flavor that really makes this crisp special. If you’re short on time, use a high-quality store-bought salted caramel sauce and reduce the sugar in the apple filling by 1 tablespoon to balance the sweetness.
What are the best apples for apple crisp?
I love a mix of tart and sweet apples. Honeycrisp, Granny Smith, Fuji, and Braeburn are all excellent. Avoid Red Delicious or McIntosh — they turn into applesauce in the oven. A good rule of thumb: if you’d enjoy eating it raw, it’ll bake well.
Can I make this ahead of time?
Absolutely. Assemble the crisp (without baking), cover it, and refrigerate for up to 24 hours. Add about 10 minutes to the baking time. You can also bake it fully, let it cool, and reheat individual portions in the oven or microwave.
Why is my oat topping not crispy?
Most likely, the topping was pressed down too firmly or the butter wasn’t fully incorporated. Make sure to use melted butter and stir until clumps form, then sprinkle it loosely over the apples. Also, let the crisp rest after baking — the topping continues to crisp up as it cools.
Can I freeze this apple crisp?
Yes! You can freeze it unbaked for up to 3 months. Thaw overnight in the fridge and bake as directed, adding 10-15 minutes. Baked crisp also freezes well, but the topping will be softer after thawing. Reheat in the oven to restore some crunch.
Pin This Recipe!
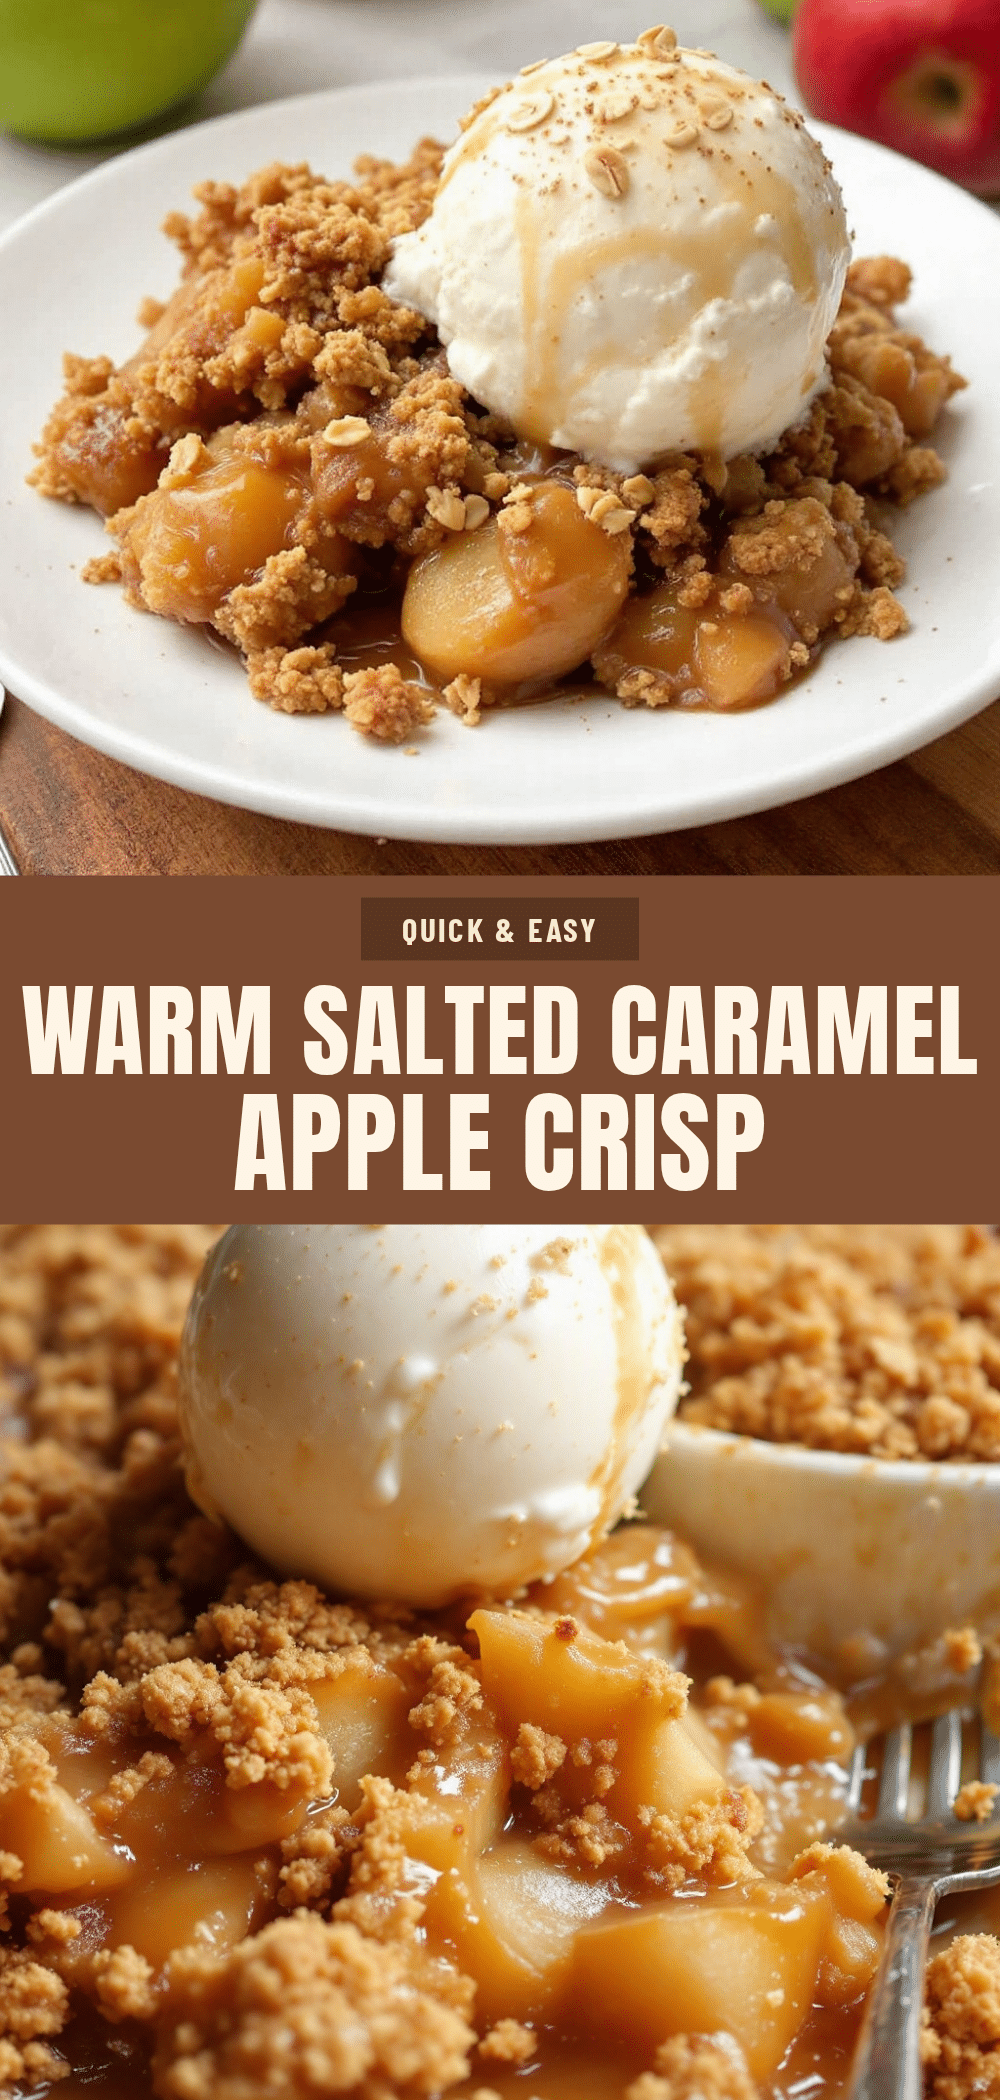
Homemade Salted Caramel Apple Crisp: Easy Fall Dessert

A cozy salted caramel apple crisp with oat crumble that’s quick, easy, and perfect for fall gatherings. This forgiving dessert features tender apples, a buttery oat topping, and ribbons of homemade salted caramel.
- Prep Time: 25 minutes
- Cook Time: 45 minutes
- Total Time: 1 hour 10 minutes
- Yield: 8 servings 1x
- Category: Dessert
- Cuisine: American
Ingredients
- 1 cup granulated sugar
- 6 tablespoons unsalted butter, cut into small cubes
- 1/2 cup heavy cream, room temperature
- 1 teaspoon flaky sea salt, plus more for finishing
- 1 teaspoon vanilla extract
- 6 medium apples, peeled, cored, and sliced into 1/4-inch wedges
- 2 tablespoons all-purpose flour
- 2 tablespoons granulated sugar
- 1 teaspoon ground cinnamon
- 1/4 teaspoon ground nutmeg
- Pinch of salt
- 1 cup old-fashioned rolled oats
- 3/4 cup all-purpose flour
- 1/2 cup packed light brown sugar
- 1/4 cup granulated sugar
- 1/2 teaspoon ground cinnamon
- 1/4 teaspoon salt
- 1/2 cup unsalted butter, melted
Instructions
- Preheat your oven to 350°F (175°C). Butter your 9×13 baking dish generously.
- Make the salted caramel sauce first. Place the granulated sugar in a medium saucepan over medium heat. Stir it gently with a wooden spoon as it starts to melt. It will clump at first — that’s normal. Keep stirring until it becomes a smooth, deep amber liquid. This takes about 6-8 minutes.
- Add the butter. Once the sugar is fully melted and amber-colored, add the cubed butter. The mixture will bubble up violently — don’t panic. Stir continuously until the butter is fully melted and combined.
- Slowly pour in the heavy cream. Keep stirring the whole time. The caramel will steam and bubble again. Once all the cream is incorporated, let it simmer for 1 minute without stirring. Remove from heat and stir in the salt and vanilla. Set aside to cool slightly.
- Prepare the apples. Peel, core, and slice your apples into even 1/4-inch wedges. Place them in a large bowl and toss with the flour, sugar, cinnamon, nutmeg, and pinch of salt. Let them sit for 5 minutes.
- Make the oat crumble topping. In a medium bowl, whisk together the oats, flour, both sugars, cinnamon, and salt. Pour the melted butter over the dry ingredients and stir with a fork until clumps form.
- Layer the crisp. Spread the apple mixture evenly in the buttered baking dish. Drizzle about half the caramel sauce over the apples. Use a spatula to gently fold the caramel into the apples. Then sprinkle the oat crumble topping evenly over everything.
- Bake for 40-45 minutes. The crisp is done when the topping is golden brown and the juices are bubbling up around the edges. If the topping is browning too quickly (after about 30 minutes), tent loosely with foil.
- Cool for at least 15 minutes before serving.
- Drizzle with remaining caramel and sprinkle with flaky salt right before serving.
Notes
Let the crisp rest after baking to allow juices to thicken. For best results, use old-fashioned rolled oats, not quick oats. If apples are very juicy, add an extra tablespoon of flour to the filling. Can be assembled unbaked and refrigerated for up to 24 hours before baking.
Nutrition
- Serving Size: 1/8 of recipe
- Calories: 420
- Sugar: 38
- Sodium: 310
- Fat: 22
- Saturated Fat: 14
- Carbohydrates: 56
- Fiber: 5
- Protein: 4
Keywords: apple crisp, salted caramel, fall dessert, oat crumble, easy dessert, homemade caramel