Love this? Save it for later!
Share the inspiration with your friends
I burned three batches of pan de muerto before I finally understood what I was doing wrong. The first one came out looking like a sad, pale dinner roll that had given up on life. The second was so dry it could have doubled as a doorstop. The third, well, the third I dropped on the floor when I tried to flip it onto a cooling rack. But that fourth batch, the one I made at 11 PM on a Tuesday with flour dusted across my entire kitchen counters and my hands sticky with orange blossom water, that one was perfect. And honestly, I almost cried over bread, which is not something I usually do.
Pan de Muerto, or “Bread of the Dead,” is this gorgeous, slightly sweet bread that shows up around Día de los Muertos. It’s soft and pillowy, with a delicate crumb that just begs for coffee or hot chocolate. And the orange blossom glaze, well, that’s my little addition. It adds this floral, citrusy sweetness that makes the whole thing feel special. I used to think this bread was something you only got from a bakery, something too complicated to attempt at home. But once I figured out my mistakes, I realized it’s actually pretty forgiving. This perfect pan de muerto with orange blossom glaze became my favorite fall tradition, the one I look forward to all year.
You don’t need to be a bread expert to pull this off. You just need a little patience and a willingness to get flour under your fingernails. And maybe don’t answer the phone while you’re trying to flip a hot loaf. Trust me on that one.
Why You’ll Love This Recipe
This isn’t just another bread recipe. This is the one you’ll pull out for special occasions and family gatherings, the one people will ask you to make again and again. I’ve tested this version more times than I can count, tweaking the hydration, the proofing times, and the glaze consistency until everything clicked.
- Beautiful & Meaningful: This bread is a centerpiece, not just a side dish. It’s perfect for celebrating Día de los Muertos or just enjoying a taste of Mexican tradition.
- Soft & Fluffy Texture: The crumb is tender and slightly sweet, almost brioche-like. It stays soft for days, if it lasts that long.
- Simple Ingredients: No weird, hard-to-find stuff. You probably already have most of these pantry staples.
- Orange Blossom Magic: The glaze adds a fragrant, floral note that takes this bread from good to unforgettable. It’s a small step that makes a huge difference.
- Impressive Without the Stress: It looks like you spent hours at a fancy bakery, but the process is straightforward and doable for any home baker.
- Perfect for Fall Gatherings: Whether you’re hosting a Día de los Muertos celebration or just a cozy weekend brunch, this bread fits right in. It pairs beautifully with a warm cup of pumpkin chai latte or a mug of hot chocolate.
I remember the first time I brought this to a friend’s gathering. I was nervous, honestly. But when I saw people go back for seconds, and then thirds, and someone asked for the recipe, I knew I had something special. That’s the kind of recipe this is. It’s the one that makes you feel like a rockstar in the kitchen.
What Ingredients You Will Need
This recipe uses simple, wholesome ingredients to create something truly special. The combination of butter, eggs, and orange blossom water gives the bread its signature flavor and texture.
- All-Purpose Flour: 4 cups (500g), plus more for dusting. I prefer King Arthur Flour for its consistent protein content, but any good brand works.
- Active Dry Yeast: 2 ¼ teaspoons (one standard packet). Make sure your yeast is fresh, not expired. Old yeast is the number one reason bread doesn’t rise.
- Warm Milk: ½ cup (120ml), heated to about 110°F (43°C). Whole milk is best for richness, but 2% works too.
- Granulated Sugar: ½ cup (100g). This adds sweetness and helps feed the yeast.
- Unsalted Butter: ½ cup (113g), softened to room temperature. Don’t use melted butter here, it changes the texture.
- Large Eggs: 3, at room temperature. Cold eggs can shock the dough and slow down rising.
- Orange Zest: 1 tablespoon, from about 1 large orange. Fresh zest is non-negotiable here. Don’t use the dried stuff.
- Orange Blossom Water: 2 tablespoons, plus more for the glaze. This is the star ingredient. You can find it at Middle Eastern grocers or online. Nielsen-Massey is my go-to brand.
- Salt: 1 teaspoon. Don’t skip this. Salt controls yeast activity and enhances flavor.
- For the Glaze:
- Powdered Sugar: 1 cup (120g)
- Orange Blossom Water: 2 tablespoons
- Milk: 1-2 tablespoons, as needed for consistency
- For Decoration:
- Additional granulated sugar, for sprinkling (optional, but traditional)
- Orange zest, for garnish
I always recommend using fresh orange blossom water. The flavor is so much brighter and more aromatic than the bottled stuff that’s been sitting on a shelf for years. And please, please, use room temperature eggs and butter. It makes a huge difference in how the dough comes together. If you forget to take them out ahead of time, just place the eggs in a bowl of warm water for 5 minutes and microwave the butter in 5-second bursts until it’s soft but not melted.
Equipment Needed
You don’t need a fancy kitchen to make this bread. Here’s what you’ll need:
- Stand Mixer with Dough Hook: This makes kneading so much easier. You can knead by hand, but it’ll take about 15-20 minutes of solid work.
- Large Mixing Bowl: For proofing the dough. Glass or ceramic works best.
- Baking Sheet: A rimmed baking sheet lined with parchment paper.
- Plastic Wrap or a Clean Kitchen Towel: For covering the dough while it rises.
- Sharp Knife or Bench Scraper: For scoring the dough and shaping the bone decorations.
- Cooling Rack: Essential for letting the bread cool properly so the glaze sets.
- Small Whisk or Fork: For mixing the glaze.
- Pastry Brush: For applying the glaze evenly.
If you don’t have a stand mixer, don’t worry. Kneading by hand is totally doable. It’s actually a great arm workout. Just make sure you knead until the dough is smooth and elastic, which might take a little longer than with a mixer. I’ve done it both ways, and honestly, there’s something satisfying about working the dough with your hands. It connects you to the process in a different way.
Preparation Method
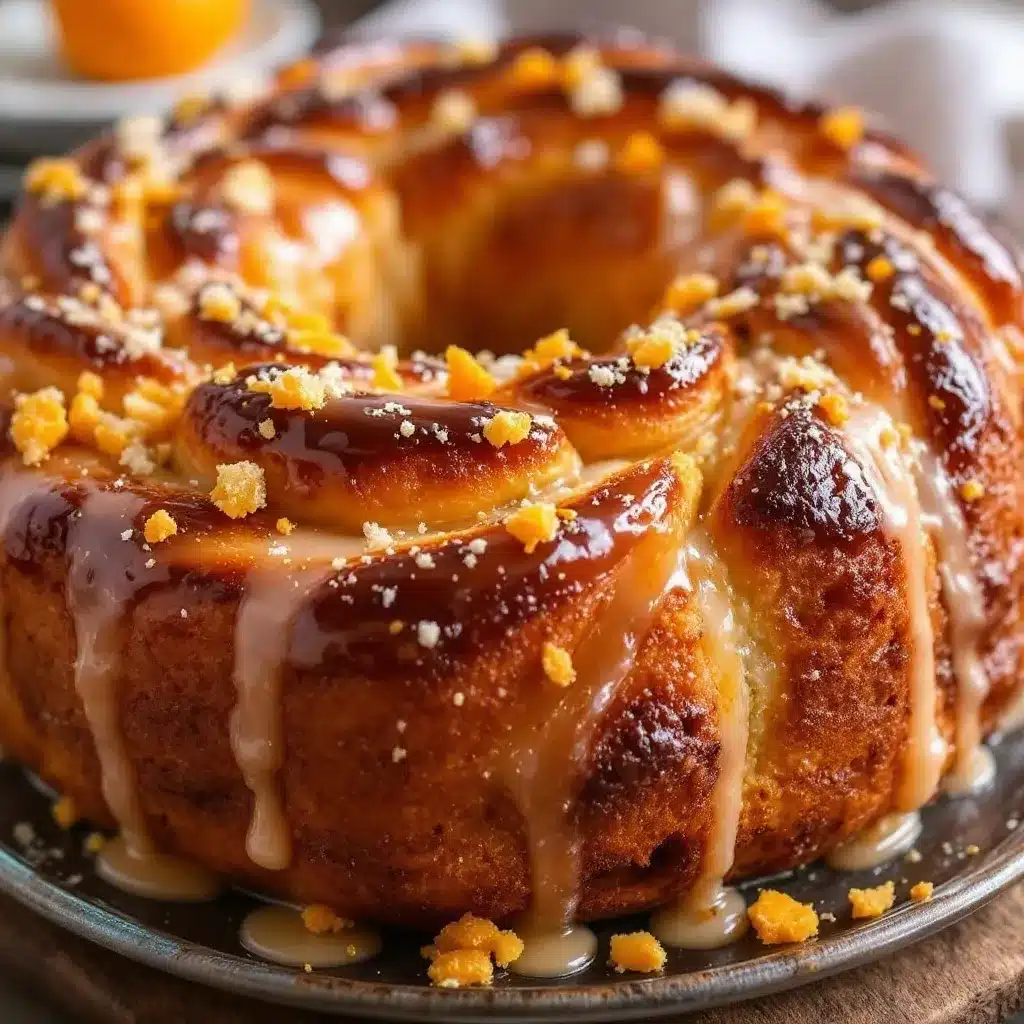
Let’s get to the fun part. Make sure you read through all the steps before you start so you know what’s coming.
- Activate the Yeast: In a small bowl, combine the warm milk (110°F or 43°C) with 1 tablespoon of the sugar. Sprinkle the yeast over the top and let it sit for 5-10 minutes until it’s frothy and smells like bread. If it doesn’t foam up, your yeast might be dead. Start over with fresh yeast.
- Mix the Dry Ingredients: In the bowl of your stand mixer, whisk together the flour, remaining sugar, orange zest, and salt. Make a well in the center.
- Combine Wet Ingredients: In a separate bowl, whisk together the eggs and orange blossom water until combined.
- Form the Dough: Pour the yeast mixture and the egg mixture into the well of the dry ingredients. Mix on low speed with the dough hook until a shaggy dough forms, about 2 minutes. Scrape down the sides of the bowl as needed.
- Add the Butter: With the mixer running on low, add the softened butter one tablespoon at a time. This seems slow, but it’s important. If you add it all at once, the dough will get greasy and weird. Mix until the butter is fully incorporated and the dough is smooth and pulls away from the sides of the bowl, about 8-10 minutes. The dough should be soft and slightly tacky but not sticky.
- First Rise: Lightly grease a large bowl with a little oil or butter. Place the dough in the bowl, turning it once to coat. Cover tightly with plastic wrap and let it rise in a warm, draft-free place until doubled in size, about 1 ½ to 2 hours. An oven with the light on is perfect for this.
- Shape the Dough: Punch the dough down to release the gas. Turn it out onto a lightly floured surface. Divide the dough into two pieces: one large piece (about two-thirds of the dough) for the base, and one smaller piece (about one-third) for the decorations.
- Form the Base: Shape the large piece into a smooth, round ball. Place it on your prepared baking sheet and gently flatten it slightly into a dome shape.
- Create the Bones and Skull: Divide the smaller piece of dough into several parts. Roll a small piece into a ball for the “skull” on top. Roll two pieces into long ropes, about 8-10 inches long, for the “bones.” Cut the ropes into smaller pieces and shape them into bone-like forms (a ball in the center with two smaller balls on each end). Traditionally, these represent the four cardinal directions.
- Assemble the Bread: Lightly brush the top of the dome with a little water. Place the bone pieces on top, crossing them over the center. Place the skull piece in the very center, where the bones cross. Gently press everything down so it sticks.
- Second Rise: Cover the shaped bread loosely with a clean kitchen towel and let it rise again until puffy, about 45 minutes to 1 hour.
- Bake: Preheat your oven to 350°F (175°C). Bake the pan de muerto for 25-30 minutes, until the top is golden brown and the bread sounds hollow when you tap the bottom. If the top is browning too quickly, tent it loosely with foil after 15 minutes.
- Cool: Let the bread cool on the baking sheet for 10 minutes, then transfer it to a cooling rack to cool completely. This is crucial. If you glaze it while it’s still hot, the glaze will just melt off and make a mess.
- Make the Glaze: While the bread cools, whisk together the powdered sugar, orange blossom water, and milk until smooth. The glaze should be thick but pourable. Add more milk if it’s too thick, or more powdered sugar if it’s too thin.
- Glaze and Decorate: Once the bread is completely cool, brush the glaze generously over the top. Let it set for a few minutes, then sprinkle with granulated sugar and orange zest if desired.
That first time I made this successfully, I remember pulling it out of the oven and just staring at it. It was golden and beautiful and smelled like heaven. I sat there with a cup of coffee and a slice of warm bread, and I felt this huge sense of accomplishment. It’s a feeling I hope you get to experience too.
Cooking Tips & Techniques
I’ve made every mistake in the book with this bread, so let me save you some trouble.
Temperature is Everything: Your milk should be warm, not hot. If it’s too hot, it’ll kill the yeast. If it’s too cold, the yeast won’t activate. Use a thermometer if you have one, or just test it on your wrist. It should feel like a warm bath, not a hot shower.
Don’t Over-Flour Your Surface: When shaping the dough, use just enough flour to keep it from sticking. Too much flour will make the bread dense and dry. Your hands should be lightly oiled instead of floured for the best results.
Patience with the Butter: Adding the butter one piece at a time is annoying, I know. But trust me, it’s worth it. The dough will look like a mess for a few minutes, then suddenly it’ll come together into a smooth, silky ball. That’s the magic moment.
The Finger Test: To check if your first rise is done, gently poke the dough with a floured finger. If the indentation stays, it’s ready. If it springs back immediately, it needs more time.
Score with Confidence: When you cut the bone shapes, use a sharp knife and make clean cuts. Don’t saw back and forth. You want defined shapes that will hold their form during baking.
Cool Completely: I know it’s tempting to glaze the bread while it’s still warm, but resist the urge. A warm loaf will absorb the glaze and you’ll end up with a sticky, soggy mess. Patience, my friend.
I once tried to rush the second rise because I was short on time. The bread came out flat and dense, and the bones barely rose. It was edible, but it wasn’t the beautiful, show-stopping loaf I was hoping for. So yeah, don’t skip the rise times. They’re not just suggestions.
Variations & Adaptations
This recipe is a great base, but feel free to make it your own.
- Citrus Swap: If you don’t have orange blossom water, you can use fresh orange juice and a little orange extract. The flavor will be different, but still delicious. You could also try lemon or lime zest for a different citrus profile.
- Add Some Spice: Add ½ teaspoon of ground cinnamon or a pinch of anise seed to the flour mixture for a warm, aromatic twist. It pairs beautifully with the orange flavor.
- Chocolate Version: For a richer bread, add ¼ cup of unsweetened cocoa powder to the flour mixture. You might need to add a tablespoon or two of extra milk to balance the dryness. This version is amazing with a brown butter toffee chocolate chip cookie vibe, but in bread form.
- Gluten-Free Option: I haven’t tested this with gluten-free flour, but a good quality 1:1 gluten-free baking blend should work. The texture will be a bit more tender and crumbly, but still tasty. Add an extra tablespoon of milk if the dough seems too dry.
- Dairy-Free Adaptation: Use plant-based butter and milk (like oat or almond milk) for a dairy-free version. The flavor will be slightly different, but it still works great. Just make sure your vegan butter is softened, not melted.
- Filled Version: For a fun surprise, you can stuff the dough with a little dulce de leche or chocolate before shaping it into a ball. Just make sure the filling is completely enclosed so it doesn’t leak out during baking.
I tried a chocolate version last year and it was a huge hit with my niece. She said it tasted like “fancy donut bread,” and honestly, she wasn’t wrong. It’s a great way to switch things up if you’re making this bread multiple times during the season.
Serving & Storage Suggestions
This bread is best served at room temperature, or slightly warmed. I love it with a hot cup of coffee or a mug of Mexican hot chocolate. The slight sweetness of the bread pairs perfectly with the rich, spiced chocolate.
For a special presentation, slice the bread and arrange it on a platter with fresh orange slices and a dusting of cinnamon. It’s beautiful for a Día de los Muertos altar or a fall brunch table.
Storage: Store leftover pan de muerto in an airtight container at room temperature for up to 3 days. The glaze might get a little sticky, but the bread will stay soft. Do not refrigerate it, as it will dry out the bread.
Freezing: You can freeze the unglazed, baked bread for up to 2 months. Wrap it tightly in plastic wrap, then in foil. When you’re ready to serve, thaw it at room temperature, then warm it in a 300°F oven for 5-10 minutes before glazing.
Reheating: To revive day-old bread, wrap it in foil and warm it in a 300°F oven for about 10 minutes. It’ll taste almost as good as fresh. You can also microwave individual slices for 15-20 seconds, but the texture won’t be as nice.
Flavor Development: Honestly, this bread actually tastes better on the second day. The flavors meld together and the orange blossom becomes more pronounced. So if you can wait, make it a day ahead.
Nutritional Information & Benefits
This is a treat, so I’m not going to pretend it’s health food. But it does have some redeeming qualities.
- Estimated per serving (1/8 of loaf): Calories: 320, Fat: 12g, Carbs: 48g, Protein: 7g, Fiber: 1g, Sugar: 18g.
- Oranges: The zest adds a nice dose of vitamin C and antioxidants.
- Eggs: They provide high-quality protein and essential nutrients like choline.
- Butter: In moderation, it’s a source of fat-soluble vitamins like A and D.
Dietary Considerations: This recipe is not gluten-free, dairy-free, or vegan as written. But with the substitutions mentioned above, you can adapt it to fit most dietary needs. It’s also nut-free and soy-free if those are concerns for you.
I always look at this bread as a celebration food. It’s not something you eat every day, but when you do, it’s meant to be enjoyed fully. So go ahead, have a second slice. You deserve it.
Conclusion
This perfect pan de muerto with orange blossom glaze is more than just a recipe. It’s a way to connect with tradition, to celebrate life and memory, and to share something beautiful with the people you love. The soft, fluffy bread, the fragrant floral glaze, the little bone decorations that make everyone smile, it all comes together in a loaf that feels special.
I hope you give this recipe a try, even if you’re a little nervous about working with yeast. Trust the process, be patient with yourself, and don’t be afraid to get your hands dirty. The first time you pull a beautiful, golden loaf out of your own oven, you’ll be so glad you did.
I’d love to hear how it turns out for you. Did you add any twists? Did your family love it? Drop a comment below and let me know. And if you’re looking for more cozy fall baking inspiration, be sure to check out my recipe for chewy pumpkin snickerdoodle cookies or these baked pumpkin spice donuts with maple glaze. Happy baking, friends!
Frequently Asked Questions
Can I use instant yeast instead of active dry yeast?
Yes, you can! Use the same amount (2 ¼ teaspoons). You don’t need to activate it in warm milk first. Just mix it directly with the flour and other dry ingredients. You might need to add a little extra warm milk to the dough since you’re not adding the liquid from the activation step.
My dough is too sticky. What should I do?
A slightly tacky dough is normal for this bread. But if it’s truly sticky and unmanageable, add flour one tablespoon at a time while mixing until it comes together. Be careful not to add too much flour, or the bread will be dense. Also, make sure your butter was properly softened, not melted.
Can I make this bread ahead of time?
Absolutely! You can make the dough through the first rise, then punch it down, wrap it tightly in plastic wrap, and refrigerate it overnight. The next day, let it come to room temperature for about 30 minutes before shaping and proceeding with the recipe. The flavor actually develops beautifully with this cold fermentation method.
What if I can’t find orange blossom water?
If you can’t find orange blossom water, you can substitute it with a combination of fresh orange juice and a little orange extract or orange zest. The flavor won’t be exactly the same, but it will still be delicious. You can also use rose water for a different floral note.
How do I know when the bread is fully baked?
The bread is done when the top is a deep golden brown and the loaf sounds hollow when you tap the bottom. You can also use an instant-read thermometer. The internal temperature should be around 190-200°F (88-93°C). If the top is browning too quickly, tent it with foil for the last 10-15 minutes of baking.
Pin This Recipe!
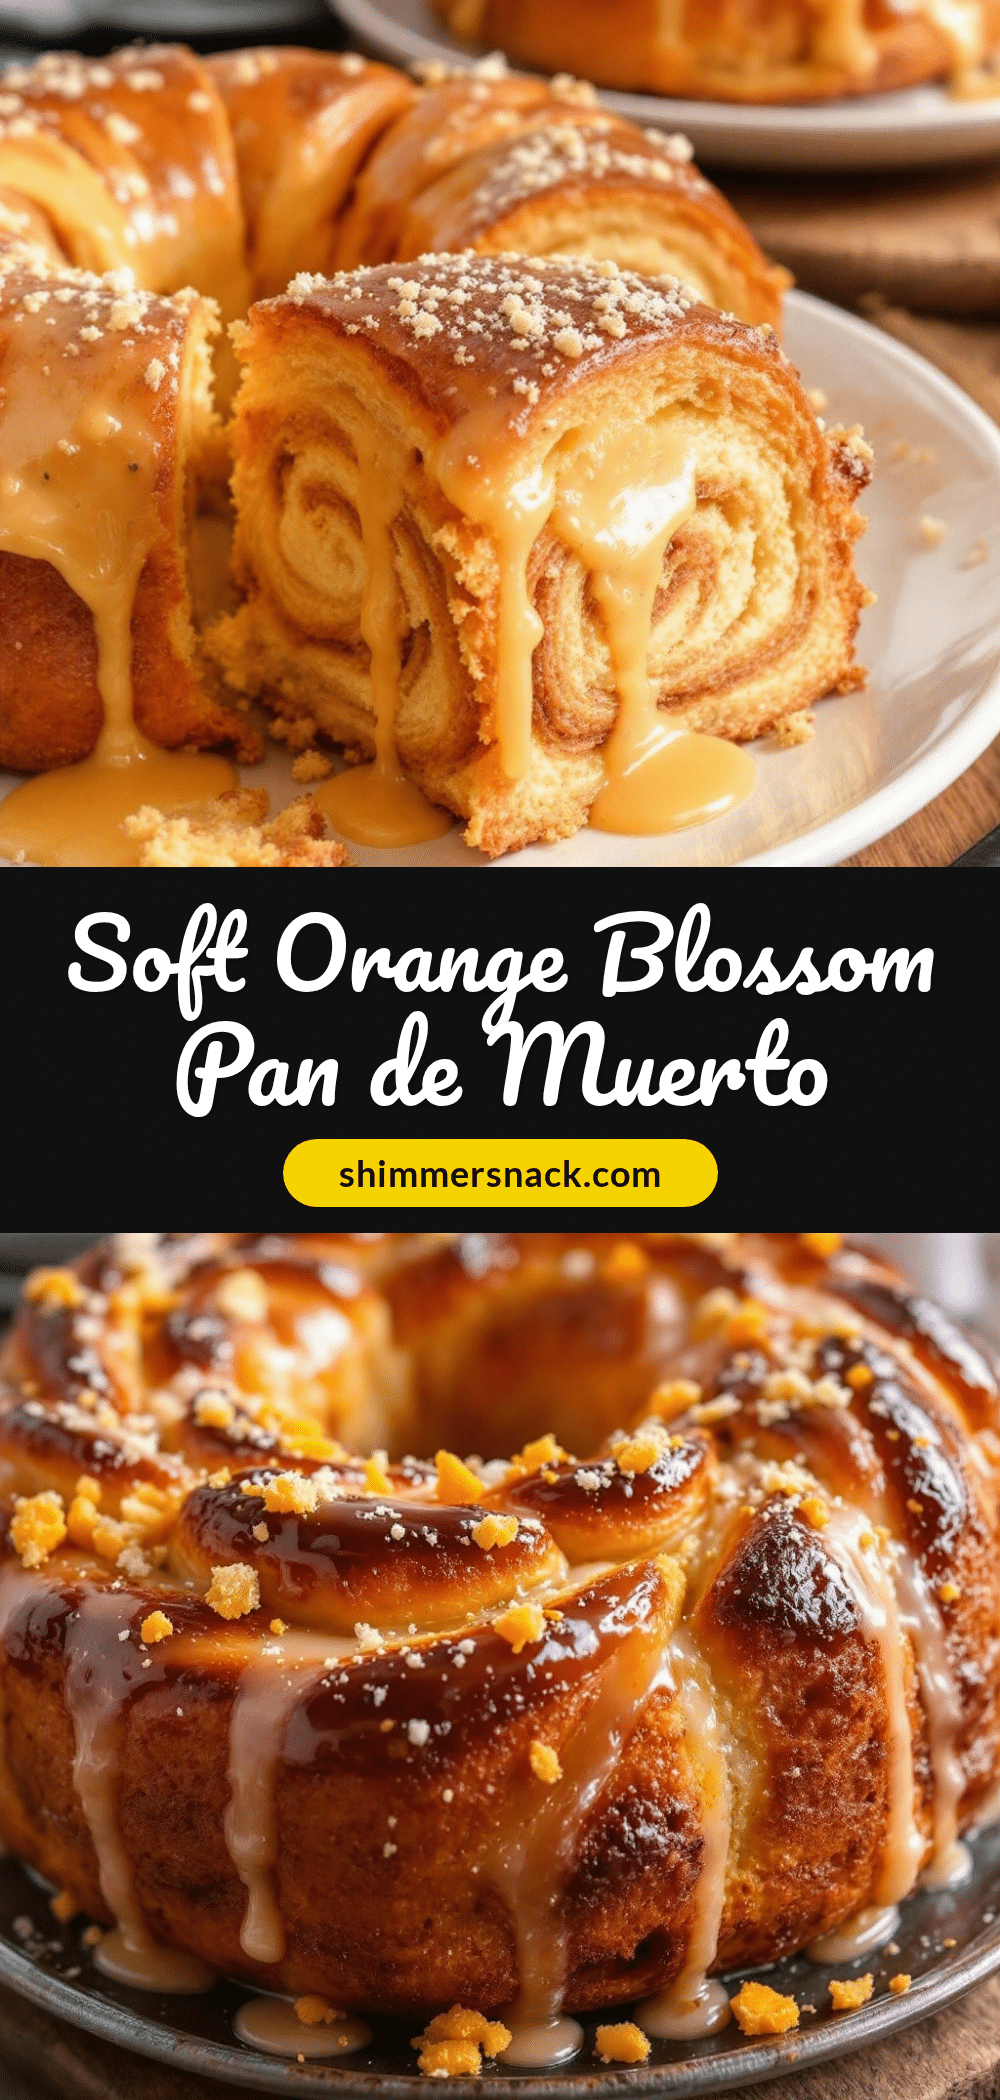
Perfect Pan de Muerto with Orange Blossom Glaze

This soft, slightly sweet Mexican bread is perfect for Día de los Muertos. The orange blossom glaze adds a fragrant, floral sweetness that makes this bread unforgettable.
- Prep Time: 30 minutes
- Cook Time: 25-30 minutes
- Total Time: 2 hours 45 minutes to 3 hours 30 minutes
- Yield: 8 servings 1x
- Category: Bread
- Cuisine: Mexican
Ingredients
- 4 cups (500g) all-purpose flour, plus more for dusting
- 2 ¼ teaspoons active dry yeast (one standard packet)
- ½ cup (120ml) warm milk (about 110°F/43°C)
- ½ cup (100g) granulated sugar
- ½ cup (113g) unsalted butter, softened to room temperature
- 3 large eggs, at room temperature
- 1 tablespoon orange zest (from about 1 large orange)
- 2 tablespoons orange blossom water
- 1 teaspoon salt
- For the Glaze:
- 1 cup (120g) powdered sugar
- 2 tablespoons orange blossom water
- 1–2 tablespoons milk, as needed for consistency
- For Decoration:
- Additional granulated sugar, for sprinkling (optional)
- Orange zest, for garnish
Instructions
- Activate the Yeast: In a small bowl, combine the warm milk (110°F or 43°C) with 1 tablespoon of the sugar. Sprinkle the yeast over the top and let it sit for 5-10 minutes until it’s frothy and smells like bread.
- Mix the Dry Ingredients: In the bowl of your stand mixer, whisk together the flour, remaining sugar, orange zest, and salt. Make a well in the center.
- Combine Wet Ingredients: In a separate bowl, whisk together the eggs and orange blossom water until combined.
- Form the Dough: Pour the yeast mixture and the egg mixture into the well of the dry ingredients. Mix on low speed with the dough hook until a shaggy dough forms, about 2 minutes. Scrape down the sides of the bowl as needed.
- Add the Butter: With the mixer running on low, add the softened butter one tablespoon at a time. Mix until the butter is fully incorporated and the dough is smooth and pulls away from the sides of the bowl, about 8-10 minutes. The dough should be soft and slightly tacky but not sticky.
- First Rise: Lightly grease a large bowl with a little oil or butter. Place the dough in the bowl, turning it once to coat. Cover tightly with plastic wrap and let it rise in a warm, draft-free place until doubled in size, about 1 ½ to 2 hours.
- Shape the Dough: Punch the dough down to release the gas. Turn it out onto a lightly floured surface. Divide the dough into two pieces: one large piece (about two-thirds of the dough) for the base, and one smaller piece (about one-third) for the decorations.
- Form the Base: Shape the large piece into a smooth, round ball. Place it on your prepared baking sheet and gently flatten it slightly into a dome shape.
- Create the Bones and Skull: Divide the smaller piece of dough into several parts. Roll a small piece into a ball for the ‘skull’ on top. Roll two pieces into long ropes, about 8-10 inches long, for the ‘bones.’ Cut the ropes into smaller pieces and shape them into bone-like forms (a ball in the center with two smaller balls on each end).
- Assemble the Bread: Lightly brush the top of the dome with a little water. Place the bone pieces on top, crossing them over the center. Place the skull piece in the very center, where the bones cross. Gently press everything down so it sticks.
- Second Rise: Cover the shaped bread loosely with a clean kitchen towel and let it rise again until puffy, about 45 minutes to 1 hour.
- Bake: Preheat your oven to 350°F (175°C). Bake the pan de muerto for 25-30 minutes, until the top is golden brown and the bread sounds hollow when you tap the bottom. If the top is browning too quickly, tent it loosely with foil after 15 minutes.
- Cool: Let the bread cool on the baking sheet for 10 minutes, then transfer it to a cooling rack to cool completely.
- Make the Glaze: While the bread cools, whisk together the powdered sugar, orange blossom water, and milk until smooth. The glaze should be thick but pourable. Add more milk if it’s too thick, or more powdered sugar if it’s too thin.
- Glaze and Decorate: Once the bread is completely cool, brush the glaze generously over the top. Let it set for a few minutes, then sprinkle with granulated sugar and orange zest if desired.
Notes
Temperature is crucial: milk should be warm (110°F/43°C), not hot. Add butter one piece at a time for best texture. Cool bread completely before glazing. Bread tastes even better on the second day.
Nutrition
- Serving Size: 1/8 of loaf
- Calories: 320
- Sugar: 18
- Sodium: 290
- Fat: 12
- Saturated Fat: 7
- Carbohydrates: 48
- Fiber: 1
- Protein: 7
Keywords: pan de muerto, bread of the dead, dia de los muertos, orange blossom, mexican bread, fall baking, holiday bread


