Love this? Save it for later!
Share the inspiration with your friends
“You know, I never thought I’d be the type to fill my pantry with jars of peaches,” I confessed to my friend last summer, wiping peach juice off my hands. It all started on a hazy Saturday afternoon at the local farmer’s market. A vendor with a weathered straw hat handed me a peach that was so fragrant and ripe, it practically melted in my mouth. That moment sparked something I didn’t expect: a determination to capture that exact summer sweetness all year long.
My first attempt at water bath canning peaches was, honestly, a bit of a mess. I forgot to sterilize the jars properly and ended up with a sticky kitchen and a few jars that didn’t seal right. But with a little patience, a few helpful tips from a seasoned home preservationist, and a cracked bowl (because, of course), I got it right. Now, every August, I look forward to peaches filling my pantry shelves like little summer treasures ready to brighten up chilly winter mornings.
Maybe you’ve been there—the longing for fresh fruit long after the season ends, or the satisfaction of opening a jar you made yourself. This recipe for perfect water bath canning peaches isn’t just about preserving fruit; it’s about preserving memories, flavors, and that sweet feeling of home. Let me tell you, once you get the hang of it, this method will be your go-to for homemade preservation.
Why You’ll Love This Recipe
After countless jars and many lessons learned (some the hard way), I can confidently say this water bath canning peaches recipe is a keeper. Here’s why it’s a favorite in my kitchen:
- Quick & Easy: You can complete the process in under 2 hours, which is perfect when peaches are at their peak and you want to act fast.
- Simple Ingredients: No complicated syrups or preservatives here — just peaches, sugar, lemon juice, and water. You probably already have everything on hand.
- Perfect for Homemade Preservation: This recipe respects traditional canning techniques while making them approachable for beginners.
- Crowd-Pleaser: Family, friends, and even the neighborhood kids rave about the natural sweetness and texture of these peaches.
- Unbelievably Delicious: The peaches stay tender but firm, and the light syrup keeps them tasting fresh, like summer in a jar.
What makes this recipe different? I’ve fine-tuned the syrup ratio and soaking time to preserve that just-picked flavor without mushiness. Plus, the step-by-step method helps avoid common pitfalls that can turn your peaches soggy or your jars unsealed. Honestly, it’s less about fuss and more about honoring the fruit’s natural goodness.
This recipe is the kind that makes you smile each time you open a jar, reminding you that simple, homemade preservation can feel like a little victory every time.
What Ingredients You Will Need
This recipe uses straightforward, wholesome ingredients to deliver bright, fresh-canned peaches without any complicated steps. Most of these are pantry staples or easy to find at your local market when peaches are in season.
- Fresh Peaches (about 10-12 medium peaches, 5 lbs / 2.3 kg) – Look for ripe but firm peaches for the best texture after canning.
- Granulated Sugar (3 cups / 600 g) – For the syrup. You can adjust this to taste or swap part for honey for a floral note.
- Water (4 cups / 950 ml) – To make the light syrup that keeps peaches moist.
- Lemon Juice (1/4 cup / 60 ml, freshly squeezed) – This helps maintain the peaches’ color and adds a subtle brightness.
- Pickling Salt (1 tablespoon / 15 g) – Optional, but it can enhance the flavor and preserve texture.
Note: If you want a sugar-free version, use a fruit juice like white grape or apple juice instead of sugar syrup, but expect a different texture and taste.
I prefer using organic peaches when possible and a trusted brand of canning jars like Ball or Kerr for sealing reliability. If fresh peaches aren’t available, you can try frozen, but fresh always wins for texture.
Equipment Needed
- Large Canning Pot with Rack: Essential for the water bath canning process. The rack keeps jars off the bottom to prevent cracking.
- Wide-Mouth Mason Jars (about 6-7 half-pints or pints): I personally like half-pints for smaller portions and easier storage.
- Lid and Band Sets: Use brand-new lids for a proper seal; bands can be reused if they’re not rusty.
- Jar Lifter: A must-have for safely removing hot jars from boiling water.
- Large Bowl: For soaking and peeling peaches.
- Slotted Spoon and Ladle: For transferring peaches and syrup into jars without mess.
- Sharp Paring Knife: For scoring and peeling peaches quickly.
If you don’t have a canning pot, a large stockpot works as long as it’s deep enough to cover jars by at least one inch. I started with a regular pot and a small kitchen rack before investing in a full canning set, which definitely makes things easier. Just remember to keep your equipment clean and well-maintained for the safest results.
Preparation Method
- Prepare Your Peaches (20 minutes): Start by washing your peaches under cool running water. Score a small “X” on the bottom of each peach with your paring knife. This makes peeling easier after blanching.
- Blanch and Peel (10 minutes): Bring a large pot of water to a boil. Drop the peaches in for 30-60 seconds until skins start to loosen. Quickly transfer peaches to a bowl of ice water to stop cooking. The skins should slip right off with gentle pressure—no peeling frustration here!
- Slice and Treat (15 minutes): Slice peaches in half, remove pits, and cut into desired sizes (halves or slices). To keep them from browning, toss peaches in a bowl with lemon juice.
- Make the Syrup (5 minutes): In a saucepan, combine sugar, water, and pickling salt if using. Heat gently until sugar dissolves, then keep warm.
- Fill Jars (15 minutes): Pack peach slices tightly but gently into hot sterilized jars, leaving about 1/2 inch (1.3 cm) headspace. Pour hot syrup over peaches, maintaining the headspace. Remove air bubbles by sliding a non-metallic spatula along jar sides. Wipe rims clean.
- Seal and Process (45 minutes): Place lids and bands on jars, finger-tight. Submerge jars in boiling water bath, ensuring water covers jars by at least one inch. Process pints for 25 minutes (adjust for altitude if needed). Remove jars with lifter and place on a towel to cool undisturbed.
- Check Seals (after cooling): Once cool (12-24 hours), press lids to confirm seal (no popping). Store sealed jars in a cool, dark place.
Pro tip: If some jars don’t seal, refrigerate and use those peaches within a week. Sometimes, a quick reheating and reprocessing with new lids can save jars, but don’t reuse old lids.
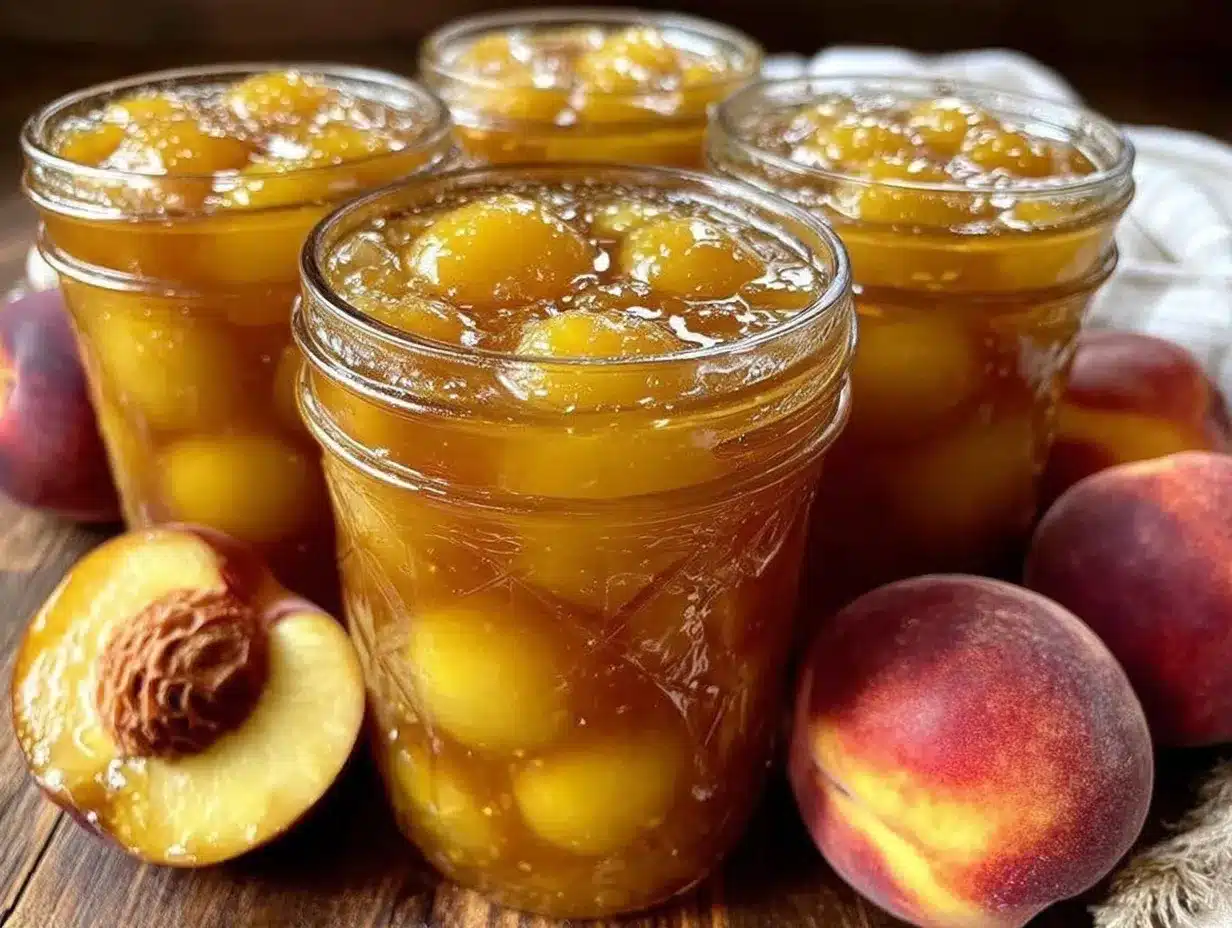
When you open a jar, expect a burst of summer sunshine with every bite — the syrup is lightly sweet, and the peaches retain that perfect balance of softness and slight firmness, not mushy or bland.
Cooking Tips & Techniques
One thing I learned the hard way is that peach ripeness matters. Too ripe, and your peaches turn mushy after canning; too firm, and they taste bland. The best are peaches that yield slightly to gentle pressure but aren’t squishy.
Don’t skip the blanching step! Slipping off skins improves texture and prevents bitterness from the peel. I once tried peeling raw peaches—what a nightmare.
When filling jars, don’t overfill. Leaving headspace is crucial to allow for expansion during processing and to achieve a proper vacuum seal.
Keep your syrup hot while filling jars. Pouring cold syrup can shock the fruit, affecting texture.
Lastly, timing is everything. Start your water bath once all jars are packed and ready, and keep an eye on the clock. Multitasking helps — I usually prep peaches while the water heats. It feels like controlled chaos, but it works.
Variations & Adaptations
- Spiced Peach Syrup: Add a cinnamon stick or a vanilla bean to your syrup for a warm twist perfect for fall breakfasts.
- Low-Sugar Option: Use fruit juice or reduce sugar in the syrup for a lighter taste. Keep in mind this changes preservation slightly, so consume sooner.
- Honey-Sweetened: Replace sugar with local honey for floral notes and a more natural sweetness.
- Peach and Ginger: Toss in a few slices of fresh ginger during syrup preparation for a subtle zing.
- Freezer Jam Alternative: If canning feels intimidating, try making a peach freezer jam using similar ingredients but no heat processing.
Personally, I love the spiced syrup version for holiday gifts — it’s like giving a jar of cozy. Feel free to experiment with what you have; peaches are forgiving and lovely.
Serving & Storage Suggestions
Serve these canned peaches chilled as a topping for yogurt, pancakes, or ice cream. They also make a fantastic addition to savory dishes like crispy garlic chicken — the sweetness balances spices beautifully.
Store unopened jars in a cool, dark pantry for up to one year. Once opened, keep refrigerated and consume within a week for best flavor.
To reheat, gently warm in a saucepan or microwave. The peaches hold up well and the syrup thickens slightly upon warming, perfect for spooning over desserts.
Flavors deepen over time, so if you can wait a few weeks before enjoying, you’ll be rewarded with a richer, more harmonious taste.
Nutritional Information & Benefits
Each half-pint jar of canned peaches contains roughly 100-120 calories, 25 grams of carbohydrates, and minimal fat. Peaches are naturally rich in vitamins A and C, which support skin and immune health.
Using fresh fruit and a light syrup keeps this recipe lower in added sugars compared to many store-bought options. Plus, homemade means no preservatives or strange additives.
This recipe is naturally gluten-free and can be adapted for lower sugar diets. Just be mindful that sugar plays a role in preservation and texture.
From a wellness perspective, homemade peach preserves remind me that simple, wholesome foods can nourish both body and soul.
Conclusion
Perfect water bath canning peaches is a straightforward, satisfying way to bring summer’s best flavors to your table year-round. Whether you’re a seasoned home preserver or new to the craft, this recipe offers a reliable, delicious approach that’s hard to beat.
Feel free to tweak the syrup sweetness or add your favorite spices — this recipe is a great canvas for your tastes. Personally, the joy of cracking open a jar on a cold day keeps me coming back every season.
Give it a try, and don’t be shy about sharing your own twists or questions below. Happy canning and happy eating!
FAQs
How do I know if my canned peaches sealed properly?
After cooling, press the center of each lid. If it doesn’t pop back, your jar is sealed. If it does, store the jar in the fridge and use soon.
Can I use frozen peaches for water bath canning?
Frozen peaches aren’t ideal for canning as they tend to be softer and may become mushy. Fresh peaches give the best texture.
What if I don’t have a canning rack?
A metal trivet or a folded kitchen towel at the bottom of your pot can keep jars off the direct heat, preventing cracking.
How long can I store canned peaches?
Unopened jars can last up to one year in a cool, dark place. Once opened, refrigerate and consume within a week.
Is water bath canning safe for peaches?
Yes! Because peaches are high-acid fruit, water bath canning is the recommended safe method for preserving them.
Pin This Recipe!
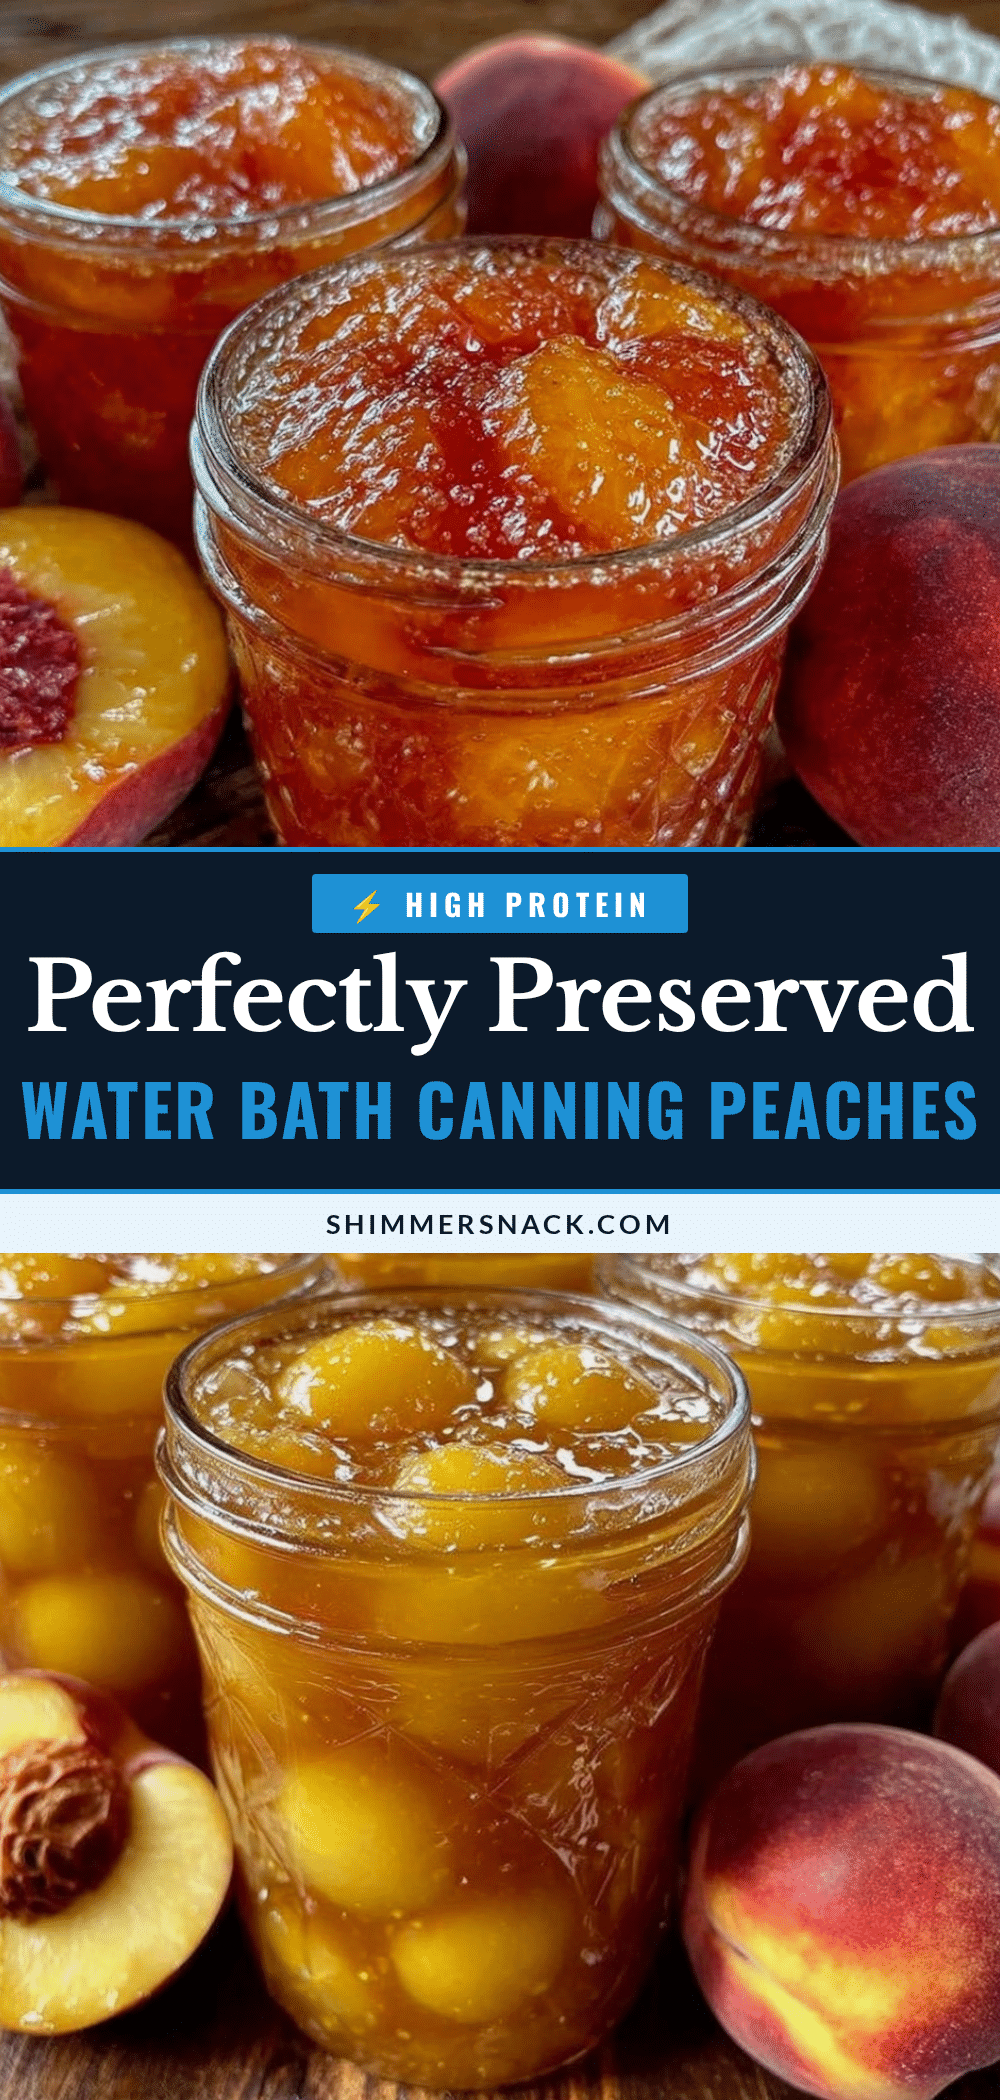
Perfect Water Bath Canning Peaches Easy Homemade Preservation Guide
A straightforward and reliable recipe for water bath canning peaches that preserves their natural sweetness and texture, perfect for enjoying summer flavors year-round.
- Prep Time: 50 minutes
- Cook Time: 45 minutes
- Total Time: 1 hour 35 minutes
- Yield: 6-7 half-pint jars 1x
- Category: Preserves / Canning
- Cuisine: American
Ingredients
- 10–12 medium fresh peaches (about 5 lbs / 2.3 kg)
- 3 cups granulated sugar (600 g)
- 4 cups water (950 ml)
- 1/4 cup freshly squeezed lemon juice (60 ml)
- 1 tablespoon pickling salt (15 g) – optional
Instructions
- Prepare Your Peaches (20 minutes): Wash peaches under cool running water. Score a small “X” on the bottom of each peach with a paring knife to ease peeling.
- Blanch and Peel (10 minutes): Bring a large pot of water to a boil. Drop peaches in for 30-60 seconds until skins loosen. Transfer peaches to ice water to stop cooking. Peel skins off gently.
- Slice and Treat (15 minutes): Slice peaches in half, remove pits, and cut into halves or slices. Toss peaches in a bowl with lemon juice to prevent browning.
- Make the Syrup (5 minutes): In a saucepan, combine sugar, water, and pickling salt if using. Heat gently until sugar dissolves, then keep warm.
- Fill Jars (15 minutes): Pack peach slices tightly but gently into hot sterilized jars, leaving 1/2 inch headspace. Pour hot syrup over peaches, maintaining headspace. Remove air bubbles with a non-metallic spatula. Wipe rims clean.
- Seal and Process (45 minutes): Place lids and bands on jars finger-tight. Submerge jars in boiling water bath with at least 1 inch water coverage. Process pints for 25 minutes (adjust for altitude if needed). Remove jars with lifter and cool on towel undisturbed.
- Check Seals (after cooling 12-24 hours): Press lids to confirm seal (no popping). Store sealed jars in a cool, dark place.
Notes
Use ripe but firm peaches for best texture. Keep syrup hot when filling jars to avoid shocking the fruit. Leave 1/2 inch headspace in jars. If jars don’t seal, refrigerate and consume within a week or reprocess with new lids. Frozen peaches are not recommended due to mushiness. Adjust sugar to taste or substitute with honey or fruit juice for variations.
Nutrition
- Serving Size: Half-pint jar
- Calories: 110
- Sugar: 22
- Sodium: 150
- Carbohydrates: 25
- Fiber: 2
- Protein: 1
Keywords: water bath canning, peaches, homemade preserves, peach canning, fruit preservation, summer fruit, easy canning recipe