Love this? Save it for later!
Share the inspiration with your friends
Last summer, I found myself at a local flea market, the kind of place where you never quite know what treasures you’ll stumble upon. Among the usual clutter, an old, grease-stained notebook caught my eye. It belonged to a retired pitmaster named Earl, who had once run a modest roadside BBQ joint in Texas. Flipping through the pages, I came across a recipe for baby back ribs with a dry rub that promised a “smoky charred crust” and “fall-off-the-bone tenderness.” I wasn’t planning to make ribs that weekend, but I scribbled the recipe down anyway—because, honestly, you never know when a good rib recipe will come in handy.
Fast forward a few weeks, I was invited to a backyard grill party. The usual suspects were there, and I volunteered to bring something different. The ribs? They were a hit. The charred crust crackled just right, the meat was tender without being mushy, and the seasoning was just bold enough without overpowering. I remember knocking over a bowl of sauce in my excitement (classic me), but nobody minded—everyone was too busy asking for seconds.
Maybe you’ve had those ribs that are either too tough or drown in sauce, but this recipe strikes that perfect balance. It’s the kind of dish that makes you want to linger at the grill, chatting with friends as the smoke swirls around you. That old recipe from Earl’s notebook stuck with me because it’s simple, reliable, and absolutely delicious. Let me tell you, it’s become my go-to for any grill occasion, and I’m betting it’ll be yours too.
Why You’ll Love This Tender Dry Rub Baby Back Ribs Recipe
After testing this recipe over several months, I can say confidently it’s a winner for any rib lover. Here’s why:
- Quick & Easy: The dry rub comes together in just minutes, and the ribs cook low and slow on the grill for about 2.5 hours—perfect for weekend afternoons or holiday gatherings.
- Simple Ingredients: You probably have the spices in your pantry already—smoked paprika, brown sugar, garlic powder, and a few others that pack a punch without fuss.
- Perfect for Grill Nights: Whether it’s a casual cookout or a special occasion, these ribs bring that smoky, charred crust that everyone loves.
- Crowd-Pleaser: Kids, adults, picky eaters—you name it, this recipe gets raves across the board.
- Unbelievably Delicious: The balance of sweet, smoky, and spicy combined with tender meat is next-level comfort food.
What makes this recipe stand out? It’s the dry rub’s blend and that signature smoky charred crust from grilling over indirect heat and a bit of flare-up action. Also, I’ve tweaked the seasoning over time to hit the perfect balance—not too salty, not too sweet, just right. Honestly, it’s the kind of rib recipe you’ll want to make again and again, especially if you appreciate a good crust and fall-off-the-bone tenderness without drowning in sauce.
What Ingredients You Will Need
This recipe uses straightforward, wholesome ingredients that deliver bold flavor and that crave-worthy texture without any nonsense. Most are pantry staples, and substitutions are easy if needed.
- Baby Back Ribs: 2 racks (about 2.5 to 3 pounds each), trimmed of silver skin for better seasoning absorption.
- Brown Sugar (for the dry rub): 1/4 cup, packed (adds caramelized sweetness and helps create the crust).
- Smoked Paprika: 2 tablespoons (I prefer McCormick for reliable smokiness).
- Garlic Powder: 1 tablespoon (gives a nice savory depth).
- Onion Powder: 1 tablespoon (complements the garlic and paprika).
- Ground Black Pepper: 1 teaspoon, freshly cracked if possible.
- Salt: 1 tablespoon (kosher salt recommended for even seasoning).
- Cayenne Pepper: 1/2 teaspoon (optional, for a subtle kick).
- Chili Powder: 1 teaspoon (adds complexity and warmth).
- Olive Oil: 2 tablespoons (to help the rub stick and promote crust formation).
- Apple Cider Vinegar: 1/4 cup (used for spritzing during grilling to keep ribs moist).
Substitution tips: Swap brown sugar with coconut sugar for a deeper molasses flavor, or use smoked sea salt if you want to boost the smoky notes. For a gluten-free option, make sure your chili powder is certified gluten-free. If you don’t have apple cider vinegar, a mix of lemon juice and water works in a pinch.
Equipment Needed
- Charcoal or Gas Grill: A grill with a lid is essential to maintain indirect heat. If you don’t have a grill, a smoker or even an oven with a broiler can work (see variations below).
- Aluminum Foil: For wrapping ribs during part of the cooking to keep them tender.
- Spray Bottle: Filled with apple cider vinegar for spritzing the ribs throughout cooking.
- Tongs: For handling ribs safely without piercing the meat.
- Meat Thermometer: Optional but helpful to check doneness—the ribs are perfect around 195°F (90°C).
- Cutting Board and Sharp Knife: For prepping and slicing the ribs.
Personally, I find a charcoal grill adds an unbeatable smoky flavor, but a gas grill with a smoker box can deliver great results too. When I first started, I didn’t have a thermometer and relied on the bend test (ribs should bend easily but not fall apart). For budget-friendly options, you can even use a disposable aluminum pan to hold the ribs on the grill and reduce flare-ups.
Preparation Method
- Prepare the Ribs (10 minutes): Remove the silver skin from the back of the ribs by sliding a butter knife under it and peeling it off. This helps the rub penetrate better and makes ribs more tender.
- Mix the Dry Rub (5 minutes): In a bowl, combine brown sugar, smoked paprika, garlic powder, onion powder, black pepper, salt, cayenne pepper, and chili powder. Mix well to blend the flavors evenly.
- Apply the Rub (10 minutes): Drizzle olive oil over the ribs and rub it in gently. Then, generously coat both sides of each rack with the dry rub, pressing it in to stick. Wrap the ribs in plastic wrap or foil and refrigerate for at least 1 hour; overnight is better if you have time. This step lets the flavors soak in.
- Prepare the Grill (15 minutes): Set up your grill for indirect cooking: coals on one side or burners on low on one side, leaving another side off. Aim for a steady temperature around 225°F to 250°F (107°C to 121°C). Place a drip pan under the grill grate on the cooler side if possible.
- Grill the Ribs (2 to 2.5 hours): Place ribs bone-side down on the cool side of the grill, away from direct flame. Close the lid. Every 30 minutes, spritz ribs lightly with apple cider vinegar to keep them moist and add tang. If flare-ups happen, move ribs away briefly, but a little charring is part of the magic.
- Wrap the Ribs (Optional, 30 minutes): After about 1.5 hours, wrap ribs tightly in foil to trap moisture and soften the meat. Return to grill for another 30 minutes.
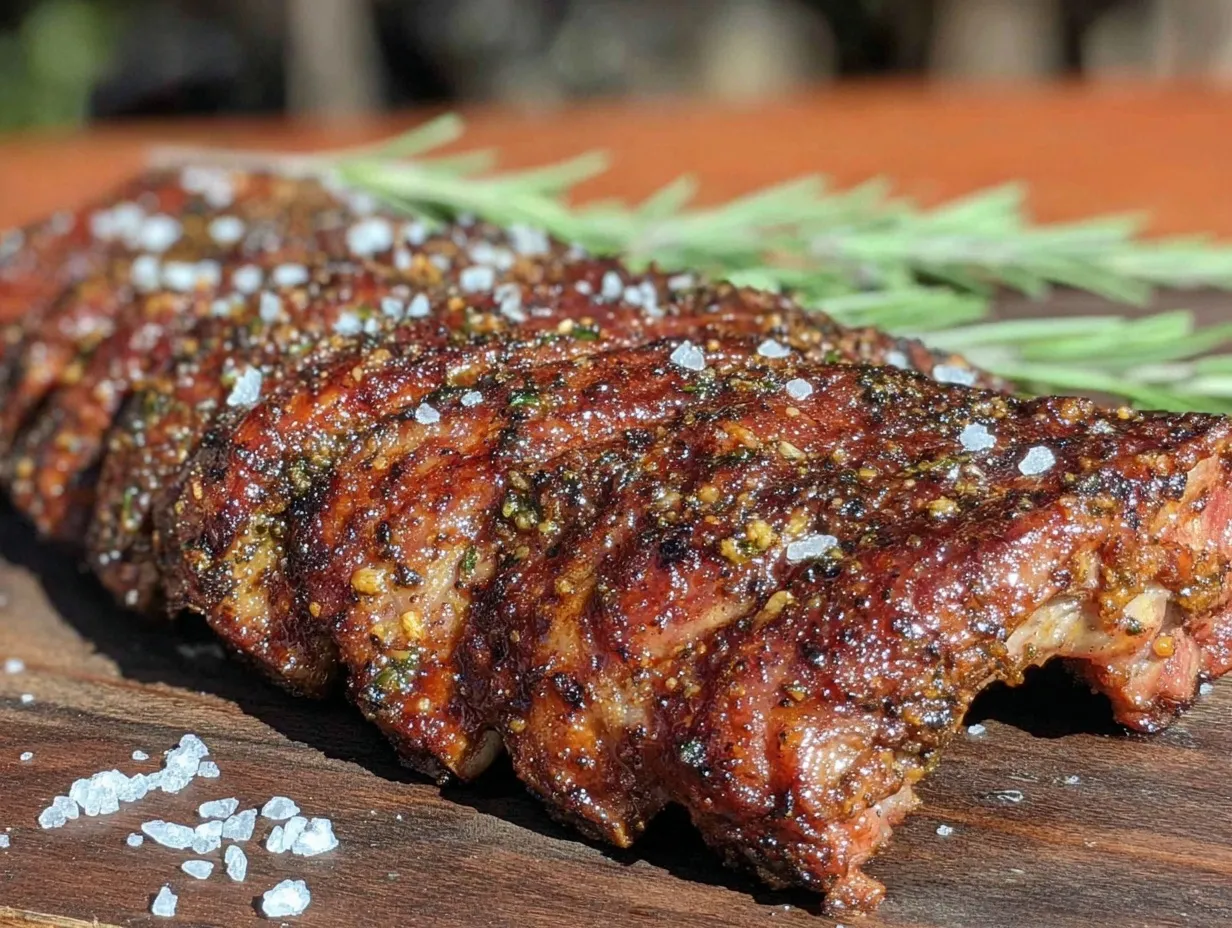
- Finish with Char (10 minutes): Unwrap ribs and place back on direct heat for 5-10 minutes per side to develop a smoky charred crust. Watch carefully to prevent burning.
- Rest and Serve (10 minutes): Remove ribs from grill, let rest for a few minutes before cutting between the bones. This helps juices redistribute for tender bites.
Tip: If the ribs are not tender enough, wrap and cook a bit longer at low heat. The meat should bend easily when picked up with tongs.
Cooking Tips & Techniques
Getting tender, smoky baby back ribs with a perfect crust takes a little practice, but here are some tips I’ve learned along the way:
- Don’t Skip the Silver Skin Removal: I once left it on, thinking it was fine. Big mistake—the ribs were chewy and the rub didn’t penetrate well.
- Low and Slow is Your Friend: Keep the grill temperature steady around 225°F (107°C). Too hot, and the ribs dry out or burn before tender.
- Use Indirect Heat: Placing ribs away from direct flame avoids flare-ups that char too quickly and unevenly.
- Spritzing Matters: The vinegar spritz not only adds moisture but balances the sweetness of the rub with a bright tang.
- Wrapping Midway Helps Tenderize: Wrapping in foil traps steam to make ribs fall-off-the-bone tender. Just don’t skip the final char step for texture.
- Watch the Char: That smoky crust is the star, but it can go from perfect to burnt fast. Keep a close eye and turn frequently once on direct heat.
- Rest Before Serving: It’s tempting to dig in right away, but letting ribs rest lets juices redistribute and enhances tenderness.
Variations & Adaptations
This rib recipe is versatile, and I’ve played around with a few variations depending on mood, diet, or what’s in the pantry.
- Oven-Baked Version: If you don’t have a grill, bake ribs at 300°F (150°C) for 2.5 hours wrapped in foil, then broil for a few minutes to get that crust.
- Spicy Kick: Add extra cayenne or a dash of chipotle powder to the rub for smoky heat that wakes up your taste buds.
- Gluten-Free: Use gluten-free brown sugar and check spices for cross-contamination. The recipe is naturally gluten-free otherwise.
- Sweet & Tangy Glaze: After grilling, brush with a mix of honey and mustard for a sticky finish.
- Personal Favorite: I once swapped smoked paprika for ground ancho chili and loved the deeper, earthier flavor it gave the ribs.
Serving & Storage Suggestions
Serve these ribs hot off the grill, with the crust still crackling. They go wonderfully with classic sides like coleslaw, grilled corn, or a bright cucumber salad. For drinks, a cold beer or a citrusy iced tea balances the smoky richness beautifully.
If you have leftovers, wrap ribs tightly in foil or plastic wrap and refrigerate for up to 3 days. Reheat gently in the oven at 275°F (135°C) wrapped in foil to keep moist. You can also freeze cooked ribs for up to 3 months—just thaw overnight in the fridge before reheating.
Fun fact: I find the flavors actually deepen after a day in the fridge. If you’re prepping ahead for a party, cooking ribs the day before and reheating is a smart move.
Nutritional Information & Benefits
Estimated per serving (about 1/4 rack): 400 calories, 25g protein, 30g fat, 6g carbs.
Baby back ribs are a good source of protein and essential minerals like zinc and iron. The dry rub contains antioxidants from spices like paprika and chili powder, which can support inflammation reduction. If you want to keep it leaner, trimming excess fat before cooking helps.
This recipe is naturally gluten-free and can be adapted for low-sugar diets by reducing brown sugar or swapping it for a sugar substitute. Just be mindful that the crust texture changes slightly.
From a wellness standpoint, I appreciate that this recipe balances indulgence with simple, whole ingredients—making it a treat without being overly processed or complicated.
Conclusion
This tender dry rub baby back ribs recipe is one of those dishes that keeps me coming back to the grill. It’s simple enough for a weekday cookout yet impressive enough for guests. The smoky charred crust paired with juicy, tender meat hits all the right notes—comfort food that feels special.
Feel free to tweak the rub, try different cooking methods, or add your own spin to make it yours. Cooking ribs is as much about the experience as the taste, and that’s what makes this recipe so memorable to me. Give it a try, and let me know how your ribs turn out—I’m always excited to hear your stories and variations!
FAQs About Tender Dry Rub Baby Back Ribs
How do I know when baby back ribs are done?
Look for the meat to pull back from the bones about 1/4 inch, and use a bend test—pick up the rack with tongs; it should bend easily and start to crack on the surface. A meat thermometer can help; ribs are tender around 195°F (90°C).
Can I prepare the dry rub in advance?
Absolutely! The dry rub mixes well and can be stored in an airtight container for up to a month, making it easy to season ribs quickly when you’re ready.
What if I don’t have a grill?
You can bake the ribs in the oven wrapped in foil at 300°F (150°C) for 2.5 hours, then broil briefly to get a crust. While it won’t have the same smoky flavor, it’s still delicious.
Should I sauce the ribs before or after grilling?
For this dry rub recipe, I recommend serving ribs with sauce on the side or brushing a glaze on after the ribs have cooked and been charred, so it doesn’t burn during the long cook.
How do I store leftover ribs?
Wrap ribs tightly in foil or plastic wrap and store in the fridge for up to 3 days. Reheat gently in the oven wrapped in foil to keep them moist. For longer storage, freeze cooked ribs for up to 3 months.
Pin This Recipe!
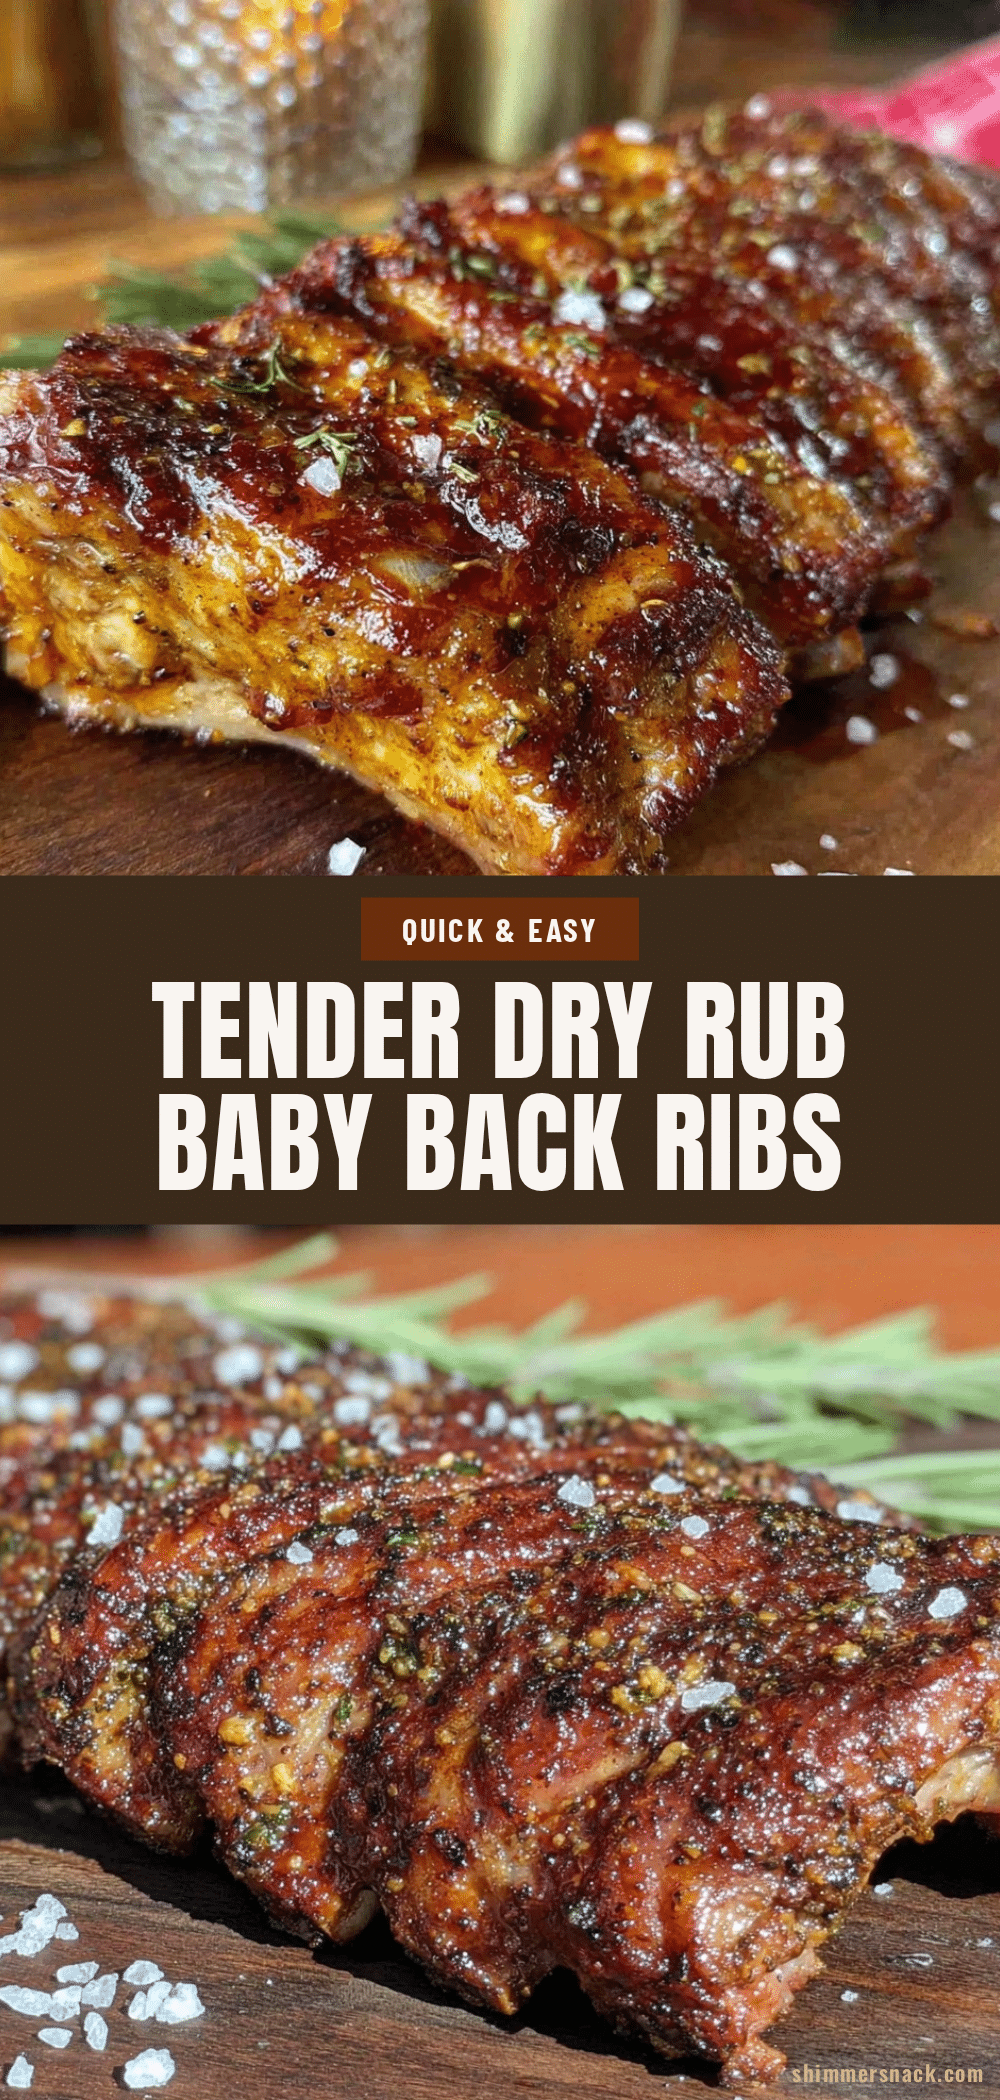
Tender Dry Rub Baby Back Ribs Recipe Easy Smoky Charred Crust Grill Guide

This recipe delivers tender baby back ribs with a smoky charred crust using a simple dry rub and low-and-slow grilling method. Perfect for grill nights and crowd-pleasing occasions.
- Prep Time: 25 minutes
- Cook Time: 2 hours 30 minutes
- Total Time: 2 hours 55 minutes
- Yield: 8 servings 1x
- Category: Main Course
- Cuisine: American
Ingredients
- 2 racks baby back ribs (about 2.5 to 3 pounds each), trimmed of silver skin
- 1/4 cup packed brown sugar
- 2 tablespoons smoked paprika
- 1 tablespoon garlic powder
- 1 tablespoon onion powder
- 1 teaspoon ground black pepper, freshly cracked if possible
- 1 tablespoon kosher salt
- 1/2 teaspoon cayenne pepper (optional)
- 1 teaspoon chili powder
- 2 tablespoons olive oil
- 1/4 cup apple cider vinegar (for spritzing during grilling)
Instructions
- Prepare the ribs (10 minutes): Remove the silver skin from the back of the ribs by sliding a butter knife under it and peeling it off.
- Mix the dry rub (5 minutes): In a bowl, combine brown sugar, smoked paprika, garlic powder, onion powder, black pepper, salt, cayenne pepper, and chili powder. Mix well.
- Apply the rub (10 minutes): Drizzle olive oil over the ribs and rub it in gently. Coat both sides of each rack with the dry rub, pressing it in to stick. Wrap ribs in plastic wrap or foil and refrigerate for at least 1 hour, preferably overnight.
- Prepare the grill (15 minutes): Set up grill for indirect cooking with coals or burners on one side, maintaining 225°F to 250°F (107°C to 121°C). Place a drip pan under the grill grate on the cooler side if possible.
- Grill the ribs (2 to 2.5 hours): Place ribs bone-side down on the cool side of the grill. Close lid. Every 30 minutes, spritz ribs lightly with apple cider vinegar. Manage flare-ups by moving ribs briefly if needed.
- Wrap the ribs (optional, 30 minutes): After about 1.5 hours, wrap ribs tightly in foil and return to grill for another 30 minutes.
- Finish with char (10 minutes): Unwrap ribs and place back on direct heat for 5-10 minutes per side to develop a smoky charred crust. Watch carefully to prevent burning.
- Rest and serve (10 minutes): Remove ribs from grill and let rest for a few minutes before cutting between the bones.
Notes
Remove silver skin for better seasoning absorption and tenderness. Maintain grill temperature between 225°F and 250°F for low and slow cooking. Spritz ribs with apple cider vinegar every 30 minutes to keep moist. Wrapping ribs in foil midway helps tenderize. Finish ribs on direct heat for a smoky charred crust. Let ribs rest before serving to redistribute juices. Oven-baking is a good alternative if no grill is available.
Nutrition
- Serving Size: About 1/4 rack per s
- Calories: 400
- Fat: 30
- Carbohydrates: 6
- Protein: 25
Keywords: baby back ribs, dry rub ribs, grilled ribs, smoky ribs, BBQ ribs, easy ribs recipe, tender ribs, backyard grill recipe