Love this? Save it for later!
Share the inspiration with your friends
The woman at the pumpkin patch saw me staring at a bag of candy corn like it was a foreign object. I was holding it, turning it over, trying to remember the last time I actually bought the stuff. She laughed, not unkindly, and said, “You’re overthinking it, honey. That candy is for baking, not eating.” She was a grandmotherly type with flour dusted on her sweater and a toddler clinging to her leg. She told me about a cookie cake her own mother used to make every October—loaded with candy corn, chocolate chips, and a secret sprinkle of sea salt. I scribbled the idea on a napkin right there, wedged between a hay bale and a stack of pumpkins. Honestly, I forgot about that napkin for almost a year.
Last Halloween, I found it crumpled in a coat pocket. The ink was smudged, but the words “cookie cake” and “candy corn” were still legible. I figured it was worth a shot. I mean, I’ve had my fair share of baking disasters—cookies that spread into one giant blob, cakes that stuck to the pan like glue. But this? This was different. The first batch came out of the oven looking like a golden, chewy masterpiece. The candy corn had melted just slightly, creating little pockets of sweetness that paired perfectly with the dark chocolate. I brought it to a neighbor’s Halloween party, and let me tell you, it vanished in minutes. Someone actually asked for the recipe before they’d even finished their first slice. That’s when I knew this wasn’t just a random idea—it was something worth sharing.
So here we are. This Ultimate Halloween Cookie Cake with Easy Candy Corn is the kind of dessert that makes you forget about store-bought treats. It’s big, it’s bold, and it’s got that perfect balance of chewy cookie and gooey candy. Maybe you’ve been there—standing in the baking aisle, wondering what to do with that bag of candy corn you bought on a whim. Trust me, this is the answer. It’s become my go-to for Halloween gatherings, and I have a feeling it’ll become yours too.
Why You’ll Love This Recipe
Let’s be real for a second. Halloween desserts can be tricky. You want something festive, but you also want it to taste good—not just look cute. This cookie cake checks both boxes and then some. I’ve tested this recipe six times (my neighbors are very patient), and each time, it got better. Here’s why this one stands out:
- Quick & Easy: From start to finish, you’re looking at about 45 minutes. That’s faster than carving a pumpkin, honestly. Perfect for those last-minute Halloween cravings.
- Simple Ingredients: You probably have most of this stuff in your pantry right now. Butter, sugar, flour, eggs—the usual suspects. The only special addition is the candy corn, and that’s everywhere in October.
- Perfect for Halloween Parties: This isn’t a dainty little cookie. It’s a giant, shareable cake-cookie hybrid that screams “celebration.” Bring it to a potluck, and you’ll be the hero.
- Crowd-Pleaser: Kids love the candy corn. Adults love the chocolate chips. Everyone loves the chewy texture. I’ve seen people who swear they hate candy corn go back for seconds.
- Unbelievably Delicious: The secret is in the technique. By pressing the candy corn into the top of the dough instead of mixing it all in, you get these beautiful, colorful pockets that don’t burn. It’s a game-changer.
What makes this recipe different from every other Halloween cookie out there? It’s the texture. Most cookie cakes are either too cakey or too crunchy. This one hits that sweet spot—crispy edges, soft center, and just the right amount of chew. I spent three batches getting the butter-to-sugar ratio perfect, and let me tell you, it was worth every single bite. This isn’t just another cookie cake. It’s the one you’ll make year after year.
What Ingredients You Will Need
This recipe keeps things simple. No weird extracts or hard-to-find specialty items. Just good, honest ingredients that work together to create something magical. Here’s what you’ll need to grab:
For the Cookie Cake Base
- 1 cup (2 sticks) unsalted butter, softened to room temperature (I prefer Land O’Lakes for consistent results)
- 1 cup granulated sugar (adds sweetness and helps create those crispy edges)
- 1/2 cup packed light brown sugar (this is where the chewiness comes from—don’t skip it)
- 2 large eggs, at room temperature (cold eggs will seize the butter, so let them sit out for 30 minutes)
- 2 teaspoons vanilla extract (use the real stuff if you can, but imitation works in a pinch)
- 2 1/2 cups all-purpose flour (spoon and level it—don’t scoop directly from the bag)
- 1 teaspoon baking soda
- 1/2 teaspoon salt (I use fine sea salt for even distribution)
For the Mix-Ins & Topping
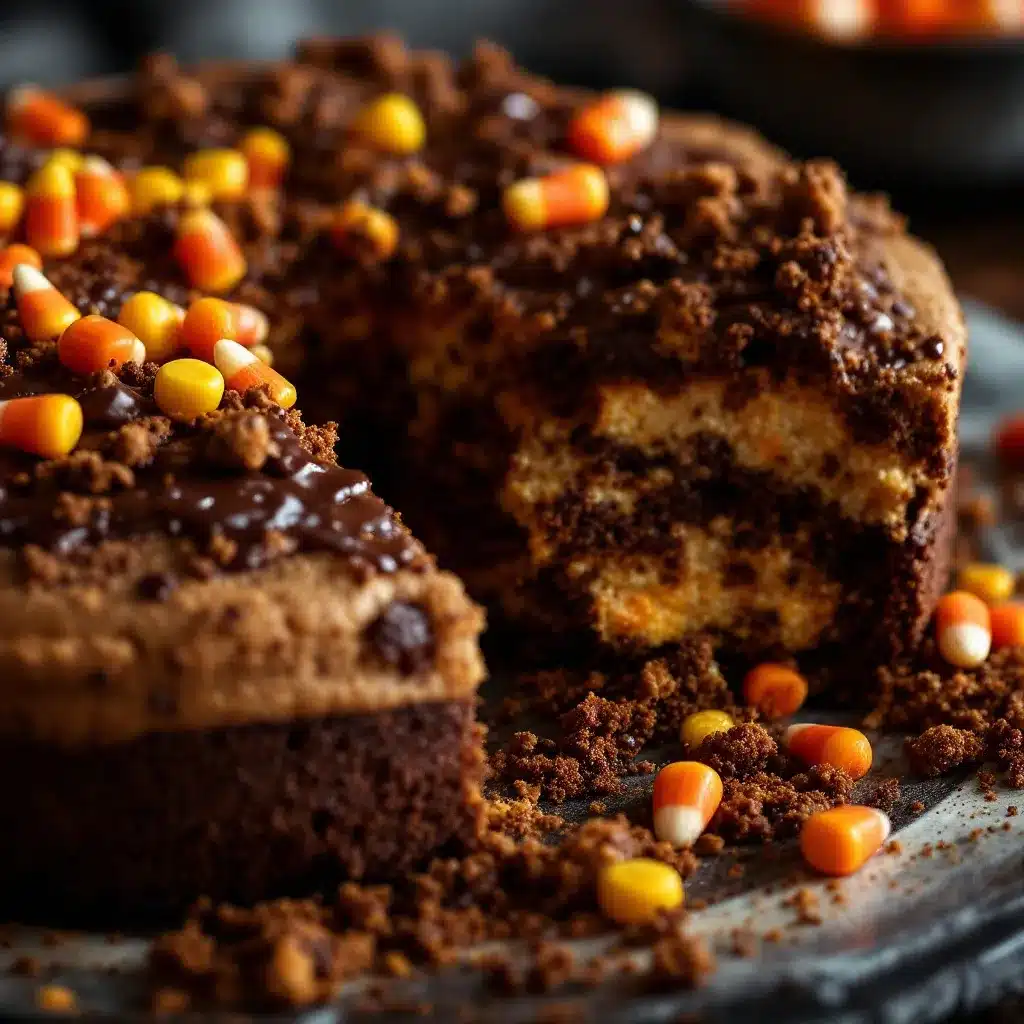
- 1 cup semi-sweet chocolate chips (I like Ghirardelli—they hold their shape well during baking)
- 1 cup candy corn (Bracha’s is my go-to brand; it’s softer and melts more evenly)
- Flaky sea salt for sprinkling on top (optional but highly recommended—it cuts the sweetness beautifully)
A quick note on the candy corn: not all brands are created equal. Some are harder and more waxy, which means they’ll stay intact during baking. Others are softer and will melt into little puddles of sweetness. I’ve tested both, and honestly, the softer ones work better here. They create these gorgeous, stained-glass-like spots throughout the cookie. If you can only find the harder kind, try chopping them in half before pressing them into the dough. It helps them soften up in the oven.
For the chocolate chips, feel free to swap in milk chocolate if you prefer a sweeter cookie. Dark chocolate fans can use bittersweet chips for a more grown-up flavor. And if you’re feeling extra festive, throw in some orange and black sprinkles. I did that for a party once, and it looked like a party in a pan.
Equipment Needed
You don’t need a fancy kitchen to pull this off. Here’s what I used, along with a few tips I picked up along the way:
- 9-inch or 10-inch cast iron skillet or springform pan: I prefer a cast iron skillet for even heat distribution and those gorgeous golden edges. If you don’t have one, a 9-inch round cake pan works perfectly. Just grease it well.
- Electric hand mixer or stand mixer: You can cream the butter and sugar by hand, but your arm will thank you for using a mixer. I’ve done both, and the mixer gives a fluffier texture.
- Large mixing bowl: Nothing fancy—just something big enough to hold all that dough.
- Rubber spatula: For scraping down the sides of the bowl and folding in the mix-ins. A wooden spoon works too.
- Measuring cups and spoons: Accurate measurements matter here. I use a kitchen scale for the flour to avoid packing it too tight.
- Parchment paper: If you’re using a cake pan, line the bottom with parchment paper for easy removal. Trust me on this one.
- Cooling rack: Helps the cookie cake cool evenly without getting soggy on the bottom.
Budget-friendly tip: If you don’t have a springform pan, just use a regular pie dish. The cookie will be a little thicker, but it’ll still taste amazing. I’ve done it twice, and no one noticed the difference.
Preparation Method
Alright, let’s get to the fun part. Here’s how to make this Halloween masterpiece, step by step. I’ve included all the little details that make the difference between a good cookie cake and a great one.
- Preheat your oven to 350°F (175°C). While it’s heating up, grease your pan of choice with butter or non-stick spray. If you’re using a cake pan, line the bottom with a circle of parchment paper. This step is non-negotiable if you want clean slices later.
- Cream the butter and sugars together. In a large mixing bowl, beat the softened butter, granulated sugar, and brown sugar together until light and fluffy. This should take about 3-4 minutes with an electric mixer on medium speed. The mixture should look pale and almost whipped. Don’t rush this step—proper creaming is what gives the cookie its tender texture. I once skimped on this, and the cookie came out dense and flat. Learn from my mistakes.
- Add the eggs and vanilla. Crack in the eggs one at a time, beating well after each addition. Scrape down the sides of the bowl with a spatula to make sure everything is incorporated. Then add the vanilla extract and beat for another 30 seconds. The mixture should look smooth and glossy.
- Mix the dry ingredients separately. In a separate bowl, whisk together the flour, baking soda, and salt. This ensures the leavening agent is evenly distributed. If you skip this step, you might end up with a pocket of baking soda in one bite—trust me, it’s not pleasant.
- Combine the wet and dry ingredients. Gradually add the flour mixture to the butter mixture, mixing on low speed until just combined. Stop as soon as you don’t see any more streaks of flour. Overmixing at this stage will develop gluten and make your cookie cake tough. Nobody wants a tough cookie cake.
- Fold in the chocolate chips. Using a rubber spatula, gently fold in 3/4 cup of the chocolate chips. Save the remaining 1/4 cup for topping. The dough will be thick and slightly sticky—that’s exactly what you want.
- Press the dough into the pan. Transfer the dough to your prepared pan and press it into an even layer. Use slightly damp fingers to smooth the top—this prevents the dough from sticking to your hands. The dough should be about 1/2 inch thick. If it’s too thick in the center, the edges will burn before the middle is done.
- Press in the candy corn and remaining chocolate chips. Here’s the trick: gently press the candy corn and reserved chocolate chips into the top of the dough. Don’t mix them in—just push them down so they’re partially embedded. This prevents the candy corn from burning or turning into a hard, chewy mess. I learned this the hard way after pulling out a batch where the candy corn had turned into little burnt rocks.
- Sprinkle with flaky sea salt. If you’re using it, now’s the time. A light sprinkle over the top balances the sweetness and adds a professional touch. Don’t skip this—it’s the secret weapon.
- Bake for 22-28 minutes. The exact time depends on your pan and oven. Start checking at 22 minutes. The edges should be golden brown and set, while the center should still look slightly soft and puffy. A toothpick inserted into the center should come out with a few moist crumbs, not wet batter. The cookie will continue to set as it cools, so don’t overbake it.
- Cool in the pan for 15 minutes. Place the pan on a cooling rack and let it rest. This is the hardest part, I know. But if you try to slice it too soon, it’ll fall apart. After 15 minutes, run a knife around the edge to loosen it, then carefully transfer it to the cooling rack to cool completely.
- Slice and serve. Use a sharp knife to cut the cookie cake into wedges, like a pizza. Serve warm or at room temperature. If you’re feeling extra, add a scoop of vanilla ice cream on top. The contrast between warm cookie and cold ice cream is pure magic.
Cooking Tips & Techniques
I’ve made this cookie cake more times than I care to admit, and I’ve picked up a few tricks along the way. Here’s what I wish someone had told me before my first attempt:
Room temperature ingredients matter. I know, I know—every recipe says this. But with cookie cakes, it’s especially important. Cold butter won’t cream properly, and cold eggs can cause the butter to seize. Set everything out on the counter at least 30 minutes before you start. Your future self will thank you.
Don’t overmix the dough. Once you add the flour, mix only until it disappears. Overmixing develops gluten, which leads to a tough, bread-like texture. You want a cookie cake, not a bagel. If you see streaks of flour, give it one or two more turns with the spatula and stop.
Watch the baking time like a hawk. Every oven runs differently. My old oven would bake this in exactly 24 minutes. My new one takes 27. Start checking at 22 minutes and go from there. The center should look slightly underdone when you pull it out—it’ll finish setting as it cools. Overbaking is the number one mistake people make with cookie cakes.
Press the candy corn in, don’t mix it. I cannot stress this enough. If you mix the candy corn into the dough, it’ll melt into weird, sticky pockets that harden as they cool. By pressing them into the top, you get beautiful, colorful spots that stay soft and chewy. It also makes the cookie look prettier—perfect for those Instagram shots.
Let it cool completely before slicing. I know the smell is intoxicating. I know you want a warm slice right now. But trust the process. If you cut into it too early, the structure hasn’t set, and you’ll end up with a crumbly mess. Give it the full 15 minutes in the pan, then another 10 on the rack. Patience pays off.
One more thing: if you’re making this ahead of time, underbake it by about 2 minutes. The residual heat will finish the cooking process, and when you reheat it later, it won’t dry out. I do this for parties all the time, and no one ever knows it wasn’t fresh out of the oven.
Variations & Adaptations
One of the best things about this recipe is how flexible it is. Here are a few ways I’ve tweaked it over the years:
Gluten-Free Version: Swap the all-purpose flour for a 1:1 gluten-free baking blend. I’ve used Bob’s Red Mill with great results. The texture will be slightly more crumbly, but the flavor is spot-on. Add an extra tablespoon of butter to compensate for the lack of gluten.
Dairy-Free Adaptation: Use vegan butter sticks (not the spreadable kind) and dairy-free chocolate chips. Miyoko’s or Country Crock plant butter work beautifully. The cookie will spread a bit more, so chill the dough for 15 minutes before baking.
Flavor Twists: Swap the semi-sweet chips for white chocolate or butterscotch chips. I made a version with white chocolate and dried cranberries that was absolutely stunning—it looked like fall in a pan. You can also add 1/2 teaspoon of pumpkin pie spice to the dough for extra seasonal flavor.
Extra Festive Version: Add 1/2 cup of chopped pecans or walnuts along with the chocolate chips. The crunch adds a nice contrast to the soft cookie. I did this for a Thanksgiving potluck, and it was gone before the turkey was carved.
Less Sweet Option: If you find candy corn too sugary, reduce the amount to 1/2 cup and add an extra 1/4 cup of chocolate chips. You can also use dark chocolate chips, which are less sweet and balance the candy corn nicely.
My personal favorite variation? A peanut butter twist. I swap 1/4 cup of the butter for creamy peanut butter and use peanut butter chips instead of chocolate. The salty-sweet combo with the candy corn is ridiculously good. Just be aware that the dough will be a bit stickier, so wet your fingers when pressing it into the pan.
Serving & Storage Suggestions
This cookie cake is best served warm, when the chocolate chips are still melty and the candy corn is soft. But honestly, it’s delicious at any temperature. Here’s how to make the most of it:
Serving Temperature: Room temperature is great, but if you want that fresh-from-the-oven experience, pop individual slices in the microwave for 10-15 seconds. For a crowd, reheat the whole cookie cake in a 300°F oven for 5-7 minutes.
Presentation Ideas: Serve on a wooden board or a festive Halloween plate. Dust with powdered sugar for a “spider web” effect, or drizzle with melted white chocolate and orange sprinkles. I once arranged extra candy corn around the edge of the plate, and it looked like a wreath.
What to Serve With It: Vanilla ice cream is the classic pairing, but don’t stop there. Try it with a dollop of whipped cream, a drizzle of caramel sauce, or a side of fresh apple slices. For a grown-up twist, serve it alongside a cup of hot apple cider or a pumpkin spice latte.
Storage Instructions: Store leftover cookie cake in an airtight container at room temperature for up to 3 days. If you stack slices, place a piece of parchment paper between them to prevent sticking. For longer storage, wrap the entire cookie cake (or individual slices) tightly in plastic wrap, then foil, and freeze for up to 3 months.
Reheating from Frozen: Thaw at room temperature for about 30 minutes, then reheat in a 300°F oven for 5 minutes. Or, if you’re impatient like me, microwave a frozen slice for 20-25 seconds. It won’t be quite as crispy on the edges, but it’ll still hit the spot.
One thing I’ve noticed: the flavors actually get better after a day or two. The candy corn softens even more, and the chocolate chips meld into the cookie. If you can resist eating it all in one sitting, you’re in for a treat on day two.
Nutritional Information & Benefits
Let’s be honest—this is a treat, not a health food. But that doesn’t mean it’s all empty calories. Here’s a rough breakdown per serving (based on 8 slices):
| Nutrient | Amount per Serving |
|---|---|
| Calories | ~420 |
| Total Fat | 22g |
| Saturated Fat | 13g |
| Carbohydrates | 54g |
| Sugar | 38g |
| Protein | 5g |
| Fiber | 2g |
On the plus side, this cookie cake does have some redeeming qualities. The dark chocolate chips are rich in antioxidants, and the eggs provide a small boost of protein. The butter, while high in fat, contains butyrate, which supports gut health in moderate amounts. And hey—there’s a psychological benefit too. Sharing a homemade dessert with loved ones is good for the soul.
If you’re watching your sugar intake, consider using sugar-free chocolate chips and reducing the candy corn to 1/2 cup. The cookie will still be sweet, just not quite as decadent. For a lower-calorie option, cut the slices thinner. I’ve found that 10 slices instead of 8 still feels satisfying without going overboard.
As always, this recipe contains dairy, eggs, and gluten. If you have allergies, check the variations section above for suitable substitutions. And if you’re serving it at a party, consider labeling it so guests with dietary restrictions know what they’re getting into.
Conclusion
Look, I’m not going to tell you this is the healthiest thing you’ll eat this Halloween. It’s not. But it is the most fun, the most festive, and honestly, the most delicious cookie cake I’ve ever made. That woman at the pumpkin patch was right—candy corn is for baking. And this recipe proves it.
What I love most about this Ultimate Halloween Cookie Cake with Easy Candy Corn is how it brings people together. I’ve made it for parties, for family gatherings, and for quiet nights when I just wanted something sweet. Every time, it disappears. Every time, someone asks for the recipe. It’s become my signature fall dessert, and I’m pretty proud of that.
So go ahead—give it a try. Customize it however you like. Add more chocolate, swap in different candies, or go wild with the sprinkles. This recipe is forgiving enough to handle your creativity. And when you pull that golden, candy-studded masterpiece out of the oven, take a moment to enjoy it. You’ve earned it.
I’d love to hear how yours turns out. Drop a comment below and let me know what variations you tried, or share a photo of your cookie cake on social media. Tag me so I can see your spooky creations. Happy Halloween, and happy baking!
Frequently Asked Questions
Can I use a different pan if I don’t have a cast iron skillet?
Absolutely. A 9-inch round cake pan, a springform pan, or even a pie dish will work. Just adjust the baking time slightly—shallower pans may bake faster, while deeper ones may need an extra minute or two. Keep an eye on the edges; they should be golden brown when it’s done.
Why did my candy corn turn hard and chewy?
This usually happens when the candy corn is mixed into the dough rather than pressed into the top. When buried in the dough, the candy corn gets too much direct heat and turns into hard, sticky bits. Pressing it gently into the surface allows it to soften without overcooking. Also, check your brand—softer candy corn works best.
Can I make this cookie cake ahead of time?
Yes! You can prepare the dough, press it into the pan, and refrigerate it for up to 24 hours before baking. Just add 2-3 minutes to the baking time since you’re starting from cold. You can also bake it fully, let it cool, and store it in an airtight container for up to 3 days. Reheat slices in the microwave for 10-15 seconds.
How do I prevent the cookie cake from sticking to the pan?
Grease your pan generously with butter or non-stick spray, and if you’re using a cake pan, line the bottom with a circle of parchment paper. For cast iron skillets, make sure the pan is well-seasoned. Let the cookie cool in the pan for at least 15 minutes before attempting to remove it. Running a thin knife around the edge helps loosen it.
Can I freeze the cookie cake for later?
Definitely. Wrap the cooled cookie cake tightly in plastic wrap, then in a layer of aluminum foil. Freeze for up to 3 months. To serve, thaw at room temperature for about 30 minutes, then reheat in a 300°F oven for 5-7 minutes. You can also freeze individual slices for quick treats—just wrap each slice separately.
Pin This Recipe!
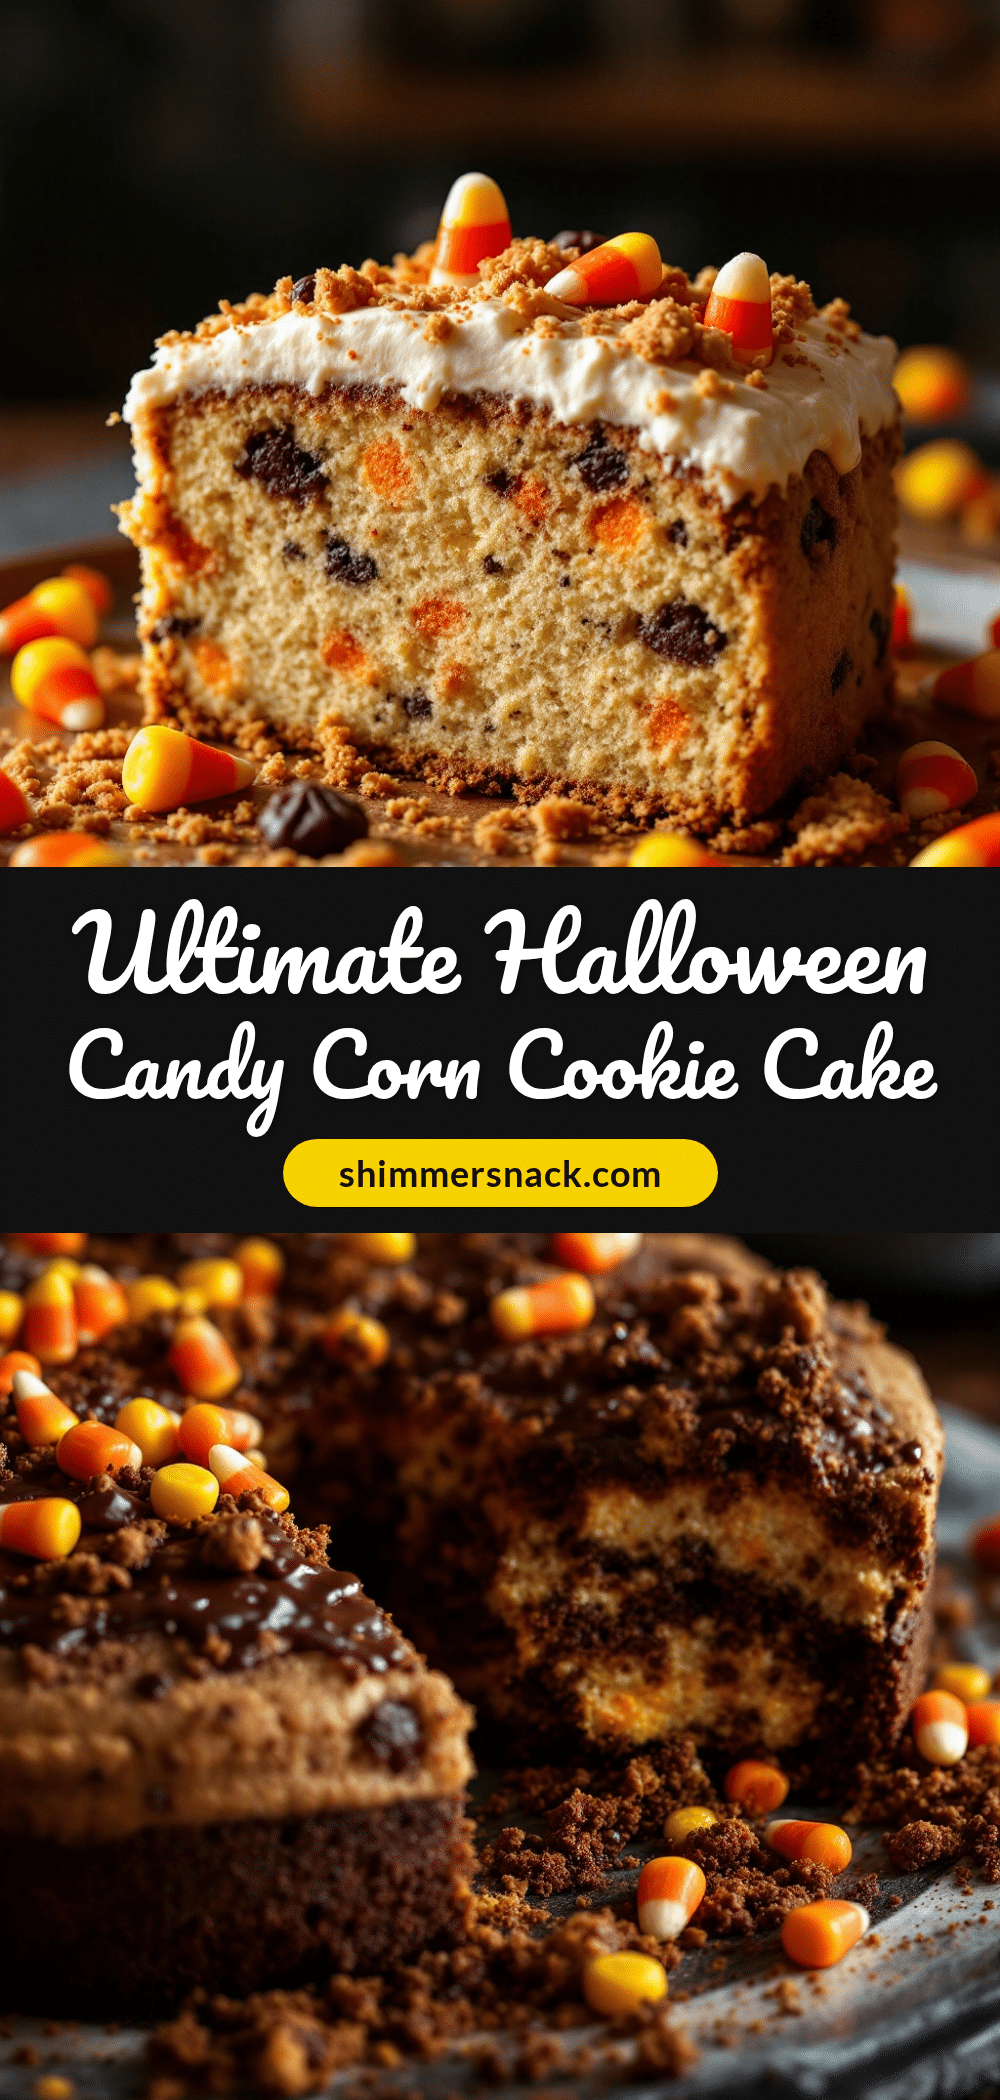
Ultimate Halloween Cookie Cake with Easy Candy Corn

A giant, shareable cookie cake loaded with candy corn and chocolate chips, with crispy edges and a soft, chewy center. Perfect for Halloween parties and guaranteed to disappear in minutes.
- Prep Time: 15 minutes
- Cook Time: 25 minutes
- Total Time: 45 minutes
- Yield: 8 servings 1x
- Category: Dessert
- Cuisine: American
Ingredients
- 1 cup (2 sticks) unsalted butter, softened to room temperature
- 1 cup granulated sugar
- 1/2 cup packed light brown sugar
- 2 large eggs, at room temperature
- 2 teaspoons vanilla extract
- 2 1/2 cups all-purpose flour
- 1 teaspoon baking soda
- 1/2 teaspoon fine sea salt
- 1 cup semi-sweet chocolate chips
- 1 cup candy corn (soft brand preferred, like Brach’s)
- Flaky sea salt for sprinkling (optional)
Instructions
- Preheat your oven to 350°F (175°C). Grease a 9-inch or 10-inch cast iron skillet or springform pan with butter or non-stick spray. If using a cake pan, line the bottom with parchment paper.
- In a large mixing bowl, beat the softened butter, granulated sugar, and brown sugar together until light and fluffy, about 3-4 minutes with an electric mixer on medium speed.
- Add the eggs one at a time, beating well after each addition. Scrape down the sides of the bowl, then add the vanilla extract and beat for another 30 seconds until smooth and glossy.
- In a separate bowl, whisk together the flour, baking soda, and salt.
- Gradually add the flour mixture to the butter mixture, mixing on low speed until just combined. Do not overmix.
- Using a rubber spatula, gently fold in 3/4 cup of the chocolate chips. Reserve the remaining 1/4 cup for topping.
- Transfer the dough to the prepared pan and press it into an even layer, about 1/2 inch thick. Use slightly damp fingers to smooth the top.
- Gently press the candy corn and reserved chocolate chips into the top of the dough, partially embedding them. Do not mix them in.
- Sprinkle flaky sea salt over the top if desired.
- Bake for 22-28 minutes, until the edges are golden brown and set, and the center looks slightly soft and puffy. A toothpick inserted into the center should come out with a few moist crumbs.
- Cool in the pan on a cooling rack for 15 minutes. Run a knife around the edge to loosen, then carefully transfer to the rack to cool completely.
- Slice into wedges and serve warm or at room temperature.
Notes
Press candy corn into the top of the dough, not mixed in, to prevent burning. Use softer candy corn brands like Brach’s for best results. Let the cookie cake cool completely before slicing to avoid crumbling. For make-ahead, underbake by 2 minutes and reheat later.
Nutrition
- Serving Size: 1 slice (1/8 of cake
- Calories: 420
- Sugar: 38
- Sodium: 220
- Fat: 22
- Saturated Fat: 13
- Carbohydrates: 54
- Fiber: 2
- Protein: 5
Keywords: Halloween cookie cake, candy corn cookie cake, easy Halloween dessert, cookie cake recipe, fall dessert, candy corn recipe


