Love this? Save it for later!
Share the inspiration with your friends
It was November, and the wind was howling outside, trying to get in. I was twenty-four, broke, and convinced that dinner had to be complicated to be impressive. My partner had just come home from a long shift, looking like they needed something soft and sweet to forget the day. I didn’t have a chef’s knife or a marble countertop. I had a chipped cutting board and a bag of apples that were starting to get mealy.
I remember standing there, watching the butter bubble in a small saucepan. It was messy. It was loud. But when we finally sat down on that second-hand couch, sharing a plate of fresh fruit dipped in warm, gooey caramel, the world stopped spinning for a minute. It wasn’t fancy. It was just us, sharing something simple and delicious.
That moment stuck with me. You know how some recipes feel like chores? This one feels like a pause button. It’s not about perfection. It’s about the crunch of a crisp apple against the softness of the caramel. It’s about picking out the perfect cheese to balance the sweetness. Honestly, it’s just a quiet way to connect with someone you love, without any distractions.
If you’re looking for a Perfect Caramel Apple Charcuterie Board for Two, you’re in the right place. This isn’t about hosting a party for thirty people. It’s about creating a moment that feels special, even if it’s just a Tuesday night. Let’s make something that tastes like comfort.
Why You’ll Love This Recipe
Let’s be real for a second. Sometimes, the best desserts are the ones that don’t require an oven. There is something deeply satisfying about assembling a board instead of baking a cake. It feels creative, but it’s actually quite lazy in the best way possible. I’ve tested this setup over a dozen times, trying different apples and cheeses, and I can tell you that this combination is the winner. It’s the kind of plate that makes you close your eyes after the first bite and just smile.
Here is why this board is going to become your new favorite routine:
- Quick & Easy: You can have this ready in under fifteen minutes. No baking, no waiting for cooling racks. Just wash, slice, and arrange. It’s perfect for those busy weeknights when you want a treat but don’t want to spend hours in the kitchen.
- Simple Ingredients: You likely already have most of this in your kitchen. Apples, butter, sugar, cheese, nuts. No fancy grocery trips needed. It’s pantry-friendly and seasonal.
- Perfect for Date Night: This is intimate without being try-hard. It’s great for cozy dinners, movie nights, or just unwinding after work. It turns a simple snack into a memorable experience.
- Crowd-Pleaser: Even if you’re just feeding yourself, you’ll feel like you’re treating a guest. The mix of sweet, salty, and crunchy keeps every bite interesting.
- Unbelievably Delicious: The texture contrast is next-level comfort food. The crisp apple, the gooey caramel, the sharp cheese. It’s not just good—it’s the kind of flavor combo that sticks with you.
What makes this different from other caramel apple recipes? It’s the charcuterie aspect. Most people just dip apples and call it a day. By adding cheeses, nuts, and maybe a side of homemade salted caramel apple crisp flavors in sauce form, you create a complex flavor profile. It’s not just sugar; it’s savory and sweet working together. This recipe isn’t just another version—it’s your best version for a lazy evening. It’s comfort food reimagined for two, with the same soul-soothing satisfaction but without the hassle of a full dessert spread.
What Ingredients You Will Need
This recipe uses simple, wholesome ingredients to deliver bold flavor and satisfying texture without the fuss. The beauty of a charcuterie board is that you can swap things out based on what you have, but for the Perfect Caramel Apple Charcuterie Board for Two, there are a few key players that make the magic happen. I recommend using fresh, firm apples because they hold up best to the warm caramel without turning into mush.
Here is what you need to gather:
- Firm Apples (2-3 medium): Look for varieties like Honeycrisp, Fuji, or Gala. These have the right balance of sweetness and crunch. Avoid Red Delicious; they’re too mealy for this. (Slight green tint is okay for tartness).
- Unsalted Butter (1/4 cup): I prefer high-quality European butter for a richer flavor. Room temperature works best for melting.
- Granulated Sugar (1/2 cup): White sugar gives that classic clear caramel look. Brown sugar adds a deeper molasses note if you prefer that.
- Heavy Cream (2 tablespoons): This stops the caramel from getting too hard. Don’t skip it, or you’ll have candy apples instead of soft caramel.
- Sea Salt (1/2 teaspoon): Flaky sea salt on top is non-negotiable. It cuts through the sweetness.
- Sharp Cheddar Cheese (4 oz): A sharp cheddar provides a nice tangy contrast. (Aged cheddar is best).
- Brie or Camembert (4 oz): Soft, creamy cheese balances the crisp apples. (Keep it chilled until serving).
- Walnuts or Pecans (1/4 cup): Toasted nuts add crunch and earthiness. (Chopped roughly).
- Dark Chocolate Chips (2 tablespoons): Optional, but adds a nice bitter note.
- Mini Pretzels (1/4 cup): For that salty crunch element.
I recommend using a good quality cheddar, like Tillamook or Cabot, for the best texture. For the nuts, I usually toast them in a dry pan for three minutes to bring out their oils. It’s a small step that makes a huge difference. If you’re dairy-free, you can swap the cream for coconut cream and use a vegan cheese alternative, though the texture will be slightly different. In summer, you might swap the apples for pears, but fall is definitely the best season for this.
Equipment Needed
You don’t need a lot of fancy gear for this. A small saucepan is the star of the show here. I use a 1-quart saucepan with a thick bottom. Thin pans can cause the sugar to burn quickly, so a heavy-bottomed one is worth the investment if you don’t have one. A wooden spoon or silicone spatula is essential for stirring the caramel without scratching the pan.
You’ll also need a cutting board and a sharp knife. I prefer a serrated knife for apples because it cuts through the skin cleanly without crushing the flesh. For serving, a large wooden board or even a nice ceramic platter works well. If you don’t have a board, a large plate is fine, but presentation matters a bit for the vibe.
I’ve tried using non-stick pans, but they can sometimes make the caramel stick in weird ways. Stainless steel or cast iron is best for caramel. If you’re on a budget, a simple stainless steel pot from a thrift store works perfectly. Just make sure it’s clean and dry before you start, because water is the enemy of caramel.
Preparation Method
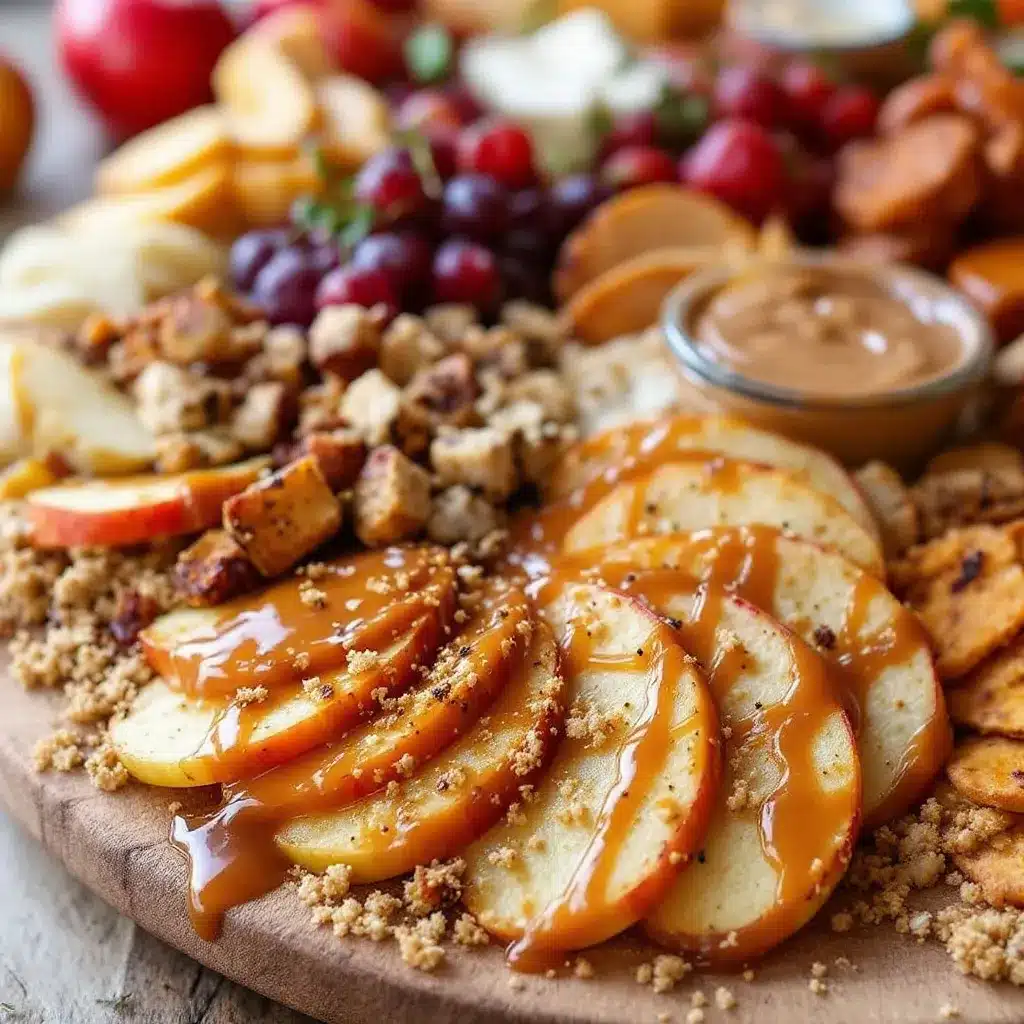
Let’s get into the nitty-gritty. Making the caramel is the only real “cooking” step, and it’s easier than it looks. Here is how to do it without stress.
- Prep the Apples (5 minutes): Wash your apples thoroughly. Remove the stems and cores. Cut them into wedges or thick slices. Keep them in a bowl of water with a splash of lemon juice if you aren’t using them immediately to prevent browning. (This step takes about 5 minutes).
- Melt the Butter (2 minutes): Place your saucepan over medium heat. Add the butter and let it melt. Swirl the pan occasionally. Do not let it brown. (Watch closely here).
- Add the Sugar (3-5 minutes): Pour in the granulated sugar. It will clump up at first. Keep stirring with your wooden spoon. The sugar will melt and turn into a golden liquid. This is the critical moment. Don’t walk away. (The mixture will bubble vigorously).
- Watch the Color (1-2 minutes): Continue stirring. The caramel will turn from clear to light amber, then to a deeper amber color. You want it to smell nutty and sweet. If it gets too dark, it will taste bitter. (This happens fast, so stay focused).
- Add the Cream (1 minute): Carefully pour in the heavy cream. The mixture will bubble up violently. Stir constantly to incorporate it. (Be careful of splashes).
- Simmer (2 minutes): Let the caramel simmer for another minute or two until it thickens slightly. Remove from heat. Stir in the sea salt. (The sauce will thicken as it cools).
- Assemble the Board (5 minutes): Arrange the apple slices, cheeses, nuts, and pretzels on your board. Drizzle the warm caramel over the apples just before serving. (Do this right at the table if possible).
If the caramel gets too thick, you can add a teaspoon of warm water to thin it out. If it seizes up, don’t panic; just keep stirring over low heat until it smooths out. The key is patience. If you rush the sugar melting, you’ll end up with burnt bits. Take your time and enjoy the smell.
Cooking Tips & Techniques
I learned this the hard way after burning my first batch of caramel. The biggest mistake people make is walking away. Caramel goes from perfect to burnt in about thirty seconds. Keep your heat at medium, not high. High heat creates hot spots that burn the sugar unevenly.
Another tip: use a light-colored pan. It’s much easier to see the color change in a stainless steel or white ceramic pan than in a dark non-stick one. You want to look for that deep amber color, like the color of an old penny.
If you’re making this for a date night, have everything prepped before you start the caramel. You don’t want to be slicing apples while the sugar is bubbling. Multitasking here is stressful. Set the board out, put the cheeses on, and then start the sauce.
I also recommend toasting your nuts beforehand. It adds a layer of flavor that raw nuts just don’t have. Just throw them in a dry pan for 2-3 minutes until they smell fragrant. It’s a small detail that makes the board feel more professional.
Variations & Adaptations
This recipe is very flexible. Here are a few ways to change it up:
- Dairy-Free Option: Use coconut cream instead of heavy cream and vegan butter. For the cheese, try a cashew-based brie or just skip the cheese and add more nuts and chocolate.
- Gluten-Free: Use gluten-free pretzels or skip them entirely. Check your chocolate chips to ensure they are GF.
- Flavor Twist: Add a pinch of cinnamon or cardamom to the caramel for a spiced fall flavor. Or, stir in a tablespoon of bourbon for an adult twist.
- Seasonal Swap: In the spring, use pears or strawberries. In the winter, try persimmons or figs.
I once tried using maple syrup instead of sugar, but it didn’t caramelize the same way. It stayed more liquid. Stick to granulated sugar for that classic texture. You can also add a drizzle of honey on top for extra sweetness.
Serving & Storage Suggestions
Serve this immediately while the caramel is warm. It’s best enjoyed fresh. If you have leftovers, store the apple slices in an airtight container with a paper towel to absorb moisture. They will last for 2 days in the fridge. The caramel can be stored in a jar in the fridge for up to 2 weeks. Reheat it gently in the microwave for 10-15 seconds to soften it.
I like to serve this with a glass of cozy apple cider margarita or a hot tea. It pairs beautifully with the sweetness. Don’t store the caramel with the apples, or they will get soggy. Keep them separate until the last minute.
Nutritional Information & Benefits
This treat is indulgent, but apples provide fiber and vitamins. Cheese offers protein and calcium. Walnuts are rich in omega-3 fatty acids. While it’s not a health food, it’s a balanced treat when enjoyed in moderation. It’s gluten-free if you skip the pretzels. It’s a great way to satisfy a sweet tooth with real food ingredients.
Conclusion
This Perfect Caramel Apple Charcuterie Board for Two is more than just a snack. It’s a way to slow down and enjoy the simple things. I hope you try it and make it your own. Add your favorite nuts, swap the cheese, or just enjoy the quiet moment.
Let me know in the comments if you tried it! Did you use Honeycrisp or Fuji? What cheese did you pair with it? I love hearing your variations. Share this with someone you love, and enjoy every bite.
Frequently Asked Questions
Can I make the caramel ahead of time?
Yes, you can make the caramel up to a week in advance. Store it in an airtight jar in the fridge. Reheat it gently before serving.
What is the best apple for caramel dipping?
Honeycrisp, Fuji, and Gala are the best choices. They are crisp and sweet, holding up well to the warm caramel.
Can I use brown sugar instead of white sugar?
Yes, but it will make the caramel darker and chewier. It also has a molasses flavor, which is delicious but different.
How do I prevent the caramel from hardening?
Adding the cream and butter helps keep it soft. If it hardens, reheat it with a little extra cream or water.
Is this recipe suitable for kids?
Yes, kids love this! Just be careful with the hot caramel. You can let them dip the apples at the table.
Pin This Recipe!
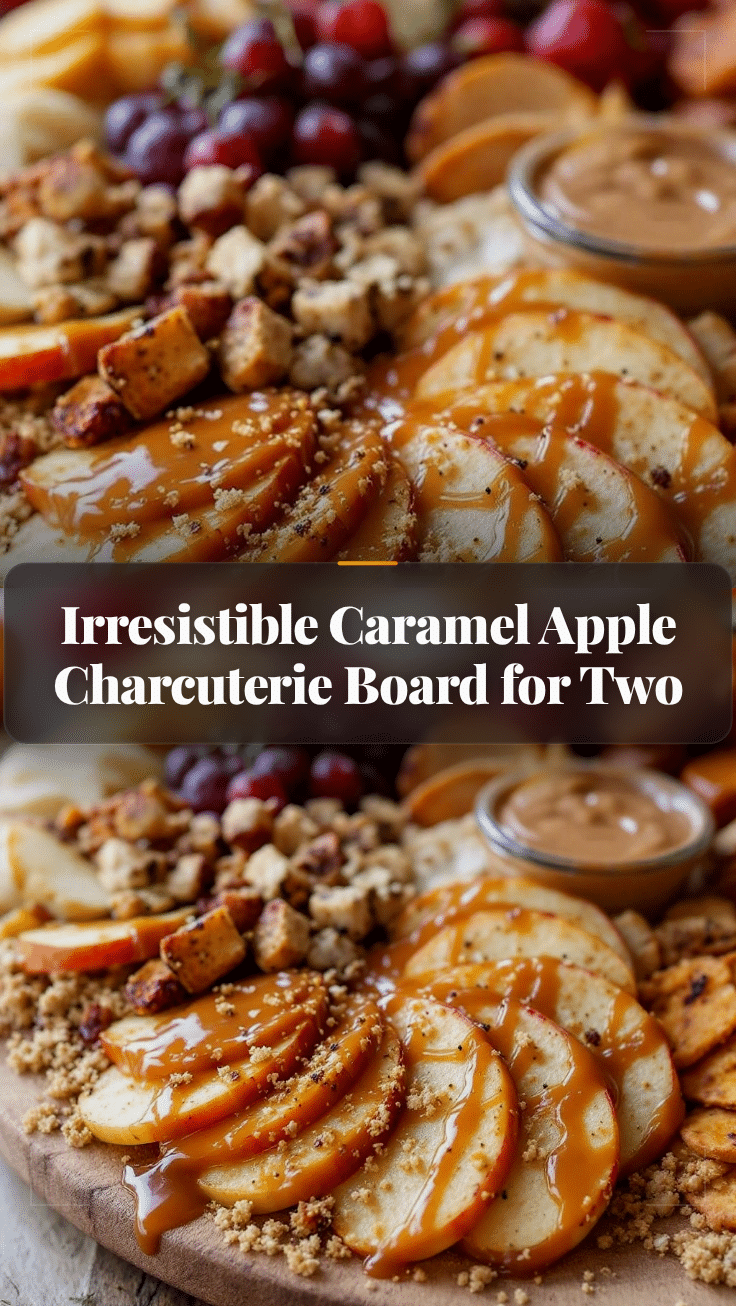
Perfect Caramel Apple Charcuterie Board for Two

A cozy, no-bake dessert board featuring crisp apples dipped in warm, homemade caramel, paired with sharp cheddar, creamy brie, toasted nuts, and salty pretzels. Perfect for date night or a quiet evening treat.
- Prep Time: 10 minutes
- Cook Time: 10 minutes
- Total Time: 20 minutes
- Yield: 2 servings 1x
- Category: Dessert
- Cuisine: American
Ingredients
- 2–3 medium firm apples (Honeycrisp, Fuji, or Gala), cored and sliced
- 1/4 cup unsalted butter
- 1/2 cup granulated sugar
- 2 tablespoons heavy cream
- 1/2 teaspoon sea salt (plus flaky sea salt for garnish)
- 4 oz sharp cheddar cheese, sliced or cubed
- 4 oz Brie or Camembert cheese
- 1/4 cup walnuts or pecans, toasted and chopped
- 2 tablespoons dark chocolate chips (optional)
- 1/4 cup mini pretzels
Instructions
- Wash apples, remove stems and cores, and cut into wedges or thick slices. Place in a bowl of water with lemon juice if not using immediately to prevent browning.
- Place a heavy-bottomed saucepan over medium heat and melt the butter, swirling occasionally without letting it brown.
- Add the granulated sugar to the melted butter. Stir constantly as the sugar melts and turns into a golden liquid.
- Continue stirring until the caramel reaches a deep amber color and smells nutty. Do not walk away, as it burns quickly.
- Carefully pour in the heavy cream. The mixture will bubble violently; stir constantly to incorporate.
- Simmer for 1-2 minutes until the caramel thickens slightly. Remove from heat and stir in the sea salt.
- Arrange apple slices, cheeses, nuts, chocolate chips, and pretzels on a serving board.
- Drizzle the warm caramel over the apples just before serving.
Notes
Use a light-colored pan to easily monitor the caramel color. Toast nuts in a dry pan for 2-3 minutes before assembling for better flavor. If caramel gets too thick, add a teaspoon of warm water. Store caramel separately from apples to prevent sogginess. Caramel can be stored in the fridge for up to 2 weeks and reheated gently.
Nutrition
- Serving Size: 1/2 of the board per
- Calories: 450
- Sugar: 48
- Sodium: 350
- Fat: 22
- Saturated Fat: 12
- Carbohydrates: 55
- Fiber: 4
- Protein: 8
Keywords: caramel apple, charcuterie board, date night dessert, no bake dessert, fall treats, apple and cheese board, homemade caramel


