Love this? Save it for later!
Share the inspiration with your friends
It’s that specific Tuesday afternoon slump where the afternoon light is hitting the kitchen counter just right, and you’re staring at a leftover pumpkin from a carving session or a soup you made last night. You know you should compost the seeds. They’re slimy, they’re wet, and they smell vaguely of earth and regret. But then, the thought hits you. What if they didn’t have to be waste? What if they could be the best thing in the house?
Honestly, I used to toss them. For years. I’d scrape them out, rinse them off in a panic, and throw them in the trash while making a pumpkin pie that took three hours to cool. It was a tragedy of wasted potential. Then, one random October evening, I decided to roast them with just salt. They were good. But they weren’t great. They were just… salty seeds.
That changed when I realized that pumpkin seeds are basically edible sponges. They absorb flavor like a sponge absorbs water, especially when you get that coating right. I tried honey. I tried maple syrup. I tried just oil and garlic. But nothing stuck like cinnamon sugar. It’s the classic fall combo, sure, but applied to seeds? It’s a game-changer. Suddenly, I wasn’t eating a vegetable byproduct. I was eating a treat. A crunchy, golden, fragrant treat that made the whole kitchen smell like a bakery.
Now, whenever I see those seeds, I don’t see trash. I see potential. I see a five-minute prep that turns into twenty minutes of watching the oven, waiting for that perfect golden brown. It’s a small ritual. A tiny moment of joy in a busy week. And you know what? It’s the kind of snack that disappears before you even realize you started eating it. That’s the power of a good roasted seed.
Why You’ll Love This Recipe
Let’s be real for a second. Most people think pumpkin seeds are either a garnish for salads or a sad, chewy snack from a trail mix bag. They’re wrong. When you roast them properly, they become something entirely different. I’ve tested this method dozens of times—sometimes failing, sometimes succeeding—so you don’t have to. Here is why this specific approach to crispy cinnamon sugar roasted pumpkin seeds is the one you’ll keep coming back to.
- Quick & Easy: This comes together in under 10 minutes of active prep time. The rest is just waiting for the oven. It’s perfect for busy weeknights when you want a snack that feels indulgent but doesn’t require a full dessert menu.
- Simple Ingredients: No fancy grocery trips needed. You likely already have pumpkin seeds, butter, sugar, and cinnamon in your kitchen. It’s pantry-friendly cooking at its best.
- Perfect for Fall Entertaining: Great for potlucks, game day, or just a cozy night in. They’re bite-sized, easy to eat while watching a movie, and they smell amazing.
- Crowd-Pleaser: Always gets rave reviews from kids and adults alike. Kids love the sweetness, and adults appreciate the crunch. It’s a win-win.
- Unbelievably Delicious: The texture and flavor combo is next-level comfort food. The sugar caramelizes slightly, creating a glass-like shell that shatters when you bite into it.
What makes this recipe different from the rest is the technique. Most recipes tell you to boil the seeds first. I don’t. Boiling them often leads to a chewy center that never truly crisps up, no matter how long you roast them. Instead, I start with raw, dried seeds (or seeds you’ve just rinsed and patted dry) and toss them in a mixture of melted butter and oil. The oil helps the sugar adhere without burning as quickly as pure butter would, while the butter provides that rich, savory depth. Then, the cinnamon sugar coating is added in stages. This ensures every nook and cranny is coated, creating that uniform crunch we all crave. It’s not just another version—it’s my tested, best version.
This recipe isn’t just good—it’s the kind that makes you close your eyes after the first bite. It’s comfort food reimagined—healthier than a bag of chips, faster than a baked good, but with the same soul-soothing satisfaction. It’s perfect for impressing guests without stress, or turning a simple meal into something memorable. Plus, it’s a great way to use up those seeds from your favorite roasted delicata squash or even the savory stuffed acorn squash you made last week.
What Ingredients You Will Need
This recipe uses simple, wholesome ingredients to deliver bold flavor and satisfying texture without the fuss. The magic here is in the balance: you need enough fat to carry the flavor and create crunch, and just enough sugar to caramelize without burning. Most of these items are staples, but a few specific choices make a huge difference in the final result.
- Raw Pumpkin Seeds (Pepitas): About 1 cup of shelled seeds. You can buy these pre-shelled, or extract them from a fresh pumpkin. If using fresh, make sure they are thoroughly dried. (I recommend buying high-quality raw pepitas from a bulk bin for consistency, as fresh seeds can vary wildly in size and moisture content.)
- Unsalted Butter: 2 tablespoons, melted. Butter adds that rich, nutty flavor that oil alone can’t achieve. (For a dairy-free option, use high-quality coconut oil or olive oil, though the flavor profile will change slightly.)
- Neutral Oil: 1 tablespoon, such as avocado oil or light olive oil. This helps prevent the butter from burning at high temperatures and ensures an even coat.
- Granulated White Sugar: 2 tablespoons. This provides the initial crunch and sweetness. (Brown sugar can be used, but it contains molasses which burns faster. If you use brown sugar, lower your oven temperature to 300°F.)
- Ground Cinnamon: 1 to 1.5 teaspoons. Use a good quality cinnamon like Ceylon or a strong Cassia for that warm, spicy kick. (Don’t skimp on this; the cinnamon is half the flavor.)
- Salt: 1/2 teaspoon of fine sea salt. This is crucial to balance the sweetness. (If your seeds were already salted during prep, reduce this amount.)
- Vanilla Extract: 1/2 teaspoon. This is my secret weapon. It adds a subtle depth that makes the cinnamon sugar taste more like a donut hole than just plain seeds.
If you’re looking to mix it up, you can swap the white sugar for coconut sugar for a lower glycemic index, though the texture will be slightly less crisp. For a spicy twist, add a pinch of cayenne pepper or chili powder to the cinnamon mix. This creates a sweet-heat profile that pairs wonderfully with apple cider margaritas on a chilly evening.
Equipment Needed
You don’t need much for this recipe, which is part of its charm. However, having the right tools makes the difference between a messy kitchen and a clean, crispy batch of seeds.
- Baking Sheet: A standard half-sheet pan is ideal. Make sure it’s heavy-gauge aluminum if possible, as it distributes heat evenly. Avoid dark non-stick pans unless you lower the oven temperature by 25°F, as they can cause the sugar to burn quickly.
- Parchment Paper: Line your baking sheet with parchment paper. This is non-negotiable for easy cleanup. The sugar will caramelize and stick to anything else, and you don’t want to be scrubbing your pan later.
- Large Mixing Bowl: You need a bowl large enough to toss the seeds in the butter and oil mixture without spilling. A wide bowl works best for tossing.
- Small Mixing Bowl: For combining the dry ingredients (sugar, cinnamon, salt).
- Spatula: A silicone spatula is great for scraping the melted butter out of the measuring cup and for stirring the seeds in the oven.
- Colander: If you are cleaning seeds from a fresh pumpkin, a fine-mesh colander is essential for rinsing off the pulp.
If you don’t have a baking sheet, you can use a cast-iron skillet, but you’ll need to stir them more frequently to prevent burning. I once tried using a glass dish, and the results were uneven; the edges burned while the center stayed soft. Stick to metal for the best crunch. Also, keep your spatula handy. Stirring every 5-7 minutes is key to even browning.
Preparation Method
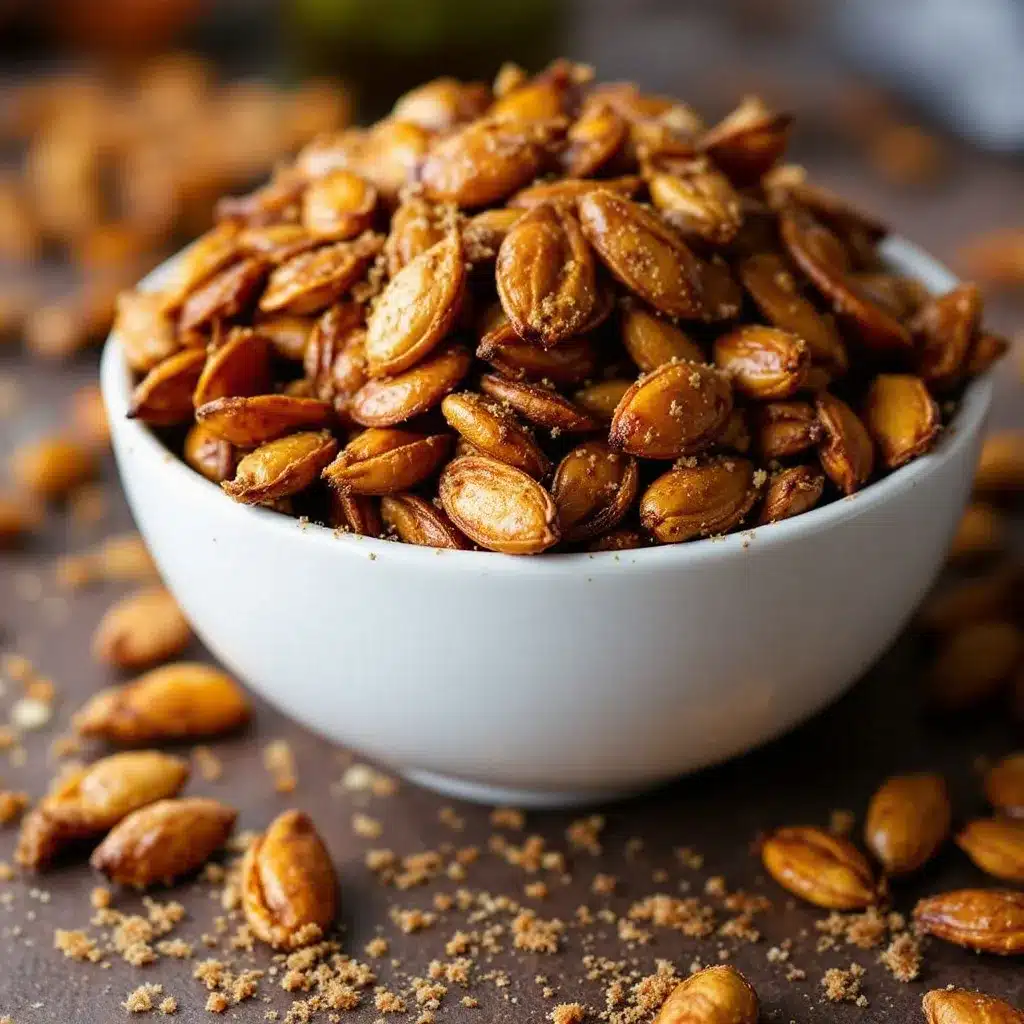
Getting the seeds ready is the most important part. If they are wet, they will steam instead of roast, and you’ll end up with chewy seeds. That’s the enemy of crunch. Here is exactly how to do it right.
- Preheat the Oven: Set your oven to 325°F (165°C). We’re using a moderate temperature to allow the seeds to dry out and crisp up without burning the sugar on the outside before the inside is cooked. (Time: 5 minutes)
- Prepare the Seeds: If using raw, store-bought pepitas, you can skip to the next step. If you have seeds from a fresh pumpkin, scoop them out into a large colander. Rinse them thoroughly under cold water, using your fingers to separate the seeds from the stringy pulp. It takes patience, but it’s worth it. (Time: 10 minutes)
- Dry the Seeds: This step is critical. Spread the rinsed seeds on a clean kitchen towel or paper towels. Pat them dry gently but firmly. You want them as dry as possible. If you have time, let them air dry on the counter for an hour or two. If you’re in a hurry, you can toast them in a dry pan on low heat for 5 minutes to remove excess moisture, but be careful not to cook them yet. (Time: 10-60 minutes)
- Melt the Fats: In your large mixing bowl, combine the melted butter and neutral oil. Whisk them together until smooth. If the butter has solidified slightly, just microwave it for 10 seconds to melt it again. (Time: 2 minutes)
- Coat the Seeds: Add the dry seeds to the bowl with the butter mixture. Toss them thoroughly. You want every single seed coated in a thin layer of fat. This might take a minute of vigorous tossing. If some seeds are sticking together, break them apart with your fingers. (Time: 3 minutes)
- Add the Seasoning: In the small bowl, mix the sugar, cinnamon, salt, and vanilla extract. Sprinkle this mixture over the coated seeds. Toss again until the seeds are evenly dusted. You want a uniform coating. If you see clumps of sugar, break them up. (Time: 2 minutes)
- Spread on Baking Sheet: Line your baking sheet with parchment paper. Spread the seeds in a single layer. Do not overcrowd the pan. If the seeds are piled on top of each other, they will steam. Use two pans if necessary. (Time: 2 minutes)
- Roast: Place the pan in the preheated oven. Roast for 15-20 minutes. Stir the seeds every 5 minutes. This is important! You need to move them around so the ones on the edges don’t burn while the ones in the center stay soft. (Time: 20 minutes)
- Check for Doneness: The seeds are done when they are golden brown and smell fragrant. They will continue to crisp up as they cool, so don’t wait for them to be hard in the oven. They should look slightly glossy from the caramelizing sugar. (Time: 2 minutes)
- Cool: Remove the pan from the oven. Let the seeds cool completely on the pan. They will become crunchy as they cool. Once cool, store in an airtight container. (Time: 15 minutes)
Cooking Tips & Techniques
Roasting seeds seems simple, but there are a few pitfalls that can ruin the batch. I’ve made them all, so you don’t have to.
- Don’t Skip the Stir: Sugar burns faster than you think. If you walk away from the oven, you’ll come back to black, bitter seeds. Set a timer for every 5 minutes. Stirring also helps distribute the heat evenly.
- Temperature Control: 325°F is the sweet spot. Higher temperatures will burn the sugar before the seeds are crispy. Lower temperatures will take too long and might result in a chewy texture. Use an oven thermometer to check your oven’s accuracy if you suspect it’s running hot.
- The Cool Down: This is the hardest part. The seeds will feel soft when they come out of the oven. Resist the urge to eat them immediately. They need to cool to room temperature to fully crisp up. If you eat them hot, they might feel chewy, and you’ll think you failed. You haven’t. Just wait.
- Moisture is the Enemy: If your seeds are wet, they won’t crisp. Make sure you dry them thoroughly after rinsing. If you’re using store-bought seeds, check the expiration date and make sure they haven’t gone rancid or absorbed moisture from the air.
- Batch Cooking: If you’re making a large batch, don’t cook it all in one pan. Overcrowding leads to steaming. Cook in batches if necessary. It’s better to have two perfectly roasted batches than one soggy mess.
I once tried to roast a huge batch in one go, and the bottom layer burned while the top layer was still raw. I had to throw it all out. It was a expensive lesson. Now, I always use two pans or cook in smaller batches. It’s worth the extra effort for the perfect crunch.
Variations & Adaptations
While the classic cinnamon sugar is my favorite, these seeds are a blank canvas. Here are a few ways to mix it up.
- Spicy Kick: Add 1/4 teaspoon of cayenne pepper and 1/2 teaspoon of chili powder to the sugar mixture. This creates a sweet-heat snack that pairs perfectly with caramel apple sangria or a cold beer.
- Maple Glaze: Substitute the white sugar with pure maple sugar or reduce the granulated sugar to 1 tablespoon and add 1 tablespoon of real maple syrup to the butter mixture. This gives a deeper, more complex flavor.
- Garlic Parmesan: Skip the sugar and cinnamon. Instead, mix the melted butter with minced garlic, dried parsley, and 1/4 cup of grated Parmesan cheese. Roast as directed. This is a savory option that’s great for salads or soups.
- Chai Spice: Replace the cinnamon with a chai spice blend (cinnamon, cardamom, ginger, cloves, and black pepper). This adds a warming, aromatic complexity that’s perfect for autumn.
- Low-Sugar Option: Use a granulated sugar substitute like erythritol or monk fruit sweetener. Note that these don’t caramelize the same way, so the texture might be slightly different, but the flavor will still be great.
I’ve tried the maple version, and it’s delicious, but it burns faster. Keep a close eye on it. The spicy kick is also a hit at game day parties, especially when served with football charcuterie boards. It adds a nice contrast to the salty meats and cheeses.
Serving & Storage Suggestions
These seeds are best served at room temperature. They lose their crunch if they get too cold or too warm, so keep them out on the counter for parties.
- Serving Ideas: They make a great standalone snack, but they also work well as a topping for pumpkin black bean chili or sausage and white bean soup. The sweetness cuts through the savory broth nicely.
- Storage: Store in an airtight container at room temperature for up to 1 week. If your kitchen is humid, they might lose their crunch after a few days. In that case, you can re-crisp them in a 300°F oven for 5 minutes.
- Freezing: You can freeze these seeds for up to 3 months. Thaw them at room temperature before eating. They might lose a little crunch, but the flavor remains intact.
- Reheating: If they go soft, spread them on a baking sheet and toast at 300°F for 5-10 minutes. Let them cool completely before eating.
The flavors develop over time, so they often taste better on day two as the spices have more time to meld with the sugar. I usually make a batch on Sunday and it lasts through the week. They’re a great way to start the day with a little sweetness, or to have on hand for afternoon cravings.
Nutritional Information & Benefits
Pumpkin seeds are a nutritional powerhouse. They are rich in magnesium, zinc, and healthy fats. A one-ounce serving (about 1/4 cup) contains around 150 calories, 5 grams of protein, and 5 grams of fiber. They are also a good source of iron and manganese.
While this recipe adds sugar, the portion size is naturally small, making it a relatively healthy snack option compared to chips or candy. The fiber and protein help keep you full, preventing overeating. For those watching their sugar intake, the low-sugar variation is a great alternative.
Personally, I love that these seeds offer a satisfying crunch without the guilt of a heavy dessert. They’re a great way to incorporate more plant-based nutrients into your diet, especially during the fall season when fresh produce might be limited. Plus, they’re a great source of tryptophan, which can help improve sleep if eaten in the evening.
Conclusion
Crispy cinnamon sugar roasted pumpkin seeds are a simple, delicious, and satisfying snack that transforms a potential waste product into a crave-worthy treat. They’re easy to make, customizable to your taste, and perfect for any fall occasion. I hope you give this recipe a try and enjoy the crunch and flavor as much as I do.
Feel free to experiment with different spices and sweeteners to find your perfect combination. And if you make this recipe, I’d love to hear how it turned out! Leave a comment below with your thoughts or tag me on social media. Happy snacking!
Frequently Asked Questions
Can I use fresh pumpkin seeds from a Jack-o’-lantern?
Yes, but you must rinse them thoroughly to remove all the pulp and then dry them completely. Wet seeds will steam instead of roast, resulting in a chewy texture. Pat them dry with towels and let them air dry for a few hours if possible.
Why are my seeds still chewy after cooling?
This usually happens if the seeds were too wet when they went into the oven, or if they were overcrowded on the pan. Make sure you dry them well and spread them in a single layer. Also, remember that they crisp up as they cool, so give them at least 15 minutes to cool completely.
Can I make these ahead of time?
Absolutely. These seeds keep well in an airtight container at room temperature for up to a week. They actually taste better on day two as the flavors meld together. You can also freeze them for up to three months.
What is the best way to store these seeds?
Store them in an airtight container at room temperature. Avoid storing them in the refrigerator, as the humidity can make them soft. If they do get soft, you can re-crisp them in a 300°F oven for 5-10 minutes.
Can I use brown sugar instead of white sugar?
You can, but brown sugar contains molasses which burns faster. If you use brown sugar, lower the oven temperature to 300°F and keep a close eye on them to prevent burning. The flavor will be deeper and more complex, but the crunch might be slightly less pronounced.
Pin This Recipe!
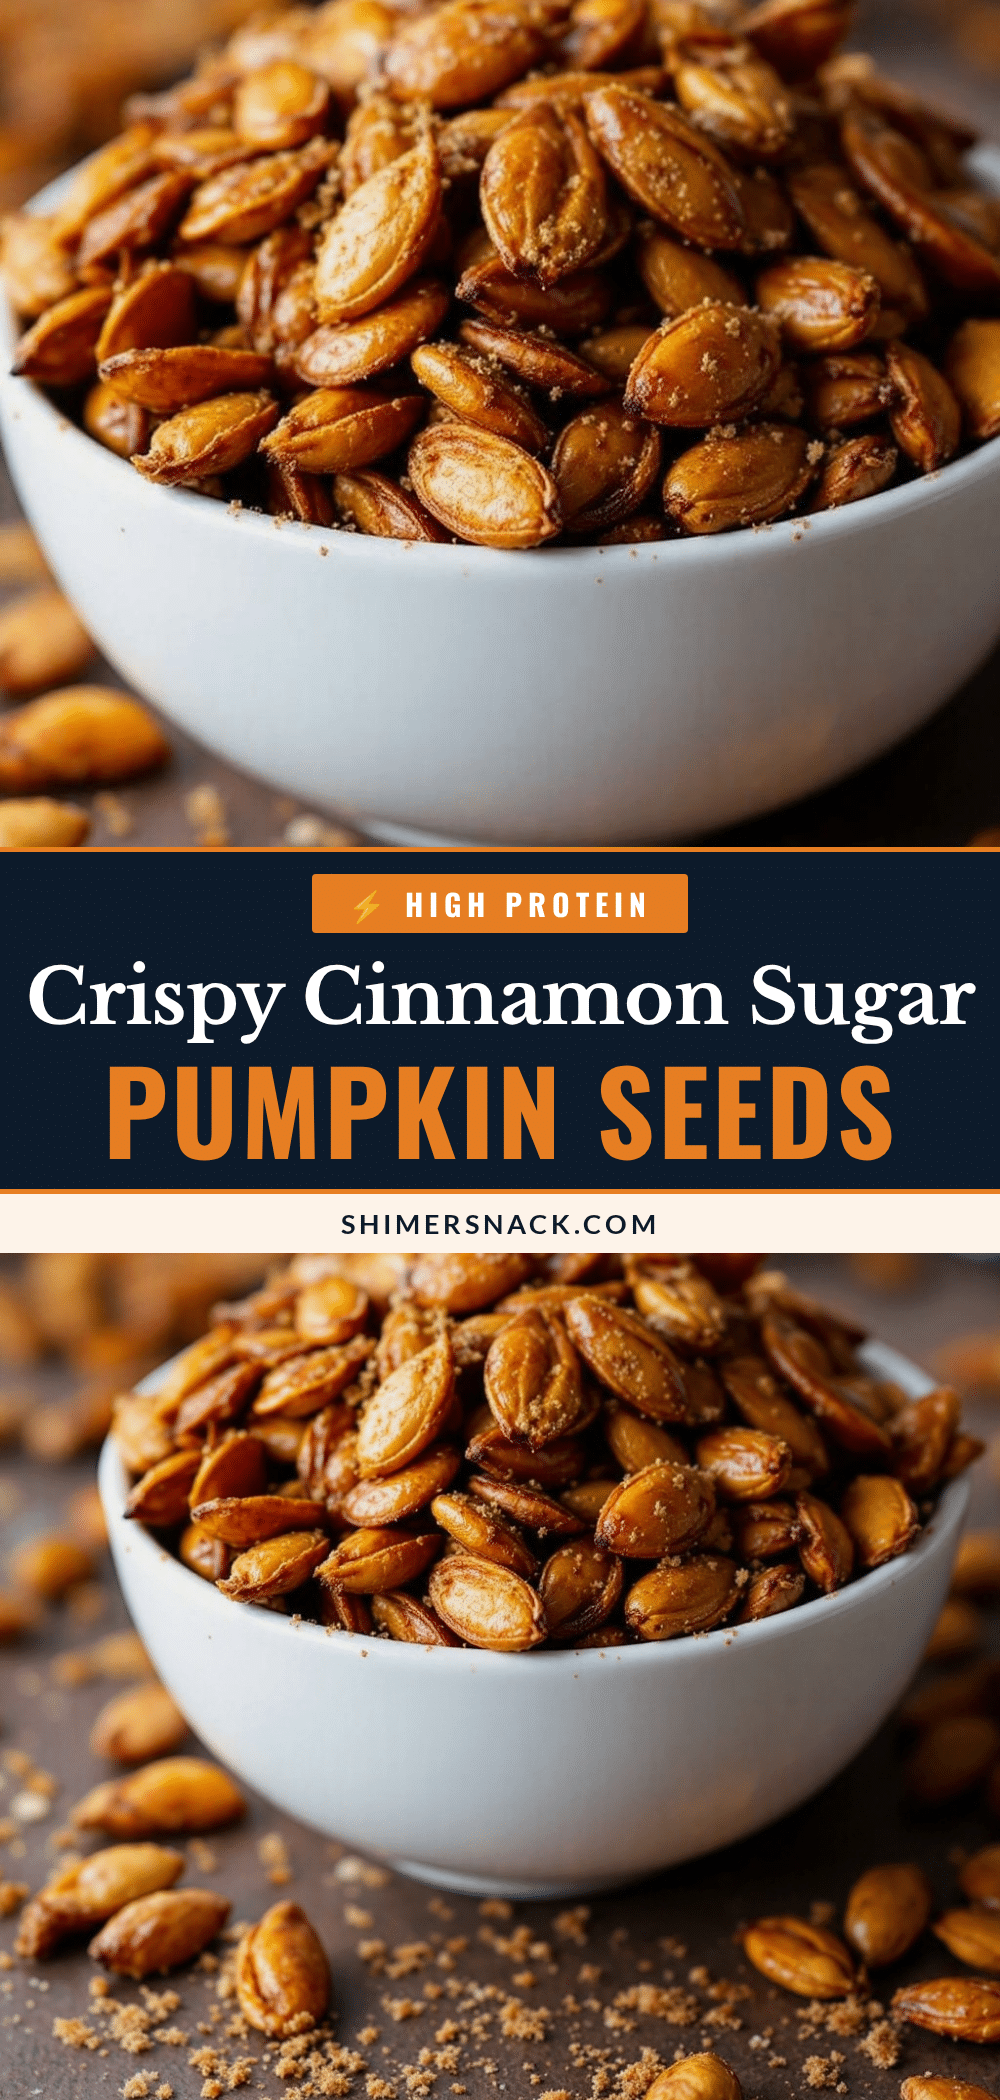
Crispy Cinnamon Sugar Roasted Pumpkin Seeds
Transform leftover pumpkin seeds into a crunchy, golden, and fragrant snack with this easy cinnamon sugar roast. Simple ingredients and a tested technique ensure perfect crispiness every time.
- Prep Time: 10 minutes
- Cook Time: 20 minutes
- Total Time: 30 minutes
- Yield: 4 servings 1x
- Category: Snack
- Cuisine: American
Ingredients
- 1 cup raw pumpkin seeds (pepitas)
- 2 tablespoons unsalted butter, melted
- 1 tablespoon neutral oil (e.g., avocado or light olive oil)
- 2 tablespoons granulated white sugar
- 1 to 1.5 teaspoons ground cinnamon
- 1/2 teaspoon fine sea salt
- 1/2 teaspoon vanilla extract
Instructions
- Preheat oven to 325°F (165°C).
- If using fresh seeds, rinse thoroughly under cold water to remove pulp, then pat dry firmly with towels. Allow to air dry for up to 2 hours or toast in a dry pan on low heat for 5 minutes to remove moisture.
- In a large mixing bowl, whisk together the melted butter and neutral oil.
- Add the dry seeds to the bowl and toss thoroughly until every seed is coated in a thin layer of fat.
- In a small bowl, mix the sugar, cinnamon, salt, and vanilla extract.
- Sprinkle the dry mixture over the coated seeds and toss again until evenly dusted. Break up any sugar clumps.
- Line a baking sheet with parchment paper and spread the seeds in a single layer. Do not overcrowd the pan.
- Roast for 15-20 minutes, stirring every 5 minutes to ensure even browning.
- Remove from oven when golden brown and fragrant. The seeds will continue to crisp as they cool.
- Let cool completely on the pan before storing in an airtight container.
Notes
Ensure seeds are completely dry before roasting to prevent steaming and chewiness. Stirring every 5 minutes is crucial to prevent the sugar from burning. Seeds will feel soft when hot but will crisp up as they cool to room temperature.
Nutrition
- Serving Size: 1/4 cup
- Calories: 150
- Sugar: 8
- Sodium: 150
- Fat: 10
- Saturated Fat: 3
- Carbohydrates: 12
- Fiber: 2
- Protein: 5
Keywords: pumpkin seeds, pepitas, cinnamon sugar, roasted seeds, fall snack, healthy snack, gluten-free, vegan option


