Love this? Save it for later!
Share the inspiration with your friends
The power went out on a Tuesday night, leaving me staring into the dark, humming refrigerator. My sister’s boyfriend was supposed to be here in twenty minutes with a bottle of wine, but the power outage meant no wine chiller, no music, and definitely no planned dessert. I opened the fridge door, letting the light from my phone illuminate the sparse contents. There was a jar of pickles, some wilting spinach, and one single, lonely egg white from an omelet I had made that morning and forgotten to use.
I stared at that egg white. It was slimy and small, barely enough for a proper omelet, let alone a dinner party dessert. I could have made nothing. I could have served cheese sticks and called it a night. But honestly, I hate going to empty-handed gatherings, even when the world is plunging into darkness. I looked around the pantry, half-blind in the gloom, and spotted a bag of powdered sugar and a tub of vanilla. That’s when it hit me. Meringue. You don’t need heat for meringue. You just need air and sugar and a little bit of panic.
I whipped that single egg white by hand with a fork for five minutes until it looked like marshmallow fluff. I folded in the sugar, shaped two little blobs on the counter with my fingers, and waited. They dried out in the cool, still air. They weren’t pretty. They were lopsided and cracked. But they tasted like pure, crisp sweetness. That night, I made a whole batch of them the next day, shaping them into ghosts because, well, it was October and my sister loves anything spooky. These crispy ghost meringue cookies are the result of a dark kitchen and a desperate need to impress. They are light, they vanish in your mouth, and they look like little spirits floating on a plate.
Why You’ll Love This Recipe
There is something deeply satisfying about making something that looks fragile but holds together perfectly. These crispy ghost meringue cookies are not just a Halloween decoration; they are a masterclass in simplicity. I have tested this recipe more times than I care to admit, mostly because I keep trying to mess it up by adding too much sugar or whipping it for too long. The sweet spot is right in the middle, and once you find it, you will never look back.
Here is why this recipe has earned a permanent spot in my rotation:
- Quick & Easy: You don’t need an oven. You don’t need to wait for the dough to rise. The prep takes ten minutes, and the rest is just waiting for them to dry. Perfect for last-minute guests or a quick afternoon treat.
- Simple Ingredients: You likely have everything you need right now. Egg whites, sugar, and vanilla are pantry staples. No fancy flours or obscure spices. It is clean, simple, and honest.
- Perfect for Parties: These are ideal for Halloween, but honestly, they work for any occasion. They are light enough that guests won’t feel stuffed, but sweet enough to satisfy a craving. They pair beautifully with easy caramel apple sangria for a fall gathering.
- Crowd-Pleaser: Kids love the spooky shape, and adults love the fact that they are gluten-free and not overly heavy. They always get rave reviews, especially when served on a dark plate.
- Unbelievably Delicious: The texture is next-level. It is not chewy like a marshmallow; it is crisp, airy, and shatters slightly when you bite it. It is like eating a cloud that has been sweetened.
What makes these different from other meringues? Most recipes call for a water bath or a long bake in a low oven. This method relies on air drying, which concentrates the flavor and creates a sharper, cleaner crunch. It is the kind of dessert that makes you close your eyes after the first bite because the texture is so unexpected. It is comfort food reimagined as a delicate treat.
What Ingredients You Will Need
This recipe uses the simplest of ingredients to deliver a bold, sweet flavor and satisfying texture without any fuss. The magic here is in the ratio of sugar to egg white. If you get this wrong, the cookies will be too hard or too sticky. I recommend using a kitchen scale for the sugar, but measuring cups work fine if you are gentle.
- Egg Whites: You need large egg whites, room temperature. Cold egg whites are harder to whip to stiff peaks. I usually separate them while they are cold and let them sit out for thirty minutes. You can use pasteurized egg whites from a carton if you are worried about raw eggs, and they work just as well.
- Granulated Sugar: This is the main structure builder. Use standard white granulated sugar. Brown sugar will make them chewy, so stick to white. I prefer Domino brand because the crystals are consistent and dissolve easily.
- Vanilla Extract: Pure vanilla extract adds depth. I use McCormick pure vanilla. Avoid imitation vanilla, as it can taste chemical and ruin the delicate flavor.
- Cream of Tartar: This is the secret weapon. It stabilizes the egg whites and helps them hold their shape. Do not skip this step. It keeps the meringue from collapsing.
- Food Coloring (Optional): For the ghost look, you usually don’t need color. But if you want a slight tint, use gel food coloring. Liquid coloring adds too much water and can ruin the meringue.
If you want to get fancy, you can add a drop of almond extract instead of vanilla. It changes the flavor profile completely and makes them taste like macarons without the shell. For a dietary variation, you can substitute the egg whites with aquafaba (the liquid from a can of chickpeas). Use three tablespoons of aquafaba for every one egg white. The texture is slightly different, a bit more chewy, but still delicious.
Equipment Needed
You do not need a lot of fancy tools for this. In fact, keeping it simple is part of the charm. Here is what you need to get started:
- A Large Mixing Bowl: Glass or stainless steel is best. Plastic can retain oils, which prevents the egg whites from whipping properly. I have ruined batches by using a bowl that had leftover butter in it, so make sure it is squeaky clean.
- An Electric Hand Mixer: While you can do this by hand, it takes forever and your arm will fall off. A hand mixer is efficient and gets the job done in minutes. A stand mixer works too, but it is overkill for just two egg whites.
- A Spatula: A silicone spatula is perfect for folding the sugar in gently. You want to keep the air in the mixture.
- Parchment Paper: Line your baking sheet or a flat plate with parchment paper. This prevents sticking and makes cleanup a breeze. You can also use a silicone baking mat if you prefer.
- A Spoon or Piping Bag: To shape the ghosts. I just use a teaspoon, but if you want them uniform, a piping bag with a round tip is great.
If you don’t have a hand mixer, a whisk will work, but you will need serious arm strength. I tried this once when my mixer broke, and I ended up with a stiff arm and a slightly uneven meringue. It was edible, but not pretty. Stick to the mixer if you can.
Preparation Method
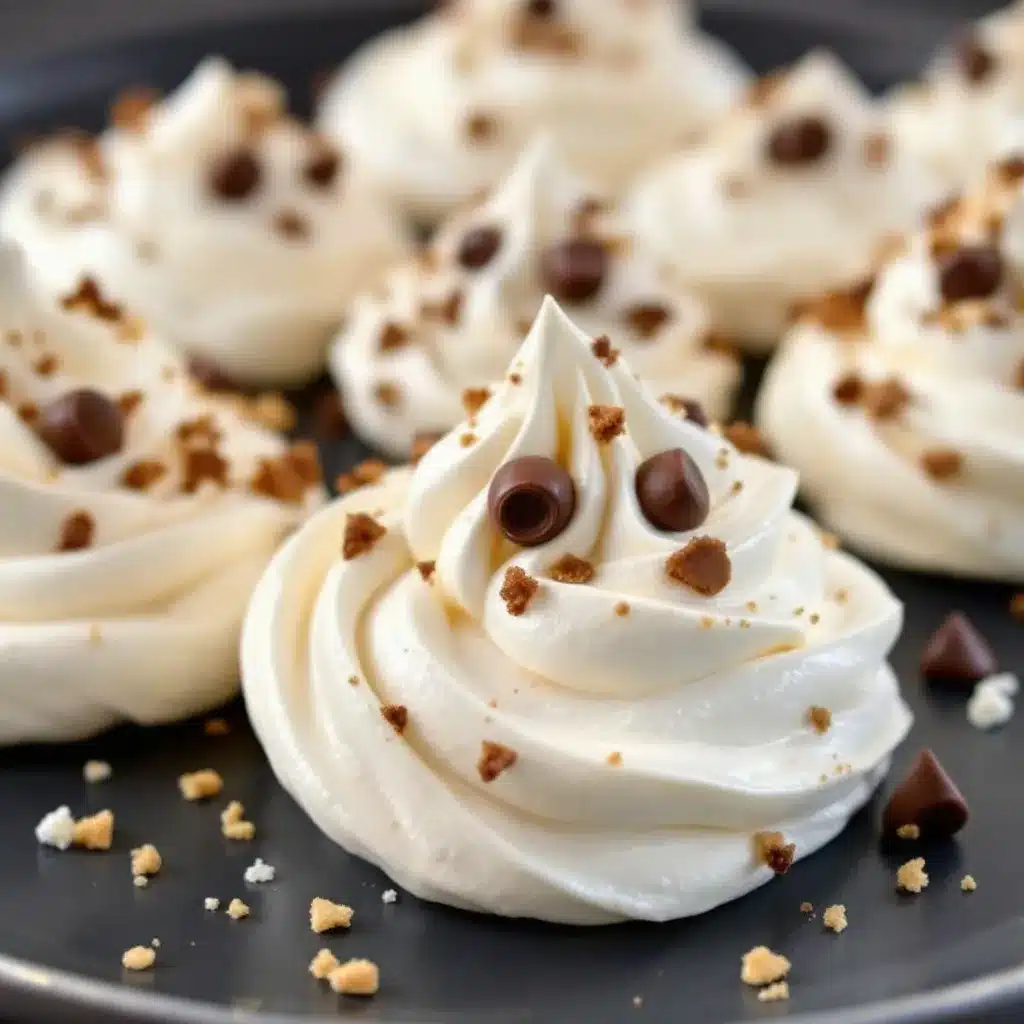
Making these crispy ghost meringue cookies is straightforward, but precision matters. Follow these steps carefully to ensure they turn out crisp and not sticky.
- Prep Your Station: Line a baking sheet with parchment paper. If you are making a large batch, you might need two sheets. Make sure your egg whites are at room temperature. This helps them whip up to a greater volume. (1 minute)
- Whip the Egg Whites: Place the egg whites in your clean mixing bowl. Add the cream of tartar. Start mixing on medium speed. You will see large bubbles form. Keep mixing until the mixture becomes frothy and holds soft peaks. This means when you lift the beaters, the peaks droop over slightly. (3-4 minutes)
- Add the Sugar: Slowly pour in the granulated sugar while the mixer is running on medium-high. Do it slowly, one tablespoon at a time. If you dump it all in at once, the sugar won’t dissolve properly, and the cookies will be gritty. Mix until the mixture is glossy and holds stiff peaks. When you lift the beaters, the peaks should stand straight up without drooping. This usually takes about 3-4 minutes. (3-4 minutes)
- Add Vanilla: Turn off the mixer and add the vanilla extract. Fold it in gently with your spatula. Do not overmix. Just fold until it is combined. (1 minute)
- Shape the Ghosts: Scoop a spoonful of the meringue onto the parchment paper. Shape it into a ghost. You can make a round base and a smaller top for the head. Or, if you are using a piping bag, pipe them directly. The key is to keep them relatively thin. Thick meringues take longer to dry and might stay soft in the middle. (5 minutes)
- Dry Them Out: Let the cookies sit at room temperature for at least 4 hours. Overnight is better. They need to dry out completely. If you touch them and they feel sticky, they need more time. (4-8 hours)
If you live in a humid climate, this might take longer. You can also put them in the oven with the light on (not the heat) to help dry them out. The bulb provides just enough warmth to evaporate the moisture without baking the sugar.
Cooking Tips & Techniques
I have learned a few hard lessons while mastering meringue. The biggest mistake people make is not whipping the egg whites enough. If you stop too early, the cookies will spread and lose their shape. You need those stiff peaks. Another common error is adding the sugar too quickly. This is crucial. Slow and steady wins the race here.
Here are some tips to ensure success:
- Clean Bowl is Key: Any trace of fat (yolk, butter, oil) will prevent the egg whites from whipping. Wipe your bowl with vinegar before starting to be safe.
- Humidity is the Enemy: If it is a rainy day, your meringues might not dry properly. In that case, use the oven light trick mentioned above.
- Don’t Rush the Sugar: If you taste the meringue before it is done, it should not feel gritty. If it does, keep mixing. The sugar needs to fully dissolve.
- Multitask: While the meringues are drying, you can prep other parts of your meal. These are passive cookies. They do the work while you wait.
I once tried to speed up the process by putting them in a dehydrator. It worked, but the texture was too brittle. They shattered into dust. Stick to air drying or the oven light method for the best texture.
Variations & Adaptations
While the classic ghost shape is fun, you can adapt this recipe in many ways. Here are a few ideas:
- Chocolate Dipped Ghosts: Once the meringues are dry, dip the bottom half in melted dark chocolate. Let it set. It looks like the ghost is wearing a little skirt. It adds a rich contrast to the sweet meringue.
- Macaron Style: Skip the ghost shape and pipe small rounds. These are essentially macaron shells without the almond flour. They are delicate and melt in your mouth.
- Flavor Variations: Add a teaspoon of lemon zest or orange zest to the meringue. It adds a bright, citrusy note that cuts through the sweetness. It is perfect for spring.
- Gluten-Free: This recipe is naturally gluten-free. Just make sure your sugar and vanilla are certified gluten-free if you have celiac disease.
I tried adding a drop of red food coloring to make “bloody” meringues for a horror party. It looked cool, but the color bled a bit during drying. It was more like a pink stain than blood. Stick to the classic white or chocolate dip for the best visual effect.
Serving & Storage Suggestions
These crispy ghost meringue cookies are best served at room temperature. They are delicate, so handle them with care. I like to serve them on a black slate board or a dark plate to make the white ghosts pop. They look like they are floating.
For storage, keep them in an airtight container at room temperature. They will stay crisp for up to two weeks. If they get soft, put them in the oven at 200°F (95°C) for ten minutes to crisp them back up. Do not refrigerate them, as the moisture in the fridge will make them sticky and soggy.
They pair well with coffee or tea. The sweetness balances the bitterness of the coffee. I also like to serve them with a glass of cozy pumpkin black bean chili if you are serving a savory meal. The sweet and savory contrast is delicious.
Nutritional Information & Benefits
These cookies are light and airy, but they are mostly sugar. One cookie has about 20 calories. They are low in fat and protein, but high in carbohydrates. Because they are made from egg whites, they are a good source of protein, but the amount is minimal per serving.
They are naturally gluten-free, which is a big plus for guests with dietary restrictions. They are also vegan if you use aquafaba instead of egg whites. However, the sugar content is high, so enjoy them in moderation. They are a treat, not a health food.
Conclusion
These crispy ghost meringue cookies are a fun, easy, and delicious way to celebrate Halloween or just add some sweetness to your week. They are simple to make, require minimal ingredients, and look impressive on the plate. I love them because they are so light and airy, and the ghost shape is just too cute to resist.
I encourage you to try this recipe and make it your own. Add some chocolate dip, change the shapes, or experiment with flavors. Let me know how they turn out in the comments below. I love seeing your creations.
Happy baking, and happy Halloween!
FAQs
Can I use egg yolks for this recipe?
No. Egg yolks contain fat, which prevents the meringue from whipping up. You need pure egg whites for stiff peaks. Save the yolks for making custard or scrambled eggs.
Why are my meringues sticky?
They likely need more drying time. If they are sticky to the touch, they still have moisture inside. Leave them out longer or use the oven light trick.
Can I freeze these cookies?
Yes, you can freeze them in an airtight container for up to three months. Thaw them at room temperature before serving.
Do I need cream of tartar?
It is highly recommended. It stabilizes the egg whites and helps them hold their shape. If you don’t have it, you can use a teaspoon of lemon juice, but cream of tartar is better.
How do I store them?
Store them in an airtight container at room temperature. Do not refrigerate them, as the humidity will make them soft and sticky.
Pin This Recipe!
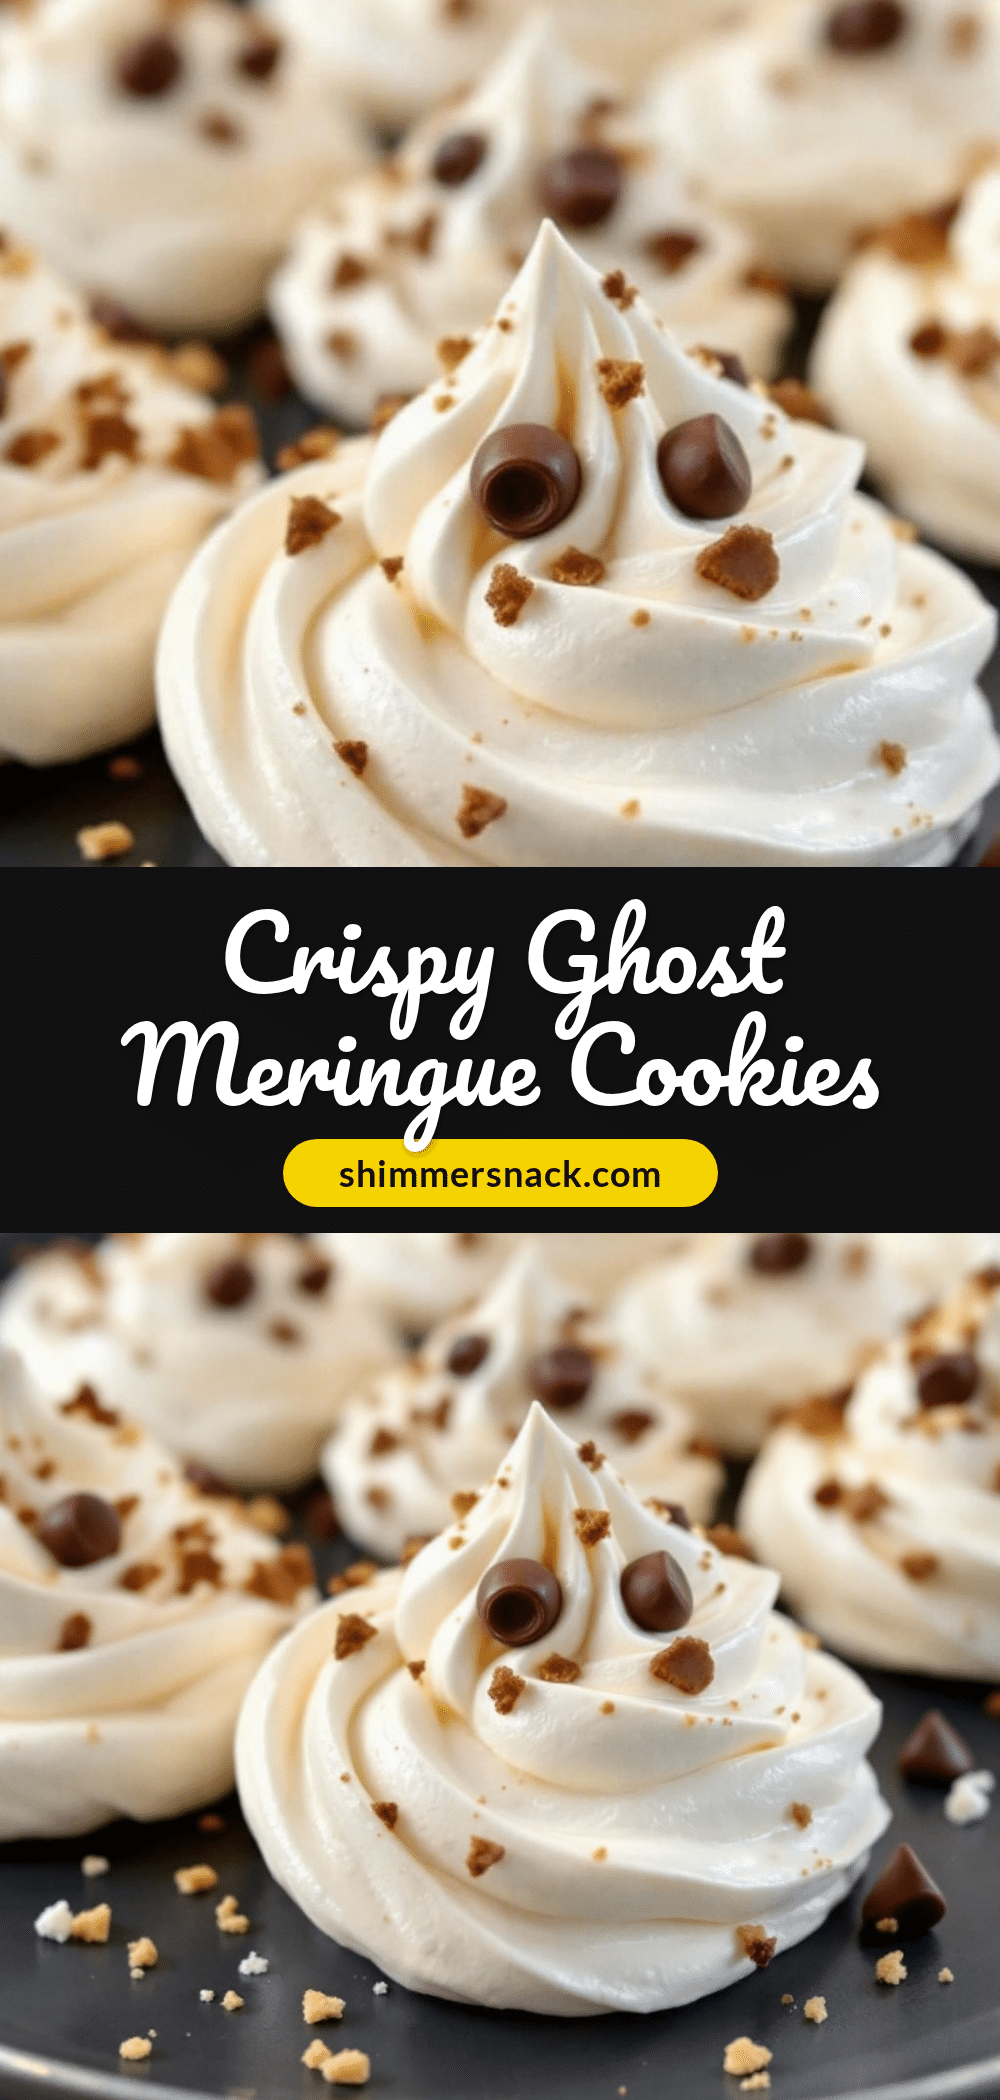
Crispy Ghost Meringue Cookies
Light, airy, and crisp meringue cookies shaped like ghosts. These no-bake treats rely on air drying for a delicate texture and are naturally gluten-free, making them perfect for Halloween or any occasion.
- Prep Time: 10 minutes
- Cook Time: 0 minutes
- Total Time: 4 hours 10 minutes
- Yield: Approximately 12-15 cookies 1x
- Category: Dessert
- Cuisine: American
Ingredients
- 2 large egg whites, room temperature
- 1/2 cup granulated sugar
- 1/4 teaspoon cream of tartar
- 1/2 teaspoon pure vanilla extract
- Gel food coloring (optional)
Instructions
- Line a baking sheet with parchment paper and ensure egg whites are at room temperature.
- Place egg whites and cream of tartar in a clean glass or stainless steel mixing bowl. Whip on medium speed until frothy and soft peaks form (3-4 minutes).
- With the mixer running on medium-high, slowly add granulated sugar one tablespoon at a time. Continue mixing until glossy and stiff peaks form (3-4 minutes).
- Turn off the mixer and gently fold in vanilla extract with a spatula.
- Scoop or pipe the meringue onto the parchment paper, shaping into ghost forms. Keep them relatively thin to ensure even drying.
- Let the cookies dry at room temperature for at least 4 hours, or overnight, until completely dry and not sticky to the touch.
Notes
Ensure all equipment is completely clean and free of any fat or oil, as this prevents egg whites from whipping. If the humidity is high, you can dry the cookies in an oven with only the light turned on (no heat). Do not refrigerate as moisture will make them sticky. They can be frozen for up to three months.
Nutrition
- Serving Size: 1 cookie
- Calories: 20
- Sugar: 5
- Carbohydrates: 5
Keywords: meringue, halloween cookies, ghost cookies, no-bake dessert, gluten-free, easy dessert, party treats


