Love this? Save it for later!
Share the inspiration with your friends
I did not trust sweet potato in biscuits. Honestly, I thought the idea of steaming a root vegetable, mashing it until it was smooth, and folding it into dry flour sounded like a recipe for dense, gummy bricks. I have baked hundreds of batches of standard buttermilk biscuits over the years. They are reliable. They are fluffy. They do not surprise you with a strange orange hue or a texture that feels more like bread than flaky pastry. So when I first saw this concept online, I scrolled past it without a second glance. It just seemed wrong.
Then came last Thanksgiving. We were hosting a large group, and I had run out of traditional baking flour due to a last-minute grocery store run. I had a bag of gluten-free blend sitting on the counter and two large sweet potatoes in the pantry. I was desperate. I decided to give it a shot, expecting a failed experiment that would end up in the trash. I mixed the dough, chilled it, and cut the shapes. The kitchen smelled earthy and sweet, which was comforting in a strange way.
When they came out of the oven, they were golden brown and surprisingly tall. I took a bite while they were still warm. The interior was tender and moist, not dense at all. The sweetness from the potato balanced the savory butter perfectly. I was wrong about the gummy texture. These biscuits were light, airy, and genuinely delicious. I have made them every weekend since. They are now my go-to comfort food, especially when I need something warm and safe for my gluten-free friends.
Why You’ll Love This Recipe
Let’s face it, finding a gluten-free biscuit that actually tastes like a biscuit is harder than it sounds. Most of them crumble apart or taste like cardboard. These fluffy gluten-free sweet potato biscuits solve that problem completely. I spent months tweaking the ratio of sweet potato puree to flour to get the moisture content just right. The result is a dough that is soft enough to handle but sturdy enough to hold together.
Here is why these biscuits stand out from the crowd:
- Quick & Easy: You can have these from oven to table in about 25 minutes. It is perfect for busy weeknights or when you need a side dish for a last-minute dinner party.
- Simple Ingredients: You do not need a trip to a specialty health food store. You likely have sweet potatoes, butter, and gluten-free flour in your kitchen already.
- Perfect for Fall: The natural sweetness of the potato pairs beautifully with autumn spices. They are great for brunch, cozy dinners, or holiday mornings.
- Crowd-Pleaser: Even people who are not gluten-free love these. The texture is unique but familiar. Kids usually devour them without asking what is inside.
- Unbelievably Delicious: The combination of flaky layers and moist interior creates a next-level comfort food experience. It is the kind of bite that makes you close your eyes.
What makes this recipe different is the use of pureed sweet potato instead of just mashed. This creates a smoother, more uniform dough that eliminates the lumps often found in other gluten-free baked goods. I also use a high-quality gluten-free blend that includes xanthan gum, which helps mimic the elasticity of wheat. This isn’t just another version—it is my best version. It is comfort food reimagined, healthier, faster, and with the same soul-soothing satisfaction.
What Ingredients You Will Need
This recipe uses simple, wholesome ingredients to deliver bold flavor and satisfying texture without the fuss. The star is obviously the sweet potato, but the supporting cast is equally important for getting that fluffy texture. I recommend using fresh sweet potatoes rather than canned puree. Fresh potatoes have a better flavor and allow you to control the moisture level of your dough.
Here is what you will need to gather:
- All-Purpose Gluten-Free Flour Blend: Use 2 cups of a high-quality blend like King Arthur Measure for Measure or Bob’s Red Mill 1-to-1. These blends already contain xanthan gum, which is crucial for structure.
- Sweet Potato: One medium-sized sweet potato, roasted or boiled until tender. I prefer roasting it to concentrate the sweetness. The potato should weigh about 1 cup when mashed.
- Unsalted Butter: 1/2 cup (1 stick), cold and cubed. Cold butter is non-negotiable for flaky layers. I use unsalted so I can control the salt level.
- Heavy Cream: 1/2 cup, cold. This adds richness and helps bind the dry ingredients. You can substitute with whole milk if you prefer a lighter biscuit.
- Egg Yolk: One large egg yolk, room temperature. This adds structure and helps the biscuits brown beautifully.
- Baking Powder: 1 tablespoon. Make sure it is fresh for maximum lift.
- Baking Soda: 1/2 teaspoon. This reacts with the natural acids in the sweet potato to help the biscuits rise.
- Salt: 1 teaspoon. Enhances the flavor and balances the sweetness.
- Sugar: 1 tablespoon. Just a little bit to help with browning and to complement the potato.
For the best results, I recommend using a reputable brand for your gluten-free flour. Cheaper blends often taste gritty or have a weird aftertaste. Also, look for sweet potatoes that feel heavy for their size and have smooth skin. Avoid ones with soft spots or cracks. If you are in summer, you can swap in fresh corn puree for a different flavor profile, but sweet potato is classic.
Equipment Needed
You do not need a lot of fancy tools to make these biscuits. A standard kitchen setup is all you need.
- Baking Sheet: A large, rimmed baking sheet is essential. Line it with parchment paper for easy cleanup and even baking.
- Mixing Bowls: One large bowl for the dry ingredients and one medium bowl for the wet ingredients.
- Pastry Blender or Fork: To cut the cold butter into the flour. A pastry blender works best, but a fork works fine.
- Rolling Pin: A standard rolling pin helps you get the dough to the right thickness without overworking it.
- Biscuit Cutter: A 2-inch round cutter creates uniform biscuits. If you do not have one, a glass rim works too.
- Measuring Cups and Spoons: Accurate measurements are critical in gluten-free baking.
I usually use a heavy-duty baking sheet because thin sheets can cause the bottoms to burn. If your sheets are thin, consider using two sheets stacked together. A silicone mat is a great alternative to parchment paper, though it can sometimes result in slightly less browning on the bottom.
Preparation Method
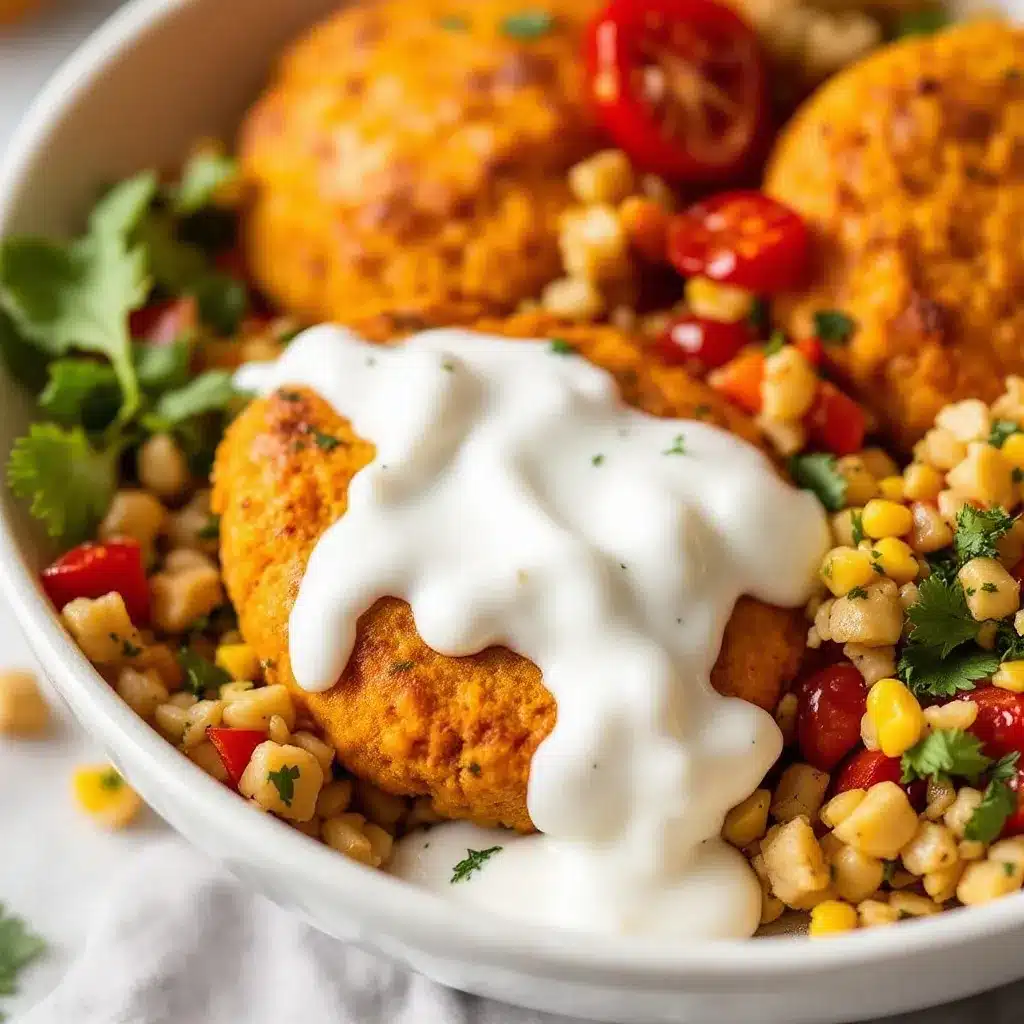
Getting the technique right is the difference between a flat disk and a tall, fluffy biscuit. Follow these steps carefully.
- Prepare the Sweet Potato: Preheat your oven to 400°F (200°C). Pierce a medium sweet potato with a fork and bake it directly on the oven rack for 45-60 minutes until soft. Let it cool completely. Scoop out the flesh and mash it until smooth. You need 1 cup of puree. This step takes about an hour total, including cooling.
- Mix Dry Ingredients: In a large bowl, whisk together the gluten-free flour, baking powder, baking soda, salt, and sugar. Whisking ensures the leavening agents are evenly distributed, which prevents flat spots.
- Cut in the Butter: Add the cold, cubed butter to the flour mixture. Use a pastry blender or two forks to cut the butter into the flour until the mixture looks like coarse crumbs with some pea-sized pieces of butter remaining. Those butter chunks create steam and flaky layers.
- Combine Wet Ingredients: In a separate bowl, whisk the cold heavy cream and the egg yolk until smooth. Then, stir in the 1 cup of cooled sweet potato puree. The mixture will look a bit orange and smooth.
- Combine Wet and Dry: Pour the wet mixture into the dry ingredients. Use a spatula or your hands to gently fold the mixture together. Stop as soon as the dough comes together. Do not overmix! The dough will be sticky, which is normal for gluten-free recipes.
- Chill the Dough: This is the most important step. Transfer the dough to a sheet of plastic wrap. Form it into a disc about 1 inch thick. Wrap it tightly and refrigerate for at least 30 minutes. Chilling solidifies the butter and relaxes the starches, which helps the biscuits hold their shape.
- Shape the Biscuits: Preheat your oven to 400°F (200°C). Line a baking sheet with parchment paper. Place the chilled dough on a lightly floured surface. Pat it out to about 3/4 inch thickness. Use a biscuit cutter to cut out rounds. Press straight down; do not twist the cutter, as this seals the edges and prevents rising. Place the biscuits close together on the baking sheet for softer sides, or space them apart for crispier sides.
- Bake: Bake for 15-18 minutes until the tops are golden brown and the bottoms are firm. The biscuits should feel springy to the touch. If they feel doughy in the center, they need more time.
- Cool and Serve: Let them cool on the pan for 5 minutes before transferring to a wire rack. Serve warm with butter or jam.
Cooking Tips & Techniques
I have failed at this recipe more times than I care to admit, mostly because I rushed the chilling step. Here are some tips to ensure success.
- Keep Everything Cold: If your butter warms up while you are cutting it in, put the bowl in the fridge for 10 minutes. Warm butter melts into the flour instead of creating steam pockets.
- Do Not Overwork the Dough: Gluten-free flour can become gummy if overmixed. Mix only until combined. The dough should look shaggy.
- Use a Light Touch: When patting out the dough, use your hands gently. Pressing too hard compacts the flour and leads to dense biscuits.
- Check Your Oven Temperature: Use an oven thermometer to ensure your oven is actually at 400°F. Many ovens run hot or cold.
- Don’t Skip the Chill: I know it is tempting to skip this, but it is vital. The dough will be too sticky to handle if it is warm.
I once tried making these without chilling the dough, and they spread into flat pancakes. It was a mess. The chill helps the gluten-free flour hydrate properly, which improves the texture. Also, if your kitchen is hot, you might need to chill the baking sheet before placing the dough on it.
Variations & Adaptations
These biscuits are versatile and can be adapted to fit different tastes and dietary needs.
- Dairy-Free Option: Substitute the butter with cold coconut oil or a dairy-free butter stick. Use oat milk or soy milk instead of heavy cream. Coconut oil works well but may impart a slight coconut flavor.
- Spicy Twist: Add 1/2 teaspoon of cayenne pepper and 1/4 teaspoon of smoked paprika to the dry ingredients. This pairs beautifully with the sweet potato.
- Herb Biscuits: Stir in 1 tablespoon of fresh chopped chives or rosemary. This makes them perfect for savory meals.
- Sugar Glaze: Drizzle with a simple glaze made from powdered sugar, milk, and vanilla extract after they cool.
I often make a batch with cinnamon and brown sugar for a breakfast biscuit. It is like a mini sweet potato pie in biscuit form. You can also freeze the raw dough discs for later baking. Just bake them from frozen, adding 2-3 minutes to the cooking time.
Serving & Storage Suggestions
These biscuits are best served warm, right out of the oven. They pair wonderfully with soups, stews, or chili. I love serving them with my cozy creamy chicken and wild rice soup for a complete meal. They are also great with texas style chili or even just butter and jam for breakfast.
For storage, let the biscuits cool completely before placing them in an airtight container. They will keep at room temperature for up to 2 days. For longer storage, freeze them in a freezer-safe bag for up to 3 months. To reheat, wrap them in foil and warm them in a 350°F oven for 10 minutes, or microwave them for 30 seconds. They taste almost as good as fresh.
The flavors develop over time, becoming slightly sweeter as the potato rests in the dough. If you make them ahead, you can assemble the dough the night before and bake them in the morning. This is a great time-saving tip for holiday mornings.
Nutritional Information & Benefits
These biscuits offer some nutritional benefits compared to traditional flour biscuits. Sweet potatoes are rich in vitamin A, fiber, and antioxidants. They provide a natural sweetness, reducing the need for added sugar. Each biscuit contains approximately 150-180 calories, depending on the size and exact flour blend used. They are gluten-free, making them safe for those with celiac disease or gluten sensitivity. However, they are still a refined carbohydrate source, so enjoy them in moderation. The healthy fats from the butter and cream add satiety, making them a satisfying side dish.
Conclusion
These fluffy gluten-free sweet potato biscuits are a game-changer. They are easy to make, delicious, and safe for gluten-free diets. I hope you try this recipe and enjoy the results as much as I do. Feel free to customize them with your favorite spices or glazes. I would love to hear how they turn out for you. Please leave a comment below with your thoughts or photos of your creations. Sharing your experience helps other readers decide to try it too. Enjoy the process of baking and the joy of sharing warm, homemade biscuits with your loved ones.
FAQs
Can I use canned sweet potato puree?
Yes, you can use canned puree, but fresh is preferred. Canned puree can sometimes be sweeter or have a different texture. If you use canned, reduce the added sugar in the recipe slightly.
Why are my biscuits dense?
This usually happens if the dough is overmixed or if the butter is too warm. Make sure to keep the butter cold and handle the dough as little as possible.
Can I freeze the biscuit dough?
Yes, you can freeze the raw dough discs. Place them on a baking sheet, freeze until solid, then transfer to a bag. Bake from frozen, adding a few minutes to the cook time.
What flour blend works best?
King Arthur Measure for Measure or Bob’s Red Mill 1-to-1 are excellent choices. Avoid blends that do not contain xanthan gum, as you will need to add it separately.
How do I store leftover biscuits?
Store them in an airtight container at room temperature for up to 2 days. For longer storage, freeze them in a freezer-safe bag for up to 3 months.
Pin This Recipe!
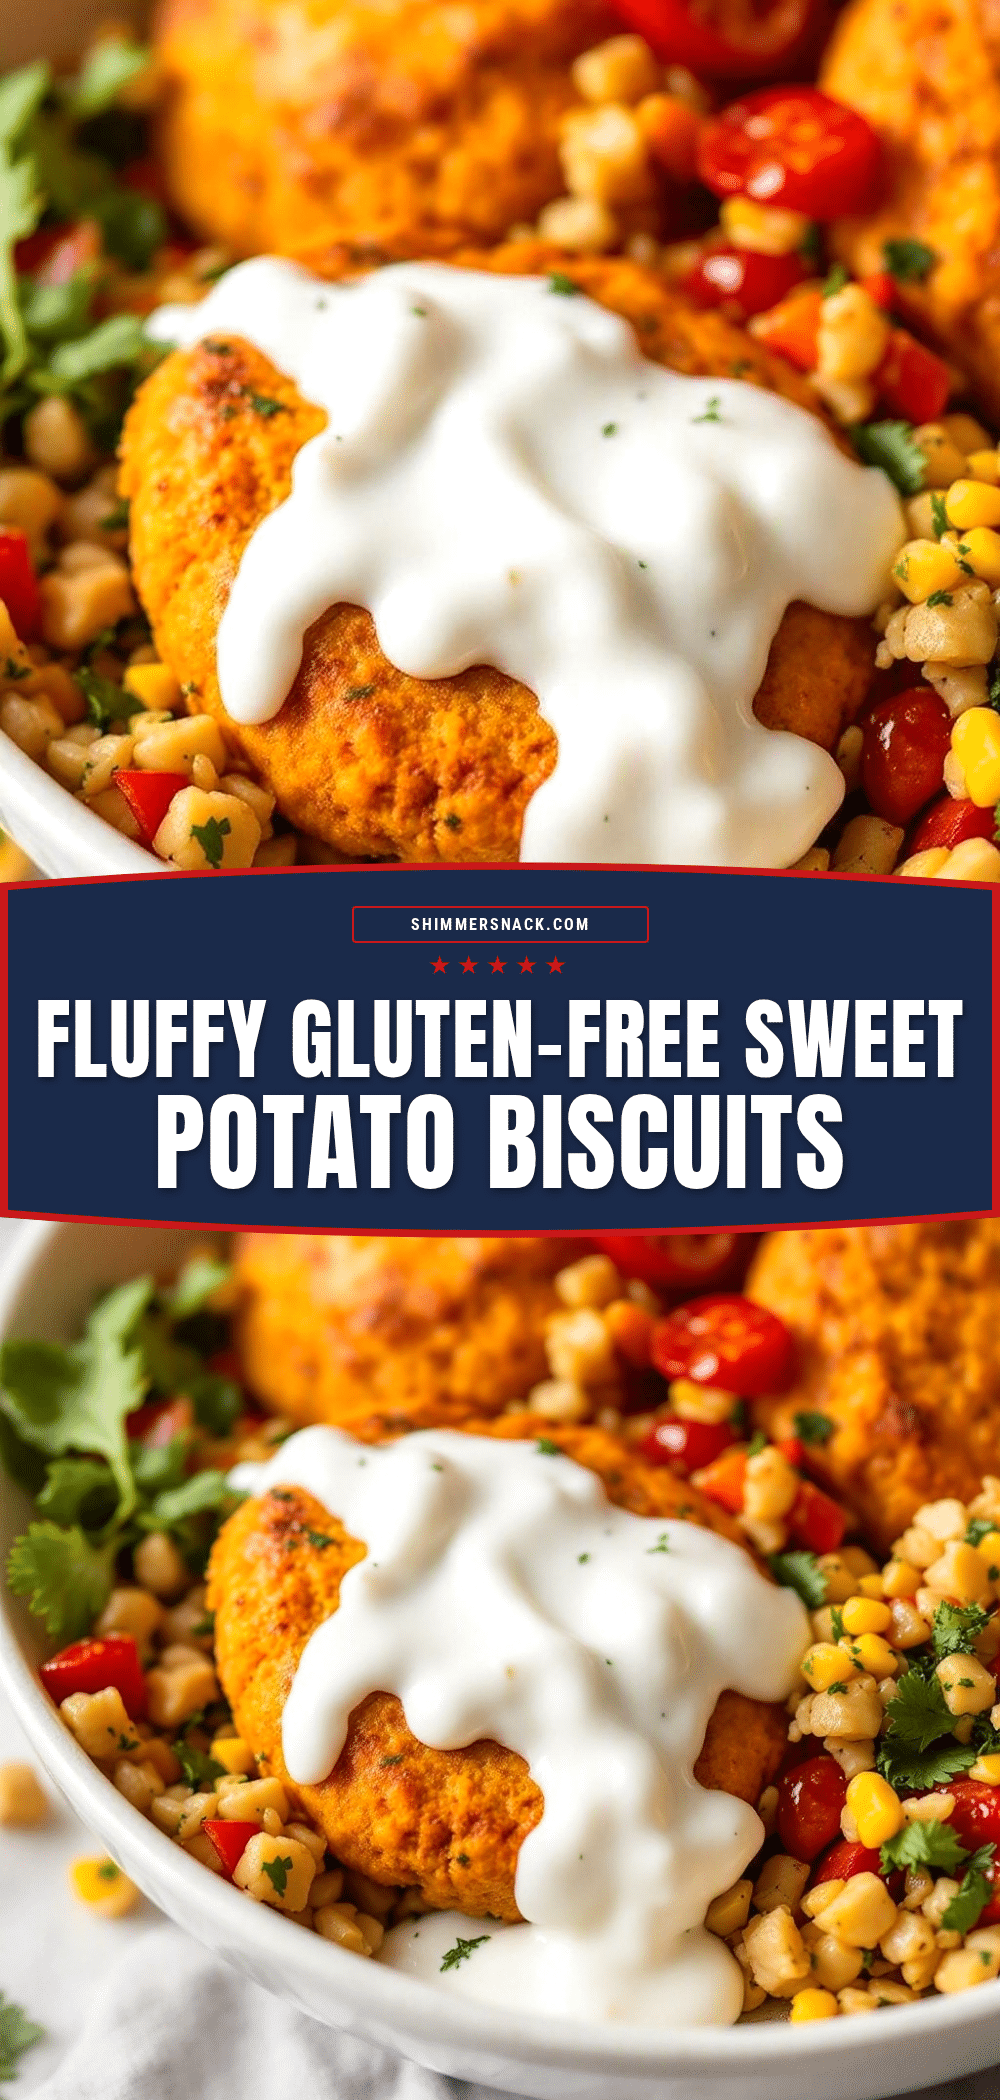
Fluffy Gluten-Free Sweet Potato Biscuits

Light, airy, and tender gluten-free biscuits made with pureed sweet potato and cold butter for a flaky texture. A comforting, easy-to-make side dish perfect for breakfast or dinner.
- Prep Time: 30 minutes
- Cook Time: 15-18 minutes
- Total Time: 45 minutes
- Yield: 8-10 biscuits 1x
- Category: Side Dish
- Cuisine: American
Ingredients
- 2 cups All-Purpose Gluten-Free Flour Blend (with xanthan gum)
- 1 medium sweet potato (roasted or boiled, yielding 1 cup puree)
- 1/2 cup (1 stick) unsalted butter, cold and cubed
- 1/2 cup heavy cream, cold
- 1 large egg yolk, room temperature
- 1 tablespoon baking powder
- 1/2 teaspoon baking soda
- 1 teaspoon salt
- 1 tablespoon sugar
Instructions
- Preheat oven to 400°F (200°C). Pierce sweet potato with a fork and bake for 45-60 minutes until soft. Cool completely, scoop flesh, and mash until smooth to yield 1 cup puree.
- In a large bowl, whisk together gluten-free flour, baking powder, baking soda, salt, and sugar.
- Add cold cubed butter to the flour mixture. Use a pastry blender or forks to cut butter into flour until mixture resembles coarse crumbs with pea-sized butter pieces.
- In a separate bowl, whisk cold heavy cream and egg yolk until smooth. Stir in the cooled sweet potato puree.
- Pour wet mixture into dry ingredients. Gently fold with a spatula or hands until dough just comes together. Do not overmix.
- Transfer dough to plastic wrap, form into a 1-inch thick disc, wrap tightly, and refrigerate for at least 30 minutes.
- Preheat oven to 400°F (200°C). Line a baking sheet with parchment paper. On a lightly floured surface, pat dough to 3/4 inch thickness. Cut out 2-inch rounds using a biscuit cutter (press straight down, do not twist).
- Place biscuits close together on the baking sheet for softer sides, or spaced apart for crispier sides.
- Bake for 15-18 minutes until tops are golden brown and bottoms are firm.
- Cool on the pan for 5 minutes before transferring to a wire rack. Serve warm.
Notes
Keep all ingredients cold to ensure flaky layers. Do not overmix the dough as gluten-free flour can become gummy. Chilling the dough is crucial for handling and structure. For dairy-free, substitute butter with cold coconut oil and cream with oat or soy milk.
Nutrition
- Serving Size: 1 biscuit
- Calories: 165
- Sugar: 4
- Sodium: 350
- Fat: 8
- Saturated Fat: 5
- Carbohydrates: 22
- Fiber: 2
- Protein: 3
Keywords: gluten-free, sweet potato, biscuits, gluten-free baking, comfort food, fall recipes, easy baking


