Love this? Save it for later!
Share the inspiration with your friends
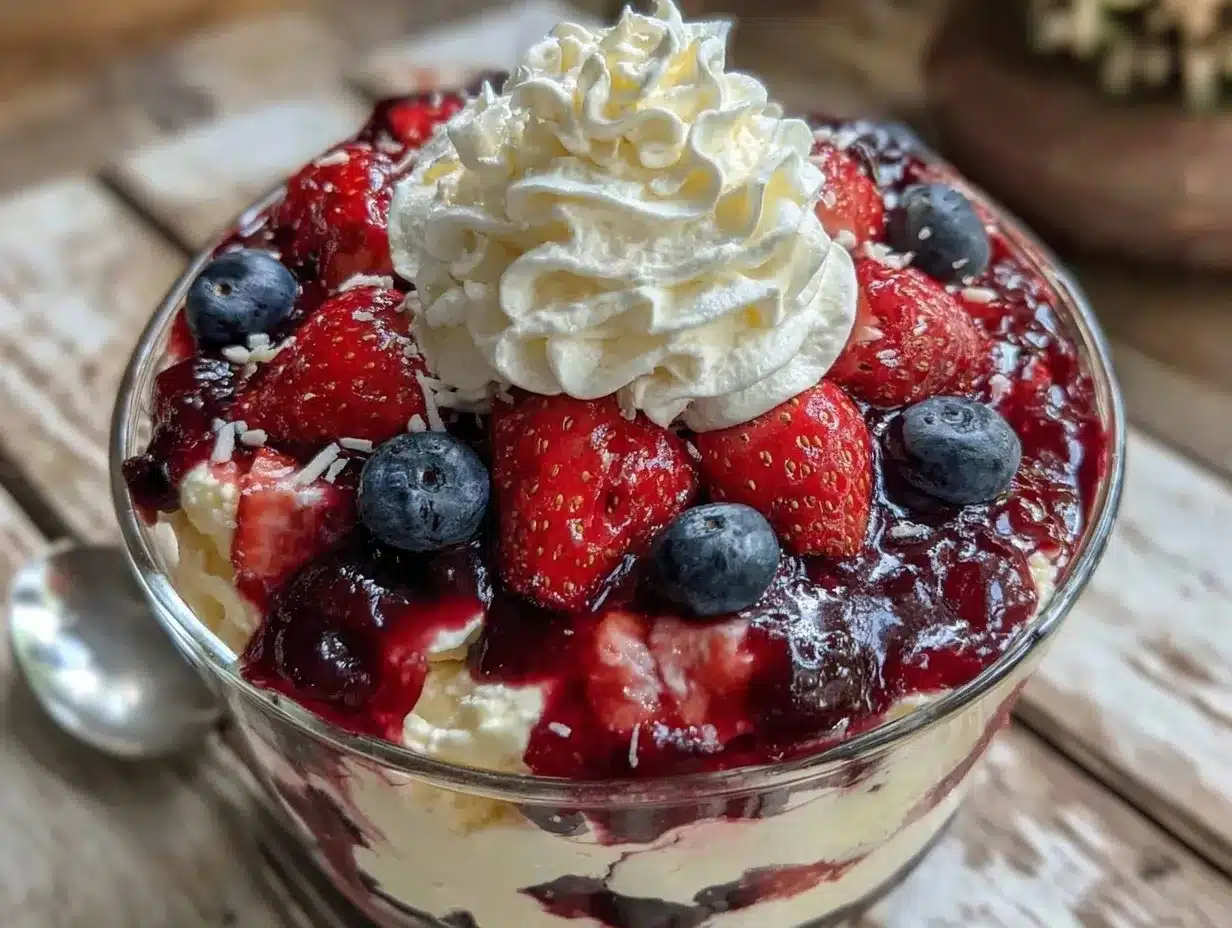
Last Fourth of July, I wasn’t planning to bring dessert to the neighborhood block party. Honestly, I was just chatting with my usually quiet next-door neighbor, Mr. Thompson—the accountant who you’d never peg as a dessert enthusiast—when he casually mentioned a “red, white, and blue cheesecake trifle” his wife whipped up every summer. I wasn’t expecting cooking advice from Mr. Thompson, but there I was, balancing my paper plate, listening as he described how to layer cream cheese, berries, and fluffy cake cubes to create a dessert that’s as much a feast for the eyes as it is for the taste buds.
He even pulled out a slightly cracked glass bowl from his porch, saying it was the “secret weapon” for showing off the layers. I jotted down the recipe on a napkin—while trying not to spill my lemonade—because, you know, sometimes the best recipes come from the last places you expect. That summer evening, with kids running around and the grill smoke swirling nearby, this red, white & blue layered cheesecake trifle recipe stuck with me. It’s simple, festive, and honestly, it’s the kind of dish that makes you close your eyes after the first bite.
Maybe you’ve been there—scrambling for a patriotic dessert that looks impressive but doesn’t demand hours in the kitchen. This cheesecake trifle is exactly that. Let me tell you, it’s become my go-to for any celebration where I want to impress without the fuss, and I’m betting it’ll be yours too.
Why You’ll Love This Recipe
This perfect red white & blue layered cheesecake trifle recipe isn’t just a pretty face. I’ve tested it multiple times across different gatherings, and here’s why it consistently wins:
- Quick & Easy: Comes together in under 30 minutes, making it perfect for last-minute celebrations or potlucks.
- Simple Ingredients: Pantry staples like cream cheese and store-bought pound cake combine with fresh berries you can grab from any market.
- Perfect for Patriotic Occasions: Whether it’s the Fourth of July, Memorial Day, or just a summer party, the red, white, and blue colors bring instant festive vibes.
- Crowd-Pleaser: Kids and adults alike rave about the creamy texture and fruity brightness—best of both worlds!
- Unbelievably Delicious: The creamy cheesecake layer balances tart berries and sweet cake cubes for a flavor combo that’s downright addictive.
What sets this recipe apart is its layering technique. Instead of baking a traditional cheesecake, this trifle offers a no-bake, fuss-free way to enjoy cheesecake flavor with a light, airy finish. The trick is blending cream cheese with whipped cream until ultra-smooth—giving you that melt-in-your-mouth texture without heaviness. Plus, swapping out the classic crust for cake cubes means less mess and more fun.
It’s comfort food with a patriotic twist, perfect for impressing guests without stress. Honestly, this recipe makes me want to throw a summer party every weekend!
What Ingredients You Will Need
This recipe uses simple, wholesome ingredients to deliver bold flavor and satisfying texture without the fuss. Most are pantry staples or fresh market finds, and substitutions are easy if you have dietary preferences.
- For the Cheesecake Layer:
- 8 oz (227 g) cream cheese, softened (I usually go for Philadelphia brand for consistent smoothness)
- 1 cup (240 ml) heavy whipping cream, cold
- 1/2 cup (60 g) powdered sugar, sifted
- 1 tsp vanilla extract
- For the Cake Layer:
- 1/2 of a 16 oz (450 g) store-bought pound cake, cut into 1-inch cubes (use any vanilla or butter pound cake you like, or even angel food cake for a lighter option)
- For the Fruit Layers:
- 1 cup (150 g) fresh strawberries, sliced (in summer, swap in fresh raspberries for more tartness)
- 1 cup (150 g) fresh blueberries
- Optional Garnishes:
- Fresh mint leaves (for a pop of color and freshness)
- Additional whole berries for topping
If you need a dairy-free option, swap cream cheese with a plant-based cream cheese and use coconut cream instead of heavy whipping cream. For a gluten-free twist, almond flour pound cake or gluten-free angel food cake works beautifully.
Equipment Needed
- Mixing bowls (one medium for cheesecake layer, one large for whipping cream)
- Electric hand mixer or stand mixer (whipping cream by hand is a workout, trust me!)
- Spatula for folding
- 1 large clear trifle bowl or individual glass jars (the clear sides show off those gorgeous layers!)
- Measuring cups and spoons
If you don’t own a trifle bowl, any large glass bowl or even a deep glass salad bowl works fine. I remember once making this with mason jars when I ran out of bowls—worked just as well and made for cute single servings. Also, if your mixer’s a little noisy, it’s worth investing in a quieter model for peaceful whipping sessions.
Preparation Method
- Prepare the cheesecake layer: In a medium bowl, beat the softened cream cheese with an electric mixer on medium speed until smooth and creamy, about 2-3 minutes. Scrape down the sides occasionally to avoid lumps.
- Whip the cream: In a separate large bowl, pour in the cold heavy whipping cream and beat on high speed until soft peaks form, roughly 3-4 minutes. Be careful not to overwhip; we want soft but stable peaks.
- Combine cheesecake and cream: Gradually add powdered sugar and vanilla extract to the cream cheese, beating until well mixed. Then gently fold in the whipped cream using a spatula, mixing carefully to keep the airy texture. The mixture should be light, fluffy, and spreadable.
- Prepare the cake and berries: Cube the pound cake into roughly 1-inch pieces. Wash and dry strawberries and blueberries. Slice strawberries thinly to make layering easier.
- Assemble the trifle: Start by placing a layer of cake cubes at the bottom of your trifle bowl (about 1-1.5 cups). Then add a generous layer of the cheesecake mixture over the cake, spreading evenly.
- Add fruit layers: Sprinkle a layer of strawberries followed by a layer of blueberries. Aim for about 1/3 cup of each fruit per layer, depending on the size of your bowl.
- Repeat layers: Continue layering cake, cheesecake mixture, strawberries, and blueberries until you reach the top of your bowl. Finish with a final layer of the cheesecake mixture for a smooth, creamy top.
- Chill: Cover the trifle with plastic wrap and refrigerate for at least 4 hours, preferably overnight. This resting time lets flavors meld and the cake soak up some creamy goodness.
- Garnish and serve: Right before serving, decorate the top with whole berries and fresh mint leaves for color and freshness.
Tip: If your cream cheese feels a little cold and stiff, warm it up for 10 seconds in the microwave to soften—makes mixing way easier. Also, don’t rush folding the whipped cream into the mixture; gentle folding preserves that fluffy texture that makes this trifle so special.
Cooking Tips & Techniques
Here are some tricks I picked up after a few early attempts that went a bit sideways:
- Softening cream cheese: Let it come to room temperature before mixing. Cold cream cheese leads to lumps and uneven texture.
- Whipping cream consistency: Stop whipping once you get soft peaks. Overwhipping can turn it grainy and eventually into butter (been there, done that).
- Layering evenly: Use a spatula or back of a spoon to spread layers gently. Rough layering can mix the colors and lose that beautiful red, white & blue effect.
- Chill time: Don’t skip the chilling step. It helps the cake absorb moisture and the flavors marry beautifully.
- Multitasking tip: While the trifle chills, it’s the perfect time to prep your main dishes or set the table. Saves time and stress on party day.
One time, I forgot to slice the strawberries thinly and ended up with big chunks that made spooning a bit awkward. Lesson learned: thin slices help balance the bite and keep the texture just right.
Variations & Adaptations
This red white & blue layered cheesecake trifle is easy to adapt depending on your taste or dietary needs:
- Dairy-Free Version: Use dairy-free cream cheese and coconut cream whipped to stiff peaks. The coconut flavor adds a subtle tropical note.
- Seasonal Fruits: Swap summer berries for frozen cranberries or pomegranate seeds in winter for a festive twist.
- Flavor Twists: Add a splash of lemon zest or a teaspoon of almond extract to the cheesecake layer for a bright flavor boost.
- Healthier Spin: Use Greek yogurt mixed with cream cheese for a protein-packed layer, or substitute pound cake with gluten-free or whole grain options.
- Mini Trifles: Make individual servings in small mason jars—great for parties and portion control.
I once tried adding a drizzle of blueberry compote between the layers for an extra punch of berry flavor. It was a hit, especially with my berry-loving friends.
Serving & Storage Suggestions
This cheesecake trifle is best served chilled, straight from the refrigerator. The cool, creamy layers and fresh berries taste most refreshing when cold. For presentation, garnish with a few whole berries and sprigs of mint to bring out the patriotic colors beautifully.
Pair it with light beverages like iced tea, lemonade, or even a sparkling rosé for a festive touch. It also complements light main dishes like grilled chicken or fresh salads perfectly.
Store leftovers covered in the refrigerator for up to 3 days. The flavors develop even more after a day, but the cake might get a bit softer over time. If you’re planning ahead, assembling the trifle the night before is ideal.
To serve again after chilling, just give it a gentle stir to freshen the layers or leave as is for a neat presentation. Avoid freezing as the texture of the cream cheese layer can change when thawed.
Nutritional Information & Benefits
This red white & blue layered cheesecake trifle provides a balance of indulgence and nutrition. Per serving (based on 8 servings), it contains approximately:
| Calories | Fat | Carbohydrates | Protein |
|---|---|---|---|
| 320 kcal | 22 g | 25 g | 5 g |
The cream cheese and whipping cream offer calcium and vitamin A, while the berries add antioxidants, fiber, and vitamin C. Using fresh berries supports immune health and adds natural sweetness without refined sugars. The recipe can be modified to be gluten-free or dairy-free for those with dietary restrictions.
From my wellness perspective, this dessert feels like a treat without going overboard, especially when balanced with fresh fruit. It’s a sweet reminder that celebrations can be both joyful and mindful.
Conclusion
This perfect red white & blue layered cheesecake trifle recipe is a celebration in itself—easy to make, stunning to serve, and absolutely delicious. Whether you’re hosting a summer barbecue or just want a festive dessert to brighten your day, this trifle fits the bill. Don’t hesitate to customize the layers or fruit according to your tastes or what’s fresh at the market.
Personally, I love this recipe because it brings people together—neighbors, friends, and family—over something that looks as good as it tastes. Give it a try, experiment with your own twists, and please share how it turns out! I’m always eager to hear your adaptations and stories.
So, next time you need an easy patriotic dessert, remember the quiet neighbor’s cracked bowl and whip up this red white & blue layered cheesecake trifle. Your celebrations will thank you!
FAQs
How far in advance can I prepare the red white & blue layered cheesecake trifle?
You can assemble the trifle up to 24 hours ahead and keep it refrigerated. This helps the flavors meld and makes serving day much easier.
Can I use frozen berries in this recipe?
Yes, but thaw and drain them well to avoid excess moisture that can make the trifle soggy.
Is it possible to make this trifle gluten-free?
Absolutely! Just swap the pound cake for a gluten-free cake or use gluten-free angel food cake cubes.
What’s the best way to soften cream cheese quickly?
Cut it into small cubes and let it sit at room temperature for about 30 minutes, or microwave in 10-second intervals until just soft but not melted.
Can I make individual servings instead of one big trifle?
Yes, layering in small mason jars or dessert glasses is a great way to serve individual portions and makes for a charming presentation.
For more ideas on layered desserts, you might enjoy my no-bake berry cheesecake parfaits or the classic classic strawberry shortcake recipe, both perfect for summer entertaining.
Pin This Recipe!
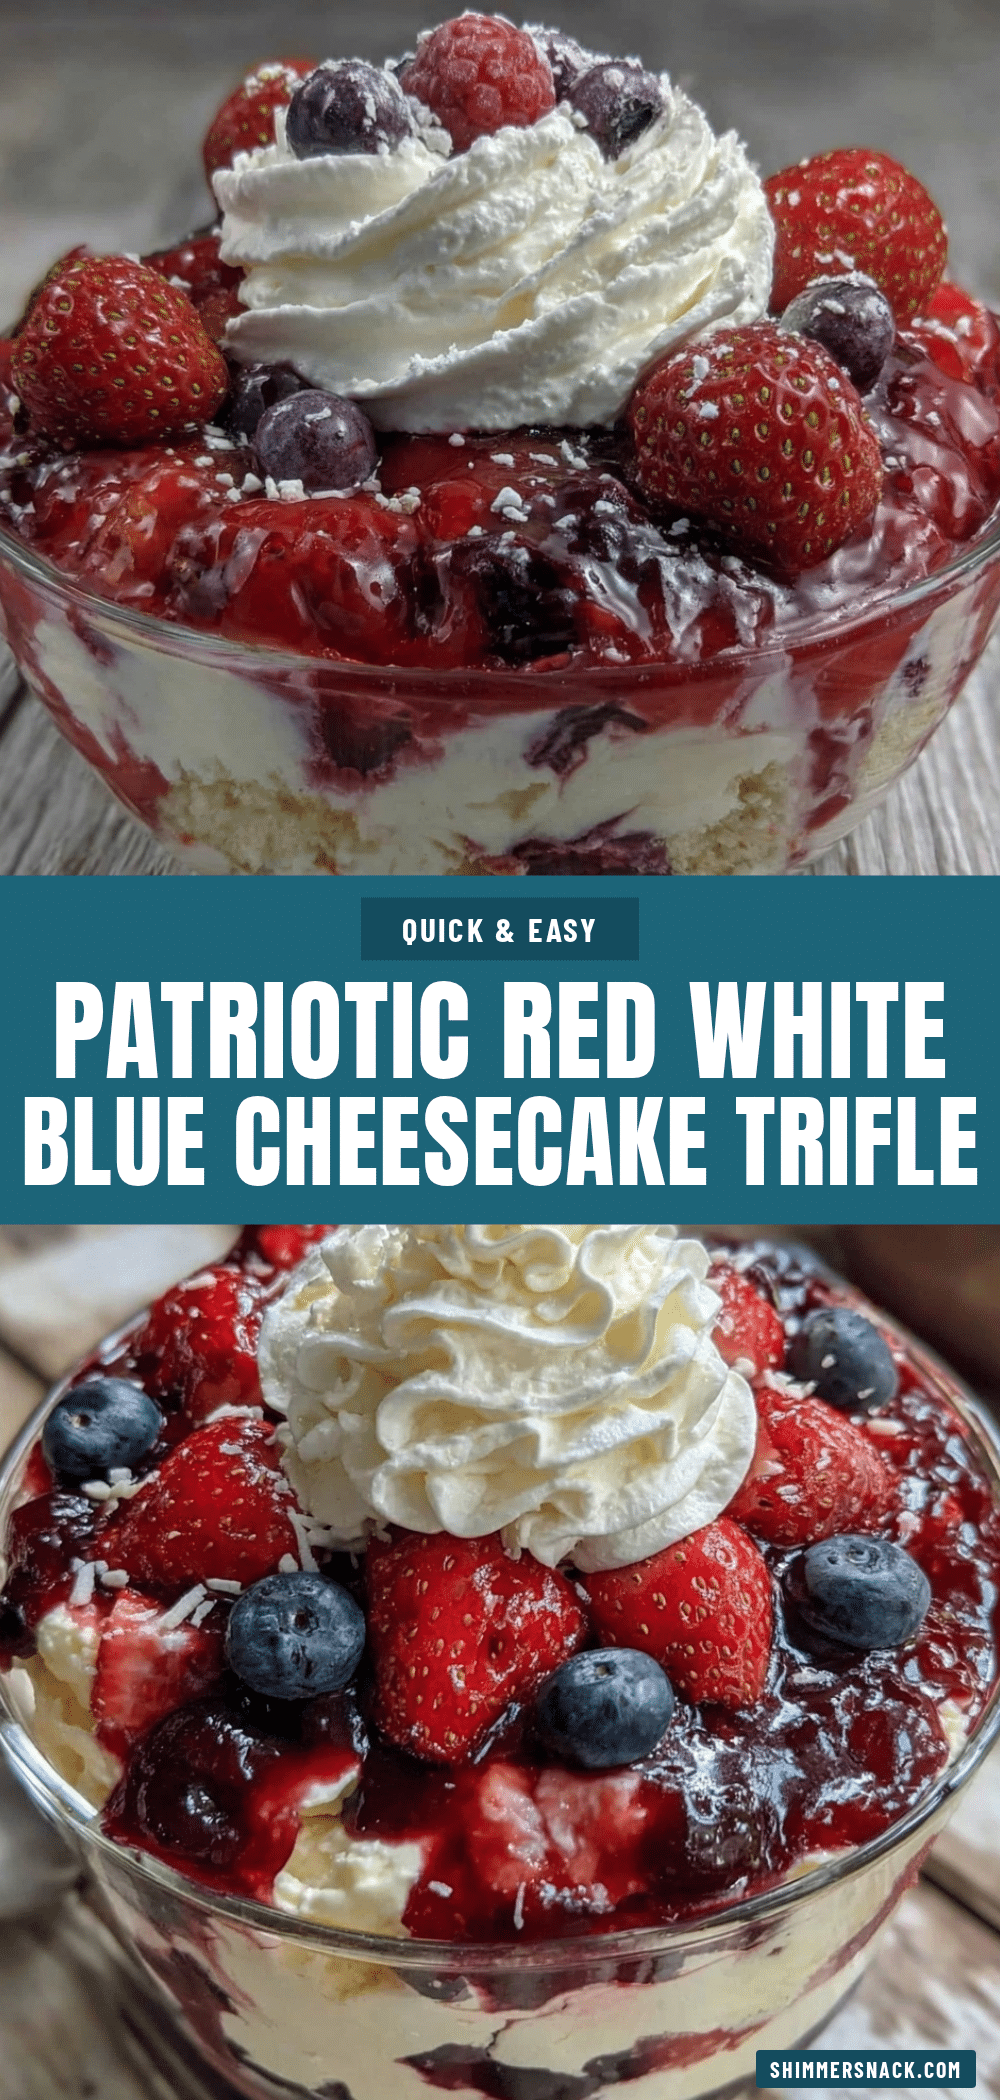
Perfect Red White & Blue Layered Cheesecake Trifle

A quick and easy no-bake patriotic dessert featuring layers of creamy cheesecake, fresh berries, and pound cake cubes, perfect for summer celebrations.
- Prep Time: 15 minutes
- Cook Time: 0 minutes
- Total Time: 4 hours 15 minutes
- Yield: 8 servings 1x
- Category: Dessert
- Cuisine: American
Ingredients
- 8 oz cream cheese, softened
- 1 cup heavy whipping cream, cold
- 1/2 cup powdered sugar, sifted
- 1 tsp vanilla extract
- 1/2 of a 16 oz store-bought pound cake, cut into 1-inch cubes
- 1 cup fresh strawberries, sliced
- 1 cup fresh blueberries
- Optional: fresh mint leaves for garnish
- Optional: additional whole berries for topping
Instructions
- In a medium bowl, beat the softened cream cheese with an electric mixer on medium speed until smooth and creamy, about 2-3 minutes. Scrape down the sides occasionally.
- In a separate large bowl, pour in the cold heavy whipping cream and beat on high speed until soft peaks form, about 3-4 minutes. Avoid overwhipping.
- Gradually add powdered sugar and vanilla extract to the cream cheese, beating until well mixed. Gently fold in the whipped cream using a spatula, mixing carefully to keep the airy texture.
- Cube the pound cake into roughly 1-inch pieces. Wash and dry strawberries and blueberries. Slice strawberries thinly.
- Start by placing a layer of cake cubes (about 1 to 1.5 cups) at the bottom of your trifle bowl.
- Add a generous layer of the cheesecake mixture over the cake, spreading evenly.
- Sprinkle a layer of strawberries followed by a layer of blueberries, about 1/3 cup of each fruit per layer.
- Repeat layering cake, cheesecake mixture, strawberries, and blueberries until the bowl is full. Finish with a final layer of cheesecake mixture.
- Cover the trifle with plastic wrap and refrigerate for at least 4 hours, preferably overnight.
- Before serving, garnish the top with whole berries and fresh mint leaves.
Notes
Soften cream cheese to room temperature or warm briefly in microwave for easier mixing. Stop whipping cream at soft peaks to avoid grainy texture. Thinly slice strawberries for better layering and texture. Chill at least 4 hours to let flavors meld and cake absorb moisture. Can be made dairy-free or gluten-free with substitutions.
Nutrition
- Serving Size: 1 serving (approxima
- Calories: 320
- Fat: 22
- Carbohydrates: 25
- Protein: 5
Keywords: red white and blue dessert, cheesecake trifle, patriotic dessert, no-bake cheesecake, Fourth of July dessert, berry trifle, easy summer dessert