Love this? Save it for later!
Share the inspiration with your friends
I figured making cheese ghosts would be a nightmare of crumbling brie and sticky fingers. It took about twenty minutes for that assumption to fall apart completely. Honestly, I had the wrong idea about how difficult it is to turn a simple block of cheese into a cute little specter. You don’t need piping bags or fancy molds. You just need a sharp knife and a little bit of patience.
The first time I tried this, I cut the cheese too thin and it looked like sad, flat sheets. I was ready to give up and just eat the cheese straight from the board. But then I realized the secret is keeping the cheese cold and firm. Once I chilled the brie properly, the ghosts held their shape perfectly. It was actually kind of fun to watch them come together.
Now, every Halloween, this board is the first thing people ask about. It’s not just about the spooky look, though that helps. It’s about how easy it is to pull off when you’re hosting a party. You can prep the ghosts hours ahead, which saves your sanity later. Plus, everyone loves a good cheese pull, especially when it’s shaped like a ghost.
I still remember the first time I served these at a neighbor’s party. A kid pointed at the board and asked if the ghosts were going to float away. I told him they were just here for the snacks. He ate two of them in one bite. That’s when I knew this recipe had stuck. It’s simple, it’s scary, and it tastes great.
Why You’ll Love This Recipe
There is something special about a charcuterie board that feels like a party all on its own. This specific version brings that spooky Halloween vibe without requiring you to spend hours in the kitchen. I’ve tested this method with different types of cheese, and the brie version is hands-down the best for beginners. It melts in your mouth, which makes the ghost shape even more impressive when people bite into it.
Here is why this recipe stands out from other Halloween snacks:
- Quick & Easy: You can create the entire board in under 30 minutes. This is perfect for busy weeknights or last-minute Halloween gatherings where you need to look like you planned for weeks.
- Simple Ingredients: No fancy grocery trips needed. You likely already have crackers, fruit, and cheese in your kitchen. The only special item is the brie, which is easy to find in any grocery store.
- Perfect for Parties: Great for Halloween mixers, trick-or-treat drop-offs, or cozy dinners with friends. It serves as both a snack and a light appetizer.
- Crowd-Pleaser: Always gets rave reviews from kids and adults alike. The cute factor makes it irresistible, and the savory flavor keeps people coming back for seconds.
- Unbelievably Delicious: The texture and flavor combo is next-level comfort food. The creaminess of the brie pairs perfectly with the crunch of crackers and the sweetness of dried fruit.
What makes this recipe different from the rest is the technique for shaping the cheese. Many recipes suggest using cookie cutters, but those often leave jagged edges or don’t capture the ghostly drape effect. By hand-carving, you get that organic, floating look that feels authentic and whimsical. It’s not just another version—it’s your best version because it allows for personal expression.
This recipe isn’t just good—it is the kind that makes you close your eyes after the first bite. It’s comfort food reimagined with a spooky twist. It’s perfect for impressing guests without stress, or turning a simple meal into something memorable. If you love other easy party snacks, you might also enjoy checking out the mini football cheese ball for game day, or these spooky black cat Oreo cupcakes for a sweet treat.
What Ingredients You Will Need
This recipe uses simple, wholesome ingredients to deliver bold flavor and satisfying texture without the fuss. The key to a great charcuterie board is balancing salty, sweet, and savory elements. For the cheese ghosts, you need a soft, spreadable cheese that holds its shape when chilled. Brie is the gold standard here, but camembert works just as well if you prefer a slightly stronger flavor.
Here is what you will need to gather:
For the Cheese Ghosts:
- Brie Cheese: 1 small wheel (about 8-10 oz), rind on. The rind helps the ghost hold its shape. Look for a firm, small-curd brie for best texture. I recommend Cypress Grove or a local artisan brand for the creamiest result.
- Black Olives: Sliced or whole. These form the eyes. Kalamata olives add a nice tang.
- Chives: Fresh, cut into tiny pieces. You can use these for the mouth or skip it for a simpler look.
For the Board Base:
- Crackers: Assorted varieties. I like a mix of water crackers, wheat thins, and pretzel crisps for crunch. Pretzel bites are a great alternative if you want something salty.
- Salami or Ham: Folded or rolled. Cured meats add a savory depth that balances the cheese.
- Dried Fruit: Apricots, figs, or cranberries. The sweetness complements the salty cheese perfectly.
- Fresh Fruit: Grapes, apple slices, or pear slices. Apples add a fresh crunch that keeps the board interesting.
- Nuts: Walnuts or almonds. Toasted nuts add an extra layer of flavor and texture.
- Honey or Jam: A small bowl of honey or fig jam for dipping. This adds a luxurious touch.
You can swap in dairy-free cheese if needed, though it won’t hold the ghost shape as well. For the crackers, gluten-free options work just fine. The beauty of this board is its flexibility. You can adjust the ingredients based on what you have on hand. Just remember to keep the cheese cold until the last moment for the best results.
Equipment Needed
You don’t need a lot of fancy gear to pull this off. A few basic tools will get you the best results.
- Sharp Chef’s Knife: This is the most important tool. A dull knife will crush the brie instead of slicing it cleanly. I use a high-carbon steel knife for precision.
- Cutting Board: A large, stable board to work on. Wooden boards are nice, but plastic is easier to clean.
- Small Serving Bowls: For the honey, nuts, or dips. Ceramic or glass bowls look elegant on the board.
- Refrigerator: Yes, really. You need space to chill the cheese before carving. If your fridge is packed, prep the night before.
If you don’t have a sharp knife, consider buying a new one. It’s worth the investment for any home cook. Budget-friendly options from brands like Victorinox work surprisingly well. Avoid using serrated knives for the cheese, as they will tear the soft rind.
Preparation Method
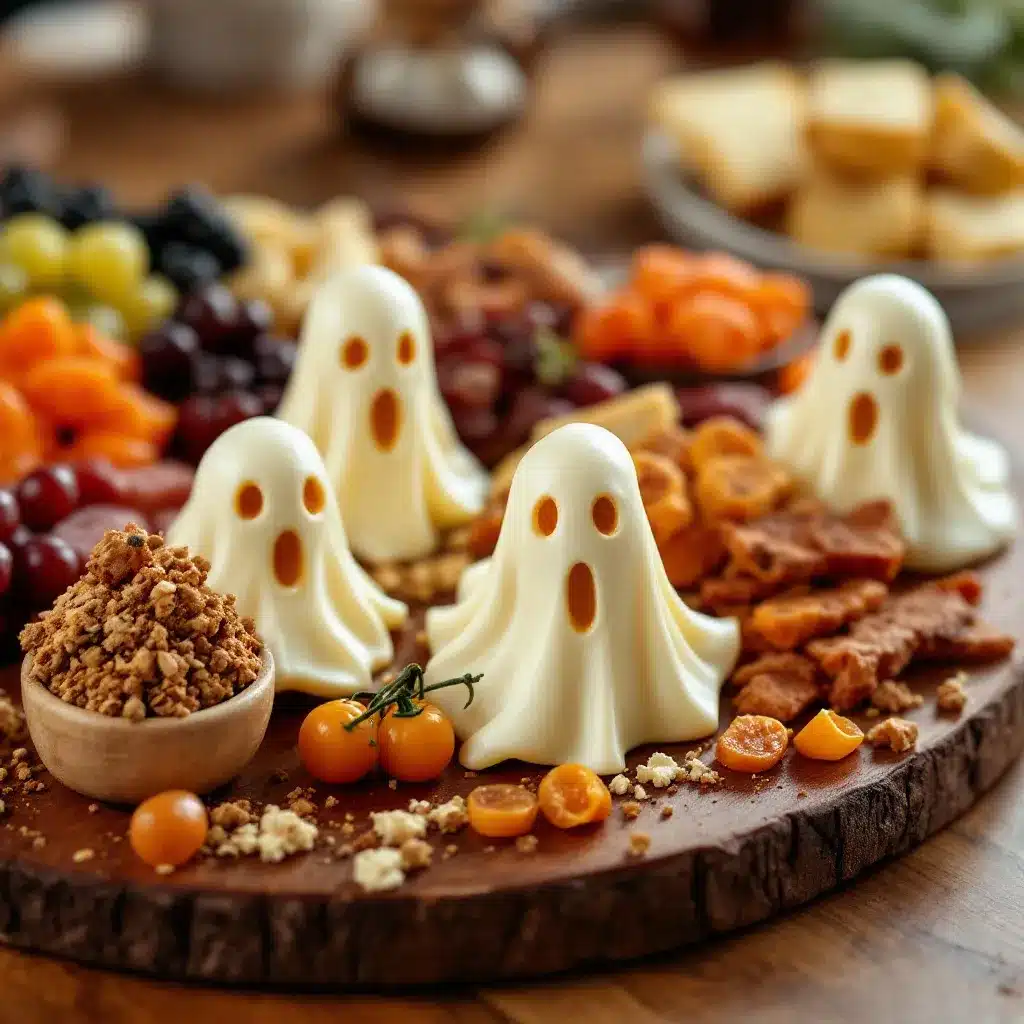
Follow these steps to create your spooky masterpiece. Take your time with the cheese cutting, as that is the main event.
- Chill the Cheese: Remove the brie from the packaging and place it on a plate. Put it in the refrigerator for at least 30 minutes before you start. Cold cheese is easier to cut and holds its shape better. (Time: 30 minutes)
- Prepare the Board Base: Take a large platter or wooden board. Arrange your crackers in clusters around the edges. Leave space in the center for the cheese ghosts. This creates a balanced look. (Time: 5 minutes)
- Add the Meats and Fruits: Fold the salami or ham into loose rosettes. Place them in the gaps between crackers. Add the dried fruit and fresh fruit in small piles. Sprinkle the nuts over the empty spaces. (Time: 10 minutes)
- Cut the Ghosts: Take the chilled brie. Using a sharp knife, cut a wedge from the wheel. Slice off a thin, curved piece that resembles a ghost’s body. The shape should be wider at the top and taper down. (Time: 10 minutes)
- Shape the Faces: Take two small slices of black olive. Press them gently into the top of the cheese ghost to form eyes. If you want a mouth, add a small strip of chive or a drop of balsamic glaze. (Time: 5 minutes)
- Place the Ghosts: Arrange the cheese ghosts on the board. Stand them up if possible, or lay them flat among the other snacks. They should look like they are floating. (Time: 5 minutes)
- Final Touches: Add a small bowl of honey or jam in the center. Garnish with fresh herbs like thyme or rosemary for a pop of green. (Time: 5 minutes)
If the cheese starts to soften, put it back in the fridge for 10 minutes. You can also use a toothpick to help position the olives if they keep sliding off.
Cooking Tips & Techniques
The biggest mistake people make is rushing the cheese cutting. If the brie is too warm, it will squish. Always work with cold cheese. Another tip is to wipe the knife between cuts. This keeps the edges clean and prevents the cheese from sticking to the blade.
I once tried to make these ghosts with room-temperature cheese. It was a mess. The ghosts looked more like melted blobs than spooky specters. Lesson learned: keep it cold. Also, don’t be afraid to experiment with the face shapes. Some ghosts have round eyes, while others have slit eyes. It adds character to your board.
For consistency, try to make all the ghosts roughly the same size. This creates a harmonious look on the board. If you are hosting a large party, make extra ghosts. People love to grab them quickly. Multitasking is key here. Start the board setup while the cheese is chilling. That way, everything comes together smoothly.
Variations & Adaptations
You can tweak this recipe to suit different tastes or dietary needs. Here are a few ideas:
- Vegan Option: Use a vegan brie-style cheese. Note that it may not hold the shape as well, so chill it thoroughly. You can also use cashew cheese for a nutty flavor.
- Gluten-Free: Swap regular crackers for gluten-free rice crackers or corn chips. Most fruits and meats are naturally gluten-free, so just check your labels.
- Spicy Twist: Add pepperoni slices or spicy salami to the board. You can also drizzle hot honey over the cheese ghosts for a kick.
- Seasonal Swap: In the fall, add pumpkin seeds or roasted squash cubes. In the spring, use fresh strawberries or raspberries for a pop of color.
I once tried adding candied bacon bits to the board. It was a hit with the meat lovers. The salty and sweet combination worked surprisingly well. Feel free to customize based on what your guests enjoy.
Serving & Storage Suggestions
Serve this board at room temperature for the best flavor. Cheese tastes best when it’s not cold. Let the board sit out for 15-20 minutes before serving. This allows the flavors to open up. Pair it with a crisp white wine or a spooky cocktail like a black margarita.
Store leftovers in an airtight container in the fridge. The cheese will last for 3-4 days. The crackers and nuts should be kept in a separate container to maintain crunch. Reheating is not recommended for the cheese ghosts, as they will lose their shape. However, you can enjoy them cold with crackers.
The flavors develop over time. The honey and fruit will soak into the crackers slightly, creating a delicious treat. If you make the board ahead, cover it with plastic wrap and refrigerate. Add the fresh fruit and herbs just before serving to keep them looking fresh.
Nutritional Information & Benefits
This charcuterie board offers a mix of protein, healthy fats, and carbohydrates. Brie is a good source of calcium and protein. The nuts provide healthy fats and fiber. The fruits add vitamins and antioxidants. However, be mindful of portion sizes, as cured meats and cheeses can be high in sodium and calories.
For those watching their carb intake, focus on the meats and cheeses. Skip the crackers and enjoy the board with vegetable sticks. This recipe can be adapted for low-carb diets by using cucumber slices instead of crackers. It’s a flexible option for various dietary needs. Personally, I love that it feels indulgent but also balanced. You can enjoy a variety of flavors in one sitting.
Conclusion
This spooky Halloween charcuterie board is a fantastic way to bring festive cheer to any gathering. It’s easy to make, looks impressive, and tastes delicious. I encourage you to customize it with your favorite ingredients. Add your own twist to the ghost faces or experiment with different cheeses.
I love this recipe because it combines creativity with simplicity. It’s a project that yields immediate rewards. Plus, it’s a great way to use up leftover snacks. Give it a try this Halloween and see how much your guests enjoy it. Don’t forget to share your creations online and tag me!
FAQs
Can I use camembert instead of brie?
Yes, camembert works well. It has a similar texture and flavor, though it might be slightly stronger. Just ensure it is chilled before cutting.
How long do the cheese ghosts last?
They are best served fresh. If stored in the fridge, they will last 2-3 days. However, the texture may change as the cheese softens.
Can I make this board ahead of time?
You can prep the board up to 2 hours ahead. Keep it covered in the fridge. Add fresh fruits and herbs just before serving.
What drinks pair best with this board?
Crisp white wines like Sauvignon Blanc or Pinot Grigio work well. For non-alcoholic options, try sparkling apple cider or lemonade.
Is there a dairy-free alternative?
Yes, use vegan brie-style cheese. Keep in mind that it may not hold the ghost shape as firmly, so handle with care.
Pin This Recipe!
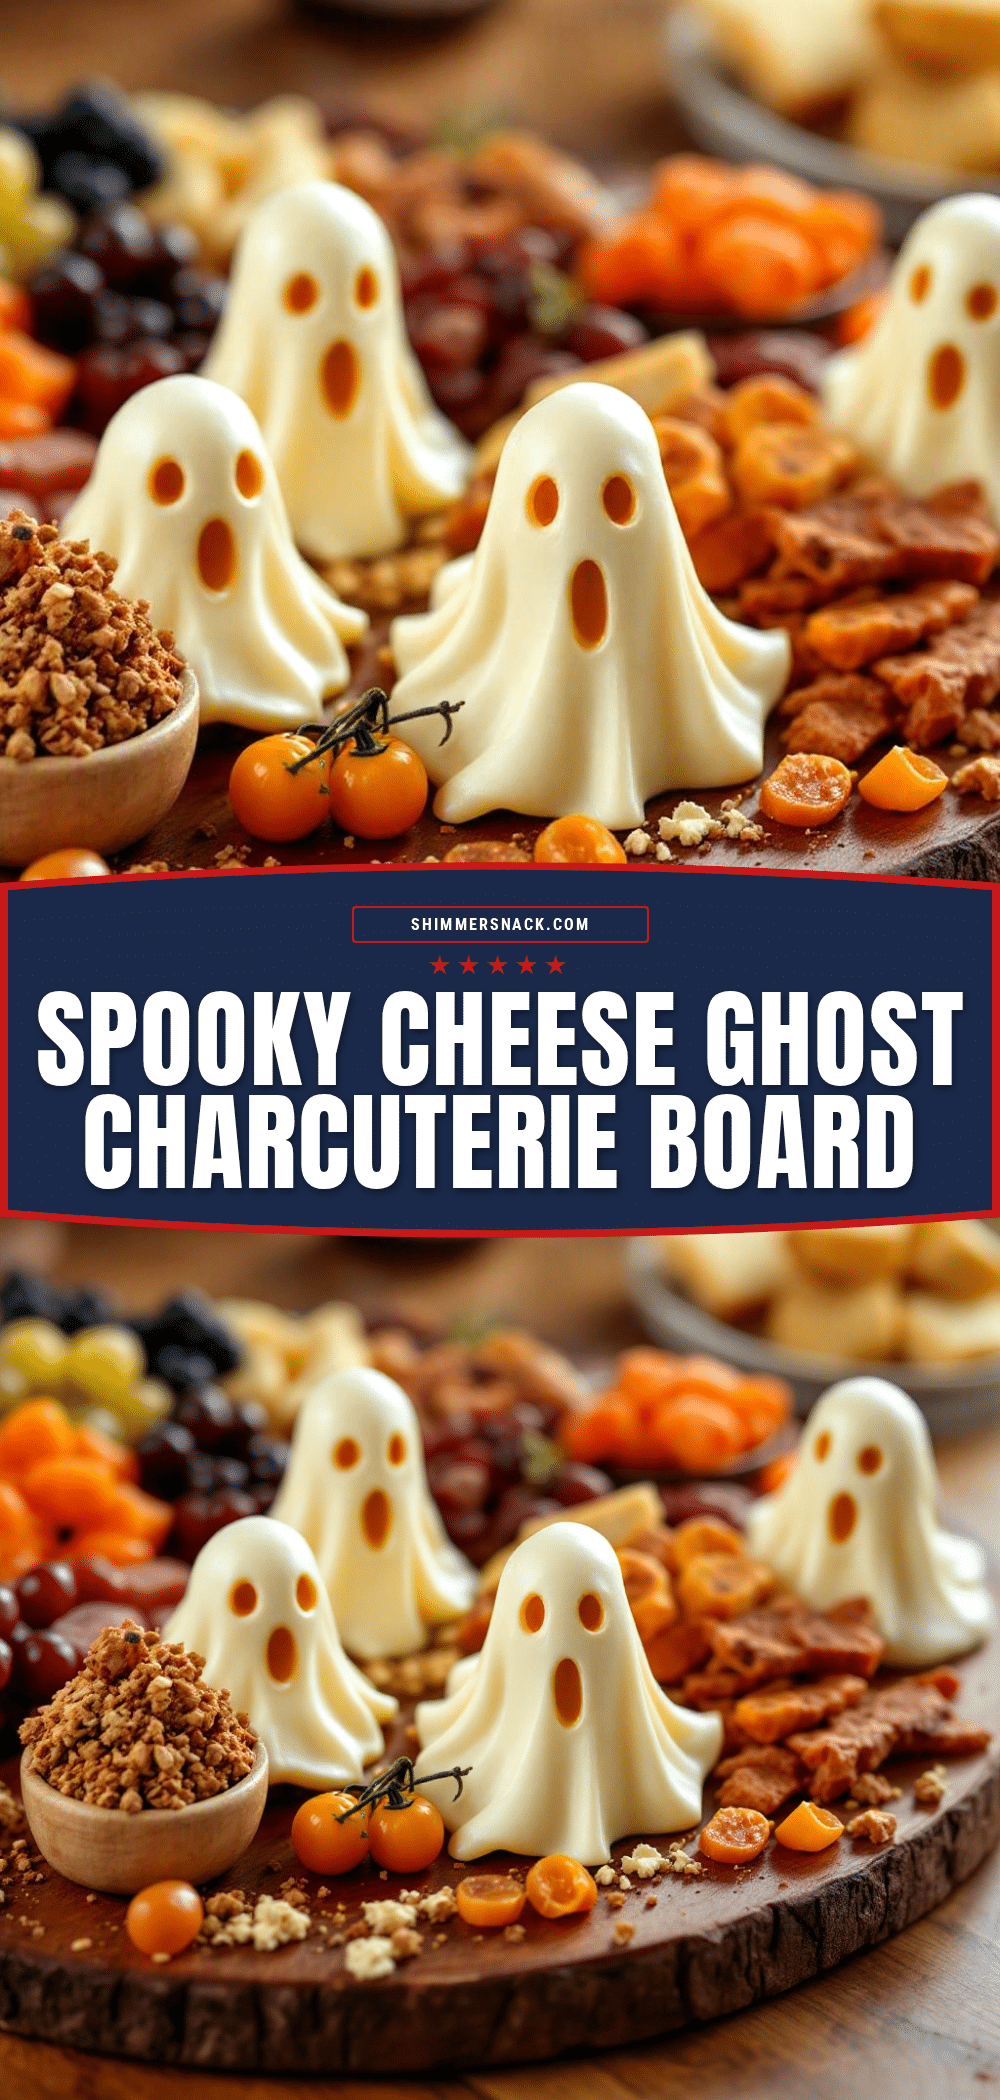
Spooky Halloween Charcuterie Board with Cheese Ghosts
A festive and easy-to-make Halloween charcuterie board featuring hand-carved brie cheese ghosts, perfect for parties and gatherings.
- Prep Time: 30 minutes
- Cook Time: 0 minutes
- Total Time: 30 minutes
- Yield: 8-10 servings 1x
- Category: Appetizer
- Cuisine: American
Ingredients
- 1 small wheel of Brie cheese (8–10 oz), rind on, chilled
- Black olives (sliced or whole) for eyes
- Fresh chives (cut into tiny pieces) for mouths
- Assorted crackers (water crackers, wheat thins, pretzel crisps)
- Salami or ham (folded or rolled)
- Dried fruit (apricots, figs, or cranberries)
- Fresh fruit (grapes, apple slices, or pear slices)
- Nuts (walnuts or almonds)
- Honey or fig jam for dipping
Instructions
- Chill the brie cheese in the refrigerator for at least 30 minutes to ensure it is firm.
- Arrange assorted crackers in clusters around the edges of a large platter or wooden board.
- Fold salami or ham into rosettes and place them in gaps between crackers.
- Add dried fruit, fresh fruit, and nuts in small piles or scattered over empty spaces.
- Using a sharp knife, cut a wedge from the chilled brie wheel.
- Slice off a thin, curved piece of brie to resemble a ghost’s body (wider at top, tapering down).
- Press two small slices of black olive into the top of the cheese ghost to form eyes.
- Add a small strip of chive or a drop of balsamic glaze for a mouth if desired.
- Arrange the cheese ghosts on the board, standing them up or laying them flat to look like they are floating.
- Add a small bowl of honey or jam in the center and garnish with fresh herbs like thyme or rosemary.
Notes
Keep the cheese cold and firm for easier cutting. Wipe the knife between cuts to keep edges clean. Serve at room temperature for best flavor. Can be prepped up to 2 hours ahead.
Nutrition
- Serving Size: Varies based on boar
- Calories: 350
- Sugar: 10
- Sodium: 600
- Fat: 22
- Saturated Fat: 12
- Carbohydrates: 25
- Fiber: 2
- Protein: 12
Keywords: Halloween, charcuterie board, cheese ghosts, brie, party snack, easy appetizer, spooky food


